
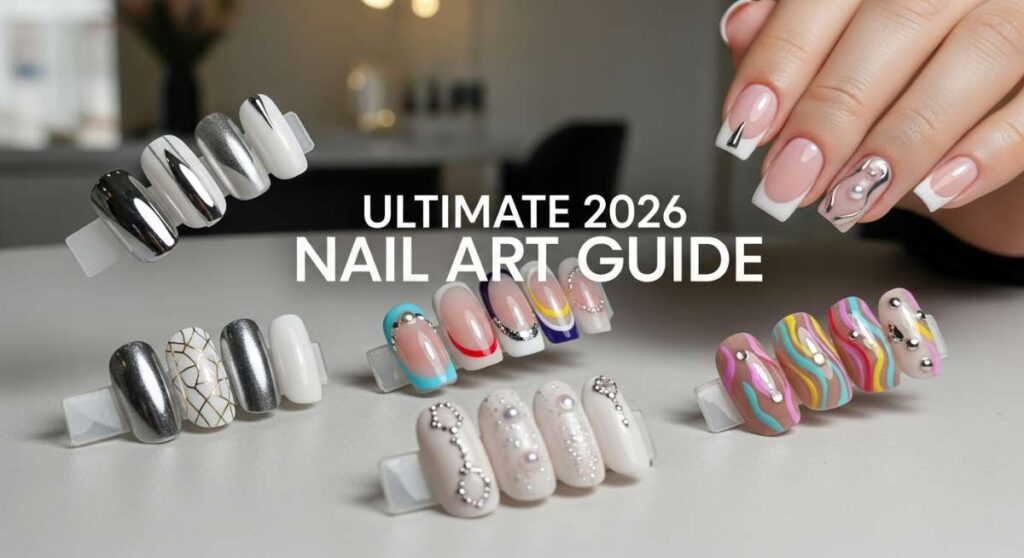
2026 Nail Trends: The Ultimate Guide to Next-Level Manicures
Hello, my sweet souls! There is something so incredibly healing about sitting down, taking a deep breath, and transforming your fingertips into tiny canvases of self-expression. As we step into 2026, the world of nail art has become less about following strict rules and more about embracing the soft, beautiful contradictions of our own personalities. Whether you are feeling like a moody moon-goddess or a bright summer sunbeam, your nails are the whisper of your heart made visible.
I’ve spent the last few months dreaming up these trends, chatting with the most talented artists, and testing these looks on my own hands just for you. This year is all about textures that beg to be touched, colors that tell a story, and designs that make you feel like the main character of your own soft-life aesthetic. So, grab a warm cup of herbal tea, wrap yourself in your favorite knit blanket, and let’s dive into the magic of the 2026 Nail Art Guide.
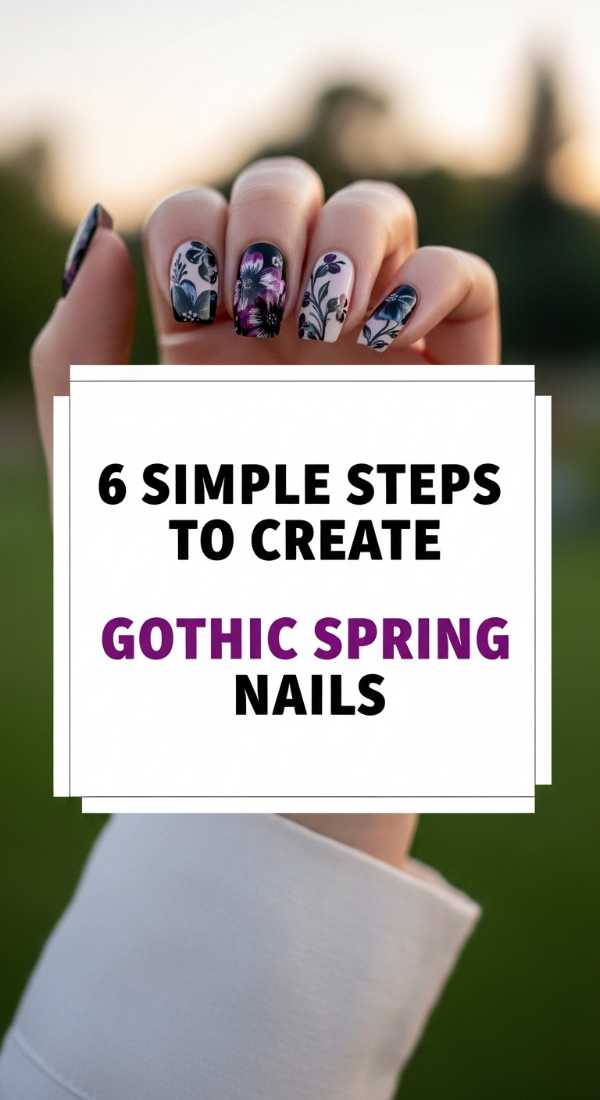
The Moody Bloom: 6 Steps to Gothic Spring Nails
Why to love this Design:
This design is for my loves who find beauty in the shadows even as the flowers begin to bud. It’s the perfect bridge between the cozy darkness of winter and the delicate hope of spring, offering a sophisticated edge to your seasonal transition. You get to keep your mystery while celebrating the bloom.
Essential Elements:
- Matte black or deep plum base polish
- Soft lavender or sage green acrylic paint
- Ultra-fine detailing brush
- Micro-pearl accents
- Velvet-finish top coat
How to Prepare:
- Gently push back cuticles and shape nails into a soft almond or stiletto point.
- Apply two thin coats of matte black polish and let dry completely.
- Using your fine brush, sketch delicate, gothic-style lace patterns on the ring finger.
- Dot tiny lilac flower buds along the edges of the lace.
- Place a single micro-pearl at the center of your largest flower using nail glue.
- Seal the entire look with a velvet top coat for that soft-touch gothic feel.
Budget Range
- OPI Matte Top Coat: $11.50
- Beetles Gel Liner Polish Set: $19.99
- Nail Art Micro-Pearls: $6.00
The Scholar’s Glow: 4 Quick Ways to Style College Graduation Nails

Why to love this Design:
You’ve worked so hard, darling! These designs are about celebrating your massive achievement with a touch of class and a nod to your school spirit. They look incredible holding a diploma and even better in those celebratory champagne-clinking photos.
Essential Elements:
- Your school’s primary color
- Champagne gold glitter
- Sheer nude base
- Minimalist metallic striping tape
How to Prepare:
- The Clean French: Use your school color for the tips on a sheer nude base for a modern twist.
- The Gold Accent: Apply a solid school color on four nails and a full champagne gold glitter on the ring finger.
- The Minimalist Line: Place a single vertical strip of gold metallic tape down the center of each nail over a clear base.
- The Gradient Fade: Sponge your school color from the tip downward into a soft nude base.
Budget Range
- Essie Metallic Gold Polish: $10.00
- Nail Striping Tape Set: $7.50
- Zoya Professional Lacquer: $12.00
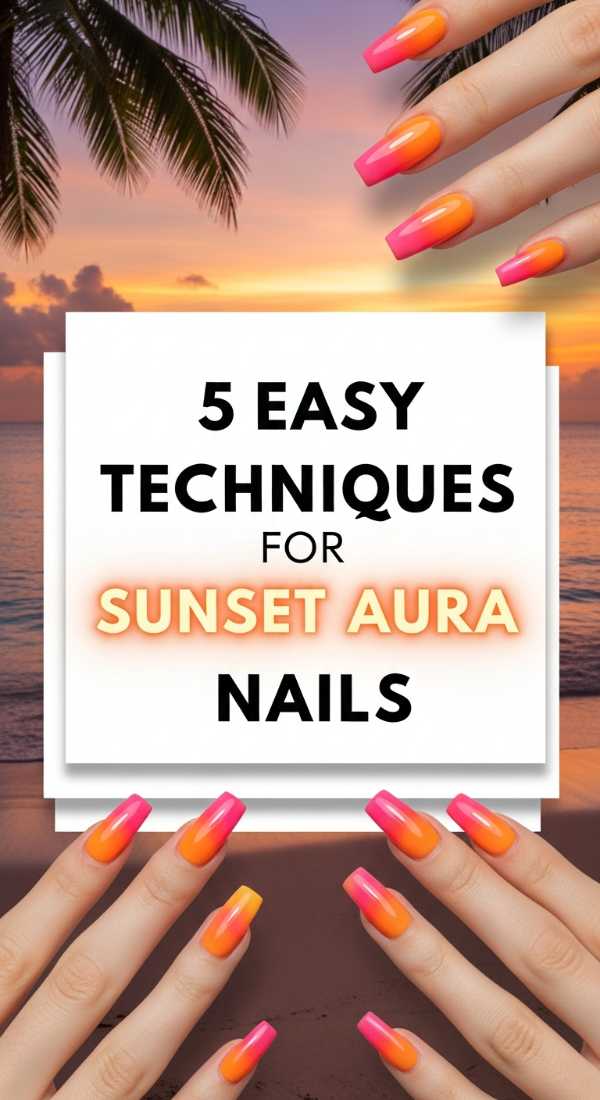
The Horizon Dream: 5 Easy Techniques for Sunset Aura Nails
Why to love this Design:
Imagine the sky at 8 PM on a warm July evening—that’s exactly what these nails capture. Aura nails are huge in 2026 because they represent your inner energy and the beautiful, blurry edges of our emotions. It’s a soft, glowing embrace for your hands.
Essential Elements:
- Makeup sponges (wedge shape)
- Bright orange, deep pink, and soft yellow polishes
- White polish for the base
- High-gloss top coat
How to Prepare:
- Apply a solid white base coat to make the sunset colors truly pop.
- Dab a small amount of orange and pink onto a makeup sponge in a circular pattern.
- Gently press the sponge onto the center of the nail, keeping the edges soft and diffused.
- Add a tiny dot of yellow in the very center of the aura for a “glowing sun” effect.
- Repeat the sponging process once more for intensity before sealing with a thick gloss.
Budget Range
- Beautyblender Micro.Mini Sponges: $18.00
- Orly Sunset Collection Set: $25.00
- Seche Vite Fast Dry Top Coat: $9.95
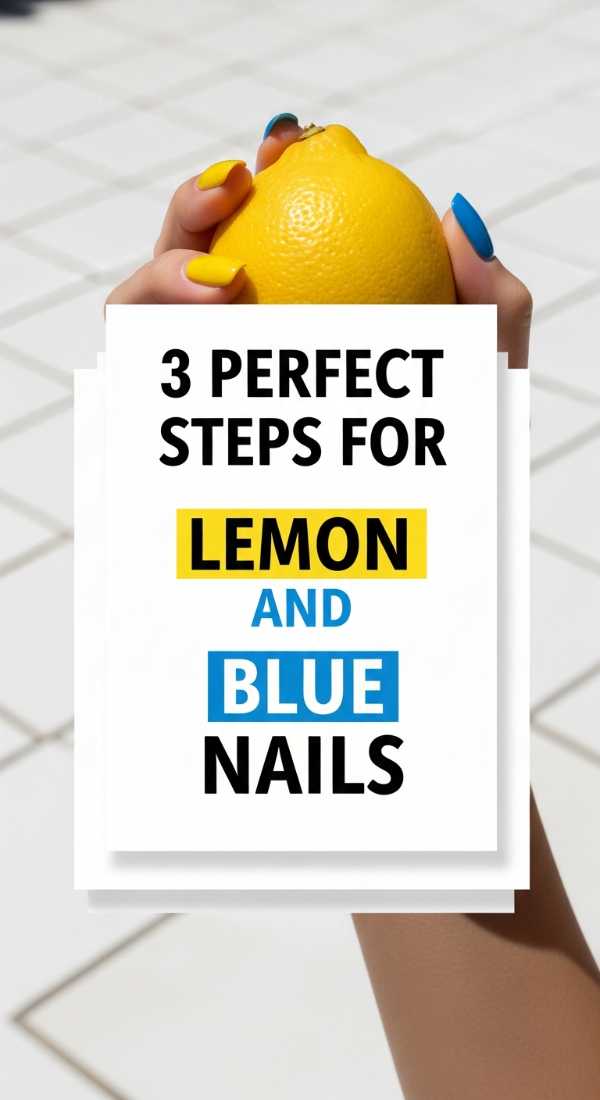
Mediterranean Bliss: 3 Perfect Steps for Lemon and Blue Nails
Why to love this Design:
This look is like a vacation to the Amalfi Coast in a bottle. The contrast between the bright, zesty lemon yellow and the deep, ceramic blue is so refreshing and chic. It’s perfect for those of us who dream of sunshine and sea salt breezes.
Essential Elements:
- Lemon yellow lacquer
- Cobalt blue liner gel
- Matte white base
How to Prepare:
- Paint your thumb and pinky in solid cobalt blue, and the others in a clean matte white.
- On the white nails, use a dotting tool to create small yellow circles for the lemons.
- Use your blue liner to draw tiny Mediterranean tile patterns around the lemons for a gorgeous contrast.
Budget Range
- Revel Nail Dip Powder (Lemon): $15.00
- Modelones Blue Liner Gel: $8.99
- Dashing Diva Gloss Strips: $12.00
Earth Goddess: 7 Beautiful Ways to Wear Taurus Birthday Nails
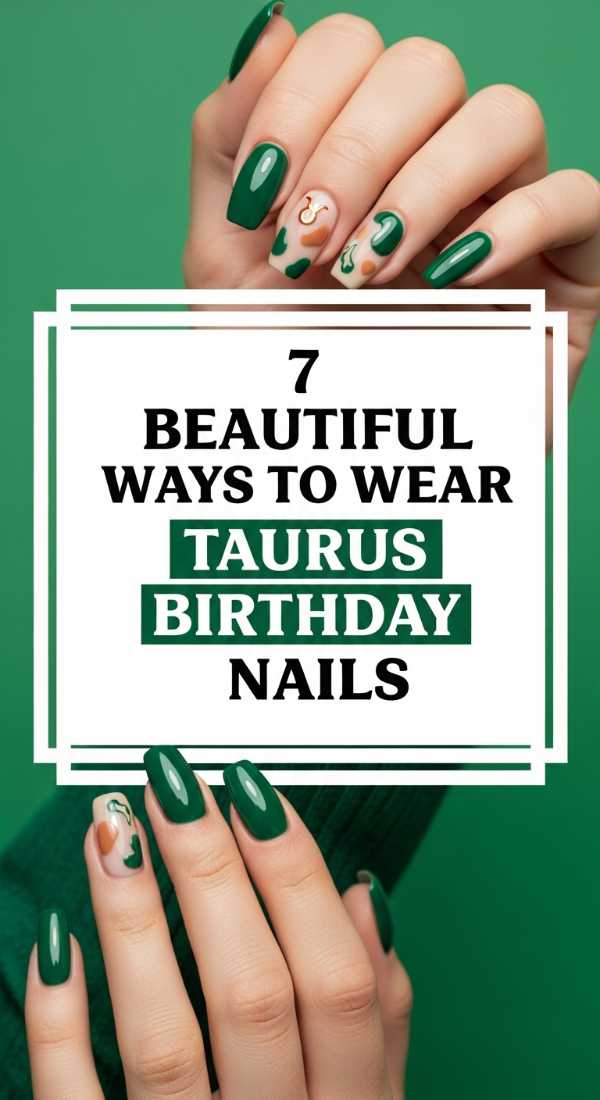
Why to love this Design:
Happy birthday, my grounded and luxurious Tauruses! This design celebrates your connection to the earth and your love for the finer things. We are talking rich greens, gold leaf, and textures that feel as expensive as a silk robe.
Essential Elements:
- Forest green cream polish
- Gold leaf flakes
- Pressed dried flowers
- Emerald rhinestones
How to Prepare:
- The Marble Earth: Swirl forest green and white for a malachite stone effect.
- The Gold Leaf Accent: Apply random flakes of gold over a clear base for raw luxury.
- The Bull Symbol: Use a fine brush to paint a minimalist Taurus constellation in gold.
- The Pressed Flower: Embed a tiny dried green leaf into a clear gel top coat.
- The Matte Emerald: Wear a deep green in a full matte finish for a velvet look.
- The Rhinestone Cuticle: Place a single emerald stone at the base of each nail.
- The French Forest: A deep green tip on a warm tan base coat.
Budget Range
- Gold Leaf Flakes for Nails: $5.99
- Lights Lacquer ‘Paper Plane’ Green: $13.00
- Dried Flower Nail Art Kit: $10.00
The Abstract Icon: 5 Creative Steps to Paint Pucci Nails
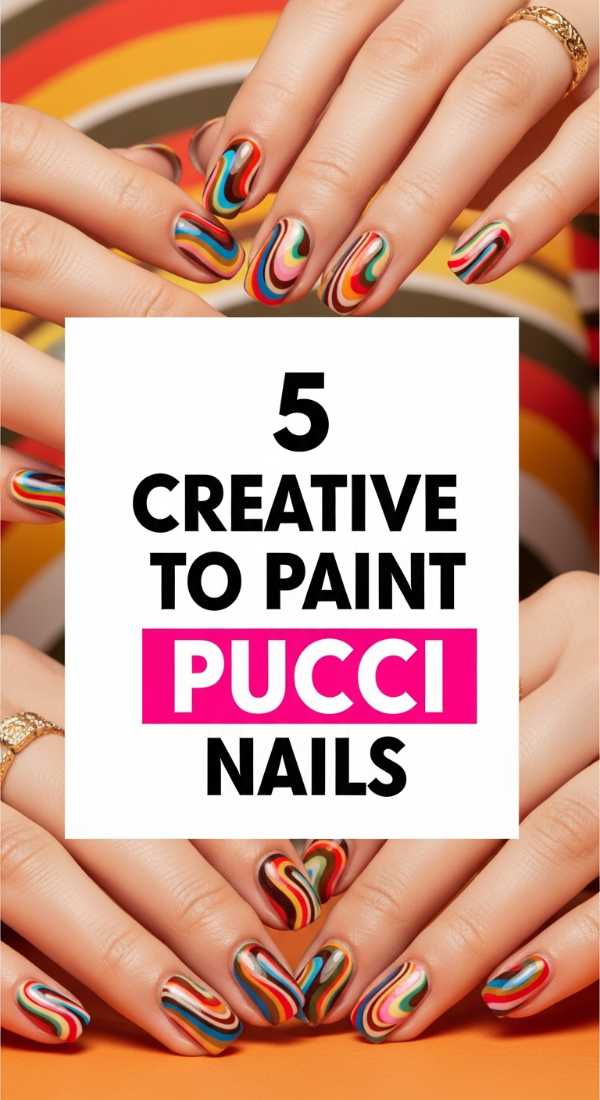
Why to love this Design:
Retro is back with a modern, high-fashion twist! Inspired by the iconic prints of Emilio Pucci, these nails are a playground of geometric shapes and bold colors. They are fun, loud, and show off your artistic spirit perfectly.
Essential Elements:
- A palette of 4 contrasting colors (e.g., pink, orange, teal, black)
- Long-haired striper brush
- Steady hand or masking fluid
How to Prepare:
- Apply your lightest color (usually pink or cream) as the full base.
- Draw large, organic swirling shapes across the nail with your second color.
- Fill in the gaps with the third color, ensuring no two colors of the same shade touch.
- Outline the edges of your shapes with a very thin black line to give it that “print” look.
- Add small dots or geometric accents within the larger shapes for extra detail.
Budget Range
- Nail Art Liner Brush Set: $12.00
- Holler and Glow Bold Polish Kit: $15.00
- Blueberry Nail Vinyls: $6.00
Sweet Petals: 4 Simple Tips for Hot Pink Nails with Flowers
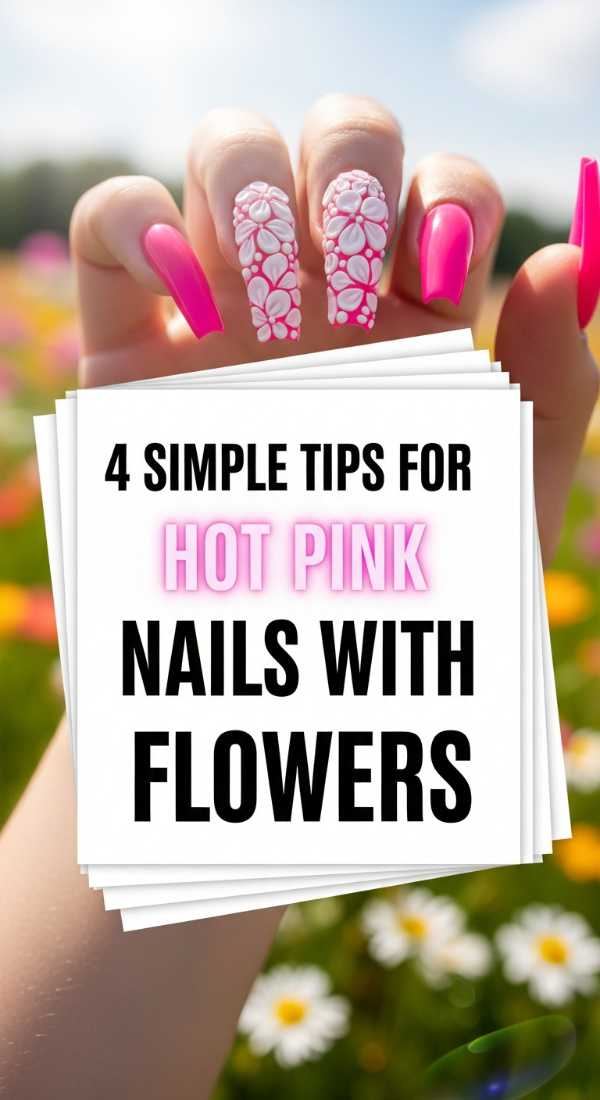
Why to love this Design:
Sometimes, we just want to be unapologetically girly! Hot pink is the color of power and passion, and when you add delicate flowers, it softens the look into something truly romantic and playful. It’s like a bouquet you never have to put down.
Essential Elements:
- Hot pink neon polish
- White and yellow acrylic paint
- Small dotting tool
How to Prepare:
- Tip 1: Use a bright neon pink base to make the white flowers stand out more vividly.
- Tip 2: Create flowers by placing 5 small white dots in a circle and dragging them to the center with a toothpick.
- Tip 3: Add a tiny yellow dot in the center of each flower for a realistic daisy effect.
- Tip 4: Only place flowers on the tips of the nails for a “wildflower meadow” French look.
Budget Range
- China Glaze ‘Shocking Pink’: $7.50
- Dotting Tool Set: $5.00
- Essie Gel Setter Top Coat: $13.00
The Wild Side: 6 Bold Ways to Rock Neon Cheetah Print Nails
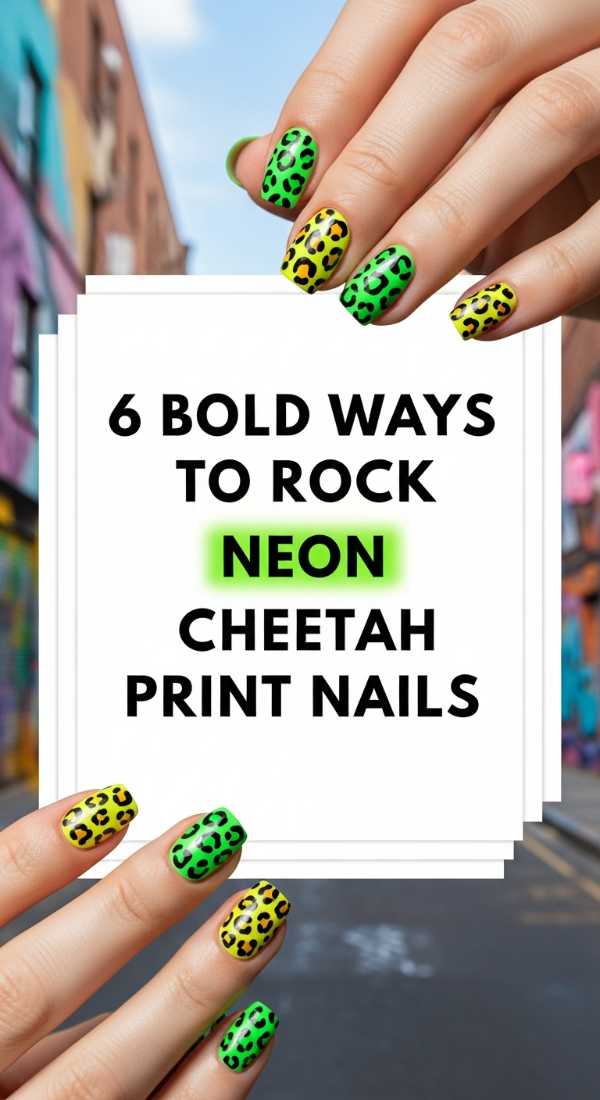
Why to love this Design:
Animal print is a neutral in 2026, but neon cheetah? That’s a statement! It’s for the days when you’re feeling bold, energetic, and ready to take on the world. It’s fun, fierce, and surprisingly easy to customize to your favorite bright shades.
Essential Elements:
- Neon lime or electric pink base
- Black stamping polish or liner
- A slightly darker shade of your base color for the “spots”
How to Prepare:
- The Full Neon: Every nail in bright lime with traditional black and tan spots.
- The Accent Finger: Only the ring finger gets the cheetah print, the rest are solid neon.
- The Cheetah French: Use the print only on the tips of the nails.
- The Rainbow Cheetah: Each nail a different neon color with black spots.
- The Matte Neon: Add a matte top coat over the neon for a high-fashion editorial look.
- The Double Print: Combine cheetah spots with thin zebra stripes on one nail.
Budget Range
- Maniology Animal Print Stamping Plate: $8.00
- Kiara Sky Neon Collection: $14.99
- Konad Black Stamping Polish: $7.00
Midnight Ocean: 5 Stunning Methods for Dark Blue Summer Nails
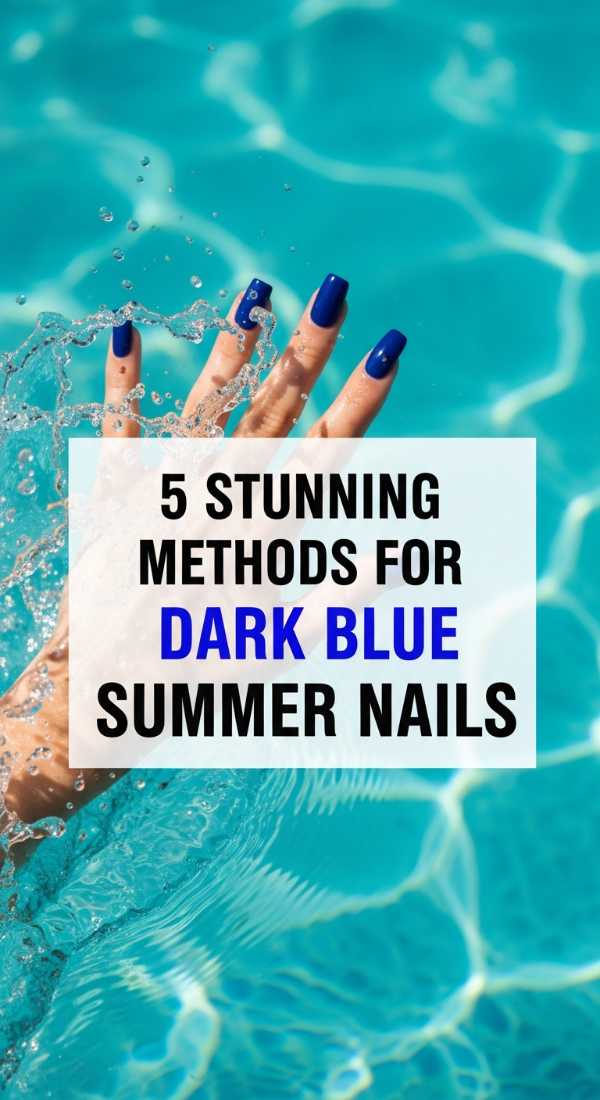
Why to love this Design:
Who says summer has to be all pastels? Dark blue captures the mystery of the deep sea and the beauty of a midnight swim. It’s a sophisticated alternative to black that still feels seasonally appropriate when paired with the right finishes.
Essential Elements:
- Navy blue cream polish
- Iridescent flakies or shimmer
- Silver holographic tape
How to Prepare:
- The Deep Sea Shimmer: Layer an iridescent top coat over navy blue for a mermaid-tail effect.
- The Starry Night: Use a sponge to tap silver glitter onto the tips of a dark blue base.
- The Negative Space Wave: Leave a curved area of the nail bare, painting the rest in deep navy.
- The Chrome Dip: Use silver chrome powder on just the ring finger for a metallic pop.
- The Jelly Blue: Use a translucent “jelly” dark blue polish for a glass-like finish.
Budget Range
- ILNP ‘Midnight Kiss’ Polish: $12.50
- Chrome Nail Powder Kit: $10.99
- Cirque Colors Jelly Polish: $14.00
Cherry Classic: 4 Classic Steps to Achieve Bright Red Summer Nails
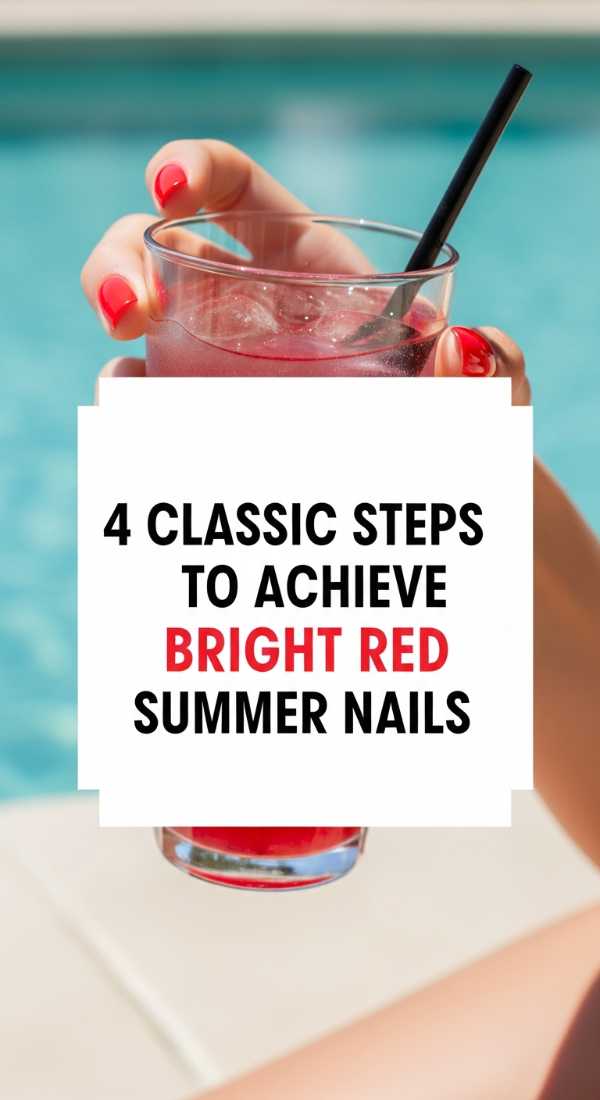
Why to love this Design:
There is nothing—absolutely nothing—more iconic than a bright red nail in the summertime. It’s confident, it’s timeless, and it makes every outfit look instantly more expensive. It’s the ultimate “clean girl” aesthetic with a fiery heart.
Essential Elements:
- True tomato-red polish
- High-shine glass top coat
- Cuticle oil for that hydrated glow
How to Prepare:
- Buff the nail surface to a perfect smoothness; red shows every bump!
- Apply a high-quality base coat to prevent the red pigment from staining your natural nails.
- Apply two thin, even coats of red, leaving a tiny gap at the cuticle for a professional look.
- Finish with a double layer of “plumping” top coat to give that gel-like, juicy cherry finish.
Budget Range
- Chanel Le Vernis in ‘Incendiaire’: $32.00
- Revlon ‘Red’ (Budget-friendly classic): $6.00
- Cuccio Revitalize Cuticle Oil: $11.00
Embrace Your Inner Artist
My loves, I hope these trends inspire you to take a little time for yourself this week. Whether you choose the moody gothic blooms or the classic cherry red, remember that your nails are an extension of your beautiful soul. Don’t be afraid to mess up—sometimes the best designs come from happy accidents! Tag me in your photos so I can see your gorgeous creations. Stay soft, stay bright, and keep shining from the fingertips out.