
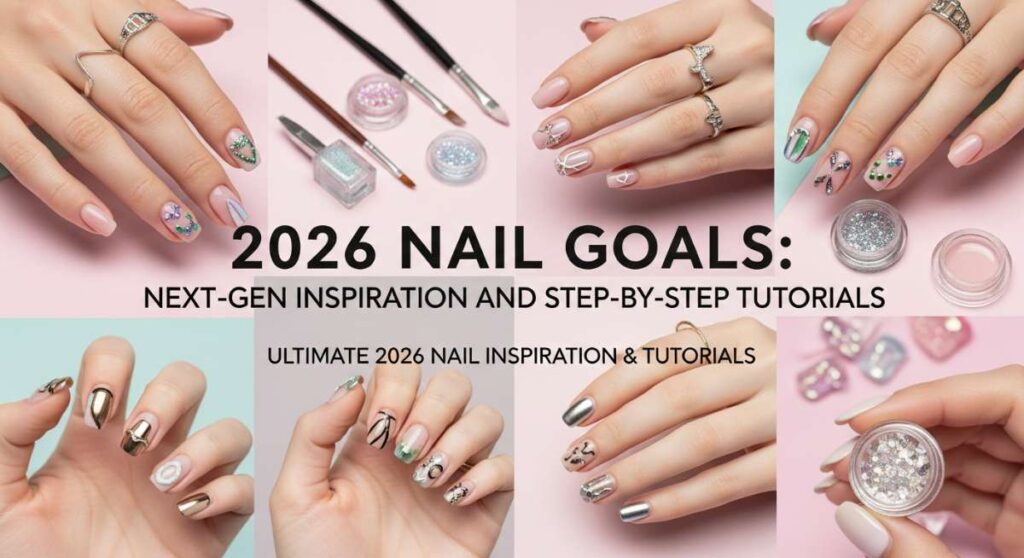
Ultimate 2026 Nail Inspiration & Tutorials
Hello my loves, and welcome back to our cozy little corner of the internet. Can you believe we are already looking ahead to the dreamy vibes of 2026? As I sit here with my favorite mug of jasmine tea, watching the sunlight dance across my desk, I can’t help but feel that next year is all about self-expression that feels like a soft, warm hug for your soul. Our hands do so much for us—they hold our loved ones, they create art, and they navigate our worlds—so giving them a little extra sparkle is my favorite way to say ‘thank you’ to myself.
In 2026, we’re moving away from the rigid and moving toward the ethereal. Whether you’re celebrating a massive milestone like graduation or just want to feel the glow of a summer sunset on your fingertips, I’ve gathered the most heart-fluttering trends to carry you through the year. Let’s dive into these little moments of magic together, shall we?
7 Simple Steps for College Graduation Nails

Why to love this Design:
Graduation is such a breathtaking threshold, my sweet friends. You want a look that feels sophisticated enough for that diploma hand-off but soft enough to match the tears of joy in your eyes. This design focuses on a ‘pearl-core’ aesthetic that symbolizes the wisdom you’ve grown into over these years.
Essential Elements:
- Sheer milky white base polish
- Micro-pearl nail decals
- Ultra-fine silver shimmer
- High-gloss ‘glass’ top coat
How to Prepare:
- Gently push back cuticles to create a clean, elongated canvas.
- Apply a strengthening base coat to protect your natural nails.
- Layer two thin coats of milky white polish for a translucent finish.
- While slightly tacky, use tweezers to place one micro-pearl at the base of each nail.
- Lightly dust the tips with silver shimmer for a subtle ‘halo’ effect.
- Seal everything with a thick, high-gloss top coat to lock in the gems.
- Finish with a drop of lavender cuticle oil for that spa-fresh glow.
Budget Range
- Zoya Naked Manicure ($12)
- Amazon Nail Pearl Set ($6)
- Essie Gel Setter Top Coat ($11)
5 Easy Ways to Style May Birthday Nails

Why to love this Design:
May is the heart of spring, a time of blooming and rebirth. For my May birthday darlings, this look is all about capturing that emerald energy and the freshness of a garden after a soft rain. It’s vibrant yet deeply grounding.
Essential Elements:
- Emerald green jelly polish
- Pressed dried flower accents
- Gold leaf flakes
- Matte and gloss contrast
How to Prepare:
- Shape nails into a soft almond to mimic the curves of a leaf.
- Apply the emerald jelly polish, leaving the ring finger for an accent.
- On the accent nail, carefully arrange tiny pressed flowers over a clear base.
- Add a few flecks of gold leaf to the flower nail for a touch of luxury.
- Coat the green nails in matte and the flower nail in gloss for a textured look.
Budget Range
- Cirque Colors Jade Jelly ($14)
- Maniology Dried Flower Set ($8)
- OPI Matte Top Coat ($11)
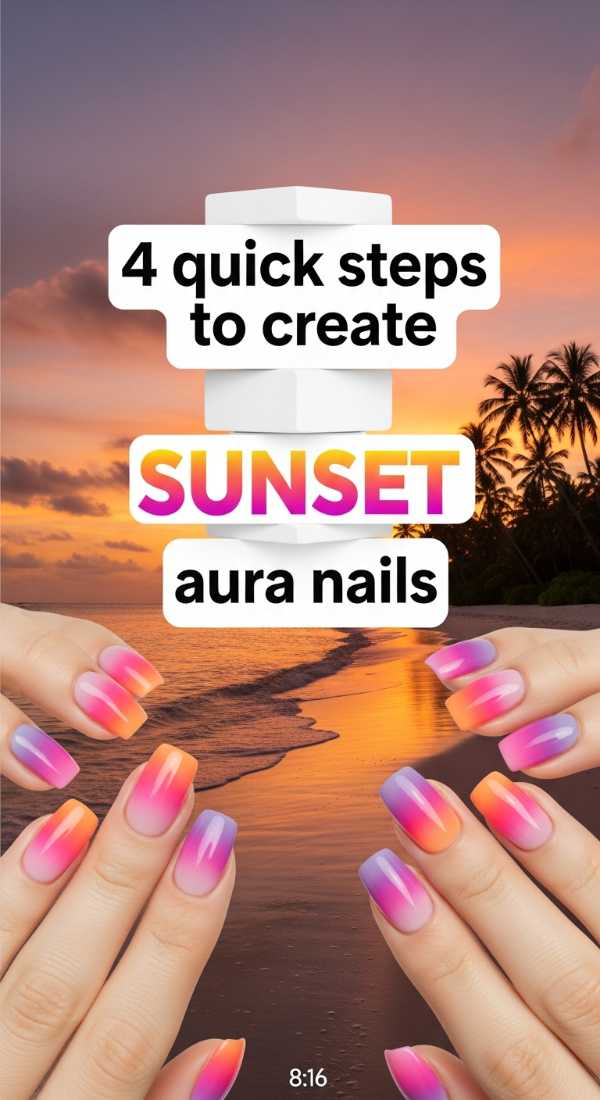
4 Quick Steps to Create Sunset Aura Nails
Why to love this Design:
Aura nails are like wearing your energy on your sleeve—or rather, your fingertips! The sunset version for 2026 uses warm gradients that remind me of those quiet evenings where the sky turns into a watercolor painting. It’s pure, radiant warmth.
Essential Elements:
- Peach and soft lavender polishes
- Makeup sponge for dabbing
- White stamping polish for the ‘glow’
- Blurring base coat
How to Prepare:
- Apply a blurring nude base coat to even out the nail bed color.
- Dab a small circle of peach polish into the center of the nail using a sponge.
- Lightly blend a ring of lavender around the peach while both are wet.
- Apply a ‘cloud’ top coat that slightly diffuses the colors for a seamless glow.
Budget Range
- ILNP Peach Tea ($10)
- Holosun Lavender Sky ($12)
- Wedge Makeup Sponges ($3)
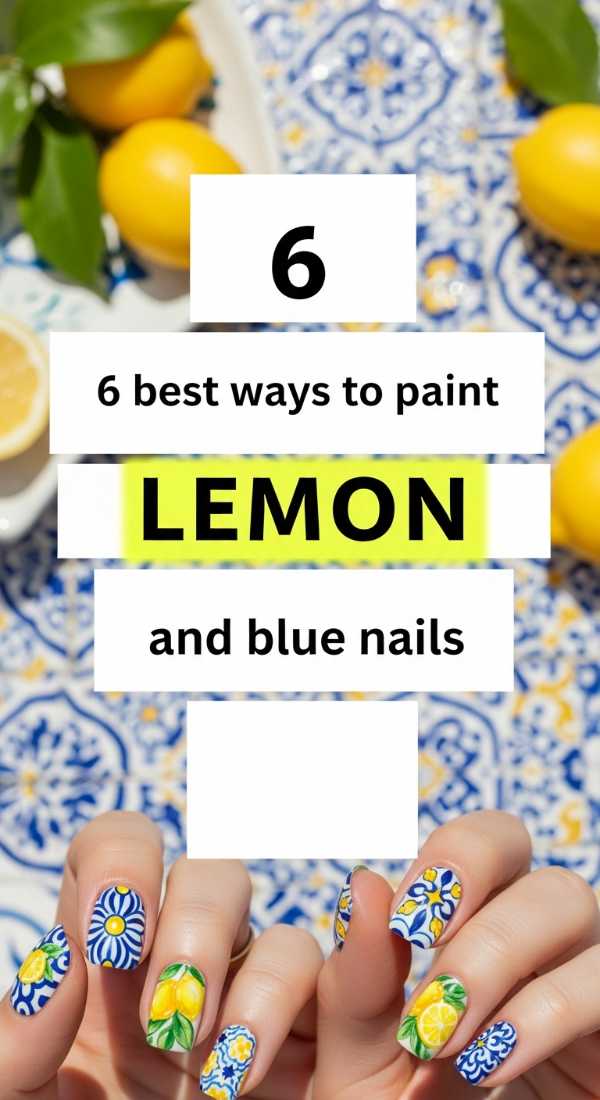
6 Best Ways to Paint Lemon and Blue Nails
Why to love this Design:
Think of a picnic on the Amalfi coast—that’s exactly what this lemon and blue combination feels like. It’s a crisp, refreshing contrast that feels both vintage and incredibly modern. It’s sunshine in a bottle, loves.
Essential Elements:
- Cobalt blue liner polish
- Pastel lemon yellow cream
- Fine-tipped nail art brush
- White base for color pop
How to Prepare:
- Paint two nails per hand a solid, cheerful lemon yellow.
- On the remaining nails, paint a white base coat to make the blue vibrant.
- Use a fine brush to draw small blue Mediterranean tile patterns.
- Add tiny yellow dots in the center of the blue patterns.
- Create a ‘lemon’ accent by painting a small yellow oval with green leaves.
- Protect the intricate art with a long-wear smudge-proof top coat.
Budget Range
- Sally Hansen Insta-Dri Blue ($6)
- Essie Canary Yellow ($10)
- Nail Art Brush Set ($7)
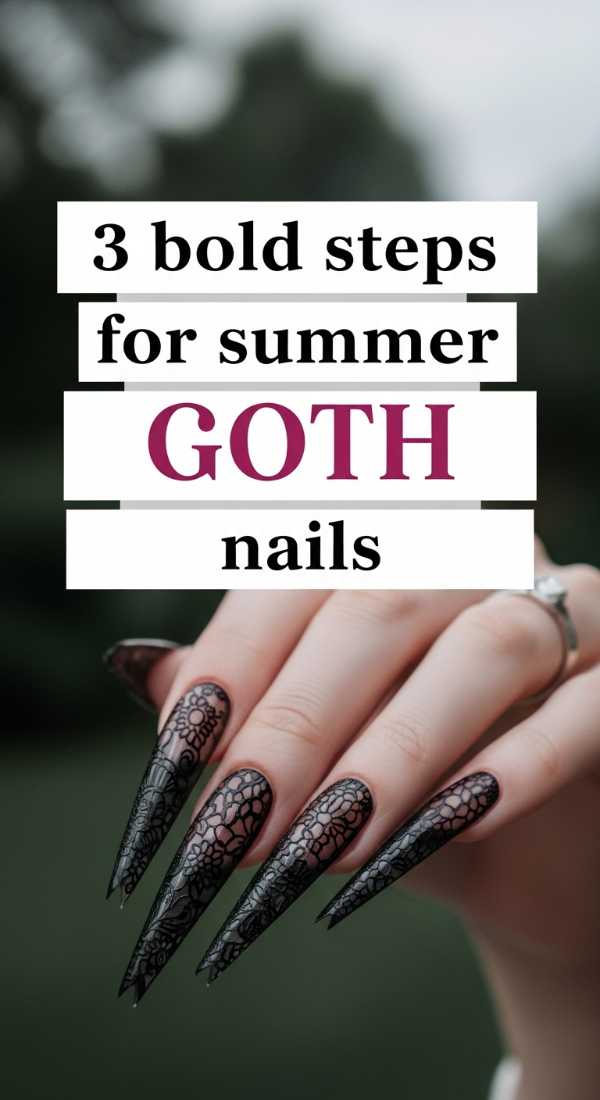
3 Bold Steps for Summer Goth Nails
Why to love this Design:
Who says dark colors are only for winter? Summer Goth is a 2026 mood that embraces the shadows with a light, airy twist. It’s for the mysterious souls who love the moon just as much as the sun. We’re using sheer blacks and ‘oil slick’ finishes.
Essential Elements:
- Sheer black ‘stocking’ polish
- Iridescent chrome powder
- Black star decals
How to Prepare:
- Apply one coat of sheer black polish to create a ‘veil’ effect on the nail.
- Rub a tiny bit of iridescent chrome powder onto the tips for a dark rainbow shimmer.
- Apply one black star decal to the center of the middle finger and seal with top coat.
Budget Range
- Lights Lacquer ‘Spooky’ ($13)
- Chrome Powder Pen ($9)
- Star Nail Stickers ($5)
8 Simple Hacks for Neon Cheetah Print Nails

Why to love this Design:
We are bringing the maximalist energy back, but with a neon 2026 twist! It’s playful, it’s fierce, and it’s a total conversation starter. I love how this design feels like a burst of pure joy and confidence.
Essential Elements:
- Neon pink and lime green polishes
- Black matte liner
- Dotting tool
- Fast-dry spray
How to Prepare:
- Start with a clean, buffed nail surface for maximum neon pigment.
- Apply a white primer coat to make the neon shades truly ‘electric.’
- Alternate neon pink and lime green as base colors.
- Use a dotting tool to create irregular ‘C’ shapes in black.
- Place a tiny dot of the opposite neon color inside each cheetah spot.
- Keep the spots spaced out to let the neon base breathe.
- Use a fast-dry spray to prevent the thick neon layers from smudging.
- Finish with a high-shine top coat for a plastic-chic look.
Budget Range
- Orly Neon Heat ($15)
- Dotting Tool Set ($5)
- OPI Drip Dry ($14)
5 Fun Steps for Teal and Coral Nails

Why to love this Design:
Teal and coral are soulmates in the color world. This pairing is like a tropical reef hidden in your manicure. It’s vibrant, refreshing, and looks absolutely stunning against a sun-kissed glow.
Essential Elements:
- Deep teal cream polish
- Bright coral crème
- Striping tape
- Gold studs
How to Prepare:
- Paint the thumb and pinky in solid teal, and the index in solid coral.
- On the middle nail, use striping tape to create a half-and-half teal/coral split.
- Add a single gold stud at the base of the split nail for a bit of jewelry-feel.
- Apply a second coat of coral to the ring finger for full opacity.
- Seal with a thick top coat to level out the tape lines.
Budget Range
- Olive & June Teal ($9)
- Essie Coral Reef ($10)
- Gold Nail Studs ($6)
4 Easy Tips for Matching Hands and Toes Nails
Why to love this Design:
There is something so deeply satisfying about a coordinated ‘mani-pedi’ moment. In 2026, we aren’t doing identical matches; we are doing ‘sisters, not twins.’ It’s about a cohesive color story that feels intentional and polished.
Essential Elements:
- Matching color palette (e.g., Terracotta and Nude)
- Consistent finish (both matte or both gloss)
- Shared accent detail (like a gold fleck)
How to Prepare:
- Choose one primary color for your toes (usually the darker shade).
- Use a lighter, complementary shade for your fingernails to keep the look airy.
- Apply the same gold fleck or shimmer top coat to only the big toe and the ring finger.
- Ensure both sets are shaped similarly (e.g., both squoval) for a unified aesthetic.
Budget Range
- Butter London Terracotta ($18)
- Nail File & Buffer Set ($4)
- Gold Flake Top Coat ($12)
7 Expert Ways to Design Pucci Nails

Why to love this Design:
Inspired by the iconic Emilio Pucci prints, this design is for my fashion-forward loves. It’s a swirl of 60s nostalgia mixed with 2026 sophistication. It looks incredibly complex but is actually very meditative to create.
Essential Elements:
- Three contrasting colors (Pink, Orange, Purple)
- Black and white detail liners
- Very thin detailing brush
- Steady hand!
How to Prepare:
- Apply a crisp white base to all nails to act as a blank canvas.
- Using the pink polish, draw a large, fluid ‘S’ shape across the nail.
- Follow the curve of the pink with a parallel line of orange.
- Fill in the remaining gaps with small pods of purple.
- Use a black liner to outline the edges of the colors very thinly.
- Add tiny white ‘organic’ dots within the purple sections.
- Allow to dry for at least 10 minutes before applying top coat to prevent dragging.
Budget Range
- Deborah Lippmann Gel Lab Pro ($20)
- Fine Detail Brush ($8)
- OPI Alpine Snow ($11)
5 Fast Steps to Apply Sunset Chrome Nails

Why to love this Design:
Chrome is staying with us in 2026, but it’s getting a warm, fiery upgrade. Sunset chrome looks like liquid metal caught in the golden hour. It’s bold, reflective, and makes you feel like a literal goddess.
Essential Elements:
- Orange-to-gold shift chrome powder
- No-wipe gel top coat (crucial for chrome)
- Sponge applicator
- LED/UV lamp
How to Prepare:
- Apply a black or dark orange gel base and cure under the lamp.
- Apply a ‘no-wipe’ top coat and cure for only 30 seconds (it needs to be slightly warm).
- Use the sponge to rub the chrome powder vigorously until a mirror finish appears.
- Gently brush off excess powder with a soft brush.
- Seal with a final layer of no-wipe top coat and cure fully for 60 seconds.
Budget Range
- Mini UV Lamp ($15)
- Sunset Chrome Powder ($10)
- Gel No-Wipe Top Coat ($12)
Embracing Your Inner Glow
I hope these designs spark a little flame of creativity in your heart today, my darlings. Whether you choose the quiet elegance of graduation pearls or the bold energy of sunset chrome, remember that your nails are just an extension of the beautiful light you already carry. Taking ten minutes to paint your nails isn’t just about the color; it’s about the pause, the breath, and the love you show yourself. I can’t wait to see which of these 2026 looks you try first! Tag me in your photos—I’ll be cheering you on from here.