
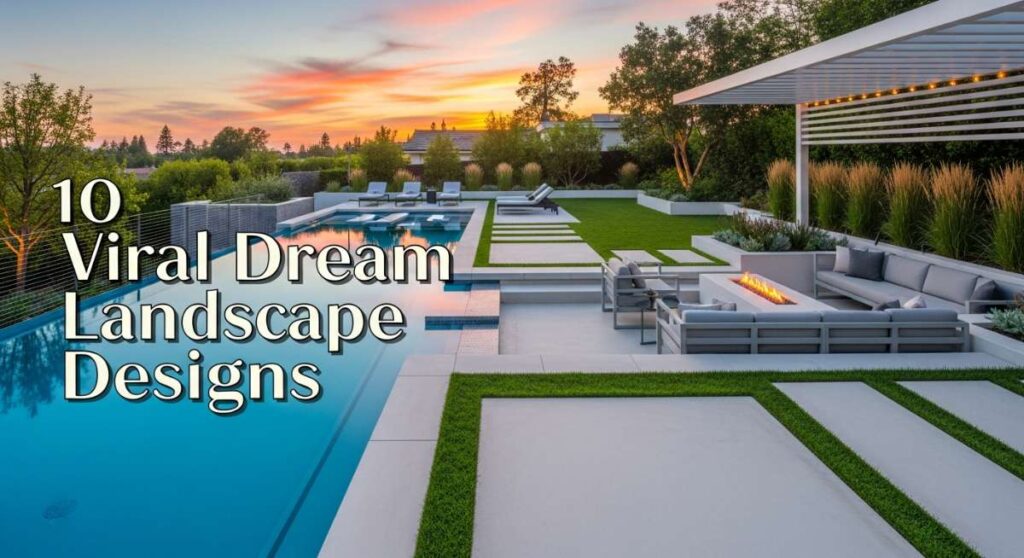
Have you ever looked out your back window and felt like you were staring at a blank canvas just waiting for a splash of color? We’ve all been there—longing for that picture-perfect sanctuary where the air smells like blooming jasmine and the morning coffee tastes just a little bit sweeter. Your outdoor space isn’t just a plot of land; it’s an extension of your home’s soul, a place where memories are etched into the landscape under the glow of string lights and the rustle of leaves.
Today, we’re diving into the viral trends that are redefining how we live outdoors. Whether you’re working with a sprawling backyard or a tiny side yard that currently holds nothing but the recycling bins, there is a world of potential waiting to be unearthed. From the structured elegance of modern minimalism to the wild, romantic embrace of a floral sanctuary, these designs are about more than just curb appeal—they are about creating a lifestyle that feels like a permanent vacation. Let’s roll up our sleeves and transform your dream into a reality!
How to Elevate Front Yard Landscaping for Instant Curbside Appeal
Why we love this
There is nothing quite like the feeling of pulling into your driveway and being greeted by a symphony of textures and balanced colors that say, “welcome home.” This design focuses on creating a sophisticated first impression through the use of structured boxwood hedges and the soft, romantic sway of perennial flowers that catch the golden hour light. You can almost feel the velvet texture of the petals and smell the fresh, earthy scent of damp mulch after a summer rain. It transforms a standard house into a landmark of the neighborhood, providing a sense of pride every time you step through the front gate.
Essential Elements:
- Dwarf Boxwood shrubs for structural borders
- Purple Salvia or Lavender for vertical color and aroma
- Natural flagstone or slate edging
- Premium dark hardwood mulch
- Integrated low-voltage LED path lighting
- Symmetrical ornamental trees (like Japanese Maples)
How to make it
- Start by defining your bed lines using a garden hose to create graceful, sweeping curves that lead the eye toward the front door; avoid harsh straight lines for a more organic feel.
- Excavate the area to a depth of 4 inches, removing all grass and weeds, then amend the soil with high-quality organic compost to ensure your plants have the nutrients they need to thrive.
- Install your structural elements first, placing the larger ornamental trees at the anchor points (usually the corners of the house) to provide height and scale.
- Position your boxwood hedges to create a “spine” for the garden, ensuring they are spaced far enough apart to allow for growth but close enough to eventually form a solid green wall.
- Fill in the mid-ground with your flowering perennials, staggering their heights so that the shorter plants are at the front and the taller ones provide a backdrop against the house.
- Lay down a 2-3 inch layer of mulch, being careful not to pile it against the stems of the plants, which helps retain moisture and gives the entire project a professional, finished look.
How to Master Front Yard Garden Design for a Lush Floral Sanctuary
Why we love this
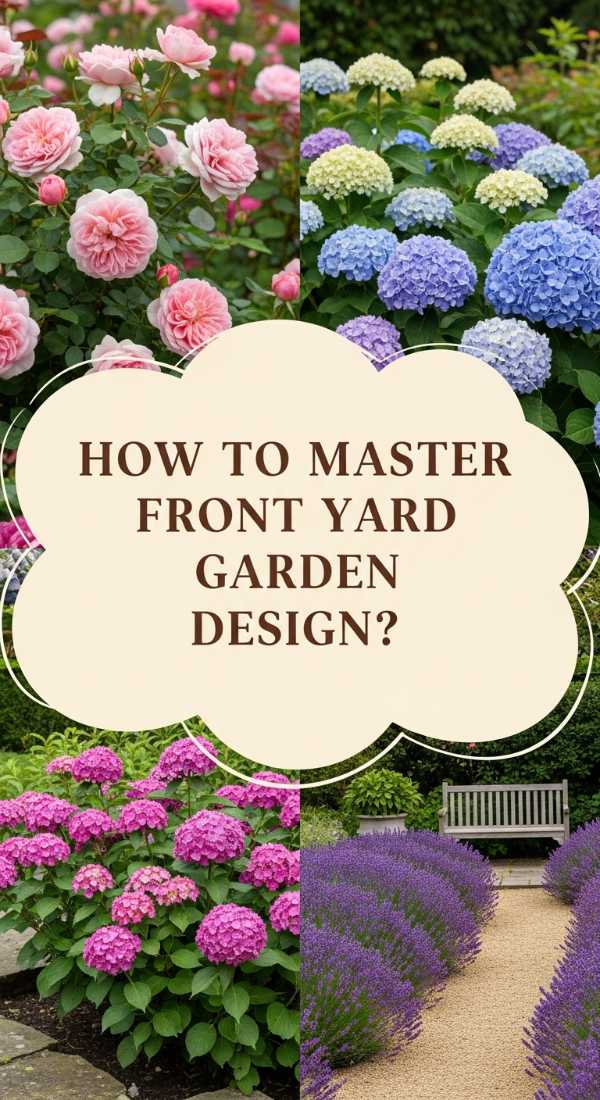
This design is for the soul who wants to get lost in a sea of blossoms every time they step outside. Imagine the hum of happy bees and the delicate flutter of butterflies dancing between tall spires of foxglove and drifts of climbing roses. The air here is heavy with the sweet, nostalgic perfume of old-fashioned blooms, and the texture is a wild, beautiful tangle of soft foliage and vibrant petals. It’s a sanctuary that feels living and breathing, offering a soft place for the eyes to rest amidst the hustle and bustle of daily life.
Essential Elements:
- Climbing roses or Clematis for vertical interest
- A mix of Foxgloves, Delphiniums, and Peonies
- Antique-style birdbath or stone focal point
- Wrought iron trellis or decorative fencing
- Native wildflower mix for pollinators
How to make it
- Map out your sun exposure throughout the day; most flowering sanctuaries require at least 6-8 hours of direct sunlight to produce the most vibrant blooms.
- Install your vertical structures, such as trellises or an arbor, making sure they are securely anchored into the ground to support the weight of heavy climbing vines.
- Prepare the planting beds by tilling the soil and mixing in aged manure or bone meal to encourage strong root development and prolific flowering.
- Plant your “thrillers” first—the tall, dramatic plants like Delphiniums—in the center or back of the bed to act as a focal point.
- Surround the thrillers with “fillers,” such as Peonies and Sage, to provide bulk and texture, then add “spillers” like creeping phlox along the edges to soften the border.
- Water deeply at the base of the plants immediately after planting, and continue to provide consistent moisture, especially during the first growing season as they establish.
How to Create Backyard Landscaping Designs for Your Private Outdoor Oasis
Why we love this
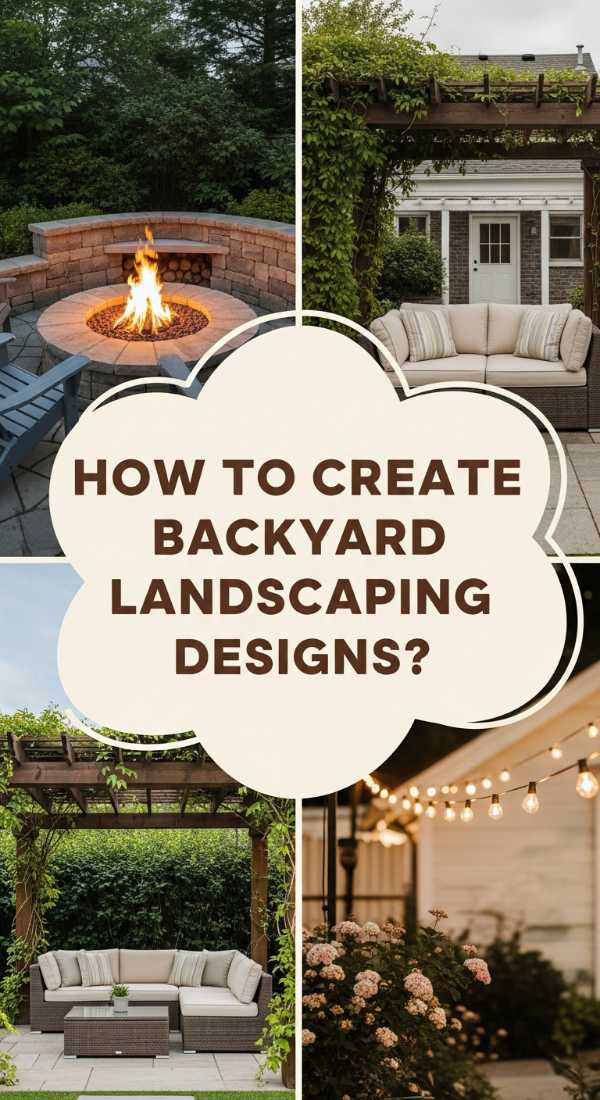
The private oasis is all about creating a world of your own, where the sounds of the neighborhood fade away behind a screen of lush greenery. We love the way the cool, smooth surface of a flagstone patio feels under bare feet, and how the gentle trickling sound of a hidden water feature can instantly lower your heart rate. This design is tactile and immersive, featuring soft ornamental grasses that whisper in the wind and deep-seated lounge areas that invite you to stay just a little bit longer while the stars come out.
Essential Elements:
- Privacy screen of Arborvitae or tall bamboo
- Natural flagstone patio with pea gravel joints
- Compact bubbling rock or fountain
- Custom-built fire pit area
- Overhead string lights (Edison bulbs)
How to make it
- Identify the most private corner of your yard and clear the ground of all debris; use stakes and string to outline the shape of your new patio area.
- Dig out the patio area to a depth of 6 inches, then fill with 4 inches of crushed gravel, tamping it down firmly with a plate compactor to create a solid, level foundation.
- Lay your flagstones in a puzzle-like pattern, leaving 1-2 inch gaps between them, and use a level to ensure no stones are tripping hazards.
- Fill the gaps between the stones with pea gravel or polymeric sand to lock them into place and allow for natural drainage.
- Plant a perimeter of evergreen trees or tall grasses around the patio to create a natural wall, ensuring you leave an opening for an entrance.
- Install your water feature near the seating area so the sound is audible, and hang string lights from sturdy poles or existing trees to create a warm, magical evening ambiance.
How to Achieve Simple Landscaping Front Yard for Minimalist Curb Elegance
Why we love this
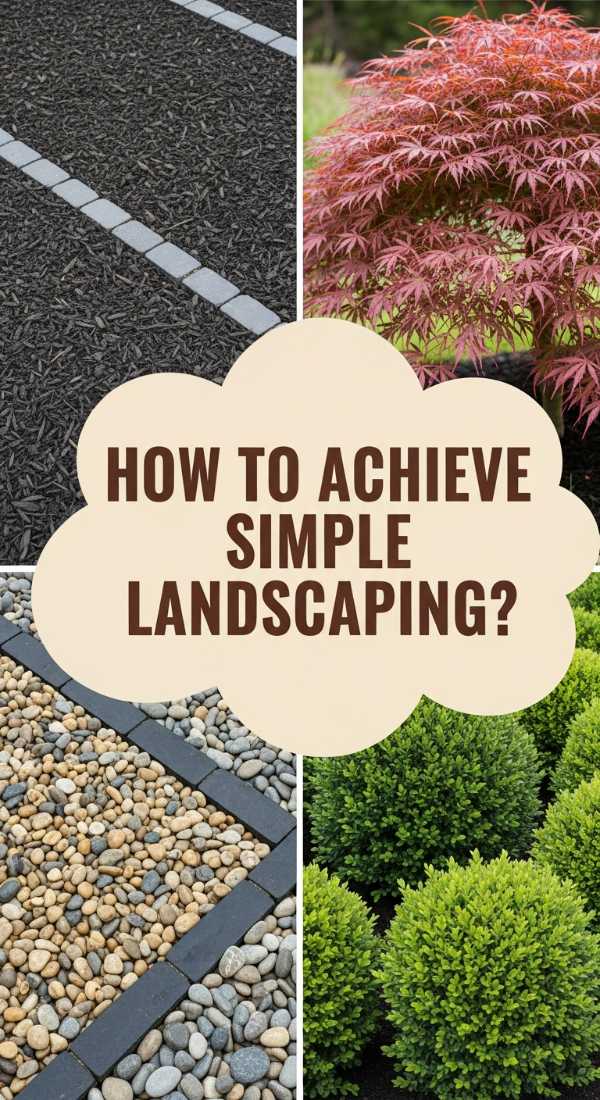
There is a profound sense of calm in simplicity. This minimalist approach strips away the clutter to focus on architectural shapes and the striking contrast between dark river stones and bright green foliage. We love the clean, sharp lines of concrete pavers and the way a single, perfectly placed agave or yucca can look like a piece of living sculpture. It’s a low-stress design that feels modern and intentional, proving that you don’t need a thousand flowers to make a powerful, elegant statement.
Essential Elements:
- Large-scale rectangular concrete pavers
- Black Mexican beach pebbles or polished river stones
- Architectural plants (Agave, Yucca, or Sansevieria)
- Commercial-grade weed barrier
- Minimalist metal house numbers
How to make it
- Clear the entire area and grade the soil so it slopes slightly away from your home’s foundation to prevent water pooling.
- Lay down a heavy-duty weed barrier across the entire surface, securing it with landscape staples to ensure no unwanted growth interrupts the clean look.
- Position your concrete pavers in a geometric grid or a staggered “running bond” pattern, leaving exactly 3-4 inches of space between each paver for the stone infill.
- Dig holes through the weed barrier at specific intervals to plant your architectural specimens; these should be spaced widely to emphasize their individual shapes.
- Pour your river stones or beach pebbles into the gaps between the pavers and around the base of the plants, smoothing them out with a rake to a uniform depth.
- Finish the look by installing a sleek, modern light fixture or updated house numbers that reflect the minimalist aesthetic of the garden.
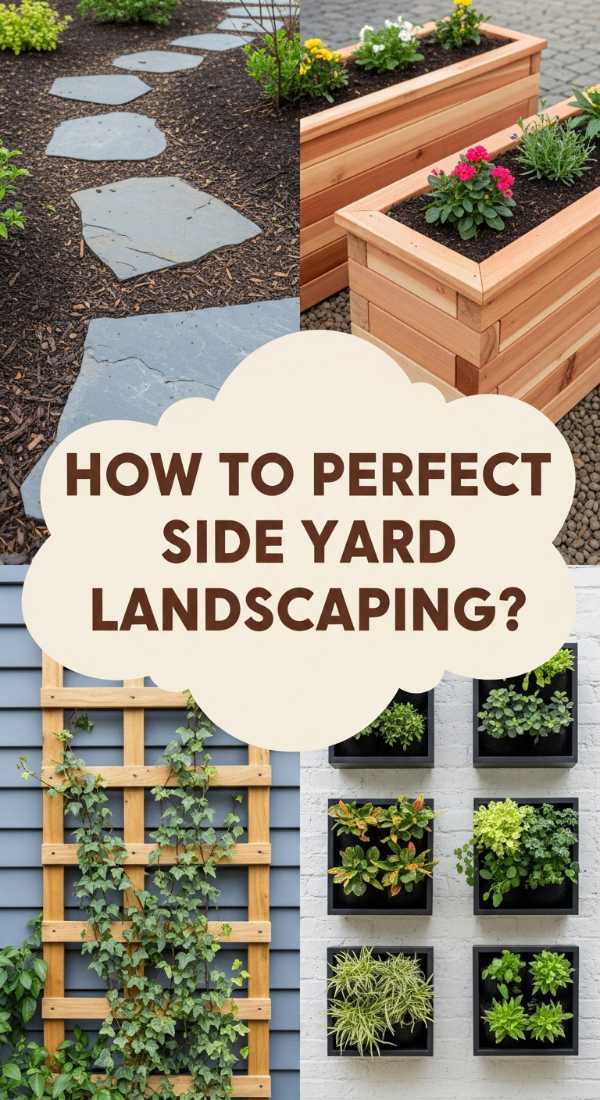
How to Perfect Side Yard Landscaping for a Charming Hidden Pathway
Why we love this
Side yards are often forgotten, but they hold the potential to be the most charming part of the home. This design transforms a narrow passage into a secret garden path that feels like a discovery. We love the feeling of stepping onto cool moss-covered stones and brushing against fragrant creeping thyme. The shade-loving hostas with their giant, waxy leaves add a tropical texture, while the overhead canopy of the house creates a cozy, secluded tunnel effect that makes a simple walk to the backyard feel like an adventure.
Essential Elements:
- Irregularly shaped stepping stones
- Shade-tolerant groundcover (Creeping Thyme or Irish Moss)
- Mixed Hostas and Ferns
- Low-profile solar lanterns
- Decorative cedar mulch
How to make it
- Clear the narrow strip of your side yard of all weeds and old mulch, and ensure the ground is relatively level to prevent stones from rocking.
- Lay out your stepping stones in a “natural stride” pattern, walking the path yourself to ensure the distance between stones feels comfortable and intuitive.
- Trace around each stone with a shovel, then remove the stone and dig out a shallow depression so the stone sits flush with or slightly above the soil line.
- Plant shade-loving Hostas and Ferns along the edges of the path, grouping them in clusters of three for a more natural, less “lined up” appearance.
- Fill the spaces between the stepping stones with a mix of soil and Creeping Thyme seeds or plugs, which will eventually grow over the edges of the stones for a soft look.
- Add a final layer of mulch around the larger plants and install small solar lanterns along the path to guide the way during the evening.
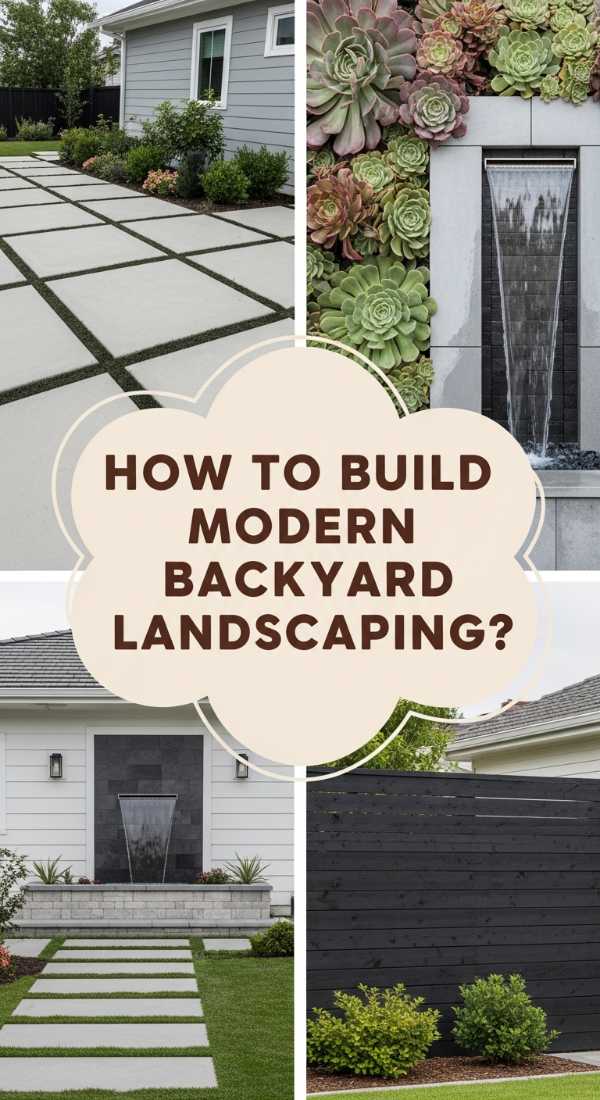
How to Build Modern Backyard Landscaping for Sleek Contemporary Style

Why we love this
Modern landscaping is all about the harmony of man-made materials and the natural world. This design uses the warmth of cedar wood against the industrial cool of black metal and concrete. We love the structured, tiered look of raised garden beds and the way LED strip lighting hidden under the edges of benches creates a futuristic glow. The textures are crisp and the palette is sophisticated, making the backyard feel like an upscale outdoor lounge where you can host cocktails under the moonlight in style.
Essential Elements:
- Horizontal cedar slat fencing
- Raised powder-coated steel planters
- Built-in concrete or wood bench seating
- Ornamental grasses (like Feather Reed Grass)
- Hardwired landscape strip lighting
How to make it
- Start by mapping out the hardscape zones—where the seating will be, where the planters go—to ensure a logical flow that mimics the interior of a home.
- Construct your raised planters using either rot-resistant cedar or corten steel, ensuring they are at least 18-24 inches high to provide a comfortable height for viewing and maintenance.
- Install horizontal slat fencing to provide privacy while maintaining an airy, modern feel; the gaps between slats allow light and breeze to filter through.
- Pour concrete for a sleek, flat patio surface or use large-format pavers with zero-clearance joints for a seamless look.
- Plant ornamental grasses in the raised beds; their upright, uniform habit complements the straight lines of the modern architecture.
- Integrate outdoor-rated LED strips under the lip of the planters or seating areas to provide indirect, atmospheric lighting that highlights the textures of the materials.
How to Maintain Low Maintenance Landscaping Front Yard for Effortless Beauty
Why we love this
Who says a beautiful yard has to be a full-time job? This low-maintenance design is a dream for the busy homeowner who still wants that viral aesthetic. By using hardy native shrubs and expansive mulch beds, you create a look that stays green and lush with almost zero effort. We love the rugged, natural texture of evergreen groundcovers and the way a drip irrigation system does all the heavy lifting for you. It’s a design that looks expensive and intentional but allows you to spend your weekends relaxing rather than weeding.
Essential Elements:
- Native, drought-tolerant shrubs (like Juniper or Boxwood)
- Evergreen groundcovers (like Vinca Minor)
- Automated drip irrigation system
- High-quality landscape fabric
- Large decorative boulders for visual weight
How to make it
- Remove all existing turf grass, which is the most high-maintenance part of any yard, and replace it with a combination of mulch and groundcover.
- Lay down a professional-grade weed barrier over the entire area to significantly reduce the need for manual weeding in the years to come.
- Select native plants that are adapted to your specific climate and soil type; these will require less water and are more resistant to local pests and diseases.
- Install a simple drip irrigation kit connected to a smart timer; this delivers water directly to the roots, reducing waste and preventing fungal issues on the leaves.
- Place a few large, interesting boulders throughout the design to provide “year-round interest” that doesn’t require any water or pruning at all.
- Apply a thick, 3-4 inch layer of wood chips or bark mulch to help the soil retain moisture and to keep the garden beds looking neat and tidy throughout the seasons.
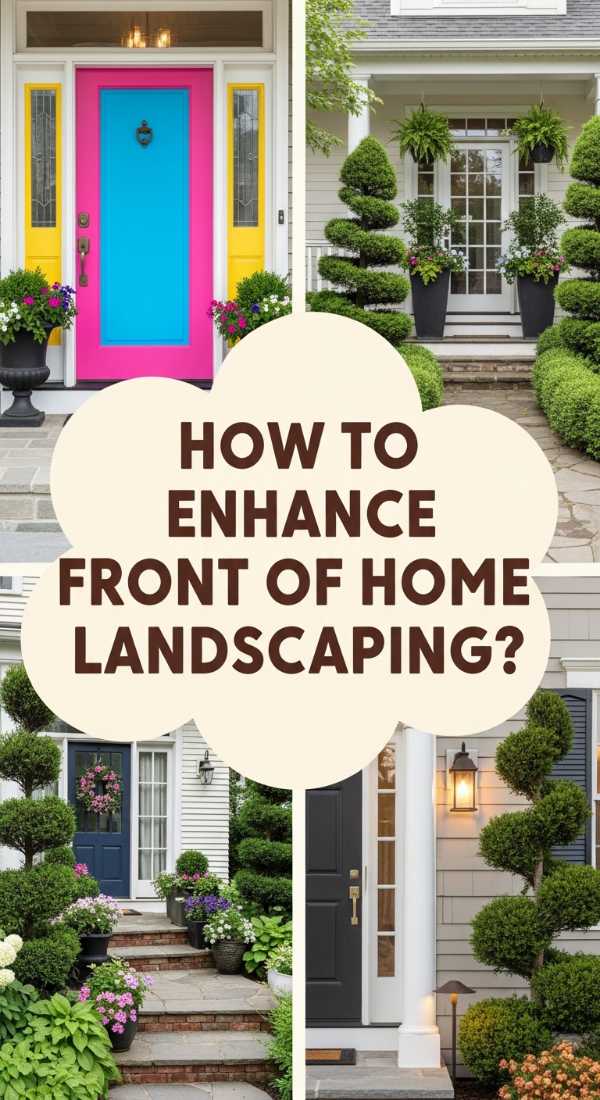
How to Enhance Front Of Home Landscaping Ideas for a Warm Welcoming Entrance

Why we love this
The entrance to your home should feel like a warm hug, and this design achieves exactly that through soft textures and welcoming colors. We love the classic appeal of oversized white hydrangeas that look like clouds of blossoms against the house. The use of large, matching planters on either side of the door creates a sense of ceremony and balance. It’s a look that feels traditional yet fresh, using the gentle fragrance of flowers and the soft glow of lanterns to invite guests inside with open arms.
Essential Elements:
- Endless Summer Hydrangeas or similar large-bloomed shrubs
- Oversized ceramic or stone planters
- Curved brick or cobblestone walkway
- Classic black or bronze wall lanterns
- Seasonal wreaths and door decor
How to make it
- Frame your front door by placing two large, identical planters on either side, filling them with a mix of evergreen foliage and seasonal color for a year-round welcome.
- Create a wide, inviting walkway that curves gently toward the entrance; a width of 4 feet is ideal to allow two people to walk side-by-side comfortably.
- Plant a row of Hydrangeas along the front of the house, ensuring they have enough space to reach their full size without crowding the windows or the walkway.
- Choose a color palette for your flowers that complements your home’s exterior paint—cool blues and whites for gray houses, or warm yellows and reds for brick homes.
- Update your porch lighting with larger, more substantial fixtures that provide plenty of light for safety and aesthetic appeal.
- Keep the area meticulously edged where the garden bed meets the lawn or walkway to maintain that “freshly manicured” look that defines great curb appeal.
How to Style Landscaping Against House for Flawless Foundation Perfection
Why we love this
Foundation planting is the secret to making your home feel like it belongs to the earth rather than just sitting on top of it. This design uses a “layered” approach to hide the concrete base of the house and create a seamless transition. We love the mix of textures, from the feathery foliage of ferns to the glossy leaves of holly. The way the heights are staggered—tall in the back, short in the front—creates a sense of depth and makes the house feel grander and more established, as if the garden has been there for decades.
Essential Elements:
- Tall evergreens for rear foundation coverage (like Yews)
- Mid-height flowering shrubs (like Azaleas)
- Low-growing perennials or annuals for the front border
- Proper grading for water runoff
- Mulch or decorative stone beds
How to make it
- Start by checking the grade of the soil; it must slope away from the house at least 1 inch per foot for the first 6 feet to protect your foundation from moisture.
- Choose your “anchor” plants for the corners of the house—these should be taller shrubs or small trees that help to soften the vertical lines of the building.
- Plant your largest evergreens at the back of the bed, leaving at least 2 feet of space between the plant and the house wall to allow for air circulation and house maintenance.
- Incorporate a middle layer of deciduous shrubs that offer changing colors throughout the seasons, such as Spirea or Dwarf Lilacs.
- Fill the front edge with low-growing, colorful perennials like Coral Bells or Liriope to hide the stems of the larger shrubs and provide a finished edge.
- Use a consistent mulching material throughout the foundation beds to tie the different sections of the house together into one cohesive landscape.
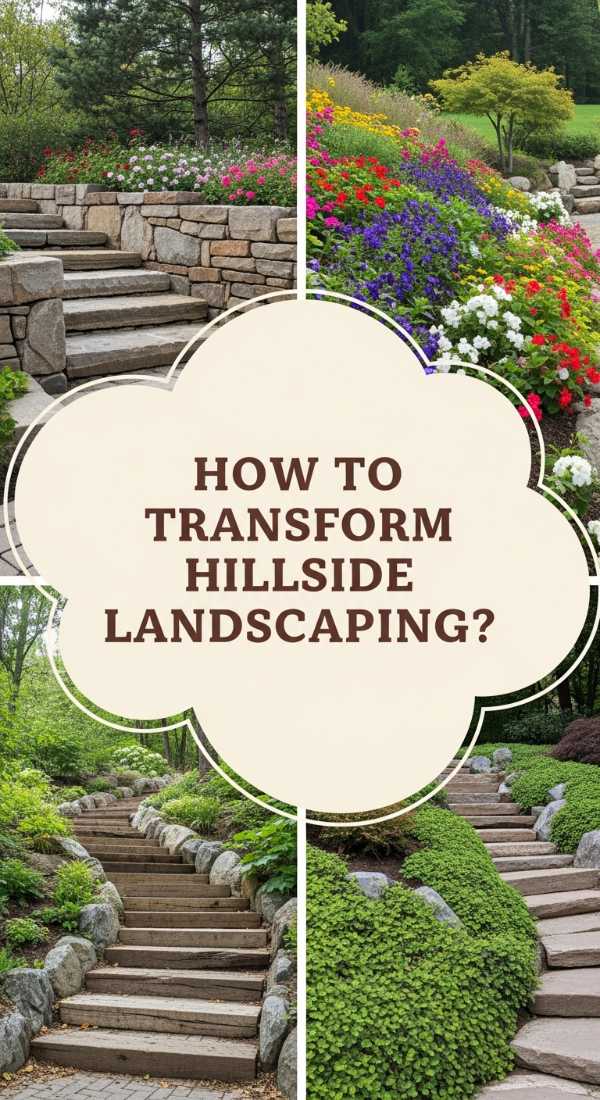
How to Transform Hillside Landscaping for a Breathtaking Terraced Paradise
[IMAGE_10]
Why we love this
A sloped yard shouldn’t be a problem—it’s an opportunity for drama and vertical beauty! We love the way terraced stone walls create “shelves” of blooming life that would otherwise be impossible. There is something majestic about a hillside covered in cascading vines and spilling flowers that look like a waterfall of color. This design adds incredible dimension to your property, turning a difficult-to-mow hill into a breathtaking multi-level paradise that catches the eye from every angle.
Essential Elements:
- Natural stone or timber retaining walls
- Internal drainage pipes (French drains) behind walls
- Trailing plants (like Creeping Phlox or Ivy)
- Drought-resistant hillside shrubs
- Built-in stone steps for access
How to make it
- Consult with a professional if your slope is steep, but for DIY, start by marking out the levels or “tiers” you want to create along the hillside.
- Excavate the first tier at the bottom of the hill, digging back into the slope to create a flat area for your first retaining wall foundation.
- Lay a solid base of leveled gravel for your first wall, then stack your stones or timbers, ensuring each layer is slightly “set back” into the hill for stability.
- Install a perforated drainage pipe behind each wall and cover it with gravel before backfilling with soil; this prevents water pressure from collapsing your walls.
- Repeat the process for each subsequent tier, creating flat planting pockets that are easy to access and maintain.
- Fill your new terraces with a mix of stabilizing shrubs and “spilling” plants that will grow over the edges of the walls, creating a lush, overflowing look that softens the stone.
Creating Your Own Outdoor Masterpiece
Transforming your landscape is a journey of patience, creativity, and a little bit of dirt under the fingernails. Whether you chose the sleek lines of a modern backyard or the romantic abundance of a floral sanctuary, remember that a garden is never truly “finished”—it grows and evolves alongside you. These viral designs are meant to inspire you to look at your outdoor space not as a chore, but as a canvas for your personal style. So, grab your shovel, pick your favorite design, and start building the outdoor life you’ve always dreamed of!