
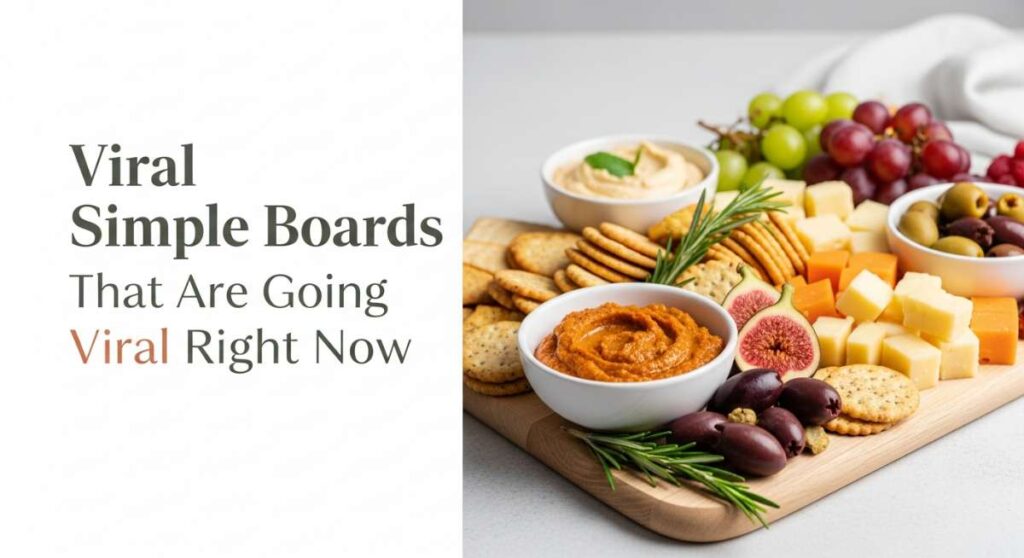
There is something undeniably magical about the way a beautifully arranged food board can transform a simple afternoon into a celebration. We have all seen them—those stunning, rainbow-colored spreads that look more like art than an appetizer. But beyond the aesthetics, food boards are about connection. They are the ultimate low-stress way to host, allowing your guests to graze, chat, and customize their bites while you actually get to enjoy the party instead of being stuck in the kitchen.
Lately, the trend has shifted from the classic cheese and charcuterie into more creative, niche territories. Whether you are celebrating a milestone graduation, hosting a sun-drenched Italian-inspired patio night, or just trying to make your morning coffee feel like a five-star hotel experience, these ten viral boards are redefining how we eat. Each one tells a story through texture, color, and flavor, inviting everyone to lean in and share a moment together.
Today, I am sharing my favorite viral simple food board ideas that you can easily recreate at home. From the tart, vibrant allure of seasonal rhubarb to the sophisticated elegance of a themed graduation spread, these ideas are designed to inspire your inner host. Grab your favorite wooden board, put on some music, and let’s dive into these ten gorgeous concepts that are taking the internet by storm right now.
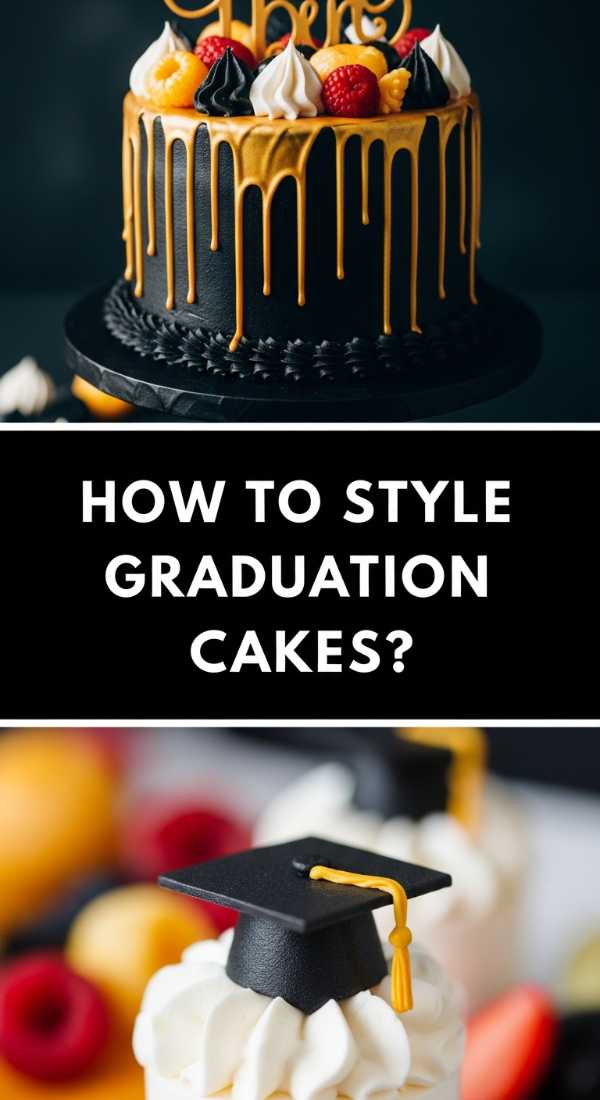
How to style graduation cakes?
Why we love this
A graduation cake board is the ultimate centerpiece for celebrating a major milestone. We love this because it replaces the traditional, singular cake with a vibrant display of textures and celebratory elements. Imagine the scent of buttery vanilla frosting and the sight of delicate gold leaf catching the light. Each slice is a memory, styled with fresh berries and chocolate tassels that create a rich, indulgent atmosphere that honors the hard work of the graduate in the most delicious way possible.
Ingredients
- Sheet cakes or small round cakes (Vanilla and Chocolate)
- Silky Swiss Meringue Buttercream
- Fresh raspberries and blackberries
- Edible gold leaf and gold sprinkles
- Miniature chocolate graduation caps
- Sprigs of fresh mint for color contrast
How to make it
- Begin by cooling your cakes completely; a warm cake will cause the frosting to slide, ruining the structure. Level the tops of your cakes with a serrated knife for a flat, professional finish.
- Apply a thin ‘crumb coat’ of buttercream to seal in moisture and stray crumbs, then refrigerate for 20 minutes until firm.
- Apply your final layer of frosting using an offset spatula, creating smooth, clean lines or rustic swirls depending on your preference. For a viral look, use a bench scraper to achieve razor-sharp edges.
- Place the cakes off-center on a large wooden board to leave room for styling. Add your miniature chocolate caps and gold leaf using sterilized tweezers for precision.
- Fill the negative space around the cakes with clusters of fresh berries and mint sprigs. This ‘overflowing’ look is what makes the board feel lush and professional.
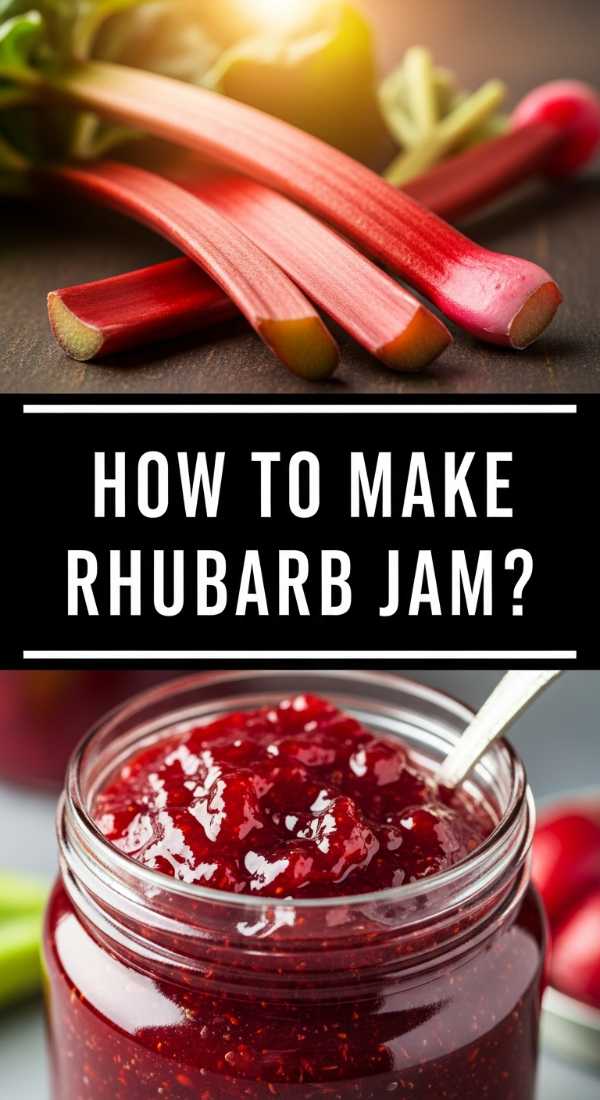
How to make rhubarb jam?
Why we love this
Rhubarb jam is like capturing springtime in a jar. We love this for its striking, jewel-toned pink color and that incredible balance of sharp tartness and deep, floral sweetness. When it hits warm toast, the aroma is bright and nostalgic, reminding us of country kitchens and slow Sunday mornings. The texture is thick and luscious, with soft bits of fruit that melt on the tongue, making it the perfect focal point for a breakfast-themed grazing board.
Ingredients
- 4 cups fresh rhubarb (chopped into 1/2 inch pieces)
- 2 cups granulated sugar
- 1 tablespoon lemon juice
- 1 teaspoon pure vanilla paste
- A pinch of sea salt
How to make it
- In a heavy-bottomed stainless steel pot, combine your chopped rhubarb and sugar. Let this sit for about 30 minutes until the sugar starts to draw out the natural juices of the fruit.
- Place the pot over medium heat and stir constantly until the sugar has completely dissolved. Do not let it boil until the sugar crystals are gone, or the jam might become gritty.
- Increase the heat to medium-high and bring the mixture to a rolling boil. Stir in the lemon juice, which provides the pectin needed for the jam to set properly.
- Cook for 12-15 minutes, skimming off any foam that rises to the surface. To check the ‘set,’ place a small spoonful on a chilled plate; if it wrinkles when pushed with a finger, it is ready.
- Remove from heat, stir in the vanilla and salt, and let it cool slightly before transferring to glass jars. Serve centered on a board with crusty bread and salted butter.
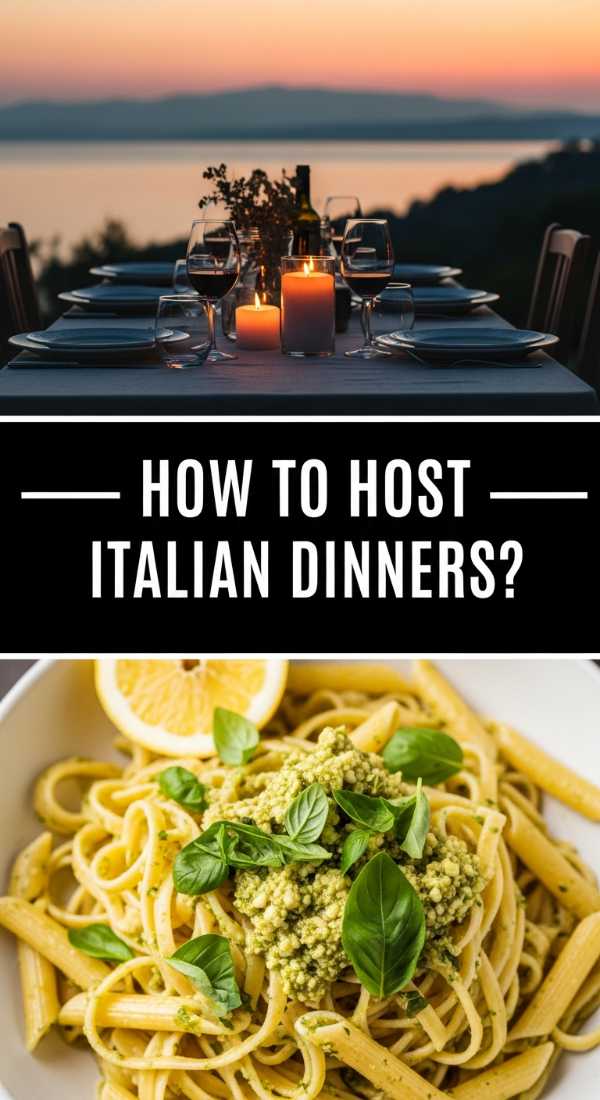
How to host Italian dinners?
Why we love this
Hosting an Italian dinner board, or ‘Aperitivo Board,’ is about embracing the ‘dolce vita.’ We love the sensory explosion of salty, cured meats like Prosciutto di Parma paired with the creamy, milky heart of a fresh burrata. The aroma of toasted focaccia rubbed with garlic and the brightness of sun-ripened tomatoes creates an atmosphere of warmth and abundance. It’s a communal way of eating that encourages slow conversation and lingering over every delicious, hand-picked bite.
Ingredients
- Assorted cured meats (Prosciutto, Salami, Mortadella)
- Fresh Burrata cheese drizzled with olive oil
- Marinated artichokes and castelvetrano olives
- Roasted red peppers and sun-dried tomatoes
- Fresh basil leaves and high-quality balsamic glaze
- Warm focaccia and breadsticks
How to make it
- Select a very large wooden board or even cover your entire table in parchment paper for an ‘extra-large’ experience.
- Start by placing your ‘anchor’ items—the bowls of olives, artichokes, and the central plate of burrata. This creates a visual framework for the rest of the ingredients.
- Fold your cured meats into ‘ribbons’ or ‘roses’ to add height and texture. Drape them around the bowls in organic, flowing lines rather than stiff rows.
- Tuck in the roasted peppers and sun-dried tomatoes to fill any gaps, ensuring the colors are balanced across the board.
- Just before serving, drizzle the burrata with extra virgin olive oil and flaky salt, and scatter fresh basil leaves over the entire spread for a pop of green and a fragrant finish.
How to make fancy coffee?

Why we love this
Transforming your morning routine into a ‘Fancy Coffee Board’ is the ultimate act of self-care. We love the contrast between the dark, robust aroma of espresso and the silky, airy texture of frothed milk. The addition of artisanal syrups and a dusting of cocoa makes it feel like a boutique cafe experience in your own kitchen. There is something so satisfying about the ‘clink’ of a glass spoon and the visual swirl of cream merging with rich, dark coffee.
Ingredients
- Freshly ground espresso beans or strong cold brew
- Whole milk or oat milk (for the best froth)
- Homemade vanilla or lavender syrup
- Cocoa powder or cinnamon for dusting
- Biscotti or mini stroopwafels for pairing
- Dried orange slices for garnish
How to make it
- Brew a concentrated shot of espresso or pour a high-quality cold brew into a glass carafe. The quality of the bean is paramount, so choose a roast with notes of chocolate or caramel.
- Heat your milk to exactly 150°F (65°C); any hotter and the proteins will break down, losing the sweetness. Use a handheld frother or a steam wand to create ‘micro-foam’ with a velvet-like texture.
- On your board, arrange the carafe of coffee, a small pitcher of the frothed milk, and a tiny bowl of your artisanal syrup.
- Add a small plate of biscotti and decorate the board with dried orange slices and cinnamon sticks to enhance the aromatic experience.
- Allow guests (or yourself) to pour the coffee first, add the syrup to taste, and then ‘layer’ the foam on top for a beautiful, professional-looking latte.
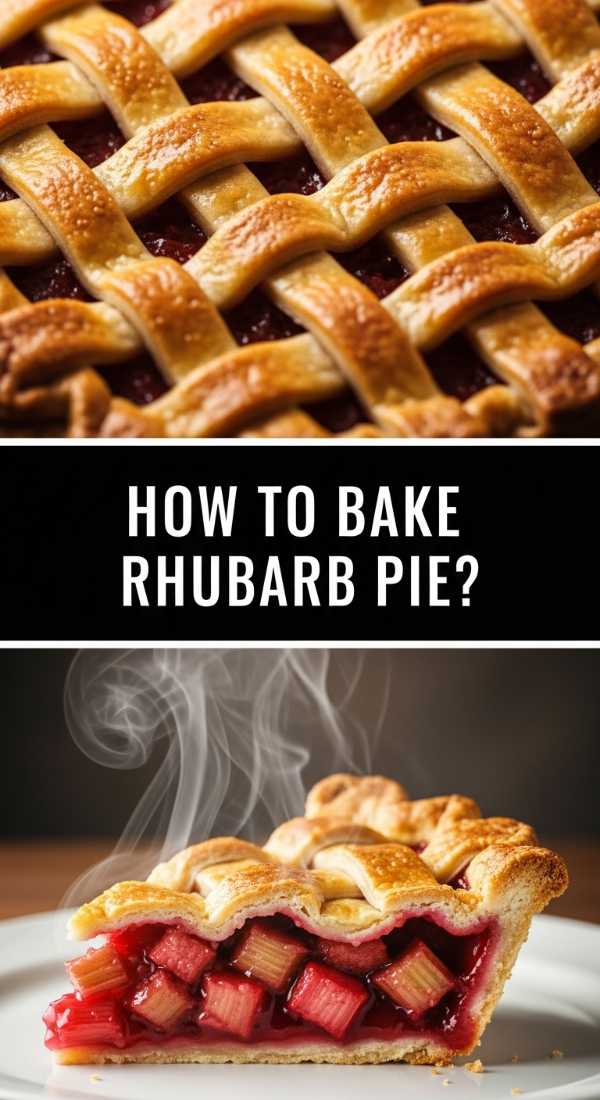
How to bake rhubarb pie?
Why we love this
A rhubarb pie board is the definition of rustic charm. We love the golden-brown, flaky pastry that shatters with every bite, revealing the bubbling, ruby-red filling inside. The scent of warm cinnamon and butter filling the house is intoxicating. It’s a dessert that perfectly balances the ‘zing’ of the fruit with a buttery crust, and when served on a board with scoops of melting vanilla bean ice cream, it becomes an interactive, comforting masterpiece.
Ingredients
- Homemade double pie crust (extra buttery)
- 5 cups fresh rhubarb, sliced into 1-inch pieces
- 1 1/4 cups granulated sugar
- 1/4 cup cornstarch (to thicken those beautiful juices)
- 1/2 teaspoon ground ginger
- Egg wash and coarse sanding sugar for the crust
How to make it
- Preheat your oven to 400°F (200°C). Roll out your bottom crust and fit it into a deep pie dish. In a large bowl, toss the rhubarb with sugar, cornstarch, and ginger until evenly coated.
- Pour the filling into the crust. Roll out the second piece of dough and cut into strips to create a lattice top; this allows steam to escape and looks stunning on a board.
- Brush the lattice with egg wash and sprinkle generously with sanding sugar. This creates a crunchy, sparkling texture that is a hallmark of a great pie.
- Bake for 20 minutes, then reduce the heat to 350°F (175°C) and bake for another 35-40 minutes until the crust is deep golden and the filling is bubbling thick.
- Let the pie cool for at least two hours so the filling sets. Place the whole pie on a board surrounded by small bowls of whipped cream and extra fresh berries.
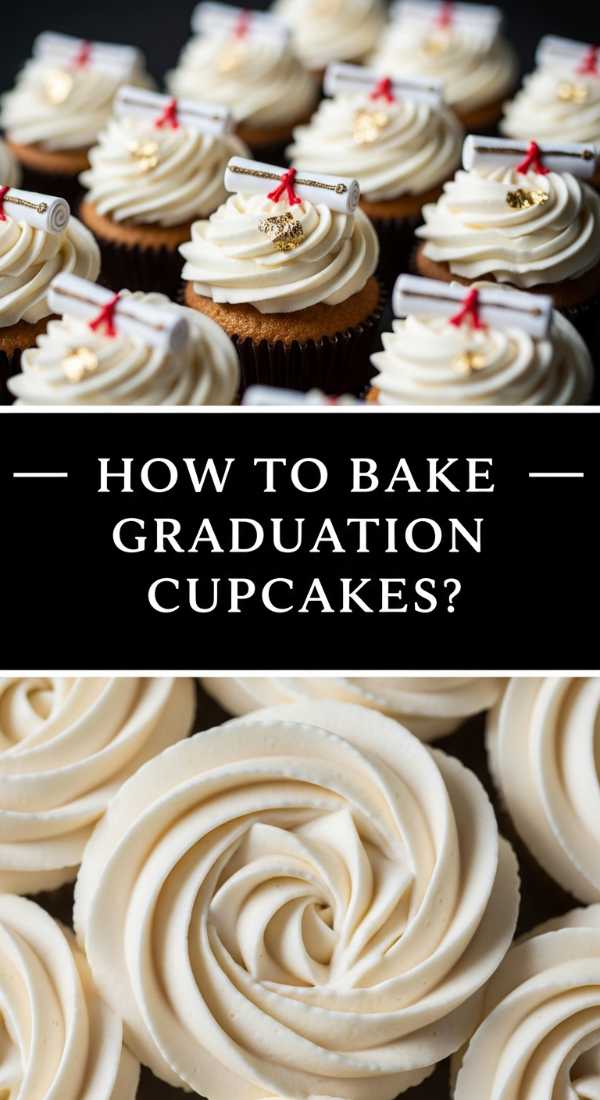
How to bake graduation cupcakes?
Why we love this
Graduation cupcakes are bite-sized celebrations that bring a smile to everyone’s face. We love the fluffy, moist crumb of the cake topped with a towering swirl of buttercream that feels both light and decadent. Decorating these on a board allows for a playful variety of colors—usually the school’s colors—and the addition of ‘tassel’ toppers and edible stars makes the whole display feel triumphant and energetic. It’s the perfect way to grab a sweet treat and keep the party moving.
Ingredients
- Buttermilk cupcake batter (Vanilla or Funfetti)
- Stiff American Buttercream (holds its shape well)
- Gel food coloring (to match school colors)
- Edible star glitter and graduation-themed sprinkles
- Miniature paper mortarboard toppers
How to make it
- Bake your cupcakes in high-quality paper liners at 350°F until a toothpick comes out clean. Ensure the liners are grease-proof so the colors stay vibrant.
- Once cooled, prepare your buttercream. The key to a viral cupcake is the ‘high-swirl.’ Use a large star piping tip (like a Wilton 1M) and start from the outside, spiraling inward and upward.
- If using two colors, use the ‘piping bag striping’ technique: paint stripes of gel color inside the bag before filling with white frosting for a beautiful variegated effect.
- Arrange the cupcakes on a multi-tiered board or a flat wooden tray in a ‘cascade’ pattern.
- Finish with your mortarboard toppers and a heavy dusting of edible glitter. Group the colors together for a clean, graphic look that pops in photos.
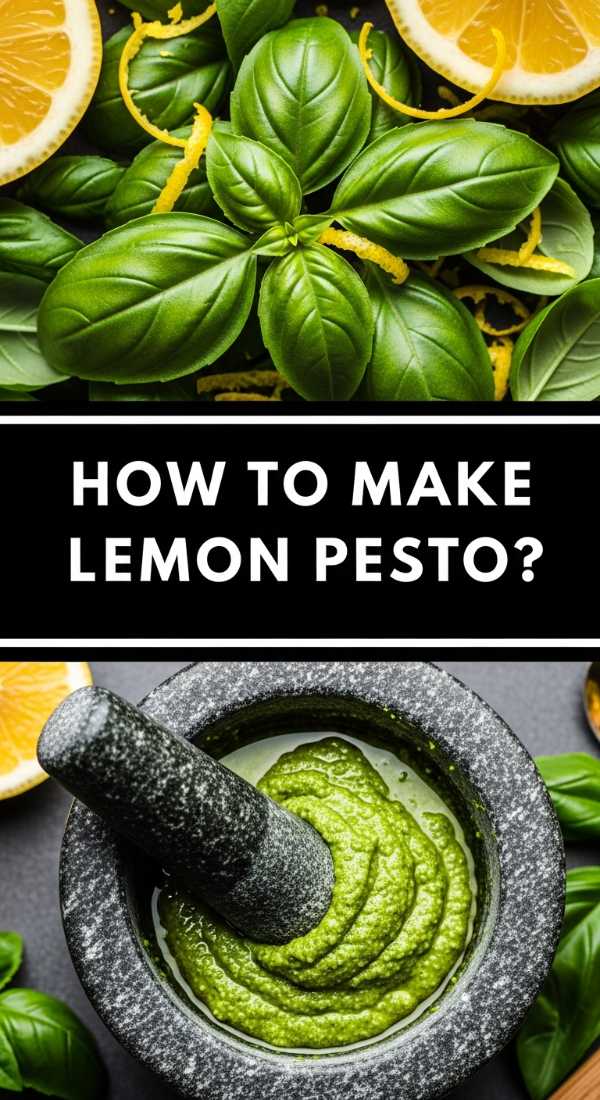
How to make lemon pesto?
Why we love this
Lemon pesto is a bright, zingy twist on the classic Genovese sauce that feels incredibly modern and fresh. We love the vibrant green hue and the way the citrus oil cuts through the richness of the pine nuts and parmesan. The aroma of crushed basil mixed with fresh lemon zest is instantly uplifting. On a food board, this pesto serves as a versatile dip or a sauce for pasta skewers, offering a burst of Mediterranean sunshine in every spoonful.
Ingredients
- 2 cups fresh basil leaves (packed)
- 1/2 cup freshly grated Parmesan cheese
- 1/3 cup toasted pine nuts
- Zest and juice of 2 organic lemons
- 2 cloves garlic, smashed
- 1/2 cup high-quality extra virgin olive oil
How to make it
- Begin by toasting your pine nuts in a dry pan over medium heat for 2-3 minutes. Watch them closely; they turn from golden to burnt very quickly. Toasting unlocks the essential oils and flavor.
- In a food processor, pulse the basil, garlic, and pine nuts until coarsely chopped. Do not over-process at this stage, or the basil will turn bitter from the heat of the blades.
- Add the lemon zest, lemon juice, and parmesan cheese. Pulse a few more times to combine.
- With the processor running on low, slowly drizzle in the olive oil in a steady stream. This creates an emulsion, resulting in a creamy, cohesive sauce rather than an oily mess.
- Season with salt and pepper to taste. Serve in a shallow bowl on a board with crackers, mozzarella balls, and fresh cherry tomatoes.
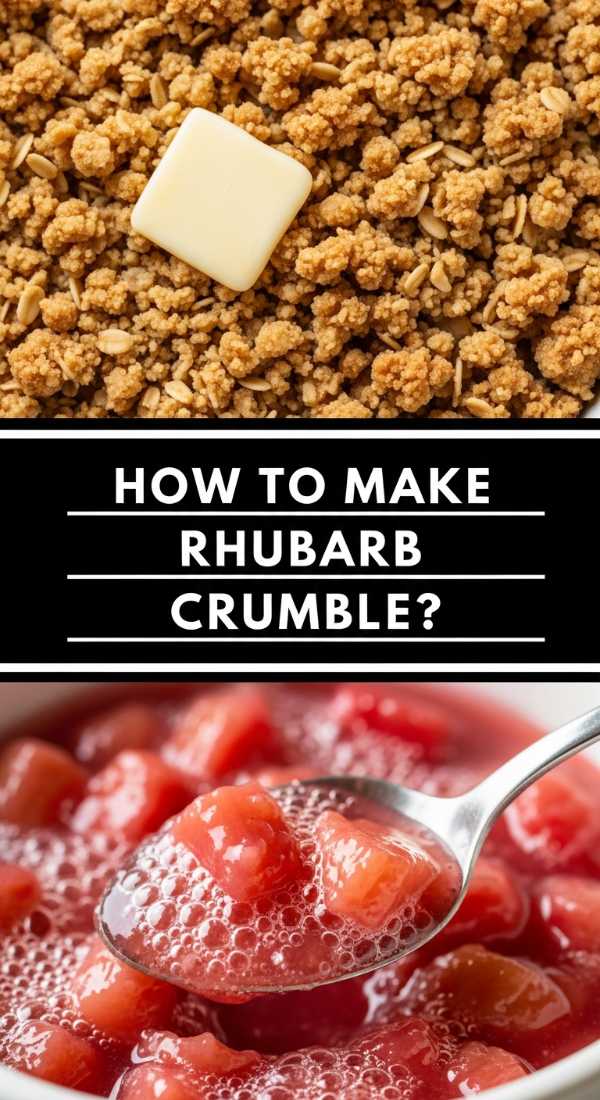
How to make rhubarb crumble?
Why we love this
Rhubarb crumble is the ultimate ‘comfort food’ board star. We love the contrast between the soft, jammy fruit at the bottom and the heavy, buttery, cinnamon-spiked oat topping that provides a satisfying crunch. The smell of toasted oats and brown sugar caramelizing in the oven is the olfactory equivalent of a warm hug. It’s less formal than a pie, making it perfect for a ‘scoop-your-own’ board style where guests can pile on the toppings as they please.
Ingredients
- 6 cups sliced rhubarb
- 3/4 cup brown sugar (for the filling)
- 1 cup rolled oats
- 1 cup all-purpose flour
- 1/2 cup cold unsalted butter, cubed
- 1 teaspoon cinnamon and a pinch of nutmeg
How to make it
- Toss the rhubarb with the brown sugar and a tablespoon of flour in a baking dish. This creates a natural syrup as it bakes.
- In a separate bowl, combine the oats, flour, spices, and more brown sugar. Use your fingertips to rub the cold butter into the dry mixture until it resembles coarse, pea-sized crumbs.
- Spread the crumble mixture generously over the rhubarb. Do not pack it down; keep it loose so the air can circulate and make it crispy.
- Bake at 375°F (190°C) for 35-40 minutes. You are looking for the fruit juices to bubble up around the edges and the top to be a deep, golden brown.
- To serve on a board, place the warm baking dish in the center. Surround it with small carafes of heavy cream, a bowl of vanilla ice cream, and extra toasted nuts for topping.
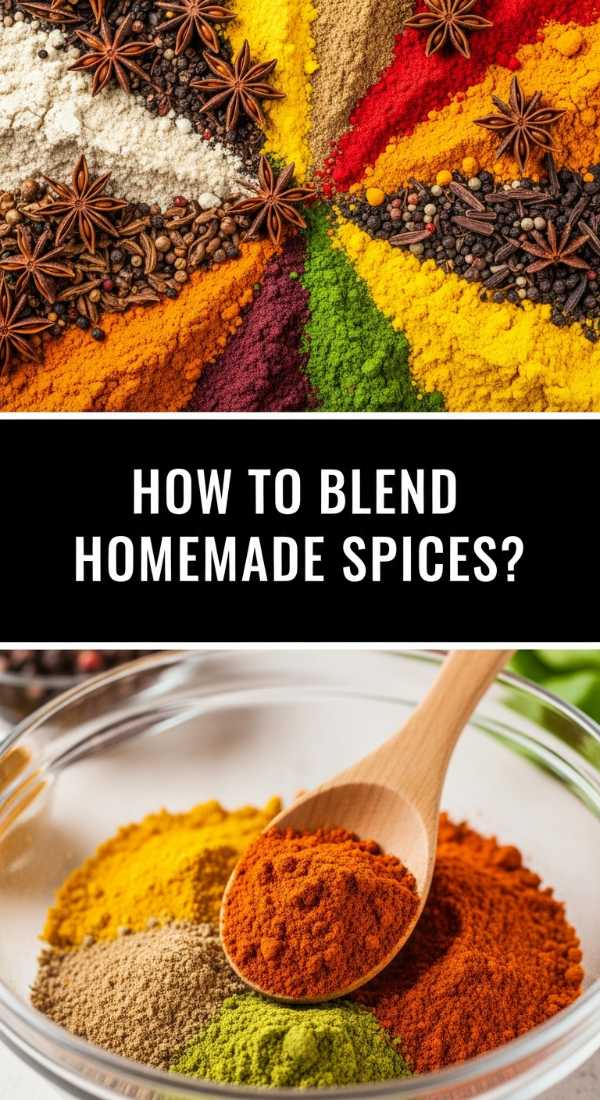
How to blend homemade spices?
Why we love this
A spice-blending board is a sensory journey that appeals to the curious cook. We love the tactile nature of it—the dusty earthiness of cumin, the sharp heat of peppercorns, and the vibrant orange of turmeric. Creating your own blends allows for a level of freshness and customization that store-bought jars simply can’t match. It transforms the act of seasoning into a ritual, and the resulting aromas are complex, deep, and entirely unique to your kitchen.
Ingredients
- Whole cumin seeds and coriander seeds
- Dried chili flakes (Aleppo or Urfa Biber for a viral twist)
- Smoked paprika and turmeric powder
- Whole black peppercorns and flaky sea salt
- Dried herbs like oregano or thyme
How to make it
- Start by lightly toasting your whole seeds (cumin, coriander, peppercorns) in a dry skillet over low heat for 1 minute until they become fragrant. This is the secret to professional-grade spice blends.
- Use a mortar and pestle to grind the toasted seeds into a coarse powder. The manual grinding preserves more flavor than an electric grinder.
- Arrange small piles of each individual spice on a dark stone board to make the colors ‘pop.’ Provide small empty jars and tiny spoons for guests to mix their own ‘house blend.’
- Include a guide or small cards suggesting ratios (e.g., ‘The Ultimate BBQ Rub’ or ‘Mediterranean Magic’).
- The board serves as both a functional prep station and a stunning piece of kitchen decor that smells absolutely incredible.
How to frost graduation cookies?

Why we love this
Graduation cookie boards are where precision meets playfulness. We love the smooth, glass-like finish of royal icing and the satisfying ‘snap’ of a perfectly baked sugar cookie. There is a meditative quality to piping fine lines and seeing a simple shape transform into a diploma or a graduation cap. Styled on a board with edible pearls and gold leaf, these cookies look like tiny pieces of jewelry that are almost too pretty to eat—almost.
Ingredients
- Classic sugar cookies cut into shapes (caps, diplomas, stars)
- Royal Icing (stiff and flood consistencies)
- Gel food colors
- Fine-tipped piping bags and toothpicks for ‘marbling’
- Edible gold luster dust and lemon extract (to make ‘paint’)
How to make it
- Bake your cookies so they have sharp, clean edges; chilling the dough before cutting is essential for this.
- Outline the cookie with ‘stiff’ consistency icing to create a border. Let this dry for 5 minutes.
- ‘Flood’ the center with a thinner icing of the same color. Use a toothpick to pop any air bubbles and to nudge the icing into the corners for a seamless finish.
- Let the flood layer dry for at least 6-8 hours until it is hard to the touch. This is the most important step for professional results.
- Mix your gold luster dust with a drop of lemon extract and use a fine paintbrush to add details like the graduation year or tassel lines. Arrange these in a ‘mosaic’ style on your food board for maximum visual impact.
Conclusion: The Art of the Board
Whether you are whisking up a tart rhubarb jam or meticulously frosting graduation cookies, the beauty of these viral food boards lies in their versatility. They turn eating into an experience and cooking into a creative outlet. Remember, there are no hard rules—just follow your palate, play with colors, and enjoy the process of bringing people together around a beautiful spread of food. Happy hosting!