

I’ve always believed that the best memories are made gathered around a table, sharing a meal that looks just as good as it tastes. Lately, my TikTok feed has been absolutely exploding with the most creative, aesthetic, and—best of all—simple food boards that turn ordinary ingredients into a full-on experience. There is something so satisfying about the ‘board’ trend; it’s a low-stress way to host that feels incredibly intentional and warm.
Whether you are celebrating a big milestone like a graduation or just trying to make a Sunday brunch feel a little more special, these 10-minute ideas are here to save your hosting game. From the tart, nostalgic scent of simmering rhubarb to the zesty brightness of homemade pesto, we are diving into the viral secrets that make these boards look like they took hours, even when they only took minutes. Let’s get into the beautiful, edible art that is taking over our social feeds!
How to decorate graduation cakes?
Why we love this
There is a unique magic in the scent of vanilla buttercream and the sight of a perfectly smooth, frosted surface waiting for its finishing touches. When we decorate graduation cakes for a board, we love the blend of professional elegance and personal sentiment. Imagine the smooth, velvety texture of the icing against the celebratory crunch of metallic sprinkles, creating a centerpiece that feels both sophisticated and deeply joyful for the graduate in your life.
Ingredients
- Pre-baked 8-inch round layer cake
- 4 cups vanilla Swiss meringue buttercream
- Black fondant for the mortarboard cap
- Gold luster dust and lemon extract
- Assorted graduation-themed sprinkles
- Fresh edible flowers (optional)
How to make it
- Begin by applying a ‘crumb coat’ to your chilled cake layers. Use an offset spatula to spread a thin layer of buttercream over the top and sides, sealing in any loose crumbs. Refrigerate for 20 minutes until firm to the touch.
- Apply the final layer of frosting. For a TikTok-worthy finish, use a bench scraper held at a 45-degree angle against the side of the cake while slowly spinning your turntable. This creates that crisp, smooth edge that defines professional cakes.
- Roll out your black fondant to a 1/8-inch thickness. Cut a small square for the top of the cap and a thin strip to wrap into a cylinder for the base. Let these dry slightly before assembling with a dab of water.
- Create your ‘liquid gold’ by mixing a half-teaspoon of gold luster dust with a few drops of lemon extract. Use a fine-tip paintbrush to paint ‘2024’ or ‘Grad’ onto the side of the cake, ensuring the paint is thick enough to not run.
- Finish by pressing sprinkles into the bottom inch of the cake’s base. This creates a beautiful gradient effect that adds texture and sparkle, making it ready to be the star of your dessert board.
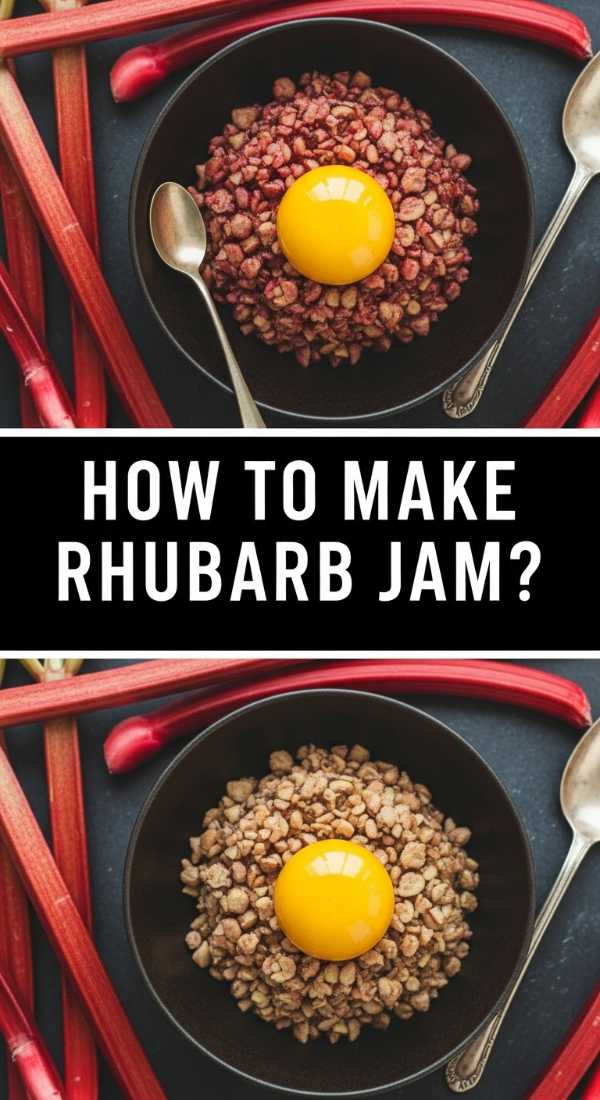
How to make rhubarb jam?
Why we love this
Rhubarb jam is the ultimate spring-to-summer transition in a jar, offering a vibrant, ruby-red hue that looks stunning on any breakfast board. The aroma is intoxicatingly tart yet sweet, reminiscent of a country kitchen with the steam rising from a simmering pot. We love how the thick, syrupy texture clings to a warm piece of sourdough, providing a bright zing that cuts through rich cheeses or butter perfectly.
Ingredients
- 4 cups fresh rhubarb, chopped into 1/2-inch pieces
- 2 cups granulated sugar
- 1 tablespoon fresh lemon juice
- 1 teaspoon lemon zest
- 1/2 teaspoon pure vanilla bean paste
How to make it
- Place your chopped rhubarb and sugar in a heavy-bottomed saucepan. Stir them together and let the mixture sit for about 30 minutes; this allows the sugar to macerate the fruit, drawing out the natural juices so you don’t need to add water.
- Turn the heat to medium and bring the mixture to a gentle boil. You will see the rhubarb begin to break down into soft, fibrous strands, and the liquid will turn a brilliant pink.
- Stir in the lemon juice and zest. The acidity from the lemon is crucial for balancing the sweetness and helping the natural pectin in the rhubarb set the jam.
- Maintain a steady simmer for 15 to 20 minutes, stirring frequently with a wooden spoon to prevent scorching on the bottom. You are looking for the ‘nappe’ stage—when the jam coats the back of the spoon and doesn’t run off instantly.
- Remove from heat and stir in the vanilla bean paste for a depth of flavor. Pour the hot jam into sterilized glass jars, leaving a quarter-inch of headspace. As it cools, it will thicken into a spreadable, jewel-like consistency.
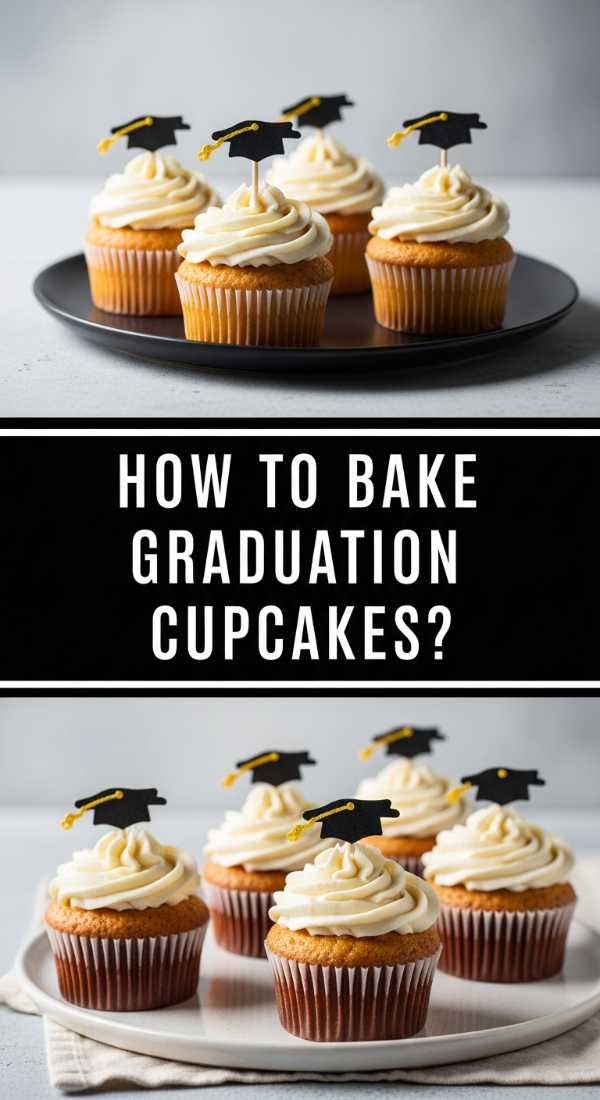
How to bake graduation cupcakes?
Why we love this
Cupcakes are the perfect finger food for a celebratory board because they are individually portioned and infinitely customizable. We love the airy, moist crumb of a well-baked cupcake topped with a swirl of frosting that looks like a soft cloud. The visual appeal of a dozen graduation cupcakes lined up on a wooden board, decorated in school colors, brings a sense of organized festive cheer to any party.
Ingredients
- 1 1/2 cups all-purpose flour
- 1 cup granulated sugar
- 1 1/2 teaspoons baking powder
- 1/2 cup unsalted butter, softened
- 2 large eggs
- 1/2 cup whole milk
- 2 teaspoons vanilla extract
How to make it
- Preheat your oven to 350°F (175°C) and line a standard muffin tin with paper liners. This ensures even heat distribution and easy removal.
- In a large bowl, cream together the softened butter and sugar using a hand mixer on medium-high speed. You want the mixture to be pale and fluffy, which usually takes about 3 to 4 minutes of consistent beating.
- Add the eggs one at a time, beating well after each addition. Incorporate the vanilla extract. In a separate bowl, whisk your dry ingredients together to ensure the baking powder is evenly distributed.
- Alternately add the dry ingredients and the milk to the butter mixture, starting and ending with the dry. Stir only until just combined; overmixing will lead to a dense, tough cupcake instead of a light, fluffy one.
- Fill each liner about two-thirds full using an ice cream scoop for perfect portion control. Bake for 18-20 minutes. Test for doneness by inserting a toothpick into the center; it should come out clean or with a few moist crumbs. Let them cool completely on a wire rack before frosting.
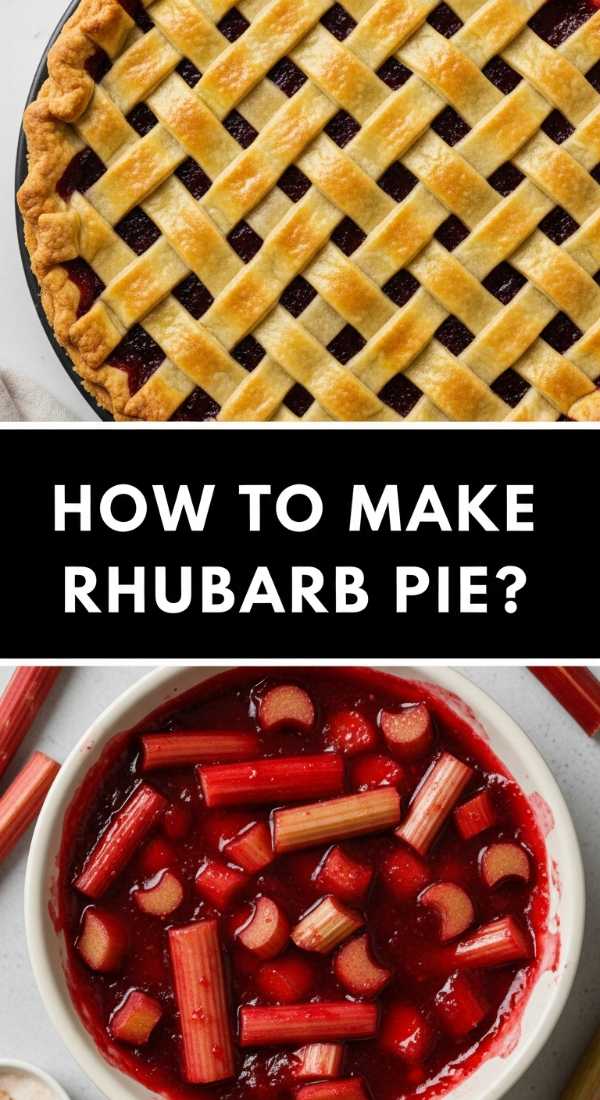
How to make rhubarb pie?
Why we love this
A rhubarb pie is a masterpiece of contrasts: the flaky, buttery crust provides a savory, golden cradle for the intensely tart and saucy fruit filling. The aroma of a baking pie filling the house is the definition of comfort. When sliced and placed on a board, the vibrant pink filling peeking through a lattice crust is an instant conversation starter that feels both rustic and incredibly refined.
Ingredients
- Double pie crust (homemade or store-bought)
- 5 cups sliced rhubarb (1/2-inch thick)
- 1 1/4 cups granulated sugar
- 1/4 cup cornstarch
- 1/2 teaspoon ground cinnamon
- 1 tablespoon unsalted butter, cubed
- 1 egg (for egg wash)
How to make it
- Roll out your bottom pie crust and fit it into a 9-inch pie plate. Trim the edges so there is a 1-inch overhang. Chill the base while you prepare the filling to ensure the butter in the crust stays cold for maximum flakiness.
- In a large mixing bowl, toss the rhubarb slices with sugar, cornstarch, and cinnamon. The cornstarch is essential here as rhubarb releases a lot of moisture; it will thicken those juices into a glossy, delicious sauce as it bakes.
- Pour the filling into the prepared crust and dot the top with the small cubes of butter. This adds a richness to the sauce and prevents it from boiling over too aggressively.
- Create a lattice top by cutting the second crust into 1-inch strips and weaving them over the fruit. Fold the bottom crust over the strips and crimp the edges tightly to seal.
- Brush the lattice with a beaten egg and sprinkle with coarse sugar. Bake at 400°F (200°C) for 20 minutes, then reduce to 350°F (175°C) and bake for another 35-40 minutes until the crust is deep golden and the filling is bubbling through the lattice.
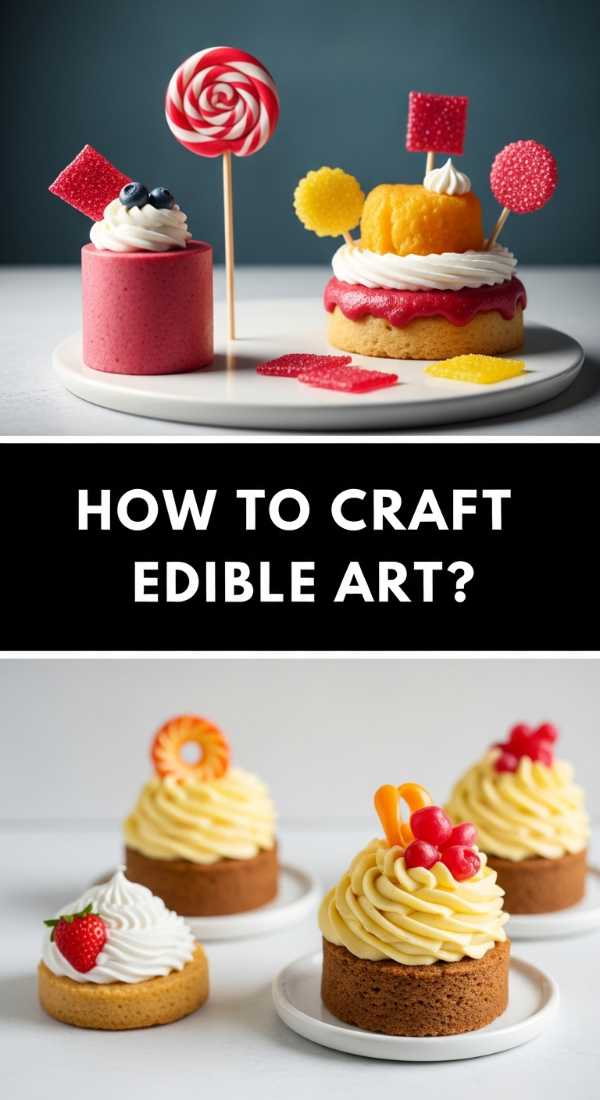
How to craft edible art?
Why we love this
Edible art transforms a simple snack board into a gallery-worthy display. We love the tactile experience of arranging colorful vegetables, fruits, and herbs to look like a lush garden or a modern abstract painting. It’s a sensory delight where the crisp snap of a radish, the fragrance of fresh basil, and the creamy texture of hummas all come together to create a visual and culinary feast.
Ingredients
- Large wooden board or slate
- Assorted dips (hummus, labneh, or beet dip)
- Rainbow carrots, thinly sliced radishes, and bell peppers
- Fresh herbs (dill, parsley, chives)
- Edible flowers (pansies or nasturtiums)
- Seed crackers and nuts
How to make it
- Start by ‘painting’ your base. Using the back of a large spoon, swoop 2-3 different colored dips across the board in organic, flowing shapes. Think of the board as your canvas and the dip as your background color.
- Create ‘flowers’ using your vegetables. Roll thin slices of cucumber or radish into tight spirals to resemble roses. Place these into the dips so they stand upright.
- Add ‘stems’ and ‘leaves’ using fresh herbs. Long chives act as stems, while sprigs of dill or flat-leaf parsley provide a feathery, garden-like texture around your vegetable flowers.
- Incorporate pops of color with edible flowers. Scatter them strategically in areas where the colors need a boost. Use the crackers and nuts to fill in any ‘white space’ on the board, ensuring a lush, overflowing look.
- Finish with a light drizzle of high-quality olive oil and a sprinkle of flaky sea salt over the dips to add a glistening, professional touch that catches the light.
How to build graduation boards?
Why we love this
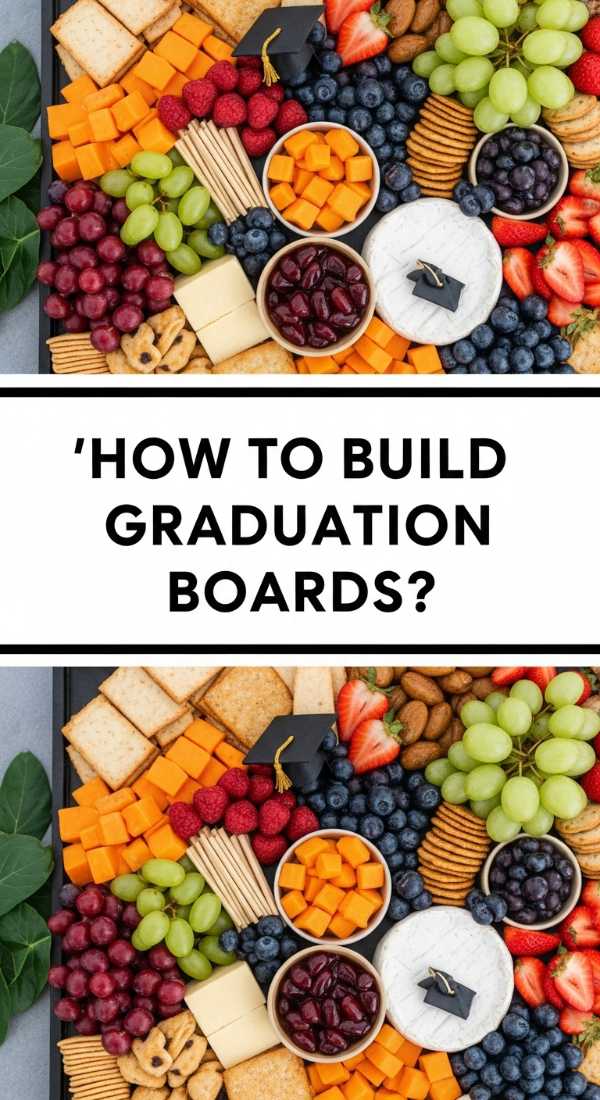
Graduation boards are the ultimate way to celebrate achievements through the medium of food. We love the mix of savory ‘adult’ snacks like aged cheeses with fun, nostalgic treats like gummy worms or diploma-shaped sandwiches. It’s a versatile layout that allows guests to graze throughout the party, capturing the essence of a celebratory afternoon spent with friends and family.
Ingredients
- Selection of 3 cheeses (brie, sharp cheddar, gouda)
- Cured meats (prosciutto, salami)
- Small tortillas (to make ‘diploma’ wraps)
- Black olives and pretzel sticks
- Fresh grapes and berries
- Graduation-themed chocolate molds
How to make it
- Place your cheeses as anchors on the board. Slice the cheddar into triangles and leave the brie whole, cutting a small wedge out to invite guests to dig in. Aim for a mix of textures—hard, semi-soft, and creamy.
- Create ‘diplomas’ by spreading a thin layer of cream cheese on a small flour tortilla, rolling it tightly, and tying it with a single strand of fresh chive. Place these in a cluster for a themed focal point.
- Fold your salami into ‘roses’ by layering slices around the rim of a small glass, then flipping it onto the board. This adds height and a gourmet feel to your meat presentation.
- Fill small bowls with black olives or nuts and place them near the cheeses. Use pretzel sticks as ‘tassels’ or structural elements to lead the eye across the board.
- Fill every remaining gap with fresh fruit and graduation chocolates. A truly great board should look abundant, so keep adding until the wood of the board is barely visible.
How to make lemon pesto?
Why we love this
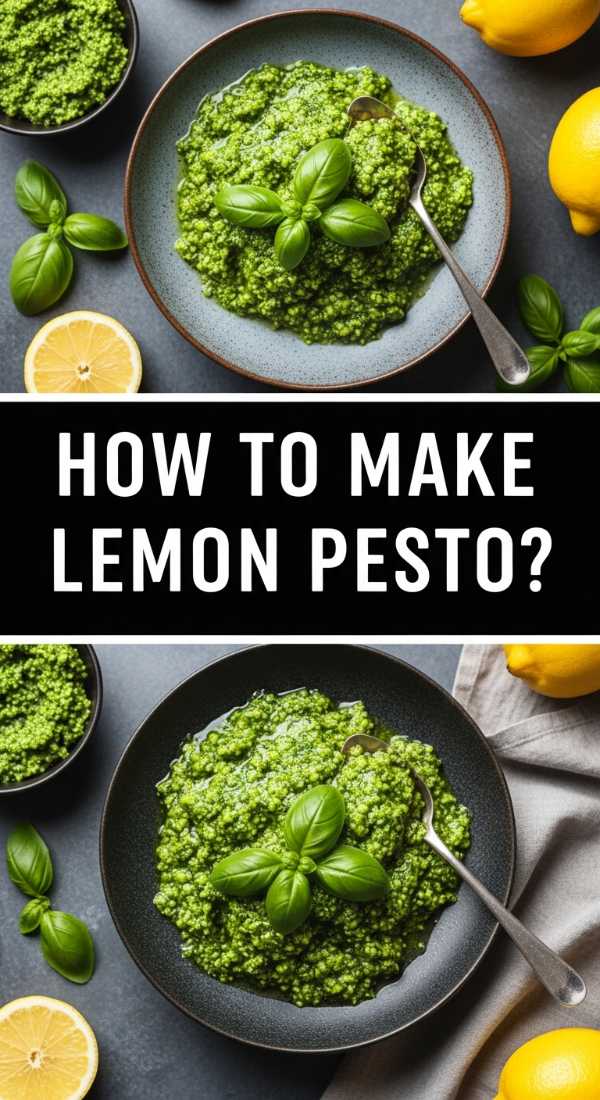
Lemon pesto is a bright, zingy twist on the classic basil version that brings a sunshine-yellow energy to any board. The aroma is a sharp, refreshing burst of citrus mingled with the earthy scent of toasted pine nuts. We love the way its granular, oily texture looks when drizzled over fresh mozzarella or used as a dip for crusty baguette, adding a sophisticated acidity to your snack spread.
Ingredients
- 2 cups fresh basil leaves, packed
- 1/2 cup freshly grated Parmesan cheese
- 1/3 cup toasted pine nuts
- 2 cloves garlic, minced
- 1/2 cup extra-virgin olive oil
- Zest and juice of 2 large organic lemons
- 1/2 teaspoon sea salt
How to make it
- Start by toasting your pine nuts in a dry skillet over medium-low heat. Shake the pan constantly for 2-3 minutes until they turn golden brown and smell nutty. Watch them closely, as they can burn in seconds.
- In a food processor, pulse the basil, toasted pine nuts, and garlic until coarsely chopped. Do not over-process at this stage; you want to maintain some texture rather than creating a smooth paste.
- Add the Parmesan cheese, lemon zest, and lemon juice. Pulse a few more times to incorporate. The lemon juice will help preserve the bright green color of the basil while adding that signature tang.
- With the processor running on low, slowly stream in the extra-virgin olive oil. This emulsifies the sauce, creating a rich, cohesive texture. Stop as soon as the oil is incorporated.
- Taste and season with sea salt. Transfer to a small bowl for your board. For the best visual impact, top with an extra grating of lemon zest and a few whole pine nuts before serving.
How to bake rhubarb crumble?

Why we love this
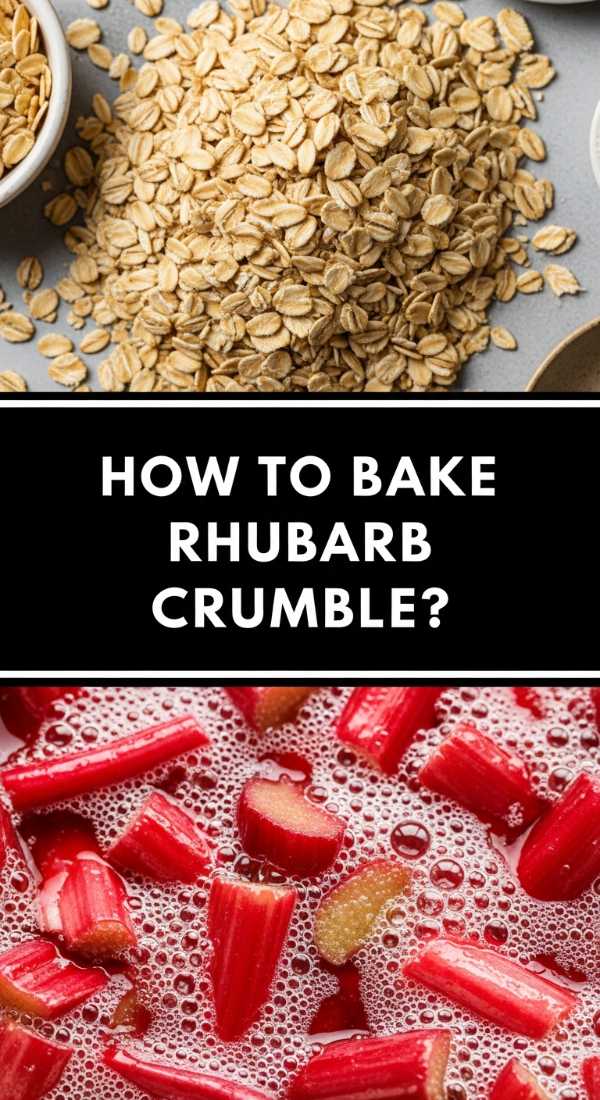
There is nothing quite like the sound of a spoon breaking through a crisp, buttery crumble topping into a bubbling, tart fruit base. Rhubarb crumble is the ultimate ‘messy-chic’ dessert for a board, offering a warm, toasted oat aroma and a beautiful contrast between the jagged, golden topping and the soft, pink fruit. It’s hearty, rustic, and incredibly satisfying.
Ingredients
- Filling: 4 cups rhubarb, 1/2 cup sugar, 1 tbsp flour
- Topping: 1 cup rolled oats, 1 cup brown sugar, 3/4 cup flour
- 1/2 cup cold unsalted butter, cubed
- 1 teaspoon ground ginger
- Pinch of salt
How to make it
- Preheat your oven to 375°F (190°C). In a baking dish, toss the chopped rhubarb with the sugar and tablespoon of flour. The ginger is a secret weapon here—it perfectly complements the sharpness of the rhubarb.
- In a separate bowl, combine the oats, brown sugar, flour, and a pinch of salt. This mixture should be well-blended before you add the fat.
- Add the cold, cubed butter to the dry ingredients. Use your fingers or a pastry cutter to work the butter into the mix until it resembles coarse crumbs with some pea-sized lumps. These lumps are what create those satisfying crunchy bits.
- Spread the crumble topping evenly over the rhubarb. Do not pack it down; keep it light and airy so the heat can circulate through the topping.
- Bake for 35-40 minutes. You are looking for the fruit juices to be bubbling up around the edges and the topping to be a deep, golden brown. Serve warm in small ramekins arranged on a dessert board with a dollop of whipped cream.
How to make fancy coffee?

Why we love this
A fancy coffee board brings the luxury of a boutique cafe right into your living room. We love the sight of layered milk and espresso, the delicate patterns of foam, and the rich, roasted aroma that wakes up the senses. Serving coffee ‘board style’ with different syrups, spices, and garnishes allows everyone to customize their drink into a personal work of art.
Ingredients
- Strong brewed espresso or cold brew concentrate
- Whole milk or oat milk for frothing
- Simple syrups (vanilla, lavender, or salted caramel)
- Garnishes: Cinnamon sticks, cocoa powder, dried orange slices
- Heavy cream for cold foam
How to make it
- Prepare your base coffee. If making a latte, brew a double shot of espresso. If serving a cold board, use a high-quality cold brew concentrate poured over clear, artisanal ice cubes.
- Froth your milk. For hot coffee, heat milk to 150°F and use a handheld frother to create micro-foam—bubbles so small they look like wet paint. This is the secret to latte art.
- For a ‘cold foam’ topping (the TikTok favorite), whisk 2 tablespoons of heavy cream, 1 tablespoon of milk, and 1 teaspoon of syrup until it’s thick but still pourable. Pour this gently over the back of a spoon onto your iced coffee to create a distinct, beautiful layer.
- Arrange your coffee board with the drinks as the centerpieces. Place small jars of syrups, a small bowl of cinnamon, and some long gold stirring spoons around the cups.
- Dust the tops of the drinks with cocoa powder using a stencil for a professional look. Add a dried orange slice or a sprig of lavender to the saucer for a final touch of cafe-style elegance.
How to decorate graduation cookies?
[IMAGE_10]
Why we love this
Graduation cookies are like little edible trophies. We love the crisp, buttery snap of a sugar cookie paired with the smooth, sweet crunch of royal icing. Decorating them for a board allows for a fun variety of shapes—caps, diplomas, and stars—all shimmering with edible glitter. They are the perfect way to add a personalized, hand-crafted feel to your celebration spread.
Ingredients
- Baked sugar cookies in various shapes
- Royal icing (stiff and flood consistencies)
- Food coloring gels (school colors)
- Edible gold leaf or metallic pearls
- Piping bags and small round tips
How to make it
- Start by ‘outlining’ your cookies. Use the stiff consistency icing in a piping bag with a #2 tip to draw the border of your shape. This acts as a dam to hold the thinner icing in place. Let this dry for 5 minutes.
- ‘Flood’ the center of the cookie. Use the thinner icing (should be the consistency of heavy cream) to fill in the space you just outlined. Use a toothpick or scribe tool to pop any air bubbles and push the icing into the corners.
- For a ‘wet-on-wet’ design, immediately drop a different color of icing onto the wet flood layer to create dots or hearts. For a layered look, let the flood layer dry completely (about 4-6 hours) before adding details on top.
- Add ‘tassels’ to the graduation caps using the stiff icing and a star tip, or a very fine round tip to mimic individual threads.
- Once the icing is mostly dry, apply edible gold leaf with a dry brush for a high-end finish. Arrange these cookies in a fan shape on your board, alternating between shapes and colors for maximum visual impact.
Conclusion: The Joy of Board Hosting
As we’ve seen, the secret to a viral-worthy food board isn’t about spending hours in the kitchen; it’s about the art of assembly and the joy of shared flavors. Whether you’re simmering a tart rhubarb jam or piping the perfect graduation cookie, these boards are a testament to the fact that food is a celebration. I hope these ideas inspire you to clear off your largest wooden board, gather your favorite ingredients, and create something beautiful for your next gathering. Don’t forget to snap a photo before everyone digs in—your TikTok followers will thank you!