
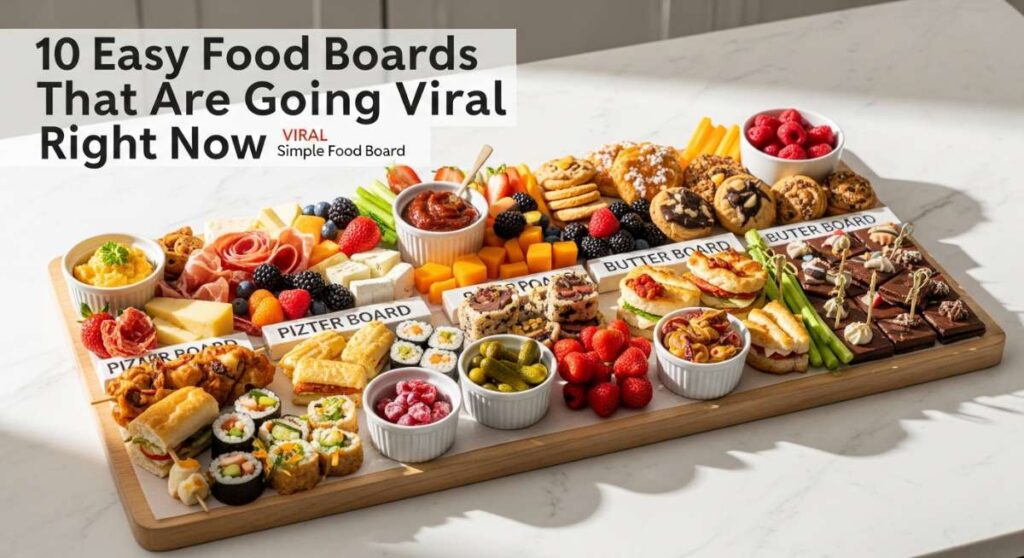
Gathering around a table has always been my favorite way to connect, but there is something truly magical about the ‘board’ trend that has taken over our feeds. It’s more than just food; it’s an invitation to linger, a canvas for creativity, and a stress-free way to host those we love most. Whether you are celebrating a massive milestone or just a sunny Tuesday afternoon, these viral food boards bring a sense of effortless chic to your home that no traditional buffet ever could.
I remember the first time I set out a DIY board for my friends—the way their eyes lit up at the colors and the collective sigh of relief when they realized they could just pick and choose exactly what they wanted. It turns every meal into an interactive experience. Today, I’m sharing ten of the most viral, simple, and absolutely stunning board ideas that are perfect for graduation season, summer brunches, and everything in between. Let’s dive into these beautiful spreads!
How to Build the Ultimate Graduation Cake Tasting Board?
Why we love this
This board is a showstopper because it celebrates the sweet success of a graduate with a variety of textures and flavors rather than just one single cake. Imagine the aroma of Madagascar vanilla bean and rich, dark cocoa wafting through the air as guests admire the velvety smooth buttercream and the delicate, moist crumb of various cake wedges. It feels incredibly indulgent and celebratory, offering a tactile experience where the crunch of edible gold sprinkles meets the soft, pillowy density of gourmet sponges, making every bite a decadent memory of achievement.
Ingredients
- Assorted mini round cakes (Lemon, Chocolate, Red Velvet)
- Extra vanilla and chocolate buttercream for dipping
- Fresh raspberries and sliced strawberries
- Edible gold leaf and themed sprinkles
- Macarons in school colors
- Small sparkling cider bottles
How to make it
- Begin by selecting three distinct cake flavors to ensure a variety of color and taste; bake these in 6-inch rounds or purchase high-quality artisan cakes. Chill the cakes for at least two hours before slicing to ensure clean, sharp edges that won’t crumble on the board.
- Slice each cake into slim, uniform wedges using a warm, serrated knife, wiping the blade between each cut to maintain a pristine look. Arrange these wedges in a fan-like pattern across a large wooden circular board, leaving space in the center for your dipping sauces.
- Fill small ceramic ramekins with extra-whipped buttercream frosting and place them in the center; use a small offset spatula to create a decorative swirl on top of the frosting.
- Tuck fresh, washed, and thoroughly dried berries between the cake slices to add pops of vibrant color and a natural tartness that cuts through the sweetness of the cake.
- Intersperse colorful macarons and themed chocolates in the gaps, ensuring the colors are balanced across the board. Finish by lightly applying edible gold leaf to the chocolate cake wedges using sterilized tweezers for a touch of viral-worthy elegance.
How to Create a Vibrant Rhubarb Dessert Grazing Platter?

Why we love this
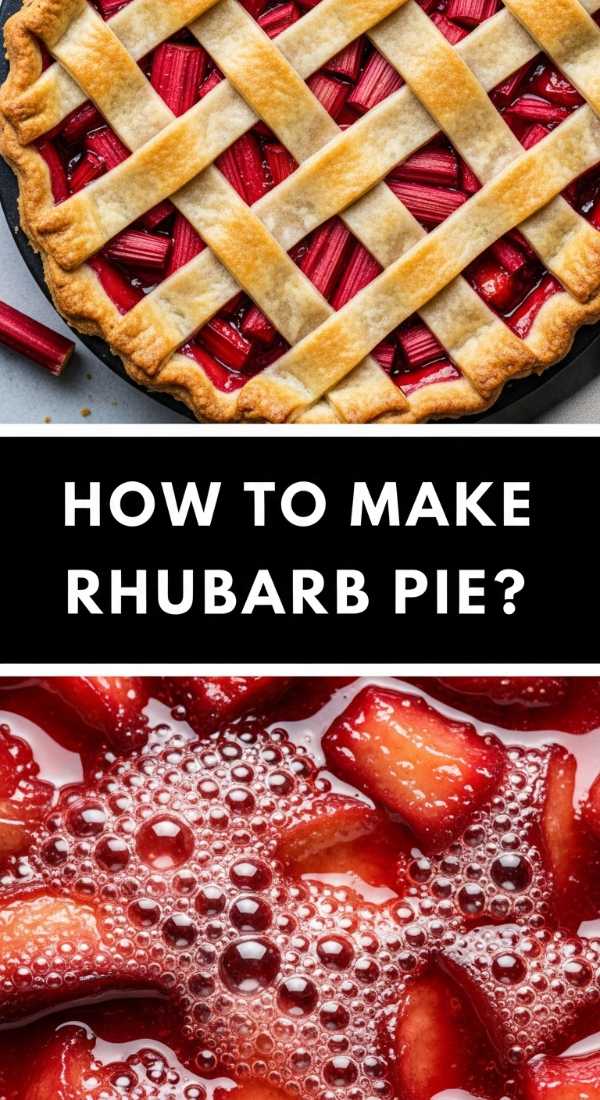
Rhubarb is the unsung hero of spring and summer, and this board highlights its stunning pink hue and signature tang in a way that feels like a garden party on a plate. The scent is unmistakable—sweet yet sharp, reminiscent of warm afternoons and home-baked pies. We love the contrast between the flaky, buttery crusts of mini tarts and the silky, smooth consistency of rhubarb curd. Each bite offers a refreshing burst of acidity followed by the comforting warmth of toasted sugar, creating a sensory journey that is as visually arresting as it is delicious.
Ingredients
- Mini rhubarb galettes
- Rhubarb and ginger curd
- Shortbread cookies for dipping
- Fresh stalks of poached rhubarb
- Clotted cream or thick mascarpone
- Sugared mint leaves
How to make it
- Start by poaching thin ribbons of rhubarb in a simple syrup infused with a hint of vanilla bean until they are tender but still hold their shape; drain them on a paper towel to prevent excess moisture from softening the other items on the board.
- Bake mini galettes by folding store-bought or homemade pastry over a thick rhubarb compote, ensuring the edges are brushed with egg wash and heavily sprinkled with turbinado sugar for a golden, crunchy texture. Bake at 400°F until the juice bubbles and the crust is deep amber.
- Place a bowl of chilled rhubarb curd and a bowl of clotted cream on opposite sides of a marble slab to provide a cool temperature contrast to the baked goods.
- Arrange the mini galettes in a diagonal line across the board, then fill the surrounding spaces with buttery shortbread cookies and the poached rhubarb ribbons, which can be twisted into elegant rosettes.
- Garnish the entire spread with sugared mint leaves by dipping fresh mint in egg white and then superfine sugar, allowing them to dry until they sparkle like frost, adding a professional, viral finish.
How to Style a Mini Graduation Cupcake Party Board?
Why we love this
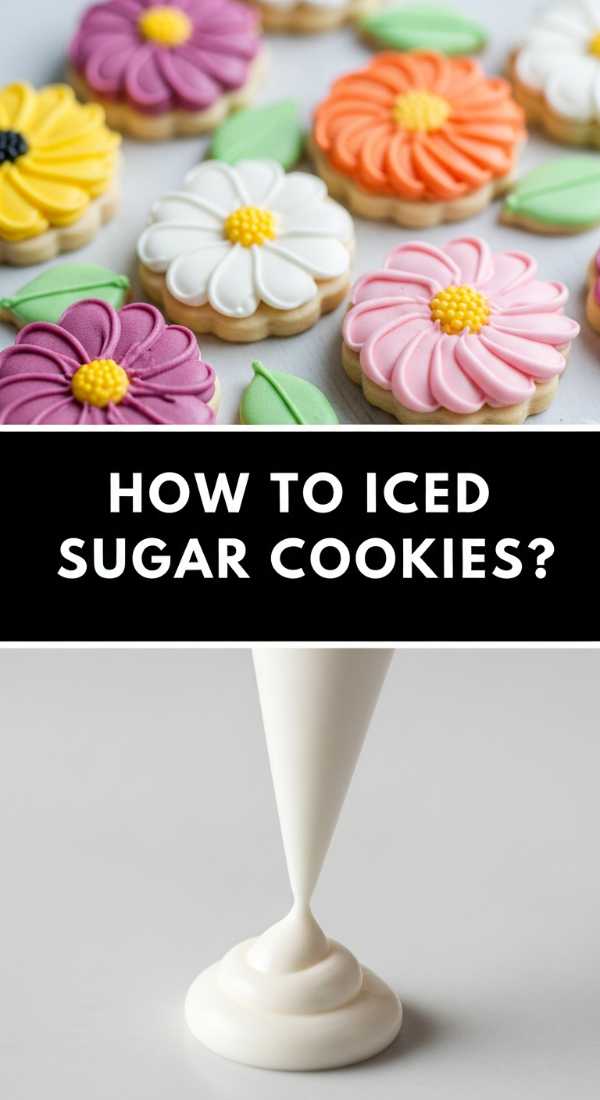
There is something inherently joyful about a board overflowing with bite-sized cupcakes, each topped with a tiny mortarboard or a swirl of school-colored frosting. The aroma is a nostalgic blend of sugar and flour, taking you back to childhood celebrations but with a sophisticated, modern twist. We love the way the light catches the pearlescent sprinkles and the way the soft, airy sponge melts on the tongue. It’s an interactive way for guests to ‘grab and go’ while they mingle, making the celebration feel fluid and fun.
Ingredients
- Mini cupcakes (Vanilla, Funfetti, and Salted Caramel)
- Miniature graduation cap toppers
- White chocolate pretzels
- Yogurt-covered raisins
- Sparkling silver and gold sugar pearls
- Small jars of caramel sauce
How to make it
- Bake or buy three dozen mini cupcakes in a variety of flavors; ensure they are completely cool before frosting to prevent the icing from sliding off. Use a piping bag with a star tip to create uniform ‘roses’ of frosting on each one.
- Organize the cupcakes by color or flavor on a large white platter or wooden board, creating a ‘gradient’ effect that looks incredible in photos.
- Insert small graduation cap toppers into every third cupcake to provide height and a clear theme without overcrowding the visual space.
- Fill in the ‘rivers’ between the cupcakes with white chocolate pretzels and yogurt-covered raisins; these provide a salty-sweet crunch that complements the soft cake perfectly.
- Place a small jar of salted caramel sauce in a corner for those who want an extra drizzle; use a spoon to create a deliberate ‘drip’ look on the side of the jar for that artisanal aesthetic.
- Lightly dust the entire board with silver and gold sugar pearls, letting them fall naturally into the gaps to tie the whole theme together.
How to Bake a Sun-Kissed Summer Cookie Board?

Why we love this
This board captures the very essence of a beachside sunset, filled with the scents of zesty lemon, tropical coconut, and sweet lime. The textures are a delightful mix of crisp-edged sugar cookies and chewy, soft-baked white chocolate macadamia bites. We love the vibrant yellows and whites that dominate this spread, making it look bright and energizing. Each bite is a reminder of warm breezes and long days, providing a refreshing citrus kick that is the perfect antidote to a humid summer afternoon.
Ingredients
- Lemon crinkle cookies
- Coconut lime shortbread
- White chocolate macadamia nut cookies
- Dried mango slices
- Fresh pineapple chunks (patted dry)
- Honey-roasted almonds
How to make it
- Bake your lemon crinkle cookies until they have a beautiful ‘cracked’ appearance; the secret is rolling the dough in granulated sugar then a heavy coat of powdered sugar before baking at 350°F. The cookies are done when the edges are set but the centers still look slightly underbaked.
- Prepare coconut lime shortbread by incorporating fresh lime zest and toasted shredded coconut into the dough; slice into uniform rectangles and bake until just barely golden at the edges to maintain a buttery melt-in-the-mouth texture.
- Arrange the largest cookies first on a light-colored wooden board to act as the anchors of your design.
- Cluster the dried mango slices and fresh pineapple chunks around the cookies; it is crucial to pat the fresh fruit dry with a paper towel so the moisture doesn’t make the cookies soggy.
- Scatter honey-roasted almonds into the small remaining cracks to add a savory-sweet crunch and a different geometric shape to the board.
- Finish with a final grating of fresh lime zest over the entire board to release the citrus oils and provide a fresh, incredible aroma.
How to Craft an At-Home Barista Coffee Flight Board?
Why we love this
For the coffee lovers, this board is a dream come true, turning a morning routine into a high-end tasting experience. The air fills with the deep, earthy smell of roasted beans mixed with the sweetness of vanilla syrup and the spicy kick of cinnamon. We love the visual of the layered liquids—the dark espresso meeting the creamy white milk in a beautiful dance of caramel hues. It’s a sophisticated way to serve caffeine, offering different strengths and flavors that cater to every palate while looking like something straight out of a boutique cafe.
Ingredients
- Cold brew concentrate
- Hot espresso shots
- Whole milk, oat milk, and heavy cream
- Syrups: Vanilla, Caramel, and Lavender
- Biscotti and mini croissants
- Coffee beans (for decoration)
How to make it
- Use a tray or a board with small indentations or ‘flight’ slots if available; otherwise, a flat board works perfectly. Place four small glass carafes or milk bottles on the board.
- Fill one bottle with cold brew concentrate, another with steamed milk, a third with a premixed iced latte, and leave the fourth for a ‘seasonal’ option like lavender-infused milk.
- Place small, labeled shot glasses filled with different syrups (vanilla, caramel, lavender) next to the bottles so guests can customize their own sweetness levels.
- Arrange a selection of almond biscotti and mini butter croissants on one side of the board; these are essential for dipping and provide a much-needed textural contrast to the liquids.
- Scatter a handful of whole roasted coffee beans directly onto the board around the bottles to enhance the aroma and create a rustic, professional barista look.
- Provide long-handled stirring spoons and a small bowl of cinnamon sticks or cocoa powder for dusting, ensuring your ‘barista station’ is fully functional and photogenic.
How to Slice and Serve a Graduation Sheet Cake Board?
Why we love this
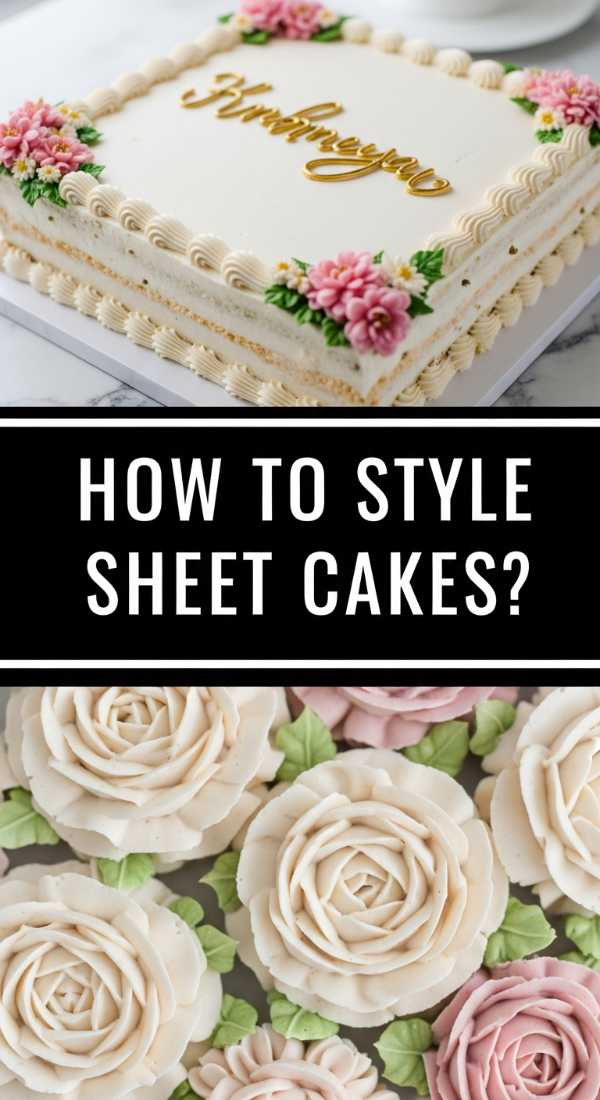
The sheet cake board takes a classic party staple and elevates it into a modern masterpiece of geometry and flavor. We love the nostalgia of a perfectly moist vanilla or marble sheet cake, covered in a thick layer of silky American buttercream. The sensory experience is all about that perfect ratio of frosting to cake in every single bite. By pre-slicing the cake into uniform squares and decorating each one individually, you turn a humble dessert into a luxurious display of craftsmanship that makes every guest feel like they’re getting a special, custom-made treat.
Ingredients
- One large rectangular sheet cake (half-sheet size)
- Vanilla and chocolate swiss meringue buttercream
- Fresh edible flowers (pansies or violas)
- Fresh blueberries and blackberries
- Chocolate shavings
- Gold foil wrappers (optional)
How to make it
- Bake your sheet cake and let it cool completely in the pan; for the best results, wrap it in plastic and chill it overnight in the fridge. This makes it much easier to cut without the cake tearing.
- Remove the cake from the pan and trim the very outer edges to reveal the soft interior. Using a ruler, mark out 2-inch by 2-inch squares across the entire surface.
- Cut the cake into squares with a sharp knife, cleaning the blade after every single cut to ensure the frosting doesn’t smear down the sides of the cake.
- Place each square onto the board, leaving about half an inch of space between them. For an extra touch of class, place each square on a small piece of parchment or a gold foil wrapper.
- Pipe a unique dollop or swirl of buttercream onto each square. Vary the toppings: put a single blueberry on some, a sprinkle of chocolate shavings on others, and a delicate edible flower on the rest.
- Arrange the squares in a strict grid pattern on a dark slate or wooden board to emphasize the clean lines and viral-worthy ‘ordered’ aesthetic.
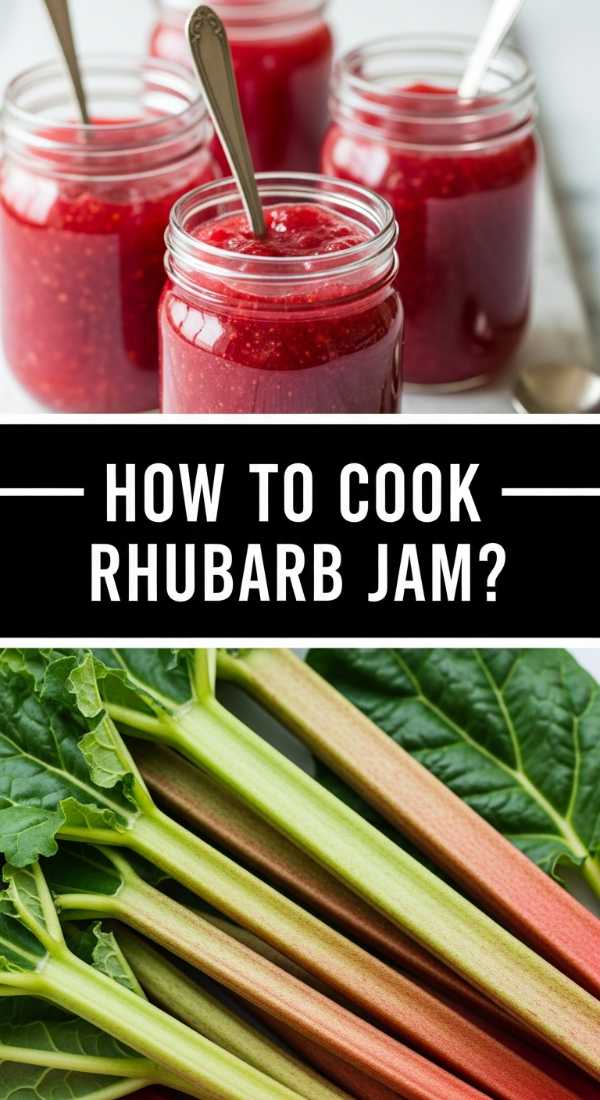
How to Pair a Homemade Rhubarb Jam Breakfast Board?
Why we love this
This board is the ultimate weekend luxury, focusing on the bright, tart, and sun-drenched flavors of a fresh rhubarb jam. The aroma of toasted sourdough and simmering fruit is incredibly comforting and homey. We love the play of temperatures—the warm, crunchy toast against the cold, creamy butter and the room-temperature, zesty jam. It’s a communal way to enjoy breakfast that encourages slow eating and long conversations, making the start of your day feel like a special occasion.
Ingredients
- Small jars of homemade rhubarb-strawberry jam
- Freshly baked sourdough bread and croissants
- Salted cultured butter
- Soft cheeses like Brie or Camembert
- Fresh strawberries and halved figs
- Walnuts and honey
How to make it
- Make your jam ahead of time by simmering chopped rhubarb, strawberries, sugar, and a splash of lemon juice until thick and glossy; let it cool completely so it sets into a spreadable consistency.
- Slice the sourdough bread into thick pieces and toast them until they are a deep golden brown; the edges should be slightly charred for maximum flavor. Warm the croissants in a 300°F oven for five minutes until they are flaky.
- Place the jam jars and a block of high-quality salted butter on the board first. Use a butter knife to create ‘waves’ in the butter and sprinkle with flaky sea salt.
- Arrange the warm bread and croissants around the jars, ensuring they are easily accessible.
- Add wedges of Brie or Camembert to the board; the creaminess of the cheese pairs exquisitely with the tartness of the rhubarb jam.
- Fill the remaining spaces with fresh berries, figs, and walnuts. Drizzle a small amount of honey over the cheese and nuts to add a final layer of floral sweetness that ties the breakfast elements together.
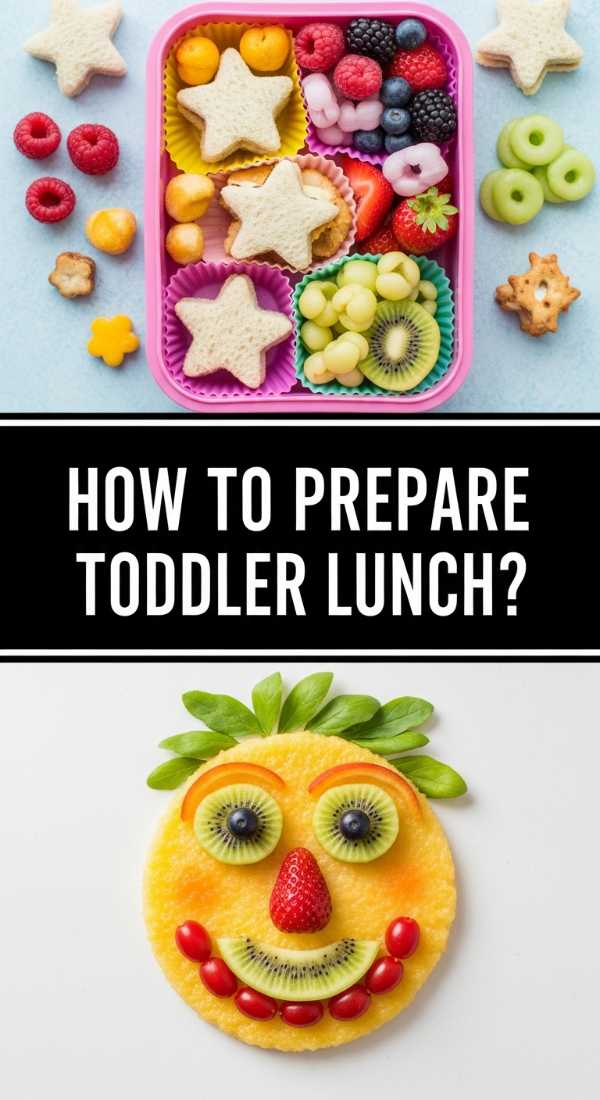
How to Assemble a Picky-Eater Friendly Toddler Lunch Board?
Why we love this
Lunchtime becomes a playground with this vibrant, toddler-friendly board that prioritizes variety and fun shapes. The textures range from the soft ‘squish’ of crustless sandwiches to the satisfying ‘snap’ of fresh cucumber and the smooth creaminess of mild cheddar. We love how this approach removes the pressure of a single meal and turns eating into a colorful exploration. It’s a sensory delight for little ones, with bright oranges, greens, and reds that make healthy eating feel like a rewarding game rather than a chore.
Ingredients
- Miniature sandwiches (cut into stars or hearts)
- Cheese cubes (mild cheddar and mozzarella)
- Cucumber slices and baby carrots
- Apple slices (soaked in lemon water to prevent browning)
- Hummus or mild yogurt dip
- Whole grain crackers
How to make it
- Use a large cookie cutter to cut sandwiches (turkey and cheese or sunflower butter and jelly) into fun shapes like stars, hearts, or dinosaurs. This simple step immediately makes the food more appealing to children.
- Arrange the sandwiches in the center of a durable, BPA-free plastic or bamboo board.
- Place a small, colorful bowl of hummus or yogurt in a corner for dipping; toddlers love the interactive element of dipping their veggies.
- Surround the dip with ‘fingers’ of cucumbers and carrots, ensuring they are cut into safe, manageable sizes.
- Group the cheese cubes and crackers together in another section; the variety of shapes and colors will keep the child engaged with the board.
- Add the apple slices last, making sure they are patted dry. For a viral ‘toddler’ touch, use a crinkle cutter for the vegetables to add an interesting texture that is easy for small hands to grip.
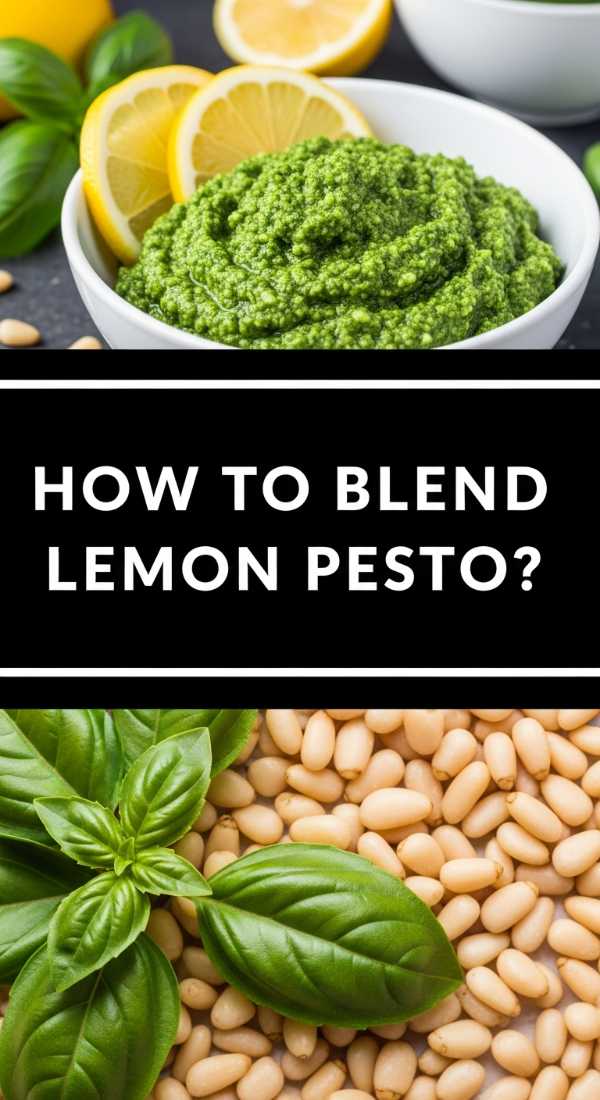
How to Zest Up a Fresh Lemon Pesto Pasta Board?

Why we love this
This is the ultimate ‘summer evening’ dinner board, bringing the fragrance of fresh basil and zesty lemon straight to your table. The texture of the al dente pasta coated in a nutty, herbaceous pesto is incredibly satisfying, especially when paired with the creamy richness of burrata. We love how this board allows everyone to build their own perfect pasta bowl, mixing in roasted tomatoes or extra parmesan as they please. It’s a rustic, Mediterranean-inspired spread that looks like a still-life painting and tastes like pure sunshine.
Ingredients
- Fusilli or Penne pasta (cooked al dente)
- Fresh basil pesto (homemade or high-quality store-bought)
- Fresh lemons (sliced and for zest)
- Blistered cherry tomatoes
- Burrata cheese balls
- Toasted pine nuts and shaved parmesan
How to make it
- Cook your pasta in heavily salted water until it is al dente; toss it immediately with a tablespoon of olive oil and a squeeze of lemon juice to prevent sticking as it cools slightly for the board.
- Place a large bowl of the pasta in the center of a wide wooden board. In a smaller bowl next to it, provide a generous amount of fresh pesto, topped with a swirl of olive oil.
- Arrange two or three balls of fresh burrata around the pasta; break one open slightly so the creamy interior (stracciatella) is visible and inviting.
- Add a pile of blistered cherry tomatoes, which you can prepare by sautéing them in a pan with garlic and oil until the skins pop and they become sweet and jammy.
- Scatter toasted pine nuts and large shavings of parmesan cheese across the board to provide different levels of saltiness and crunch.
- Decorate with fresh lemon slices and a final, heavy grating of lemon zest over the pasta and cheese to ensure the bright, citrusy aroma hits the guests the moment the board is served.
How to Decorate a Custom Graduation Sugar Cookie Board?
[IMAGE_10]
Why we love this
A cookie board is the ultimate way to tell a story through sugar and icing. We love the crisp, buttery snap of a perfectly baked sugar cookie combined with the smooth, sweet finish of royal icing. This board is particularly special because it’s personalized—featuring graduation caps, diplomas, and the ‘Class of’ year. The sensory experience is one of pure delight, from the intricate designs you can feel with your fingertips to the sweet vanilla scent that fills the room. It’s a focal point that sparks conversation and offers a beautiful, edible tribute to the graduate’s hard work.
Ingredients
- Custom-shaped sugar cookies (caps, diplomas, stars)
- Royal icing (in school colors)
- Edible ink markers
- Gold and silver sanding sugar
- Mini marshmallows or white chocolate chips (to fill gaps)
- Fresh sprigs of mint for a green contrast
How to make it
- Bake your sugar cookies using a recipe that holds its shape well; chill the cut-out dough for 15 minutes before baking at 350°F to ensure the edges stay sharp and professional.
- Once cool, outline and flood the cookies with royal icing. Use a toothpick to pop any air bubbles while the icing is still wet to ensure a glass-smooth finish. Allow them to dry for at least 12 hours.
- Use edible ink markers to write personalized messages or the graduate’s name on a few ‘diploma’ cookies for a custom touch that always goes viral.
- Arrange the cookies on a dark-colored board to make the bright icing colors pop. Start with the largest ‘hero’ cookies in the center and work outwards with the stars and smaller shapes.
- Use gold or silver sanding sugar to add a glittery border to some of the cookies, applying it with a small brush and a tiny bit of corn syrup as ‘glue.’
- Fill any small gaps between the cookies with mini marshmallows or white chocolate chips to give the board a full, abundant look, and tuck in a few sprigs of mint for a fresh, organic feel.
The Art of the Board: Final Thoughts
Creating these boards is as much about the process as it is about the final product. It’s a chance to slow down, play with colors, and think about the people you’ll be sharing the food with. Whether you’re celebrating a big graduation or just a small summer win, I hope these ideas inspire you to clear off your biggest wooden board and start styling. Remember, there are no rules—only delicious possibilities!