
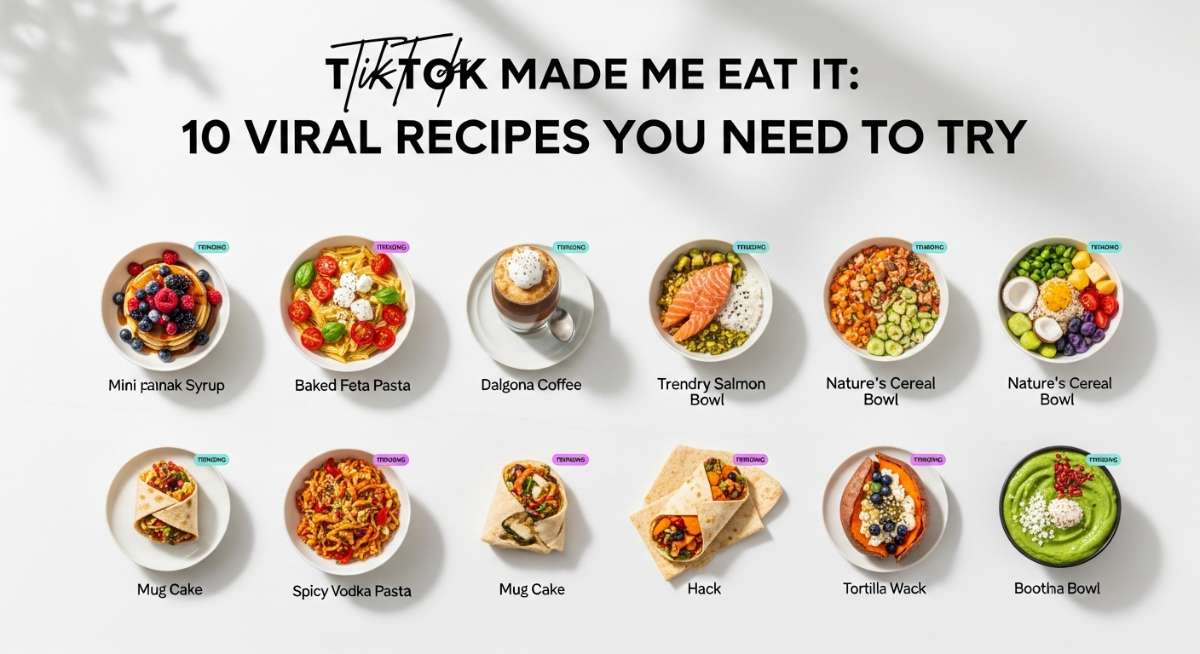
Hello, my loves! Welcome back to our cozy little corner of the internet. There is something so incredibly magical about the way a simple video can spark a culinary revolution in our own kitchens, isn’t there? Lately, I have been completely swept away by the creativity on TikTok, finding myself bookmarking recipe after recipe that promises comfort, health, and a little bit of that viral sparkle we all crave. It feels like we are all part of one big, global dinner party, sharing secrets and flavors that turn an ordinary Tuesday into something truly special.
Today, I am so excited to share my absolute favorites from the ‘For You’ page—the ones that actually lived up to the hype and brought a smile to my face. From the aroma of homemade syrups to the nostalgic crunch of tator tots, these recipes are more than just food; they are little moments of joy wrapped in flavor. So, grab a cup of tea, wrap yourself in your favorite knit blanket, and let’s dive into these ten viral sensations that I know you are going to absolutely adore. Your kitchen is about to become your new favorite place to be!
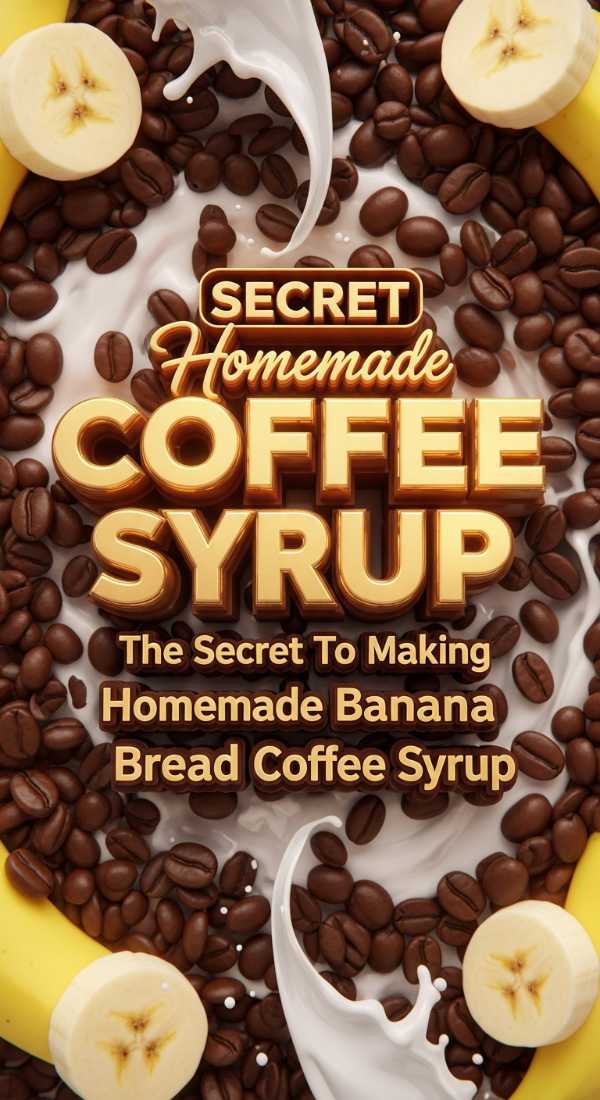
Secret Homemade Banana Bread Coffee Syrup
Why we love this
Imagine waking up and having your entire kitchen smell like a fresh loaf of banana bread without even turning on the oven. This syrup is a total game-changer for your morning routine, adding a caramelized, cozy depth to every single sip of your latte. It is like a warm hug in a mug that makes the early hours feel just a little bit more magical and sweet. You will never want to go back to those store-bought, artificial syrups once you taste this liquid gold.
Ingredients
- 2 overripe bananas, mashed
- 1 cup brown sugar
- 1 cup water
- 1 tsp vanilla extract
- 1/2 tsp ground cinnamon
- A pinch of sea salt
How to make it
- In a medium saucepan, combine the brown sugar and water over medium heat, stirring until the sugar is completely dissolved into a clear syrup.
- Add the mashed bananas, cinnamon, and sea salt to the pan, whisking gently to combine all the beautiful flavors together.
- Bring the mixture to a gentle simmer for about 10 minutes, allowing the banana essence to infuse deeply into the sugar base.
- Remove from heat and stir in the vanilla extract, then let the syrup cool for a few minutes before the next step.
- Strain the mixture through a fine-mesh sieve or cheesecloth into a glass jar, pressing on the solids to extract every bit of flavor.
- Store in the refrigerator for up to two weeks and add a generous splash to your morning coffee for an instant mood boost.
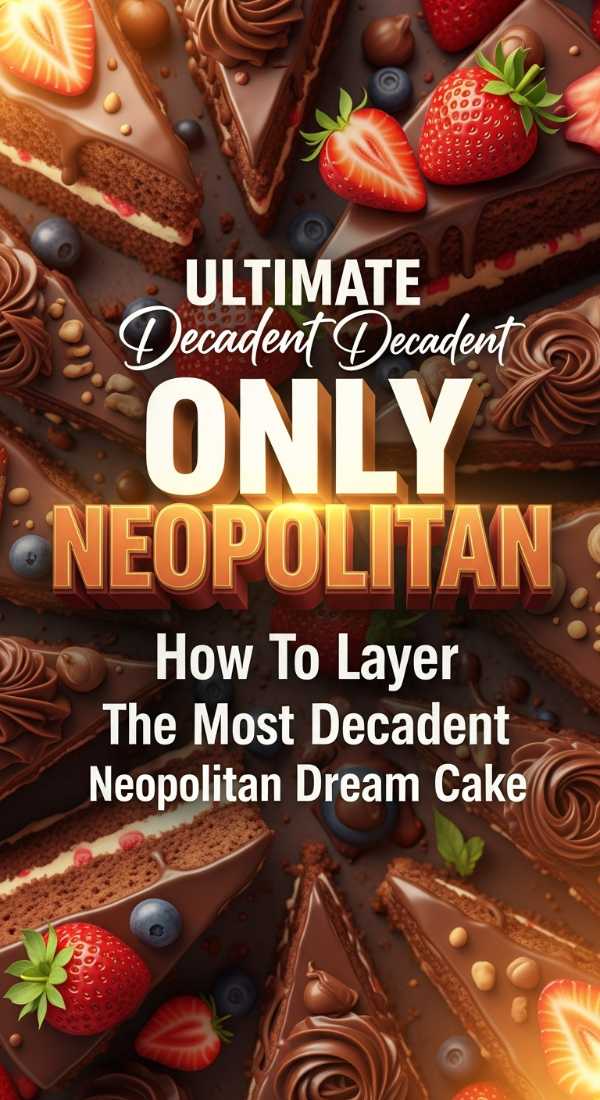
Decadent Layered Neopolitan Cake
Why we love this
There is something so nostalgic and whimsical about the classic trio of chocolate, vanilla, and strawberry all layered together in one stunning dessert. This cake is not just a treat for your taste buds, but a centerpiece that will have all your guests gasping in delight when you slice into it. It brings back those childhood ice cream shop memories while feeling elevated enough for a sophisticated dinner party or a special celebration. Each layer is perfectly moist and packed with distinct flavor profiles that harmonize beautifully together.
Ingredients
- 1 box vanilla cake mix (plus ingredients on box)
- 2 tbsp cocoa powder
- 1/4 cup strawberry puree
- Pink food coloring (optional)
- Buttercream frosting
- Fresh strawberries for garnish
How to make it
- Prepare your vanilla cake batter according to the package instructions, ensuring it is smooth and free of any large lumps.
- Divide the batter evenly into three separate bowls to begin creating your distinct color and flavor profiles.
- In the first bowl, leave it as is for the vanilla layer; in the second bowl, fold in the cocoa powder until it turns a deep chocolate.
- In the third bowl, stir in the strawberry puree and a drop of pink food coloring to achieve that iconic strawberry hue.
- Pour each flavored batter into a separate 6-inch greased cake pan and bake according to the package directions until a toothpick comes out clean.
- Allow the layers to cool completely on a wire rack before stacking them with layers of fluffy buttercream frosting and decorating the exterior.
Creamy High Protein Cottage Cheesecake

Why we love this
For my fitness-loving sweet teeth out there, this high-protein cheesecake is the answer to all of our late-night cravings and nutritional goals. It is incredibly velvety and rich, yet it leaves you feeling light and nourished instead of weighed down by heavy fats or processed sugars. The magic of cottage cheese creates a texture that is surprisingly smooth and satisfying, proving that healthy eating can be absolutely indulgent. It is the perfect post-workout snack or a guilt-free breakfast that feels like you are cheating on your diet.
Ingredients
- 2 cups low-fat cottage cheese
- 2 large eggs
- 1/4 cup honey or maple syrup
- 1 tsp vanilla bean paste
- 1 tbsp cornstarch
- Fresh berries for topping
How to make it
- Preheat your oven to 350°F (175°C) and prepare a small springform pan or individual ramekins with a light coating of non-stick spray.
- Place the cottage cheese into a high-speed blender and process until it is completely smooth and creamy, removing all traces of curds.
- Add the eggs, honey, vanilla bean paste, and cornstarch to the blender, then pulse until the mixture is fully combined and aerated.
- Pour the batter into your prepared pan, smoothing the top with a spatula to ensure an even bake across the surface.
- Bake for 35-40 minutes until the edges are golden and the center has a slight jiggle, then let it cool at room temperature.
- Chill in the refrigerator for at least 4 hours to set properly before topping with fresh berries and serving to your loves.
Irresistible Guiltless Low Calorie Dessert

Why we love this
Sometimes we just need a little something sweet to end the day without overcomplicating our calorie count, and this treat is the ultimate solution. It feels like a luxurious indulgence that melts in your mouth, providing that perfect hit of sweetness while remaining incredibly light and airy. You can whip this up in just a few minutes, making it the perfect companion for those cozy nights curled up on the sofa. It is all about finding that beautiful balance between satisfying your cravings and keeping your body feeling its best.
Ingredients
- 1 cup non-fat Greek yogurt
- 1 tbsp unsweetened cocoa powder
- 1 tsp stevia or monk fruit sweetener
- 5 crushed sugar-free chocolate cookies
- A handful of raspberries
How to make it
- In a small mixing bowl, whisk together the Greek yogurt, cocoa powder, and your choice of sweetener until the color is uniform and dark.
- Take a small glass or bowl and layer half of the chocolate yogurt mixture at the bottom to create a base.
- Sprinkle half of the crushed cookies over the yogurt layer to provide a satisfying, crunchy textural contrast.
- Top with the remaining yogurt mixture and smooth out the surface with the back of a spoon for a clean finish.
- Garnish with the rest of the crushed cookies and fresh raspberries for a pop of tartness and bright color.
- Enjoy immediately or let it sit in the fridge for ten minutes to let the cookie crumbs soften slightly into the cream.
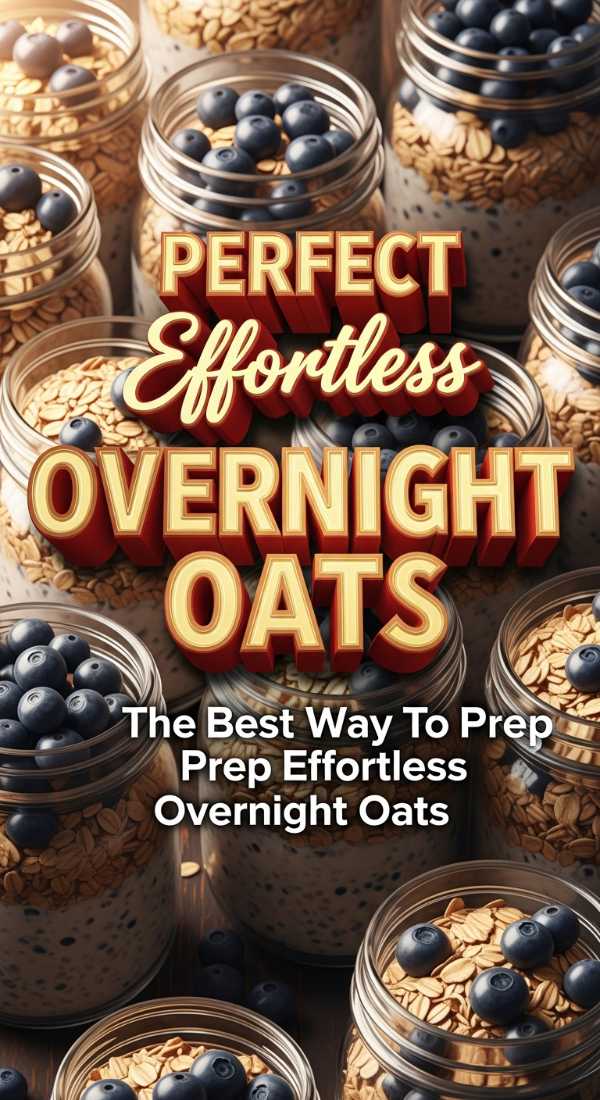
Effortless Overnight Oats Meal Prep
Why we love this
Mornings can be such a whirlwind, which is why I am completely obsessed with the ease and simplicity of this overnight oats routine. You spend just ten minutes on a Sunday evening, and you are rewarded with a week of delicious, ready-to-go breakfasts that power you through. The texture becomes so creamy and pudding-like as it sits, absorbing all the flavors of your favorite toppings like fresh berries and nutty seeds. It is a gift to your future self, ensuring you start every single day with a wholesome meal.
Ingredients
- 1/2 cup rolled oats
- 1/2 cup almond milk
- 1 tbsp chia seeds
- 1/2 tbsp maple syrup
- 1/4 cup blueberries
- 1 tbsp almond butter
How to make it
- Find a clean mason jar or an airtight container and add the rolled oats and chia seeds to the bottom.
- Pour in the almond milk and maple syrup, then stir vigorously with a spoon to ensure the chia seeds are well distributed.
- Place the lid on the jar and give it a good shake to make sure all the oats are submerged in the liquid.
- Toss in the fresh blueberries on top, but do not stir them in yet if you want them to stay whole and juicy.
- Place the jar in the refrigerator for at least 6 hours, or ideally overnight, to allow the oats to soften and the seeds to gel.
- In the morning, stir in a dollop of almond butter for extra creaminess and enjoy your stress-free, healthy breakfast on the go.
Comforting Crispy Tator Tot Casserole
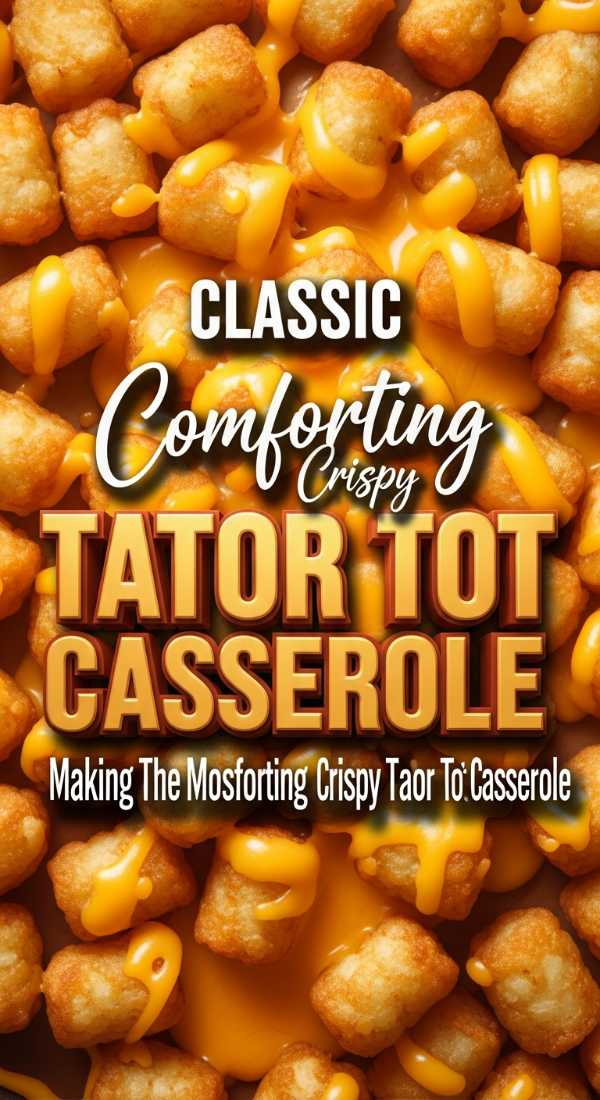
Why we love this
There is nothing quite like a bubbling, golden-brown casserole to bring that sense of home-cooked comfort to your dinner table on a chilly evening. This dish is a crowd-pleaser that combines the crunch of perfectly seasoned tots with a savory, hearty base that satisfies even the pickiest eaters. It is the kind of meal that invites everyone to dig in for seconds, sparking laughter and conversation as you share a filling experience. Simple to prepare but deeply nostalgic, it is a reminder that the best flavors come from humble ingredients.
Ingredients
- 1 lb ground turkey or beef
- 1 bag frozen tator tots
- 1 can cream of mushroom soup
- 1 cup shredded cheddar cheese
- 1/2 cup diced onions
- 1 tsp garlic powder
How to make it
- Preheat your oven to 400°F (200°C) and lightly grease a large 9×13 inch baking dish to prevent any sticking.
- In a large skillet, brown the ground meat with the diced onions over medium heat until the meat is cooked through and onions are soft.
- Drain any excess fat from the skillet, then stir in the cream of mushroom soup and garlic powder until well combined.
- Spread the meat mixture evenly across the bottom of your prepared baking dish, pressing it down slightly with a spatula.
- Arrange the frozen tator tots in neat rows across the top of the meat, covering every inch of the surface for maximum crunch.
- Bake for 30 minutes, then sprinkle the shredded cheese over the top and bake for another 5 minutes until the cheese is melted and bubbly.
Refreshing Fluffy Pink Jello Diet Treat
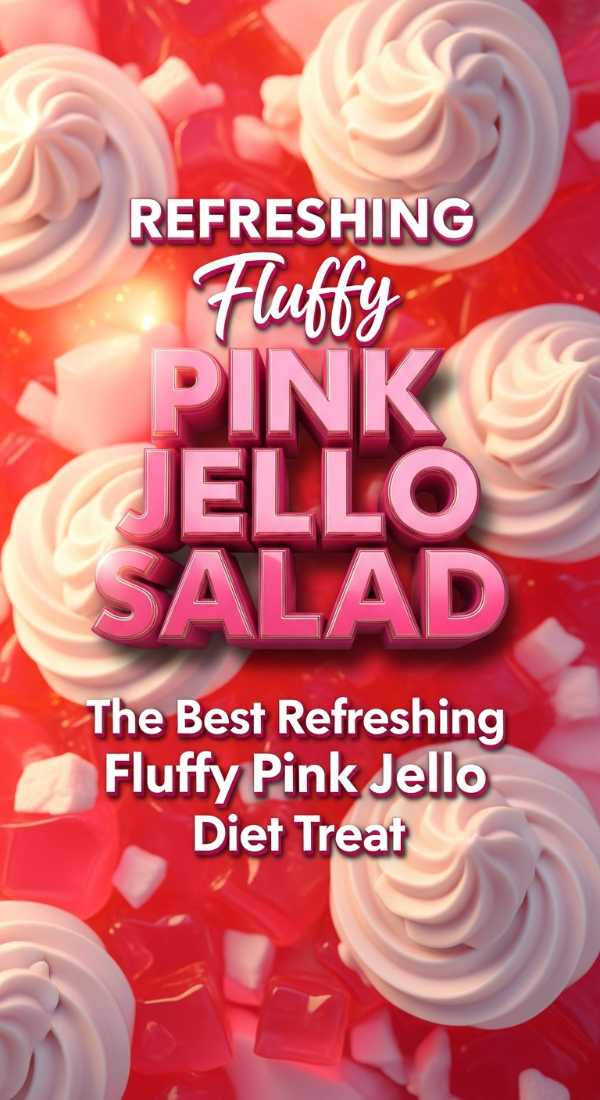
Why we love this
This fluffy pink delight is like eating a sweet, sugary cloud that magically fits into your healthy lifestyle goals without any of the compromise. It has a beautiful, vibrant color that brightens up your fridge and a light, airy consistency that is incredibly refreshing on a warm afternoon. Perfect for when you want a pop of sweetness that won’t leave you feeling sluggish, this treat is a favorite for both kids and adults alike. It is proof that diet-friendly snacks can be just as fun and whimsical as their traditional counterparts.
Ingredients
- 1 package sugar-free strawberry Jello
- 1 cup boiling water
- 1 cup cold water
- 1 cup fat-free whipped topping
- 1/2 cup sliced strawberries
How to make it
- Empty the sugar-free Jello powder into a large mixing bowl and pour in the boiling water, whisking until the powder is fully dissolved.
- Stir in the cold water and place the bowl in the refrigerator for about 30-45 minutes, or until the mixture is slightly thickened but not set.
- Once thickened, remove from the fridge and use a hand mixer to whip the Jello until it becomes frothy and light in color.
- Gently fold in the whipped topping using a spatula, being careful not to deflate the air you just whipped into the mixture.
- Gently fold in the sliced strawberries, then pour the mixture into a serving bowl or individual dessert glasses.
- Refrigerate for another 2 hours until the dessert is fully set and has a light, mousse-like texture that melts in your mouth.
Elegant Garden Flower Cake Pops

Why we love this
Transforming simple cake into these elegant, flower-topped pops is like bringing a blooming spring garden right into your very own kitchen and home. They are almost too pretty to eat, featuring delicate designs that look like professional bakery creations but are surprisingly simple to master at home. These are the ultimate showstoppers for baby showers, brunches, or any occasion where you want to add a touch of sophisticated, floral charm. Each bite is a little burst of joy, combining a soft, decadent interior with a crisp shell.
Ingredients
- 1 baked vanilla cake, cooled
- 1/2 cup vanilla frosting
- White chocolate melting wafers
- Pastel-colored candy melts
- Cake pop sticks
How to make it
- Crumble the cooled vanilla cake into a large bowl using your hands until it looks like fine, soft breadcrumbs.
- Add the vanilla frosting to the crumbs and mix thoroughly until you can form a cohesive ball that doesn’t crack.
- Roll the mixture into small, even balls and place them on a parchment-lined tray to chill in the freezer for 20 minutes.
- Dip the end of a cake pop stick into melted white chocolate, insert it into a cake ball, and then dip the entire ball into the chocolate.
- Once the base coating has hardened, use melted pastel candy melts in a piping bag with a small tip to draw delicate flower petals.
- Add a tiny yellow dot in the center of each flower and let the pops dry completely by standing them upright in a styrofoam block.
Savory Healthy Stuffed Pepper Bowls

Why we love this
Eating healthy should always feel like a vibrant celebration of color and flavor, and these stuffed pepper bowls deliver exactly that in every bite. They are packed with protein and fresh vegetables, offering a satisfying crunch and a savory depth that makes a nutritious dinner feel truly special. I love how versatile they are, allowing you to swap in your favorite grains or proteins depending on what you have in your pantry. It is a wholesome, one-pan wonder that looks as beautiful as it tastes, making weeknight cooking a breeze.
Ingredients
- 4 large bell peppers (any color)
- 1 cup cooked quinoa
- 1 lb ground chicken
- 1 cup black beans, rinsed
- 1 cup salsa
- 1 tsp cumin and chili powder
How to make it
- Slice the bell peppers in half lengthwise and remove the seeds and membranes, then place them cut-side up in a baking dish.
- In a large skillet, cook the ground chicken over medium heat until browned and fully cooked through, breaking it into small crumbles.
- Stir in the cooked quinoa, black beans, salsa, cumin, and chili powder, letting the mixture simmer for 5 minutes to marry the flavors.
- Spoon the filling generously into each pepper half, pressing it down slightly to pack as much goodness in as possible.
- Pour about 1/4 cup of water into the bottom of the baking dish and cover the whole thing tightly with aluminum foil.
- Bake at 375°F (190°C) for 30 minutes, then remove the foil and bake for another 10 minutes until the peppers are tender and the tops are slightly charred.
Toasted Gooey Smores Skillet Cookie

Why we love this
Gather around the table because this gooey, toasted smores skillet cookie is the ultimate shared dessert experience for those cozy nights in with loves. It captures the essence of a campfire treat—toasted marshmallows, melted chocolate, and graham cracker crunch—all baked into one giant, warm cookie. There is something so communal and joyful about everyone grabbing a spoon and diving into the warm, melty center together as the stars come out. It is decadence at its finest, creating sweet memories that linger long after the last crumb is gone.
Ingredients
- 1 tube refrigerated chocolate chip cookie dough
- 1 cup mini marshmallows
- 1/2 cup chocolate chips
- 4 graham crackers, crushed
- Vanilla ice cream (for serving)
How to make it
- Preheat your oven to 350°F (175°C) and lightly grease a 10-inch oven-safe cast iron skillet with butter or cooking spray.
- Press the chocolate chip cookie dough evenly into the bottom of the skillet, making sure it reaches the edges for a uniform bake.
- Bake the cookie for 15-18 minutes, or until the edges are golden brown but the center is still slightly soft and underbaked.
- Remove the skillet from the oven and immediately top the warm cookie with mini marshmallows, chocolate chips, and crushed graham crackers.
- Return the skillet to the oven under the broiler for 1-2 minutes, watching very closely until the marshmallows are toasted and golden.
- Serve warm directly from the skillet with a few large scoops of vanilla ice cream on top for the ultimate indulgent treat.
Wrapping Up Our Kitchen Adventures
Oh, my loves, I hope these recipes bring as much warmth and joy to your homes as they have to mine! There is something so beautiful about the way we can connect through the food we create and share. Whether you are sipping on that banana bread coffee or sharing a skillet cookie with your favorite people, remember that these moments are what make life truly sweet. I can’t wait to hear which of these viral hits becomes a new staple in your household. Stay cozy, keep cooking, and I will see you in the next post!
Frequently Asked Questions
Have some questions about these viral sensations? I’ve got you covered with these quick tips!
Can I make the coffee syrup sugar-free?
Absolutely! You can substitute the brown sugar with a brown sugar alternative like Swerve or Monk Fruit. Just keep an eye on the consistency as it simmers, as alternative sweeteners can sometimes thicken differently than traditional sugar.
How do I stop my cake pops from falling off the sticks?
The secret is in the “glue.” Always dip your stick into the melted chocolate before inserting it into the cake ball. Let that little bit of chocolate set completely before you attempt to dip the entire cake pop into the coating!
Are the stuffed peppers freezer-friendly?
Yes, they are! You can prepare the filling and stuff the peppers, then wrap them tightly and freeze them before baking. Just add an extra 15-20 minutes to the baking time when you’re ready to cook them from frozen.
What is the best way to clean my cast iron skillet after the cookie?
While it’s still slightly warm, use a plastic scraper or a stiff brush with warm water. Avoid soap if possible to maintain the seasoning of your pan. If there’s stuck-on marshmallow, a little coarse salt scrub works wonders!