
Hello, my sweet loves! There is something so magical about a recipe that takes over our feeds, isn’t there? It’s more than just food; it’s a shared experience that connects us all through our kitchens, no matter how far apart we might be. Today, I want to invite you into my kitchen to uncover the real secrets behind those viral sensations that look too good to be true, making your home feel like a sanctuary of flavor.
We are going to slow down, breathe in the aroma of fresh spices, and learn the little whispers of wisdom that turn a simple meal into an unforgettable masterpiece. These techniques are my gifts to you, designed to make your cooking journey feel like a soft, warm embrace. Let’s dive into these culinary treasures together and bring a little extra sparkle to your dining table tonight with these ten incredible secrets.
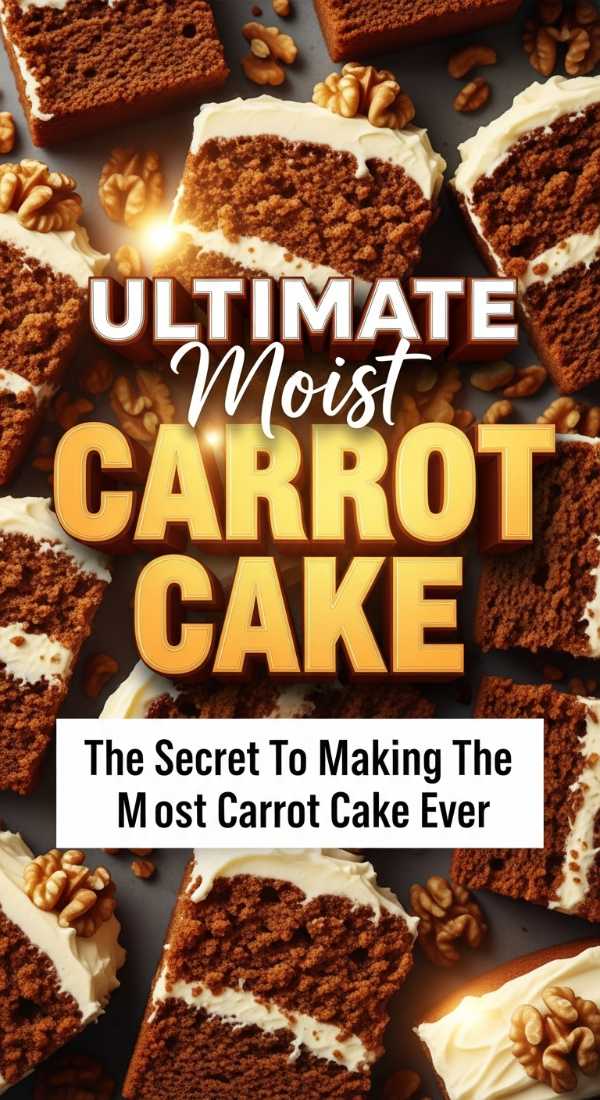
The Secret To Making The Most Moist Carrot Cake Ever
Why we love this
Imagine the softest, most pillowy crumb that practically melts upon contact with your fork, carrying the scent of cinnamon and nutmeg through your home. This cake isn’t just a dessert; it’s a memory of slow Sunday afternoons spent in a sun-drenched kitchen with the ones you hold dearest. By blending the richness of oil with the secret moisture of crushed pineapple and extra fine-grated carrots, we create a texture that stays fresh and succulent for days. It is truly the ultimate way to celebrate the simple joy of baking from the heart with love.
Ingredients
- 2 cups all-purpose flour
- 2 teaspoons baking soda
- 1 teaspoon salt
- 2 teaspoons ground cinnamon
- 1 1/4 cups vegetable oil
- 2 cups granulated sugar
- 4 large eggs
- 3 cups finely grated raw carrots
- 1/2 cup crushed pineapple, drained
- 1 cup chopped walnuts (optional)
How to make it
- Preheat your oven to 350°F (175°C) and grease two 9-inch cake pans thoroughly with butter and a dusting of flour.
- In a medium bowl, whisk together the flour, baking soda, salt, and cinnamon until perfectly combined and aerated.
- In a separate large bowl, beat the sugar, oil, and eggs together until the mixture is light, pale, and slightly frothy.
- Gently fold the dry ingredients into the wet mixture, taking care not to overwork the batter, keeping it light and airy.
- Stir in the grated carrots and the secret ingredient—crushed pineapple—along with walnuts if you desire that extra crunch.
- Divide the batter evenly between the pans and bake for 35-40 minutes until a toothpick comes out clean and the house smells divine.
How To Make The Best Creamy Roasted Pumpkin Soup

Why we love this
There is something deeply grounding about a bowl of soup that glows with the warmth of a setting autumn sun, offering comfort with every single spoonful. This isn’t just a quick meal; it’s a labor of love that transforms humble garden vegetables into a velvety masterpiece of flavor and silky smooth texture. Roasting the pumpkin first coaxes out a natural sweetness and smokiness that you simply cannot achieve by boiling alone, creating a complex profile. It feels like a soft, cashmere blanket for your soul, making those chilly evenings feel bright and wonderfully inviting to everyone.
Ingredients
- 1 medium sugar pumpkin (approx 4 lbs)
- 2 tablespoons olive oil
- 1 large yellow onion, chopped
- 4 cloves garlic, minced
- 4 cups vegetable broth
- 1/2 cup heavy cream
- 1/2 teaspoon ground nutmeg
- Salt and pepper to taste
How to make it
- Halve the pumpkin, remove the seeds, and brush the flesh with olive oil before placing it face down on a baking sheet.
- Roast at 400°F (200°C) for about 45 minutes until the skin is blistered and the flesh is incredibly soft and tender.
- While the pumpkin cools, sauté your chopped onion and garlic in a large pot until they are translucent and fragrant.
- Scoop the roasted pumpkin flesh into the pot, discarding the skin, and pour in the vegetable broth and nutmeg.
- Bring the mixture to a gentle simmer for 15 minutes to let the flavors dance together, then blend until completely smooth.
- Stir in the heavy cream for that signature viral silkiness and season with salt and pepper to your heart’s content.
The Trick To Making A Perfectly Flaky Apple Pie Crust

Why we love this
The sound of a crisp, buttery crust shattering under a fork is one of life’s most rewarding culinary symphonies, signaling a treat made with patience. Achieving that perfect flakiness often feels like a mystery, but the secret lies in keeping everything ice-cold and handling the dough with the gentlest touch. This crust is a golden, layered treasure that cradles sweet, spiced apples in a way that feels both nostalgic and professional. It turns a simple pie into the centerpiece of your gathering, proving that the most beautiful things in life require just a little bit of extra care.
Ingredients
- 2 1/2 cups all-purpose flour
- 1 teaspoon salt
- 1 tablespoon sugar
- 1 cup unsalted butter, chilled and cubed
- 1/4 cup ice water
- 2 tablespoons cold vodka (the secret for extra flakes)
How to make it
- Whisk the flour, salt, and sugar together in a large chilled bowl to ensure an even distribution of the dry flavors.
- Add the cold, cubed butter and use a pastry cutter to work it in until the pieces are the size of small peas.
- Drizzle in the ice water and the cold vodka one tablespoon at a time, tossing with a fork until the dough just starts to clump.
- Gently press the dough into two discs, wrap them tightly in plastic, and let them rest in the fridge for at least one hour.
- Roll the dough out on a floured surface, keeping your movements quick to prevent the butter from melting before it hits the oven.
- Fill with your favorite apples and bake until the crust is a deep, shimmering golden brown that promises a perfect crunch.
Experience The Magic Of This Authentic Ceremonial Matcha Latte

Why we love this
Starting your morning with a vibrant, emerald-green latte is like giving your spirit a gentle, energizing nudge toward a day full of peace and clarity. This ceremonial ritual is more than a caffeine fix; it is a moment of mindfulness where the earthy notes of premium tea meet creamy sweetness. The secret to that viral, frothy top is all in the temperature of the water and the traditional whisking technique that removes every lump. It is a beautiful, calming way to nourish your body while indulging in a drink that looks and tastes like a piece of art.
Ingredients
- 1 1/2 teaspoons ceremonial grade matcha powder
- 2 ounces hot water (not boiling, 175°F)
- 1 cup oat milk or whole milk
- 1 teaspoon maple syrup or honey
- A pinch of vanilla bean paste
How to make it
- Sift the matcha powder through a fine-mesh strainer into a small bowl to ensure there are no clumps in your final drink.
- Add the hot water—careful not to use boiling water as it will burn the delicate leaves—and use a bamboo whisk in a ‘W’ motion.
- Whisk vigorously for about 30-60 seconds until a thick, beautiful froth with tiny bubbles forms on the surface of the green tea.
- In a separate small saucepan, heat your milk with the maple syrup and vanilla until it is warm and slightly steaming.
- Froth the milk using a handheld frother until it is thick and cloud-like, then pour it gently over your matcha base.
- Take a moment to admire the swirling green and white colors before taking your first restorative, creamy sip of heaven.
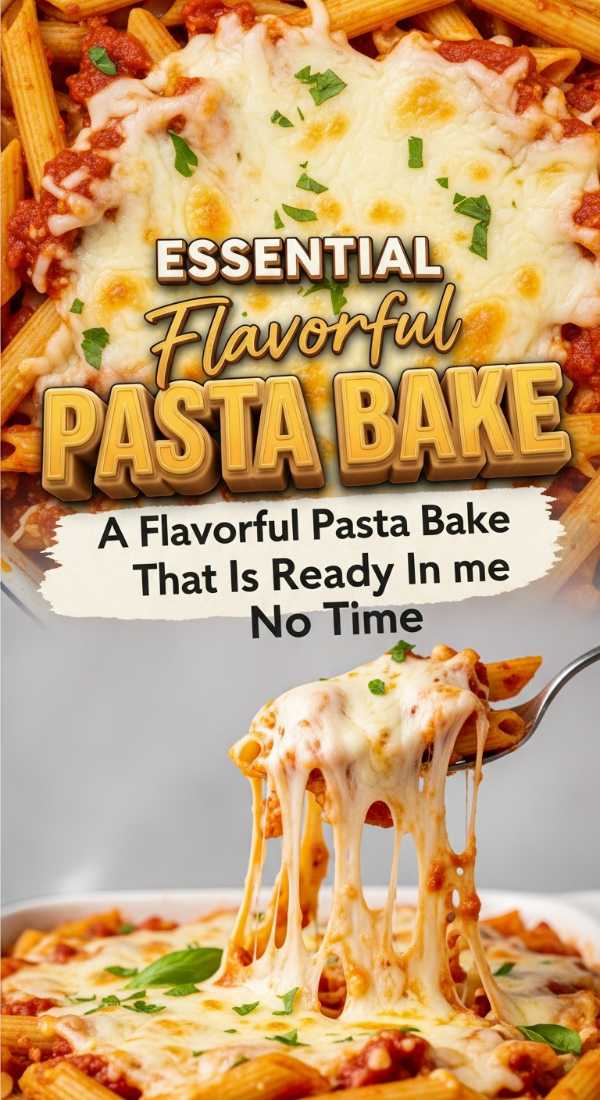
A Flavorful Pasta Bake That Is Ready In No Time
Why we love this
We all have those busy days where we crave a comforting, home-cooked meal without spending hours standing over a hot stove while the world rushes by. This pasta bake is the ultimate solution, delivering gooey cheese and perfectly cooked noodles with a technique that allows the pasta to cook right in the sauce. It’s a rustic, bubbling dish that fills your kitchen with the scent of roasted tomatoes and melted mozzarella, bringing everyone to the table fast. It proves that delicious, viral-worthy food doesn’t have to be complicated to be absolutely soul-satisfying and deeply loved by the whole family.
Ingredients
- 1 lb ziti or penne pasta (uncooked)
- 24 oz high-quality marinara sauce
- 2 cups water or vegetable broth
- 15 oz ricotta cheese
- 2 cups shredded mozzarella cheese
- 1/2 cup grated parmesan
- 1 teaspoon dried oregano and fresh basil
How to make it
- Preheat your oven to 400°F (200°C) and grab a large, deep 9×13 inch baking dish to hold all that cheesy goodness.
- Pour the dry, uncooked pasta into the dish and stir in the marinara sauce, water, oregano, and half of the mozzarella.
- Dollop spoonfuls of ricotta cheese throughout the mixture, pushing them down slightly so they create creamy pockets of joy.
- Cover the dish tightly with aluminum foil—this is crucial to trap the steam that will cook the pasta to perfection.
- Bake for 35 minutes, then remove the foil, top with the remaining mozzarella and parmesan, and bake for another 10 minutes.
- Broil for the last 2 minutes to get those crispy, golden cheese spots that make every viral pasta bake look so irresistible.
How To Get That Perfectly Fudgy And Gooey Brownie Texture

Why we love this
There is a specific kind of magic in a brownie that is so dense and fudgy it feels almost like eating a piece of chocolate ganache. These aren’t your typical cakey brownies; they are a decadent, deep-chocolate experience with a crackly, tissue-thin top that shatters perfectly when you take a bite. The secret lies in the way you whisk your eggs and sugar to create that iconic meringue-like crust while keeping the bake time short. It’s the ultimate indulgence for when you need a little chocolate therapy to soothe your heart and sweeten your beautiful life.
Ingredients
- 1 cup unsalted butter, melted
- 2 cups granulated sugar
- 3 large eggs
- 1 teaspoon vanilla extract
- 3/4 cup cocoa powder
- 1/2 cup all-purpose flour
- 1/2 teaspoon salt
- 1 cup semi-sweet chocolate chips
How to make it
- Preheat your oven to 325°F (165°C) and line an 8-inch square pan with parchment paper, leaving an overhang for easy removal.
- Whisk the melted butter and sugar together vigorously for several minutes until the mixture looks pale and the sugar starts to dissolve.
- Add the eggs one at a time, beating intensely after each addition to incorporate air, which creates that thin, crackly top layer.
- Gently fold in the vanilla, cocoa powder, flour, and salt using a spatula until just combined—do not overmix the batter here.
- Stir in the chocolate chips and pour the thick, glossy batter into your prepared pan, smoothing the top with your spatula.
- Bake for exactly 25-30 minutes; they should still look slightly underdone in the center to ensure they stay gooey and fudgy.
The Authentic Way To Build The Most Flavorful Street Tacos

Why we love this
Biting into a street taco should feel like a celebration of vibrant culture and bold flavors, with every element working in perfect, messy harmony together. The secret to the viral success of these tacos is the double-layered corn tortilla and the way the meat is seared to crispy, juicy perfection. It’s about the contrast between the hot, savory filling and the bright, cold crunch of onions and cilantro with a squeeze of fresh lime juice. These tacos bring the festive spirit of a sun-soaked street market right into your dining room, making every meal feel like a special occasion.
Ingredients
- 1 lb flank steak or chicken thighs
- 2 tablespoons oil
- 1/2 cup finely chopped white onion
- 1/2 cup fresh cilantro, chopped
- Small corn tortillas
- 2 limes, cut into wedges
- Marinade: 1/4 cup soy sauce, 1/4 cup lime juice, 2 cloves garlic, 1 tsp cumin
How to make it
- Marinate your choice of meat in the soy sauce, lime juice, garlic, and cumin for at least two hours to tenderize and flavor.
- Heat a heavy cast-iron skillet over high heat with a splash of oil until it is smoking slightly to ensure a deep sear.
- Cook the meat quickly until it develops a charred, caramelized exterior while remaining juicy and tender on the inside, then chop finely.
- In a separate pan, lightly toast your corn tortillas until they are warm and have small charred spots, making them pliable and aromatic.
- Stack two tortillas per taco (the authentic street style), fill generously with the meat, and top with raw onions and cilantro.
- Serve immediately with plenty of fresh lime wedges to squeeze over the top, cutting through the richness with a bright citrus burst.
Discover The Best Way To Make A Thick Buttery Caramel Slice

Why we love this
A caramel slice is a three-layered masterpiece that offers a journey of textures, from the shortbread crunch to the silky caramel and the snap of chocolate. This viral version focuses on a caramel that is thick and rich, holding its shape perfectly without being too hard or too runny for the bite. It’s the kind of treat that looks stunning on a platter and tastes like pure, unadulterated luxury in every single square you cut. Sharing these with friends feels like sharing a little piece of your heart, as they are truly the gold standard of homemade confectionery treats.
Ingredients
- Base: 1 cup flour, 1/2 cup sugar, 1/2 cup melted butter
- Caramel: 1/2 cup butter, 1/2 cup brown sugar, 1 can (14oz) condensed milk
- Topping: 7 oz dark chocolate, 1 tablespoon coconut oil
How to make it
- Mix the base ingredients and press into a lined square tin, baking at 350°F (175°C) for 15 minutes until light golden.
- In a saucepan, combine the butter, brown sugar, and condensed milk over medium heat, whisking constantly as it begins to bubble.
- Continue whisking the caramel for 5-7 minutes until it thickens and turns a beautiful deep amber color, then pour over the base.
- Bake the base and caramel together for another 10 minutes to set the middle layer, then allow it to cool completely in the tin.
- Melt the chocolate with coconut oil and pour it over the cooled caramel, spreading it into a smooth, shiny, mirror-like layer.
- Refrigerate for at least 4 hours before slicing with a hot knife to get those clean, sharp edges that look so professional and viral.
Homemade Gnocchi That Melt In Your Mouth Like Little Clouds

Why we love this
There is a profound sense of accomplishment in turning a simple potato into a delicate, fluffy dumpling that feels lighter than air on your tongue. Homemade gnocchi are often misunderstood as being difficult, but the secret is all in the choice of potato and the lightness of your touch during mixing. These little clouds of joy carry your favorite sauces with grace, whether it’s a simple sage butter or a rich, hearty tomato ragu for dinner. It’s a slow-food experience that connects you to the traditions of the past while creating a modern, viral-worthy meal for your loved ones.
Ingredients
- 2 lbs russet potatoes (starchy is key)
- 1 1/2 cups all-purpose flour
- 1 large egg, lightly beaten
- 1 teaspoon salt
- Extra flour for dusting
How to make it
- Boil the potatoes whole with their skins on until tender, then peel them while warm and pass them through a potato ricer.
- Spread the riced potatoes on a tray to let the steam escape for a few minutes; removing moisture is the secret to light gnocchi.
- Mound the potato, sprinkle with flour and salt, make a well in the center, and pour in the beaten egg to start the dough.
- Gently bring the dough together with your hands, kneading as little as possible to avoid developing gluten which makes gnocchi tough.
- Roll the dough into long ropes, cut into 1-inch pieces, and optionally roll them over a fork to create sauce-catching ridges.
- Boil in salted water until they float to the surface (about 2 minutes), then toss immediately into a pan with warm butter and herbs.
The Ultimate Method For Creating The Crispiest Golden Hash Browns

Why we love this
A breakfast plate is never truly complete without the satisfying, shatteringly crisp crunch of a perfectly cooked, golden-brown hash brown resting on the side. The viral secret to getting that restaurant-quality texture at home is all about removing every single drop of moisture from the shredded potatoes before cooking. When you master this, you get a beautiful contrast between the lacy, crunchy exterior and the soft, tender potato strands hidden inside each patty. It’s the ultimate morning ritual that turns a standard breakfast into a gourmet experience that makes your heart feel full and ready for the day.
Ingredients
- 2 large russet potatoes, peeled
- 2 tablespoons clarified butter or oil
- 1/2 teaspoon salt
- 1/4 teaspoon black pepper
- 1/4 teaspoon onion powder
How to make it
- Grate the potatoes using the large holes of a box grater, then immediately place the shreds into a bowl of very cold water.
- Swish the potatoes around to rinse off the excess starch, then drain them and place the shreds into a clean kitchen towel.
- Twist the towel with all your might to squeeze out every bit of liquid; the drier the potato, the crispier the final result.
- Heat your butter or oil in a non-stick skillet over medium-high heat until it shimmers and is ready for the potato shreds.
- Spread the potatoes in a thin, even layer, pressing down with a spatula to ensure maximum contact with the hot surface of the pan.
- Cook for 5-7 minutes per side without moving them until they are deeply golden and crispy, then season with salt and pepper.
A Note From My Heart To Yours
Cooking is so much more than just following steps; it is a way to pour our love into something tangible that nourishes the people we cherish most. I hope these secrets bring a sense of joy and confidence to your kitchen, turning everyday moments into beautiful memories. Remember, my loves, that even if a recipe doesn’t turn out perfectly the first time, the magic is in the journey and the love you put into it. Keep experimenting, keep tasting, and keep sharing the deliciousness of life with everyone around you.