

Cottagecore & Chic: Your Guide to the Ultimate Aesthetic Picnic
Hello, my sweet loves! There is something so incredibly magical about the way the sun filters through the trees during golden hour, isn’t there? Lately, I’ve been dreaming of escaping the digital noise and retreating into a world of lace, wildflowers, and slow conversations. It’s that soft, cloud-like feeling of being present in the moment—where the only thing on your schedule is choosing which piece of fruit looks the prettiest on your plate.
Setting up an aesthetic picnic isn’t just about the food; it’s about creating a little sanctuary for you and your favorite people. It’s a chance to romanticize your life, to lean into that coquette-meets-cottagecore vibe, and to breathe in the fresh air. I’ve put together this little guide to help you curate your own dream afternoon, filled with all the bows, bubbles, and beauty your heart desires. Let’s dive into our soft era together!
7 Steps to Set Up a Dream Picnic

Why to love this recipe:
Creating the perfect base for your picnic is like building a nest. It’s about layers of comfort and visual textures that make you want to stay for hours. This setup creates a cozy, inviting atmosphere that looks just as good as it feels.
Essential Ingredients:
- Large neutral linen tablecloth
- Vintage checkered picnic blanket
- Assorted plush floor cushions
- A low wooden pallet or folding table
- Dried lavender bundles
- Woven picnic basket
- Battery-operated fairy lights
How to Prepare:
- Find a flat, shaded spot under a sprawling tree.
- Lay down your waterproof base or heavy blanket first.
- Layer your aesthetic linen or checkered cloth on top at an angle.
- Place your low table or pallet in the center.
- Scatter your cushions around the perimeter for comfy seating.
- Arrange the picnic basket and lavender bundles as decorative accents.
- Drape fairy lights if you plan to stay until dusk.
Budget Range
- Basic Linen Sheet: $15 – $25
- Woven Basket: $20 – $45
- Floor Cushions: $10 – $30 each
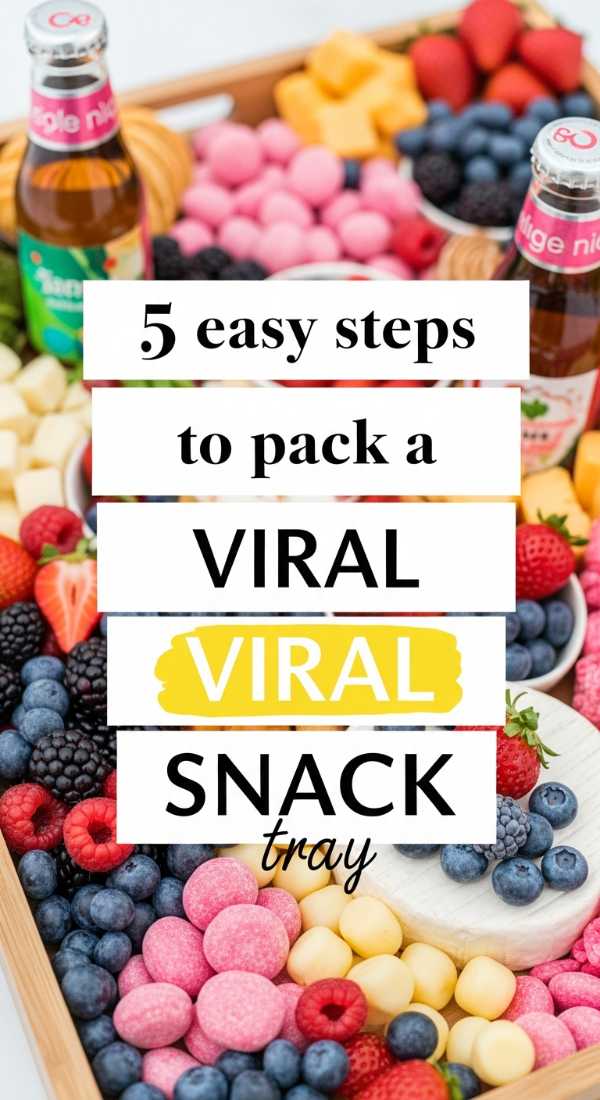
5 Easy Steps to Pack a Viral Snack Tray
Why to love this recipe:
The viral snack tray (or charcuterie board) is the heart of the picnic aesthetic. It’s a colorful, edible art piece that encourages grazing and sharing, making it perfect for those candid ‘Pinterest-perfect’ moments.
Essential Ingredients:
- Wooden or marble serving board
- Brie, sharp cheddar, and goat cheese
- Prosciutto or salami ribbons
- Green grapes and sliced strawberries
- Honey with a wooden dipper
- Edible flowers (pansies or violas)
- Artisan crackers
How to Prepare:
- Place your cheeses as the ‘anchors’ on different corners of the board.
- Fold your meats into ribbons or fans and tuck them next to the cheese.
- Fill the large gaps with clusters of grapes and bright berries.
- Add crackers in a curved path through the center.
- Garnish with honey and a sprinkle of edible flowers for that magical touch.
Budget Range
- Wooden Board: $12 – $40
- Gourmet Cheese Selection: $15 – $30
- Fresh Berries: $5 – $10
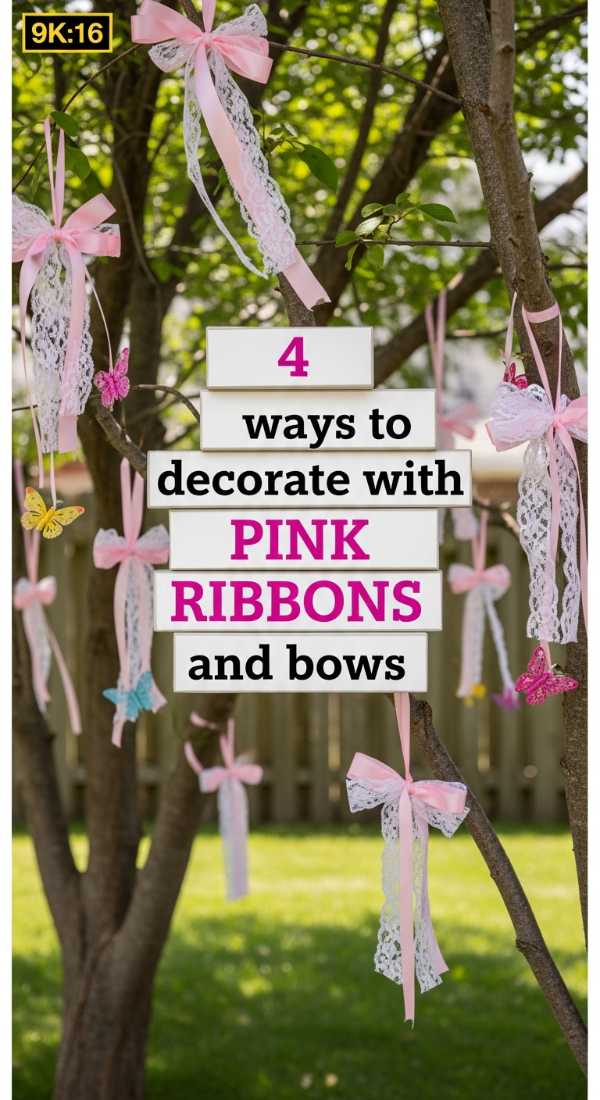
4 Ways to Decorate with Pink Ribbons and Bows
Why to love this recipe:
The ‘coquette’ aesthetic is all about those delicate pink bows! Adding ribbons is the easiest, most affordable way to elevate your picnic from simple to chic, giving everything a soft, feminine touch.
Essential Ingredients:
- Satin or grosgrain pink ribbon (various widths)
- Scissors
- Clear elastic bands
- Wine glasses or mason jars
- Bagels or bread rolls
How to Prepare:
- Tie small bows around the stems of your wine glasses or beverage bottles.
- Wrap a thick ribbon around your picnic basket handle and tie a floppy bow.
- Use thin ribbons to tie little bows around individual pastries or breadsticks.
- Attach bows to the corners of your picnic blanket using small safety pins.
Budget Range
- Spool of Pink Satin Ribbon: $3 – $8
- Bulk Grosgrain Ribbon: $5 – $12
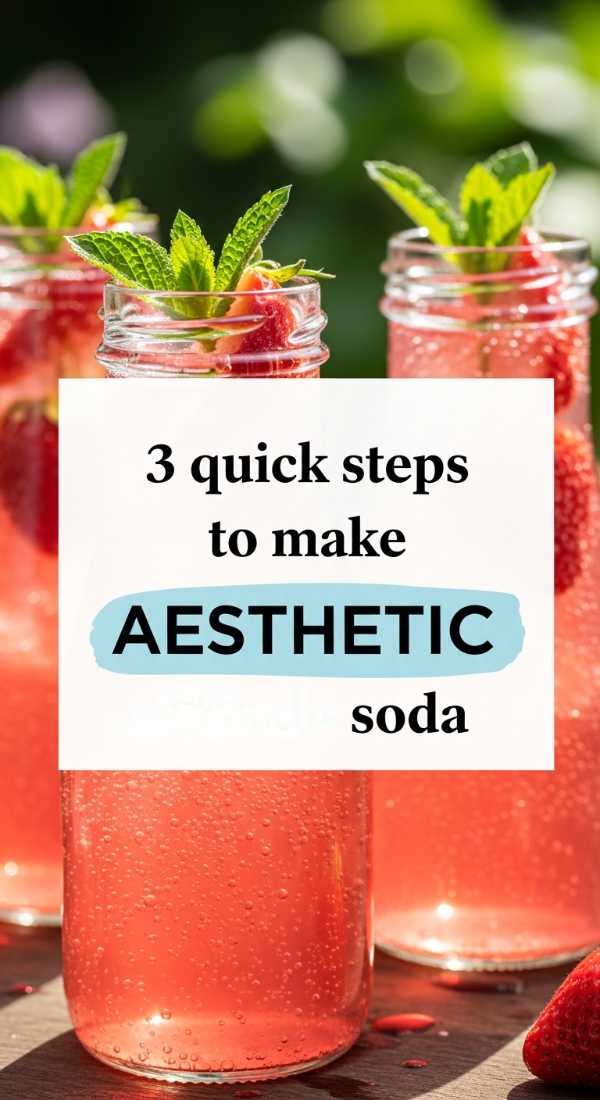
3 Quick Steps to Make Aesthetic Sparkling Soda
Why to love this recipe:
This soda is like drinking a liquid sunset. It’s refreshing, bubbly, and the soft pastel colors look absolutely stunning in photos. It’s the ultimate thirst-quencher for a warm afternoon.
Essential Ingredients:
- Sparkling water or club soda
- Rose or Elderflower syrup
- Fresh raspberries
- Ice cubes with frozen flower petals
- Fresh mint sprigs
How to Prepare:
- Fill your glass with floral ice cubes and a handful of raspberries.
- Pour in two tablespoons of floral syrup for sweetness and color.
- Top with chilled sparkling water and stir gently with a mint sprig.
Budget Range
- Floral Syrup (Monin/Torani): $8 – $15
- Sparkling Water (Case): $5 – $12
- Silicone Ice Tray: $6 – $10
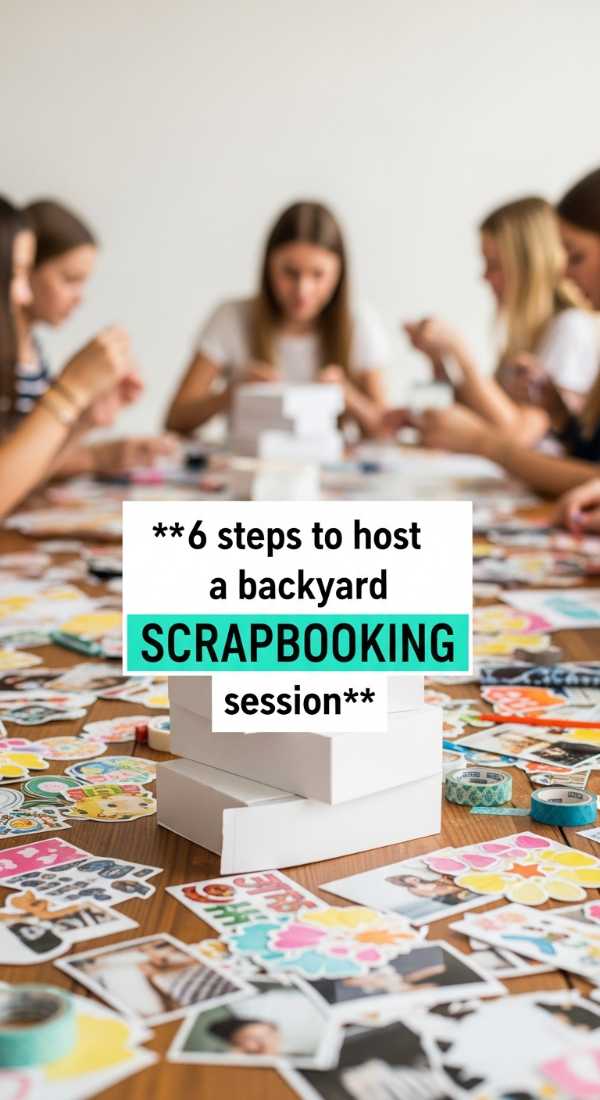
6 Steps to Host a Backyard Scrapbooking Session
Why to love this recipe:
There is nothing more cottagecore than tactile, analog hobbies. Scrapbooking together allows you to preserve your memories while enjoying the gentle breeze of the outdoors.
Essential Ingredients:
- Mini Instax or Polaroid camera
- Blank kraft paper journals
- Washi tape in floral patterns
- Vintage-style stickers
- Calligraphy pens
- Pressed flower stickers
How to Prepare:
- Set up a dedicated ‘creative corner’ on a corner of the picnic blanket.
- Take candid photos of your friends throughout the picnic.
- Print or develop the photos immediately using a portable printer or Instax.
- Glue or tape the photos into the journals using decorative washi tape.
- Add handwritten notes or quotes about the day.
- Decorate the pages with stickers and sketches.
Budget Range
- Kraft Journal: $5 – $15
- Washi Tape Set: $8 – $20
- Instax Film (10 pack): $10 – $15
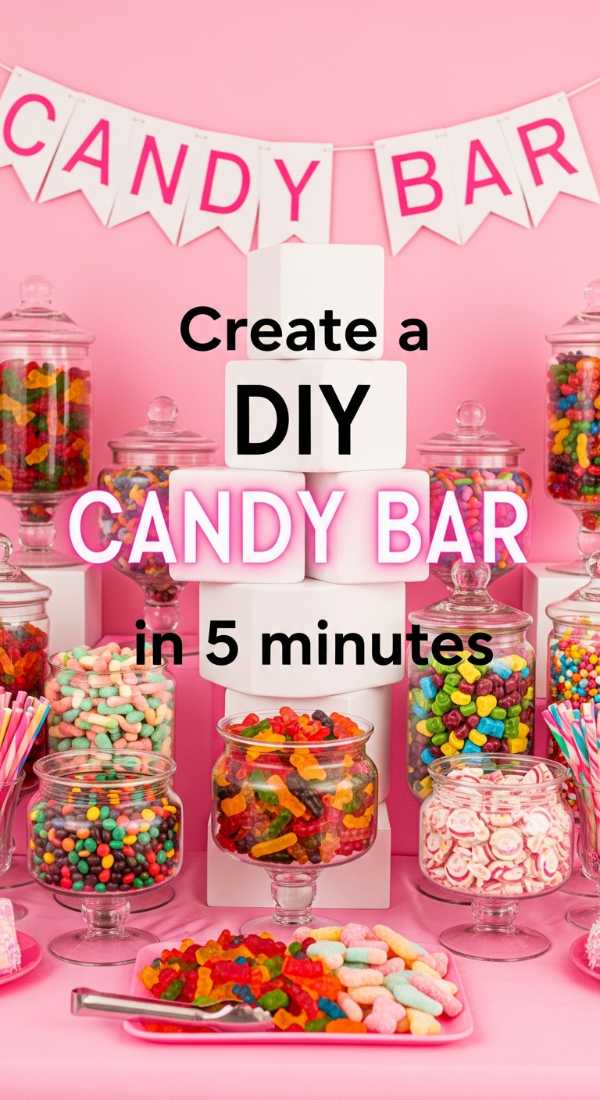
Create a DIY Candy Bar in 5 Minutes
Why to love this recipe:
A candy bar adds a whimsical, nostalgic element to your picnic. It feels like a childhood dream brought to life, offering a sweet ‘pick-me-up’ that looks beautiful in glass jars.
Essential Ingredients:
- Glass apothecary jars or mismatched bowls
- Pastel-colored candies (marshmallows, gummy hearts)
- Small silver tongs
- Paper candy bags
How to Prepare:
- Arrange your jars in a cluster on your picnic table.
- Fill each jar with a different type of pastel or aesthetic candy.
- Place the tongs in a small dish next to the jars.
- Stack the paper bags so guests can create their own custom mix.
- Add a small pink bow to the neck of each jar.
Budget Range
- Assorted Candy: $10 – $25
- Glass Jars (Thrifted): $2 – $10 each
- Mini Tongs: $5 – $10
4 Tips to Take the Perfect Group Picnic Photo

Why to love this recipe:
You’ve put so much effort into the setup; you deserve photos that capture the vibe! These tips ensure everyone looks soft, natural, and perfectly integrated into the aesthetic.
Essential Ingredients:
- Phone tripod with remote
- A high-angle perspective
- Natural sunlight (avoid harsh midday sun)
- Candid movement
How to Prepare:
- Set the tripod up and use a wide-angle lens to capture the whole spread.
- Interact with the food—pick up a strawberry or pour some soda for a ‘candid’ look.
- Sit at different levels (some on cushions, some leaning back) to create depth.
- Shoot during the ‘Golden Hour’ (one hour before sunset) for a warm, hazy glow.
Budget Range
- Phone Tripod: $15 – $30
- Bluetooth Remote: $5 – $10
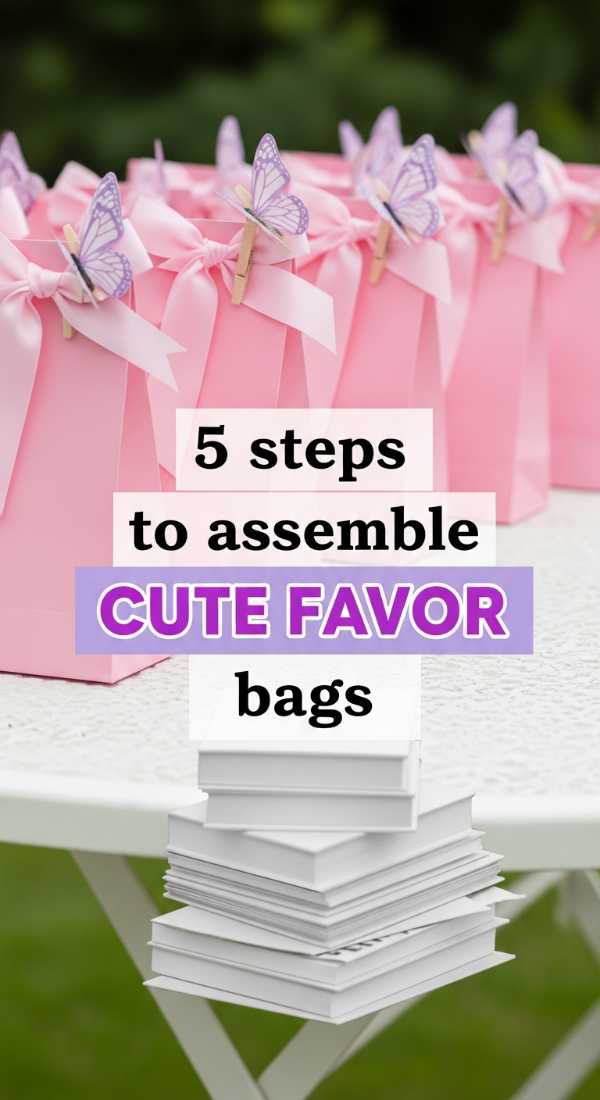
5 Steps to Assemble Cute Party Favor Bags
Why to love this recipe:
Sending your loves home with a little piece of the day is the ultimate act of sweetness. These bags are small tokens of appreciation that keep the magic alive even after the picnic ends.
Essential Ingredients:
- Small organza or cotton drawstring bags
- Handmade friendship bracelets
- Small vials of wildflower seeds
- Dried rose petals
- Custom ‘Thank You’ tags
How to Prepare:
- Fill the bottom of the bag with a sprinkle of dried rose petals.
- Tuck in a vial of seeds and a friendship bracelet.
- Write a tiny personalized note on the ‘Thank You’ tag.
- Pull the drawstrings tight and tie them into—you guessed it—a bow!
- Place the bags in a small basket by the exit of your picnic area.
Budget Range
- Organza Bags (50 ct): $6 – $12
- Wildflower Seeds: $5 – $10
- Friendship Bracelet Thread: $5 – $15
3 Ways to Style a Fancy Picnic Outfit

Why to love this recipe:
Your outfit is the final piece of the aesthetic puzzle! Dressing the part helps you feel fully immersed in the cottagecore fantasy and makes every photo look like a movie scene.
Essential Ingredients:
- Linen midi dress with puff sleeves
- Wide-brimmed straw hat
- Dainty gold jewelry
- Mary Jane shoes or lace-up sandals
How to Prepare:
- Option 1: The Classic Muse—A white linen dress paired with a ribbon in your hair.
- Option 2: The Earthy Gardener—Floral print midi skirt with a soft knit cardigan.
- Option 3: The Vintage Dreamer—Gingham print dress with a wide-brimmed hat and gold lockets.
Budget Range
- Linen Dress: $30 – $80
- Straw Hat: $15 – $35
- Hair Ribbons: $2 – $5
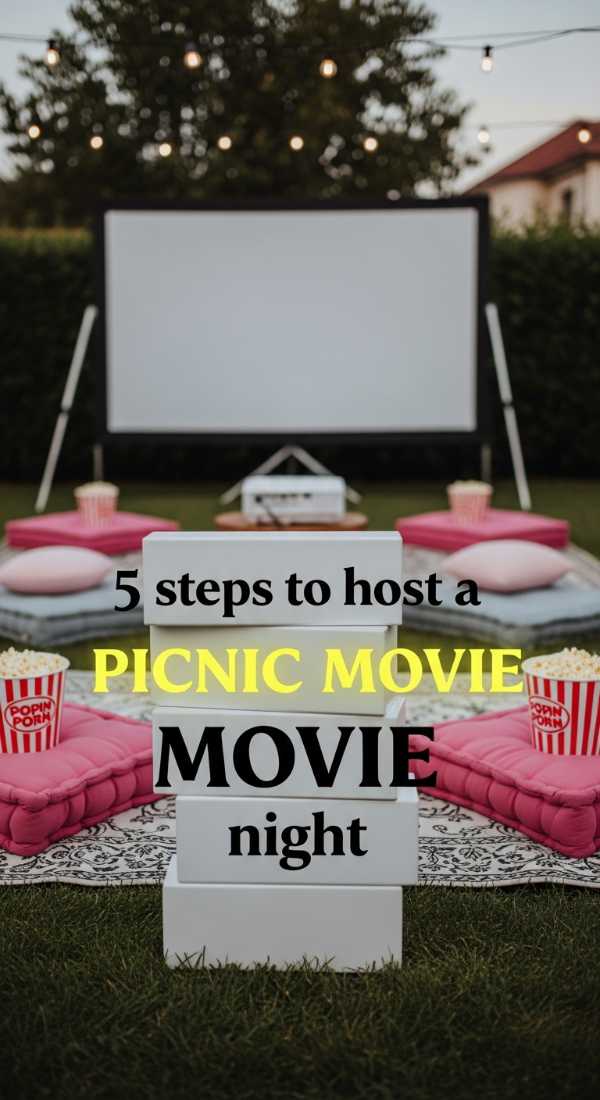
5 Steps to Host a Picnic Movie Night
Why to love this recipe:
As the sun goes down, the picnic evolves into an enchanting outdoor cinema. It’s the perfect way to transition from a sunny afternoon into a cozy, starlit evening.
Essential Ingredients:
- Portable mini projector
- White bedsheet (for the screen)
- Clothespins
- Extra wool blankets
- Popcorn in aesthetic bowls
How to Prepare:
- Pin a white sheet tightly between two trees or against a wall.
- Set up your projector on a stable surface (like your picnic table).
- Connect your phone or laptop and adjust the focus.
- Pass out the extra blankets as the air gets chilly.
- Serve bowls of popcorn and start your favorite comfort movie.
Budget Range
- Mini Projector: $60 – $150
- White Sheet: $10 – $20
- Wool Blankets: $20 – $50
Conclusion
Planning the ultimate aesthetic picnic is really just an excuse to slow down and cherish the beautiful details of life. Whether you’re tying pink bows on your glasses or scrapbooking under the trees, I hope you feel that warm, cloud-soft embrace of joy. Remember, my loves, the most important ‘ingredient’ is the laughter and connection you share with your friends. Now go forth, grab your baskets, and create your own little slice of heaven! I can’t wait to see your beautiful setups.