
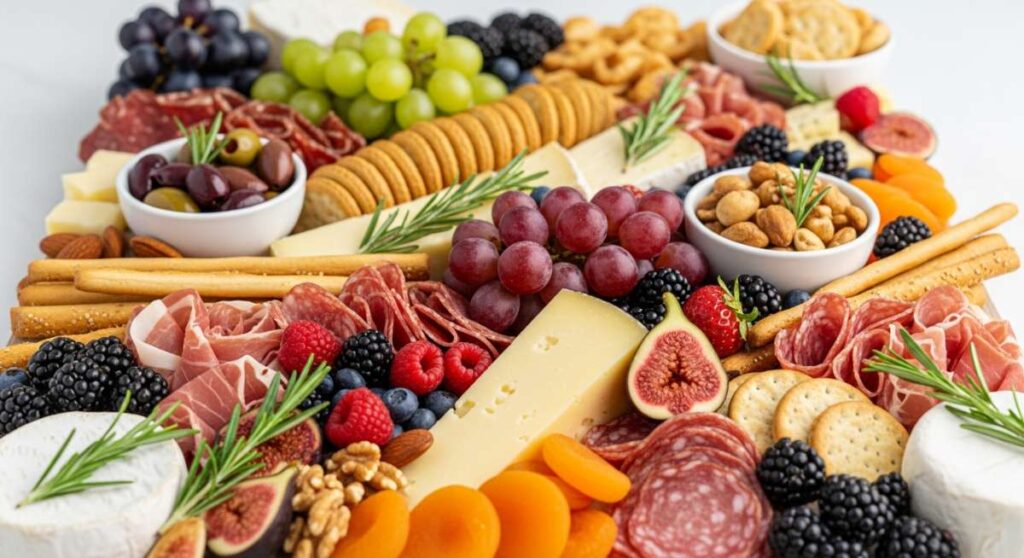
There is something undeniably magical about the way a beautifully arranged food board can transform a simple weeknight dinner into a celebratory event. I remember the first time I set out a rustic wooden platter overflowing with vibrant, roasted vegetables and a steaming bowl of velvet-smooth soup; the room instantly felt warmer, and my friends couldn’t stop taking photos before they even took a bite. It’s more than just a meal; it’s an invitation to slow down, graze, and appreciate the colors and textures of the season.
Creating the ultimate aesthetic food board isn’t about being a professional chef; it’s about the art of layering flavors and visual interest. In this guide, we are diving deep into the world of roasted gems and comforting broths. Whether you’re hosting a cozy gathering or just want to treat yourself to a viral-worthy lunch, these techniques will help you master the balance of crispy, tender, and savory elements that make a board truly unforgettable.
How to roast perfect vegetables?
Why we love this
There is a profound transformation that happens in the oven when vegetables meet the right amount of heat and oil. We love this method because it coaxes out the hidden natural sugars, creating a caramelized exterior while keeping the heart of the vegetable tender and juicy. The aroma of roasting garlic and earthy root vegetables wafting through the kitchen creates a sense of home and comfort that is simply unmatched. It provides a satisfying crunch that yields to a buttery soft center, making every bite a complex dance of sweet and savory notes.
Ingredients
- 2 lbs of assorted vegetables (sweet potatoes, zucchini, bell peppers)
- 3 tablespoons high-quality extra virgin olive oil
- 1 teaspoon sea salt
- 1/2 teaspoon freshly cracked black pepper
- 2 sprigs of fresh rosemary, stripped and chopped
How to make it
- Begin by preheating your oven to 425°F (218°C). This high temperature is crucial for achieving that golden-brown caramelization without overcooking the interior into mush.
- Cut your vegetables into uniform sizes, approximately 1-inch chunks, to ensure they cook at the same rate. This prevents smaller pieces from burning while larger ones remain raw.
- In a large mixing bowl, toss the vegetables with the olive oil, salt, pepper, and rosemary until every surface is shimmering and well-coated.
- Spread the vegetables in a single layer on a heavy-duty rimmed baking sheet. It is vital not to crowd the pan; if the vegetables are touching too much, they will steam instead of roast, losing that desired crispness.
- Roast for 25-35 minutes, using a metal spatula to toss them halfway through. Look for the ‘visual cue’: the edges should be deeply browned and slightly charred, and a fork should easily pierce the thickest piece with no resistance.
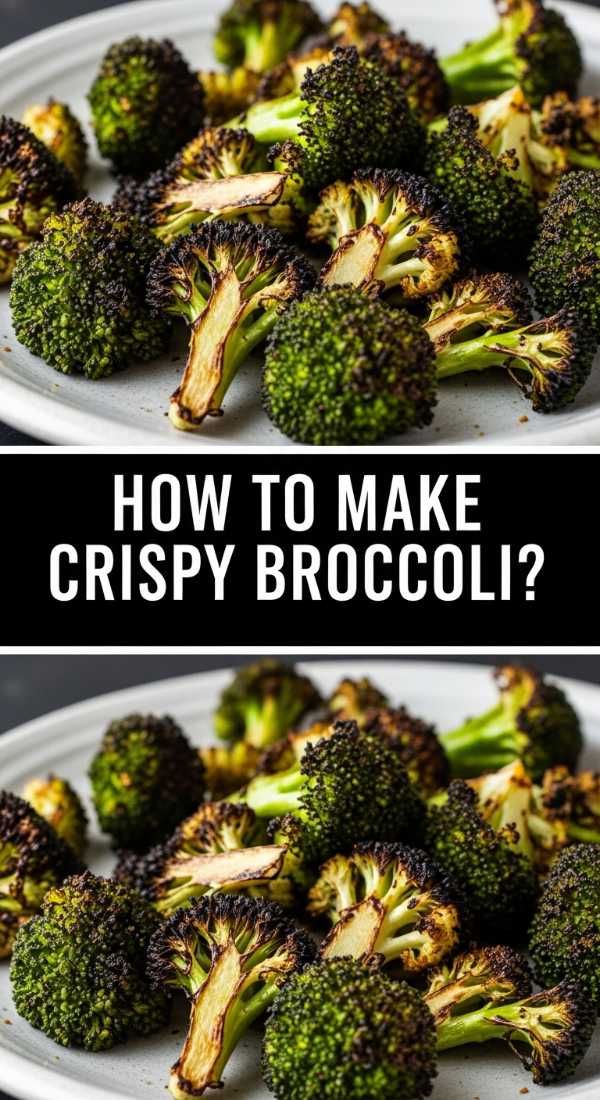
How to make crispy broccoli?

Why we love this
Crispy broccoli is a complete revelation for anyone who grew up eating soggy, boiled greens. This version features delicate, lacy florets that turn dark and brittle, mimicking the satisfying snap of a potato chip but with a deep, nutty richness. The stems remain slightly firm yet succulent, providing a wonderful structural contrast. It’s the kind of dish that disappears in minutes because the combination of salty crunch and earthy sweetness is incredibly addictive, turning a humble vegetable into a gourmet snack.
Ingredients
- 2 large heads of fresh broccoli
- 2 tablespoons avocado oil (for its high smoke point)
- 1 teaspoon garlic powder
- 1/2 teaspoon red pepper flakes (optional)
- Zest of one lemon
How to make it
- Wash the broccoli thoroughly and, most importantly, dry it completely using a clean kitchen towel or salad spinner. Water is the enemy of crispiness; any moisture will create steam in the oven.
- Cut the broccoli into bite-sized florets, keeping a bit of the stem attached for texture. Preheat your oven to 400°F (200°C).
- Whisk the avocado oil, garlic powder, and red pepper flakes in a bowl, then pour over the broccoli florets, massaging the oil into the ‘trees’ of the florets to ensure the seasoning is trapped in the crevices.
- Arrange the florets on a baking sheet, ensuring the flat cut sides are facing down against the hot metal; this maximizes the surface area for browning.
- Roast for 20-22 minutes. The tips of the florets should look almost burnt—a deep mahogany brown—and feel stiff to the touch. Remove from the oven and immediately sprinkle with fresh lemon zest for a bright, acidic finish.
How to glaze roasted carrots?

Why we love this
Glazing carrots elevates them from a simple side dish to the crown jewel of your food board. We love how the syrupy glaze clings to the ridges of the carrots, creating a glossy, jewel-toned finish that catches the light beautifully. The flavor profile is a sophisticated blend of natural carrot sweetness amplified by honey or maple, balanced by a hint of acidity that cuts through the richness. The texture is silky and supple, offering a luxurious mouthfeel that feels indulgent yet wholesomely healthy.
Ingredients
- 1 lb slender bunch carrots (tops removed)
- 2 tablespoons unsalted butter, melted
- 1 tablespoon honey or pure maple syrup
- 1 teaspoon balsamic vinegar
- A pinch of flaky sea salt
How to make it
- Preheat your oven to 400°F (200°C). Scrub the carrots clean, but leave the skin on for a more rustic, earthy look and added nutrients.
- In a small ramekin, whisk together the melted butter, honey (or syrup), and balsamic vinegar until the mixture is emulsified and smooth.
- Place the carrots on a parchment-lined baking sheet and drizzle two-thirds of the glaze over them. Roll the carrots around to ensure they are fully submerged in the liquid.
- Roast for 15 minutes, then remove the tray and brush the remaining glaze over the carrots. This double-glazing technique ensures a thick, tacky coating that won’t just run off the vegetable.
- Continue roasting for another 10-15 minutes. The carrots are done when they are tender throughout and the glaze has reduced into a bubbling, sticky coating that has slightly charred in spots.
How to make vegetable soup?
Why we love this
A pot of homemade vegetable soup is like a warm hug for the soul, and it serves as the perfect dipping companion for your food board. We love the way the different elements meld together over a low simmer, creating a complex broth that is rich with the essence of thyme, bay leaves, and slow-cooked aromatics. It’s incredibly versatile and nourishing, filling the home with a savory, herbaceous scent that promises comfort. Each spoonful is a medley of textures, from the soft give of simmered potatoes to the slight bite of fresh herbs added at the finish.
Ingredients
- 1 large onion, diced
- 3 cloves garlic, minced
- 2 stalks celery, sliced
- 4 cups vegetable stock (low sodium)
- 1 can (14 oz) diced tomatoes
- 2 cups chopped kale or spinach
- 1 teaspoon dried thyme
How to make it
- Set a large Dutch oven or heavy-bottomed pot over medium heat. Add a splash of olive oil and sauté the onion and celery for about 5-7 minutes. You want them to become translucent and soft, but not browned; this ‘sweating’ process builds the flavor base.
- Add the minced garlic and dried thyme, stirring constantly for 60 seconds until the aroma is released. Be careful not to burn the garlic, as it will turn bitter.
- Pour in the diced tomatoes (with their juices) and the vegetable stock. Increase the heat to high to bring the liquid to a rolling boil.
- Once boiling, immediately reduce the heat to low, cover the pot with a tilted lid, and let it simmer gently for 20-25 minutes. This slow simmer allows the flavors of the vegetables to infuse into the broth.
- Stir in the kale or spinach during the last 3 minutes of cooking until just wilted. Taste the broth and adjust salt and pepper as needed before serving in small bowls on your board.
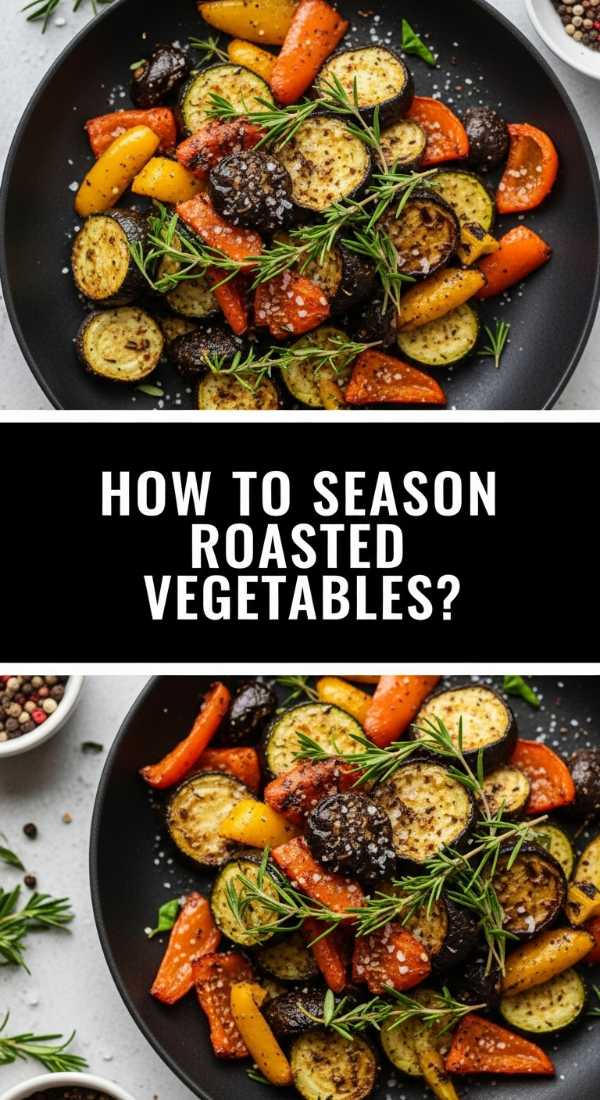
How to season roasted vegetables?
Why we love this
Proper seasoning is the secret language of great cooking, turning the ordinary into the extraordinary. We love this approach because it moves beyond just salt and pepper, incorporating layers of spices and herbs that tell a story. The way a pinch of smoked paprika can add a campfire depth, or how a sprinkle of nutritional yeast can provide a cheesy, umami finish, is nothing short of transformative. It’s about creating a sensory experience where the smell hits you first, followed by a burst of flavor that highlights the vegetable’s natural essence rather than masking it.
Ingredients
- Selection of vegetables
- 1 teaspoon smoked paprika
- 1/2 teaspoon onion powder
- 1/2 teaspoon dried oregano
- A squeeze of fresh lemon juice (post-roasting)
- Maldon flaky salt for finishing
How to make it
- Start with dry vegetables; any surface moisture will dilute the spices and prevent them from adhering properly.
- In a small bowl, create a ‘dry rub’ by mixing your paprika, onion powder, and oregano. Mixing them beforehand ensures an even distribution so one bite isn’t overwhelmed by a single spice.
- Drizzle your vegetables with oil first, then sprinkle the spice mix from high above the bowl (the ‘rain’ technique) while tossing. This prevents clumps of seasoning.
- Roast as per standard instructions (usually 400°F). The heat will toast the spices, deepening their flavor profile and releasing essential oils.
- The final, critical step happens the moment the tray leaves the oven: hit the vegetables with a squeeze of fresh lemon juice and a sprinkle of flaky salt. The acid brightens the toasted spices, making the flavors ‘pop’ on the palate.
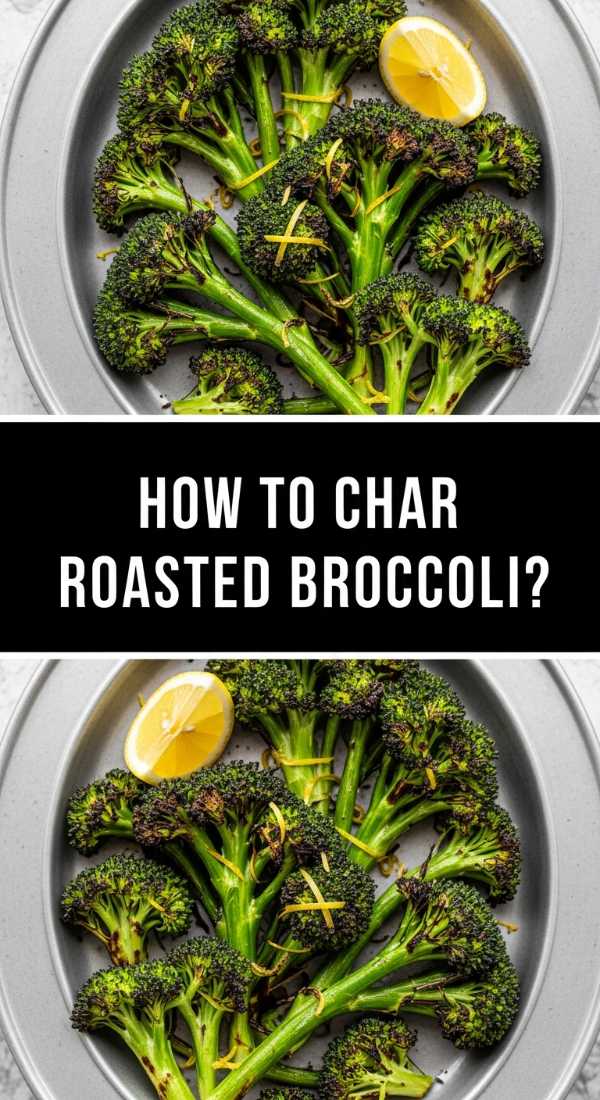
How to char roasted broccoli?
Why we love this
Charring is an intentional flirtation with fire that brings a sophisticated, smoky edge to your food board. We love the dramatic contrast between the blackened, crispy edges and the bright green, tender stalks. This method introduces a bitter-sweet complexity that mimics the flavors of a high-end steakhouse side dish. The texture is unmatched—the charred bits provide a delicate crunch that shatters in the mouth, releasing a deep, toasted flavor that makes you forget you’re eating something as healthy as broccoli.
Ingredients
- 1 head of broccoli, cut into large florets
- 3 tablespoons extra virgin olive oil
- 1/2 teaspoon Kosher salt
- High-heat oven or broiler setting
How to make it
- Move your oven rack to the highest position, closest to the heating element, and preheat your oven to its highest setting (usually 450°F or 500°F), or prepare to use the broiler.
- Toss the broccoli florets in a generous amount of olive oil. Because you are using extreme heat, the oil acts as a heat conductor to create that instant char.
- Place a heavy baking sheet in the oven while it preheats. Once the oven is ready, carefully pull the hot tray out and dump the broccoli onto it. You should hear a distinct sizzle immediately.
- Spread the florets out quickly and return to the top rack. Roast for 8-12 minutes, watching closely through the oven window.
- The visual cue is ‘smoke and shadow’: the very tips of the florets should turn dark charcoal black, and the stems should show brown spots. Do not be afraid of the color; this is where the smoky flavor lives.
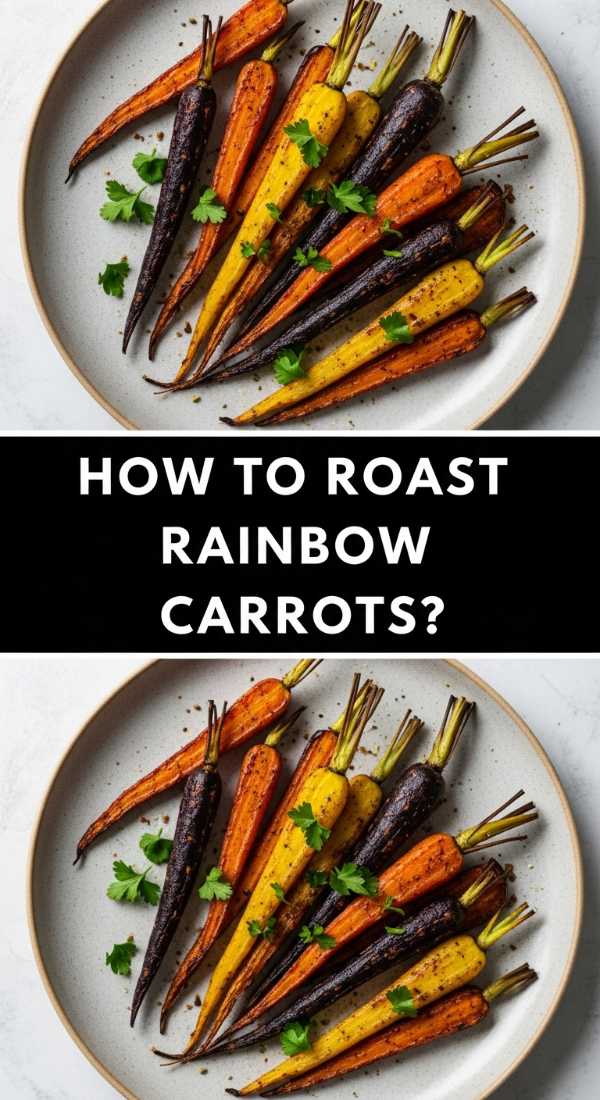
How to roast rainbow carrots?

Why we love this
Rainbow carrots are the ultimate aesthetic upgrade for any viral food board, offering a stunning palette of deep purples, sunny yellows, and vibrant oranges. We love how each color carries a slightly different flavor note—the purple ones often have an earthy, spicy undertone, while the yellow ones are mild and sweet. When roasted, they look like a collection of edible jewels. They provide a high-end, artisanal feel to your spread, making the entire board look professional and thoughtfully curated with very little extra effort.
Ingredients
- 1 bunch of multi-colored rainbow carrots
- 2 tablespoons light olive oil
- 3 cloves of garlic, smashed but skin-on
- Fresh thyme sprigs
How to make it
- Preheat your oven to 400°F (200°C). Peel the carrots lightly to reveal the brightest colors underneath the skin, especially the purple ones which can look dark until peeled.
- If the carrots vary greatly in thickness, slice the thicker ones in half lengthwise so they all cook at the same speed. This ensures every carrot reaches that perfect ‘al dente’ texture.
- Lay them on a baking sheet and toss with oil, salt, the smashed garlic cloves, and the whole thyme sprigs. The garlic and thyme will perfume the oil as it roasts, infusing the carrots with a subtle, savory aroma.
- Roast for 20-25 minutes. About halfway through, use tongs to rotate each carrot.
- They are finished when the skins look slightly wrinkled and the tips are starting to caramelize. The purple carrots may bleed a little juice—this is normal and adds to the rustic beauty of the board.
How to blend vegetable soup?
Why we love this
A blended soup offers a silky, velvety texture that acts as a luxurious base for toppings and a perfect dip for crusty bread. We love the transformation from a chunky pot of vegetables to a smooth, uniform puree that feels incredibly elegant on the tongue. It creates a concentrated flavor profile where every spoonful is a perfect balance of all the ingredients. Plus, it’s a fantastic way to hide extra greens or root vegetables, resulting in a vibrant, colorful bowl that anchors the aesthetic of your food board.
Ingredients
- Pot of cooked vegetable soup (ensure vegetables are very soft)
- 1/4 cup heavy cream or coconut milk (optional, for creaminess)
- High-speed blender or immersion blender
How to make it
- Ensure your soup has simmered long enough that the hardest vegetables (like carrots or potatoes) can be easily smashed with a spoon against the side of the pot.
- If using a standard pitcher blender, let the soup cool for 5-10 minutes. Never fill the blender more than halfway with hot liquid, and always remove the center plastic piece of the lid, covering it with a folded kitchen towel instead. This allows steam to escape and prevents a ‘pressure explosion.’
- Blend on low speed, gradually increasing to high until the texture is completely liquid and smooth. If using an immersion blender, submerge the blade completely before turning it on to avoid splashing.
- For a professional ‘restaurant-style’ finish, pass the blended soup through a fine-mesh sieve into a clean pot. This removes any tiny fibers or skins, leaving you with a liquid silk texture.
- Gently reheat the soup on the stove, stirring in a splash of cream or coconut milk if you desire a richer, more opaque look for your photos.
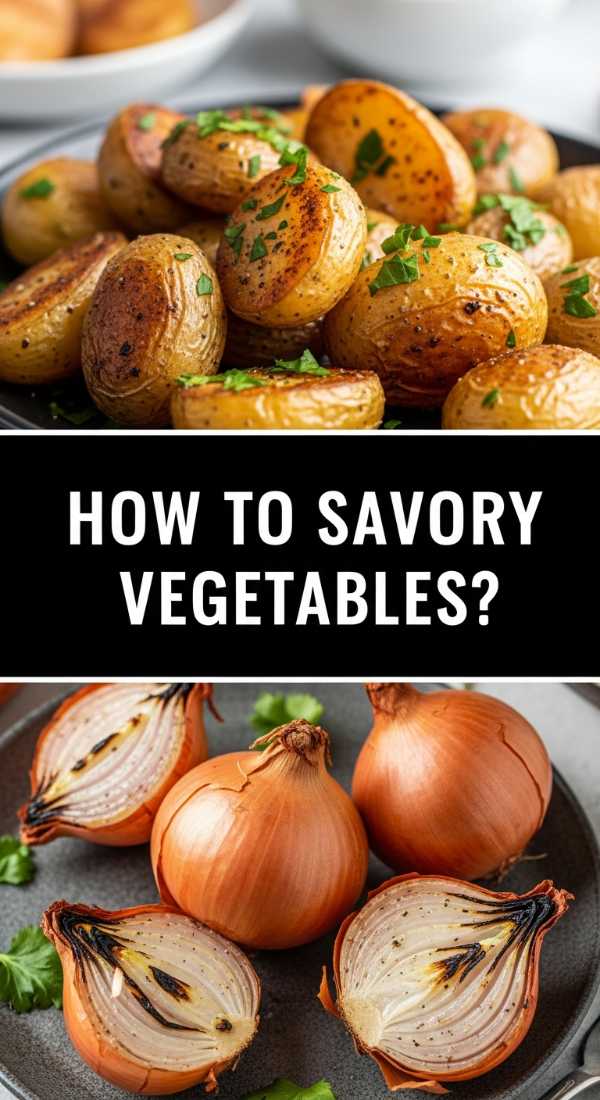
How to roast savory vegetables?
Why we love this
Savory roasting is all about building ‘umami’—that deep, meaty, satisfying fifth taste. We love this technique because it uses ingredients like tamari, balsamic, and hard herbs to create a profile that feels incredibly hearty and substantial. The smell is intoxicating, reminiscent of a Sunday roast, but entirely plant-based. It’s the perfect way to satisfy a craving for something ‘filling’ while keeping the board light and fresh. The vegetables take on a dark, rich hue that adds a moody, sophisticated aesthetic to your food arrangement.
Ingredients
- Mixed vegetables (mushrooms, onions, Brussels sprouts)
- 2 tablespoons balsamic vinegar
- 1 tablespoon soy sauce or tamari
- 2 cloves garlic, minced
- 1 teaspoon dried rubbed sage
How to make it
- Preheat your oven to 425°F (218°C). In a small bowl, whisk together the balsamic vinegar, soy sauce, minced garlic, and sage to create a savory marinade.
- Toss your vegetables in this mixture, ensuring the mushrooms (which act like sponges) soak up the liquid. Let them sit for 5 minutes before putting them in the oven.
- Spread on a baking sheet. The sugars in the balsamic and the proteins in the soy sauce will cause the vegetables to brown much faster than oil alone, so keep a close eye on them.
- Roast for 20-30 minutes. You are looking for a ‘glaze-like’ finish where the liquid has evaporated and turned into a dark, savory coating.
- The visual cue for doneness is a deep, chocolatey brown color on the edges of the onions and a shrunken, concentrated look to the mushrooms.
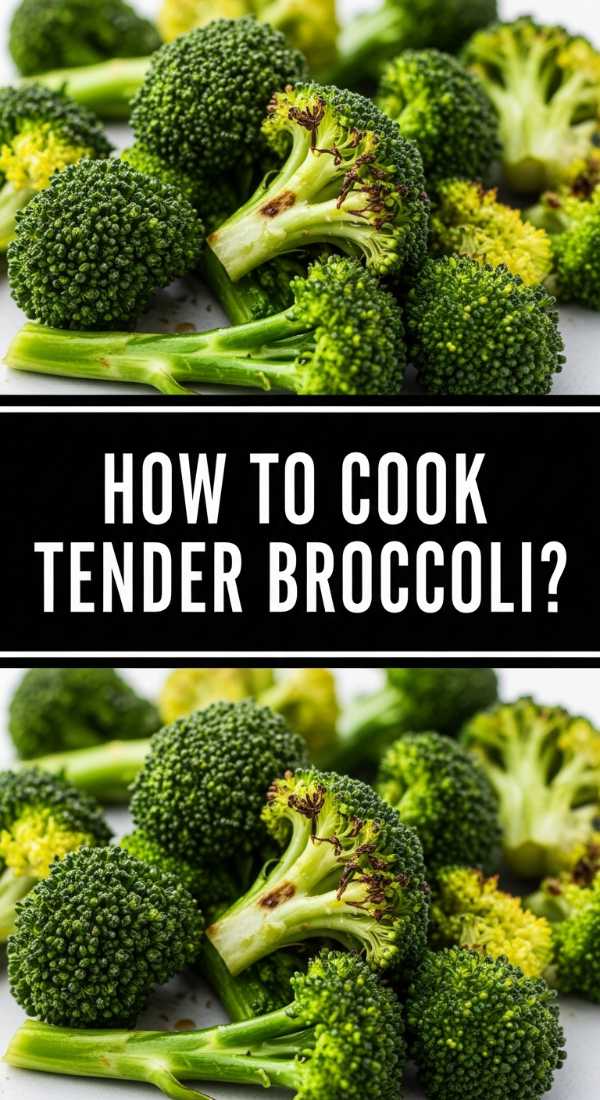
How to cook tender broccoli?
[IMAGE_10]
Why we love this
While crispy is great, there is a special place on a food board for tender, succulent broccoli that melts in your mouth. We love this version because it prioritizes a soft, buttery texture and a bright, emerald-green color that pops against the more muted tones of roasted roots. It feels clean and refreshing, providing a gentle contrast to the more charred elements of the board. It’s perfect for soaking up a bit of lemon juice or a light tahini drizzle, offering a juicy, hydrated bite that balances out the dryer roasted components.
Ingredients
- 1 large head of broccoli
- 1/4 cup water or vegetable broth
- 1 tablespoon butter or olive oil
- A pinch of salt and a dash of lemon
How to make it
- Cut the broccoli into uniform florets with slightly longer stems. The stems contain a lot of sweetness when cooked until tender.
- Instead of a full roast, use a ‘steam-roast’ hybrid method. Place the broccoli in a skillet or on a baking tray and add a small amount of water or broth to the bottom.
- Cover tightly with a lid or aluminum foil and cook at 400°F (200°C) for the first 10 minutes. This traps the steam, softening the cellulose fibers of the broccoli quickly without drying them out.
- Remove the cover, drizzle with butter or oil, and cook for an additional 5-7 minutes. This allows the remaining moisture to evaporate and the edges to just begin to soften further.
- The broccoli is perfect when the color is a vivid, ‘electric’ green and the stem can be easily pierced with a fork like softened butter.
The Finishing Touch: Styling Your Board
Now that you have mastered the components, it’s time to assemble. Start by placing your soup bowls as anchors, then arrange the vegetables in flowing ‘rivers’ of color. Interperse the crispy textures with the tender ones, and don’t be afraid to let things overlap. A sprinkle of fresh herbs over the entire board at the end ties everything together, creating that viral, effortless look that is as delicious as it is beautiful.