
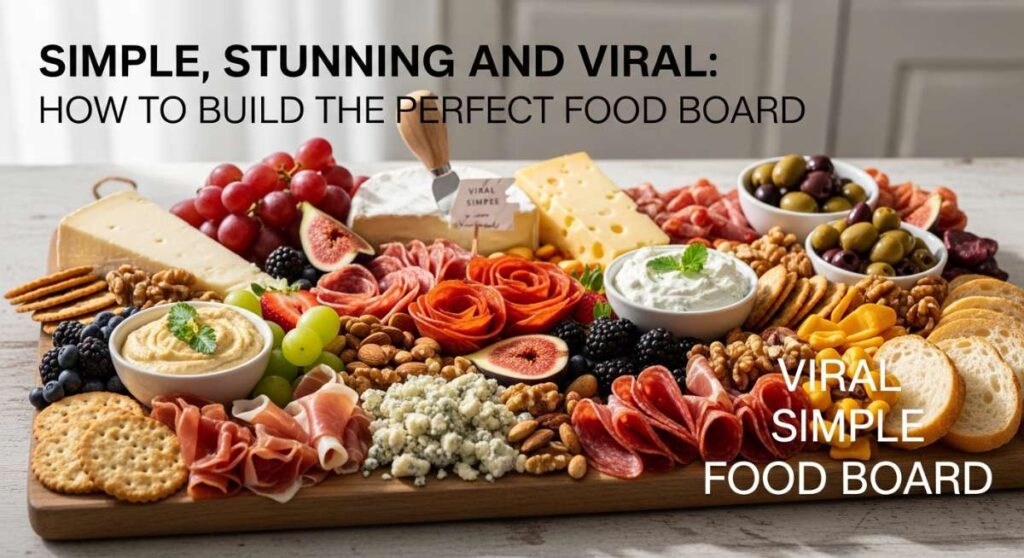
There is something inherently magical about gathering around a table filled with colors, textures, and the inviting aroma of a home-cooked feast. In our fast-paced world, the ‘food board’ has become more than just a trend; it is a celebration of connection and the art of slowing down to savor every bite. Whether you’re hosting a weekend brunch for friends or just trying to make a Tuesday night dinner feel special, building a stunning food board is the ultimate way to turn simple ingredients into a viral-worthy masterpiece that tastes even better than it looks.
I remember the first time I set out a massive spread instead of individual plates; the energy in the room shifted instantly. People started reaching, sharing, and talking more freely as they customized their own perfect bites. It’s that sense of abundance and effortless beauty that we’re chasing today. By combining high-quality proteins like juicy chicken and garlic salmon with vibrant roasted vegetables and zesty pastas, you can create a centerpiece that is both nourishing for the body and a delight for the eyes. Let’s dive into the essential components that will make your next food board legendary.
How to cook juicy chicken?

Why we love this
There is nothing quite like the satisfaction of slicing into a perfectly cooked chicken breast that is bursting with moisture and savory juices. The golden-brown crust offers a delicate crunch that gives way to a tender, supple interior, seasoned perfectly to enhance the natural richness of the poultry. When served on a board, these succulent slices act as the anchor, inviting guests to pair them with various dips and sides. The aroma of searing herbs and butter creates an immediate sense of warmth and comfort in the kitchen.
Ingredients
- 2 large boneless, skinless chicken breasts
- 2 tablespoons olive oil
- 1 tablespoon unsalted butter
- Salt and freshly cracked black pepper
- 1 teaspoon garlic powder
- 1/2 teaspoon dried oregano
How to make it
- Begin by patting the chicken breasts completely dry with paper towels; removing surface moisture is the secret to achieving a deep, golden sear rather than steaming the meat.
- Season both sides generously with salt, pepper, garlic powder, and oregano, pressing the spices into the meat so they adhere during the cooking process.
- Heat a heavy-bottomed stainless steel or cast-iron skillet over medium-high heat for 2-3 minutes until it is shimmering but not smoking.
- Add the olive oil and butter to the pan; once the butter foam subsides, carefully lay the chicken in, moving it away from you to avoid splashes.
- Sear undisturbed for 5-6 minutes until a thick, golden crust forms and the meat releases easily from the pan.
- Flip the chicken and reduce the heat to medium; cook for another 5-7 minutes until the internal temperature reaches exactly 160°F (71°C).
- Remove the chicken from the pan and let it rest on a cutting board for at least 8 minutes; this allows the fibers to relax and reabsorb the juices, ensuring every bite is incredibly tender.
How to make chicken stirfry?
Why we love this
A vibrant chicken stirfry brings an explosion of colors and high-energy textures to any food board, offering a beautiful contrast to heavier items. The snap of fresh bell peppers combined with the glossy, umami-rich sauce coating tender morsels of chicken creates a sensory experience that is both light and deeply satisfying. It’s the sound of the sizzling wok and the sweet, gingery fragrance wafting through the air that makes this dish an absolute crowd-pleaser that looks stunning in a central bowl on your spread.
Ingredients
- 1 lb chicken thigh, cut into 1-inch cubes
- 2 cups mixed bell peppers and broccoli florets
- 3 tablespoons soy sauce
- 1 tablespoon honey
- 1 tablespoon grated fresh ginger
- 2 cloves minced garlic
- 1 tablespoon cornstarch
- 2 tablespoons vegetable oil
How to make it
- Whisk together the soy sauce, honey, ginger, garlic, and cornstarch in a small bowl to create a slurry; ensure there are no lumps as this will be your thickening agent.
- Place a wok or a large non-stick skillet over very high heat; the pan needs to be searingly hot to achieve the characteristic ‘wok hei’ or breath of the wok.
- Add one tablespoon of oil and sear the chicken cubes in a single layer for 3-4 minutes until they are browned on all sides; remove the chicken and set aside.
- Wipe the pan briefly, add the remaining oil, and toss in the vegetables; stir-fry rapidly for 2-3 minutes so they remain bright and crisp-tender.
- Return the chicken to the pan and pour the sauce over the mixture, stirring constantly as the liquid begins to bubble and thicken into a glossy glaze.
- Cook for 1 more minute until everything is evenly coated and the chicken is fully cooked through, then garnish with sesame seeds or green onions for a professional finish.
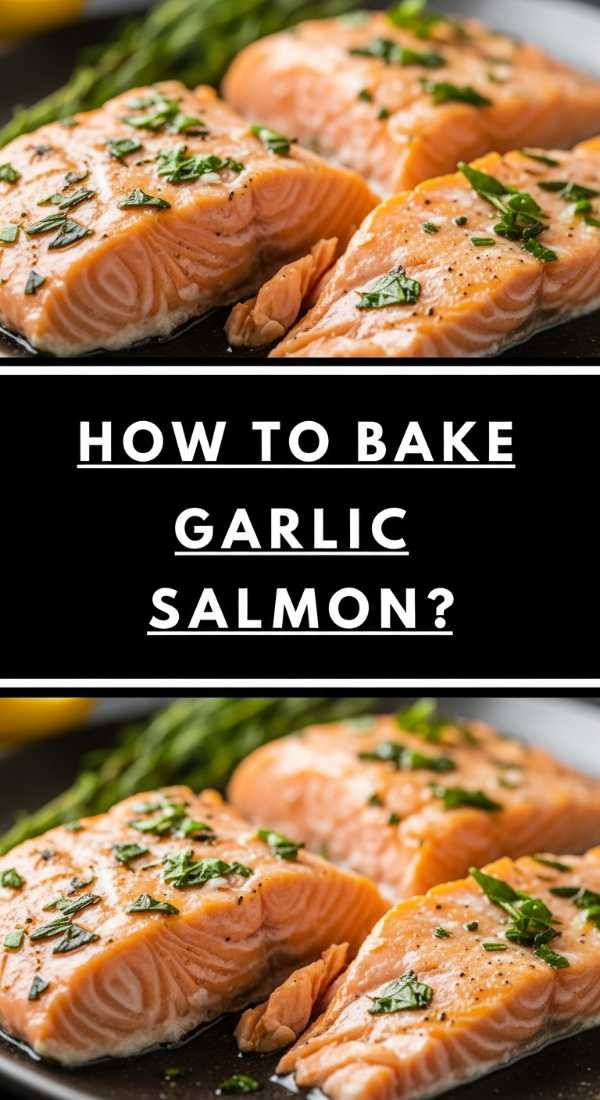
How to bake garlic salmon?

Why we love this
Salmon is the crown jewel of any upscale food board, offering a luxurious texture that practically melts on the tongue. The combination of roasted garlic and rich, healthy fats creates a buttery profile that is elevated by the slight char from the oven. As the salmon bakes, it releases a delicate, savory aroma that signals a sophisticated meal is about to begin. Its vibrant pink hue adds a pop of natural color that draws the eye, making it the perfect centerpiece for a health-conscious yet indulgent layout.
Ingredients
- 2 large salmon fillets
- 3 cloves garlic, minced
- 2 tablespoons melted butter
- 1 tablespoon fresh parsley, chopped
- 1/2 teaspoon sea salt
- 1/2 teaspoon lemon zest
How to make it
- Preheat your oven to 400°F (200°C) and line a baking sheet with parchment paper or lightly greased foil for easy cleanup.
- In a small ramekin, stir together the melted butter, minced garlic, lemon zest, and half of the parsley to create a fragrant basting liquid.
- Place the salmon fillets skin-side down on the prepared sheet and pat the tops dry to ensure the garlic mixture stays in place.
- Brush the garlic butter generously over each fillet, ensuring the entire surface is coated, then sprinkle with sea salt.
- Slide the tray into the center rack of the oven and bake for 12-15 minutes; the time depends on thickness, so look for the meat to turn opaque and flake easily with a fork.
- For a gourmet touch, switch the oven to broil for the last 60 seconds to slightly caramelize the garlic bits on top, then garnish with the remaining fresh parsley.
How to make lemon chicken?
Why we love this
Lemon chicken is the ultimate breath of fresh air for your palate, cutting through the richness of other board components with its bright, acidic profile. The citrus notes dance against the savory herbs, creating a dish that feels light, summery, and incredibly revitalizing. We love the way the lemon slices caramelize in the pan, adding a sticky-sweet chewiness that complements the tender meat. It is a visually stunning dish that brings a sunny, Mediterranean vibe to your viral food board arrangement.
Ingredients
- 4 chicken thighs, bone-in or boneless
- 1 large lemon, half sliced into rounds and half juiced
- 2 tablespoons olive oil
- 1 tablespoon honey
- 2 cloves garlic, smashed
- Fresh sprigs of thyme or rosemary
How to make it
- In a large bowl, whisk together the lemon juice, olive oil, honey, and smashed garlic to create a zesty marinade.
- Add the chicken to the marinade and toss well, allowing it to sit for at least 20 minutes at room temperature so the acidity can begin tenderizing the proteins.
- Heat a large oven-proof skillet over medium heat and place the chicken skin-side down (if using skin-on) to render the fat and achieve a golden color.
- Arrange the lemon rounds and herb sprigs around the chicken in the pan, allowing them to sizzle in the juices.
- Transfer the entire skillet into a preheated oven at 375°F (190°C) and roast for 20-25 minutes.
- Baste the chicken with the pan juices halfway through to keep the meat moist and infuse it with the concentrated lemon flavor.
- Check for an internal temperature of 165°F (74°C), then let it rest briefly before serving the chicken alongside the charred lemon slices.
How to roast healthy vegetables?

Why we love this
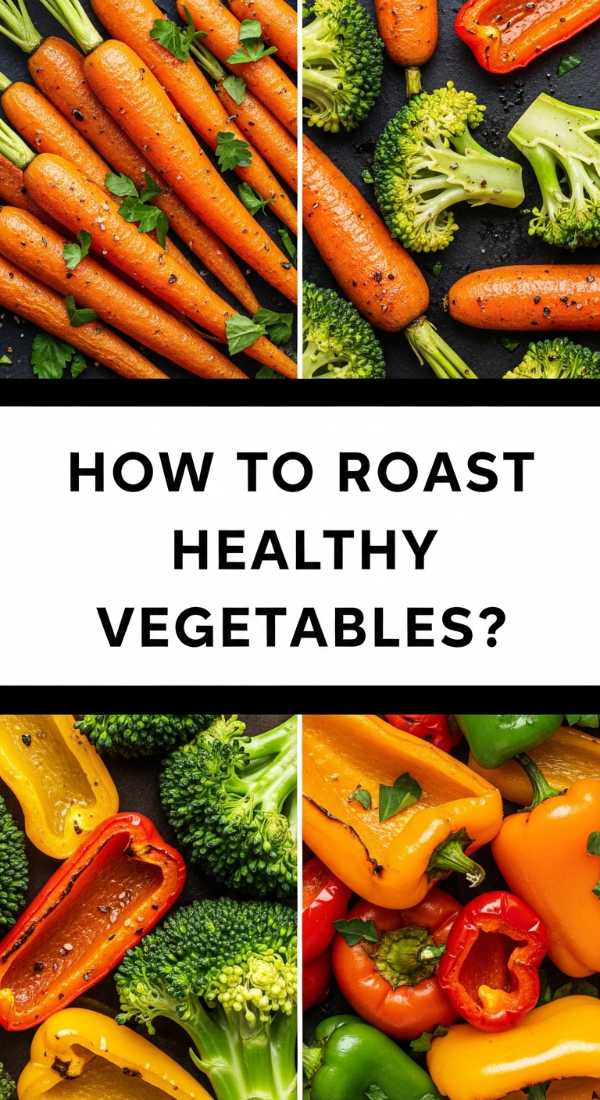
Roasted vegetables are the unsung heroes of the perfect food board, providing the essential earthy sweetness and crunch that balances out proteins. When roasted at high heat, the natural sugars in carrots, Brussels sprouts, or sweet potatoes caramelize into a rich, complex flavor profile that raw veggies simply can’t match. The contrast between the charred, crispy edges and the tender, soft centers creates a delightful mouthfeel. They fill the gaps on your board with rustic charm and a rainbow of autumnal or spring colors.
Ingredients
- 4 cups mixed vegetables (carrots, bell peppers, zucchini, red onion)
- 3 tablespoons olive oil
- 1 teaspoon dried thyme
- 1 teaspoon smoked paprika
- Salt and pepper to taste
How to make it
- Preheat your oven to 425°F (220°C); a high temperature is crucial for roasting as it ensures the exterior browns before the interior becomes mushy.
- Cut all vegetables into uniform sizes—roughly 1-inch pieces—to ensure they cook at the same rate and look consistent on your board.
- Toss the vegetables in a large bowl with the olive oil, thyme, smoked paprika, salt, and pepper until every piece is glistening.
- Spread the vegetables onto a large baking sheet in a single layer; overcrowding the pan will cause them to steam rather than roast, so use two sheets if necessary.
- Roast for 20-30 minutes, tossing them with a spatula halfway through the cooking time to ensure even browning.
- The vegetables are done when they are tender enough to be pierced by a fork and feature dark, caramelized edges that provide maximum flavor.
How to make chicken tacos?
Why we love this
Chicken tacos are the definition of fun, interactive eating, making them a centerpiece of any viral food board. They bring a fiesta of textures—from the soft, warm tortillas to the crunchy slaw and creamy avocado. The smoky, spiced chicken provides a robust base that pairs perfectly with tangy lime and fresh cilantro. We love how a taco section on a board allows guests to build their own creations, making the meal an engaging experience rather than just a seated dinner.
Ingredients
- 1 lb shredded cooked chicken
- 1 tablespoon taco seasoning (cumin, chili powder, onion powder)
- Small corn or flour tortillas
- Toppings: Pickled onions, avocado slices, cilantro, lime wedges
- 1/2 cup salsa
How to make it
- Place the shredded chicken in a skillet over medium heat and add the taco seasoning along with a splash of water or chicken broth to keep it moist.
- Stir the chicken constantly for 3-5 minutes until the spices are well-distributed and the liquid has reduced into a thick, flavorful coating.
- While the chicken warms, heat your tortillas directly over a gas flame for 10 seconds per side or in a dry pan until they are soft and slightly charred.
- Keep the tortillas warm by wrapping them in a clean kitchen towel while you assemble the rest of your board.
- Place the warm chicken in a decorative bowl and surround it with small ramekins filled with your various toppings like lime and pickled onions.
- Instruct your guests to layer the chicken first, followed by the heavy toppings, finishing with a generous squeeze of lime for that essential acidic kick.
How to prep dinner bowls?

Why we love this
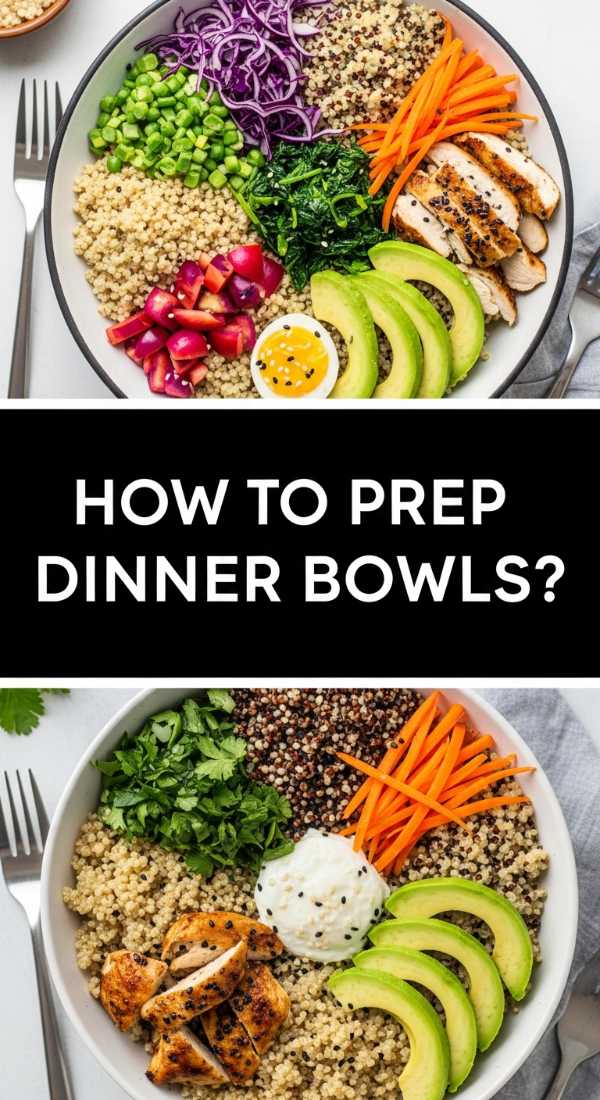
Dinner bowls are all about the harmony of disparate elements coming together in one cohesive, beautiful bite. On a food board, a ‘bowl station’ allows for a curated mix of grains, proteins, and fresh greens that feels both intentional and abundant. We love the versatility here—the way a nutty quinoa base can support a spicy chicken or a mild roasted veggie. It’s a healthy, customizable way to eat that looks incredibly organized and professional when laid out with precision.
Ingredients
- 2 cups cooked grains (quinoa, brown rice, or farro)
- 2 cups fresh arugula or kale
- 1 cup chickpeas or black beans
- Prepared protein (chicken or salmon)
- Tahini or lemon-tahini dressing
How to make it
- Start by prepping your base grains; cook them in vegetable broth instead of water to add an extra layer of hidden flavor and depth.
- Massage your kale with a little olive oil and salt if using, or lightly dress your arugula to ensure the greens are seasoned from the start.
- On your food board, use large, shallow bowls to hold the grains and greens separately, creating ‘zones’ for different base components.
- Prep your ‘add-ins’ by rinsing beans and slicing any fresh raw vegetables like cucumbers or radishes very thinly for a refined look.
- Arrange the components in a circular fashion within the bowls or in separate clusters on the board, allowing for a ‘build-your-own’ flow.
- Provide a small pitcher of dressing on the side so guests can control the level of moisture and tanginess in their individual bowls.
How to bake crispy chicken?
Why we love this
Crispy chicken brings that irresistible ‘crunch factor’ that every board needs to feel complete. There is something deeply nostalgic and satisfying about a golden, breaded piece of chicken that shatters slightly when you bite into it, revealing juicy meat inside. This version skips the heavy frying for a lighter, oven-baked approach that still delivers on texture. The sight of those golden-brown cutlets lined up on a board is enough to make anyone’s mouth water, providing a sturdy, finger-food option for all ages.
Ingredients
- 2 chicken breasts, sliced into strips
- 1 cup Panko breadcrumbs
- 1/2 cup grated Parmesan cheese
- 1/2 cup flour
- 2 eggs, beaten
- 1 teaspoon garlic salt
How to make it
- Set up a dredging station with three shallow bowls: one with flour, one with the beaten eggs, and one with a mix of Panko, Parmesan, and garlic salt.
- Preheat your oven to 425°F (220°C) and place a wire cooling rack on top of a baking sheet; this allows hot air to circulate under the chicken, ensuring crispiness on all sides.
- Dredge each chicken strip first in the flour (shaking off the excess), then the egg, and finally press firmly into the Panko mixture until fully coated.
- Arrange the strips on the wire rack, leaving space between them so they don’t touch and steam each other.
- Spray the tops of the chicken lightly with olive oil spray; this helps the breadcrumbs brown and mimic the texture of deep-frying.
- Bake for 15-18 minutes until the coating is a deep golden brown and the chicken is cooked through, then let them sit for 2 minutes to crisp up further before plating.
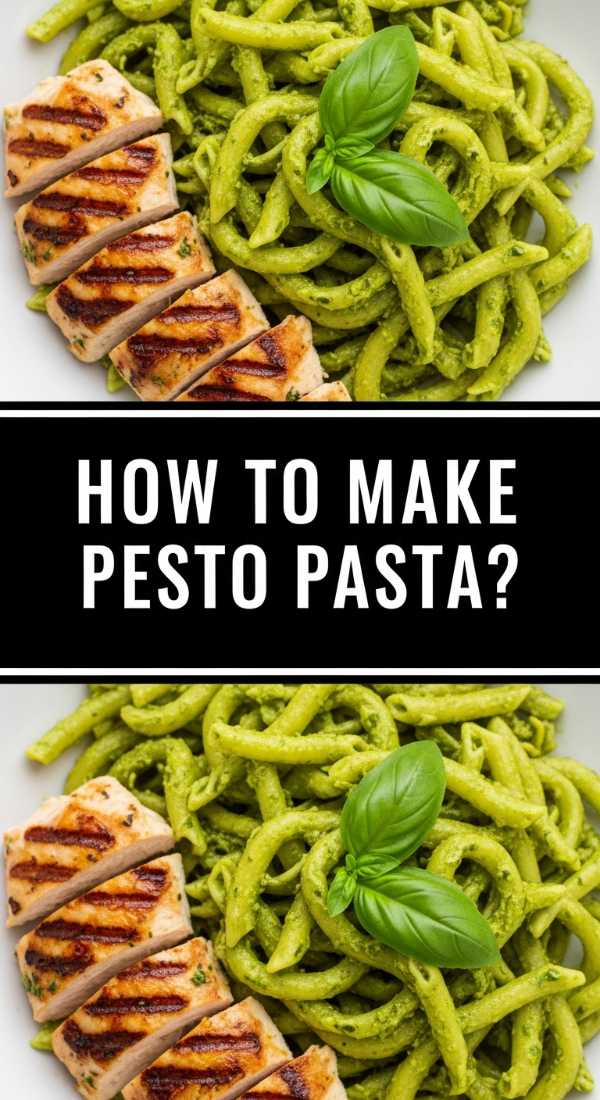
How to make pesto pasta?
Why we love this
Pesto pasta is a vibrant, herbaceous addition that brings a pop of bright green and a rich, nutty aroma to your spread. The way the sauce clings to every twist and turn of the pasta ensures a burst of basil and garlic in every single forkful. It serves as a fantastic bridge between the fresh vegetables and the heavier proteins on your board. We love it because it can be served warm or at room temperature, making it a stress-free staple for long, lingering meals with friends.
Ingredients
- 12 oz pasta (fusilli or trofie work best)
- 1/2 cup fresh basil pesto
- 1/4 cup reserved pasta water
- 1/4 cup toasted pine nuts
- Extra Parmesan for topping
How to make it
- Bring a large pot of heavily salted water to a rolling boil; the water should taste like the sea to properly season the pasta from the inside out.
- Cook the pasta until it is ‘al dente’—firm to the bite—usually about 1-2 minutes less than the package instructions suggest.
- Before draining, carefully scoop out a cup of the starchy pasta water; this liquid gold is the secret to a smooth, emulsified sauce.
- Drain the pasta and return it to the warm pot (off the heat), then add the pesto and a few splashes of the reserved pasta water.
- Toss vigorously; the starch in the water combines with the oil in the pesto to create a creamy coating that won’t clump.
- Transfer to a serving bowl on your board and top with toasted pine nuts and an extra dusting of Parmesan for texture and visual appeal.
How to make chicken salad?
[IMAGE_10]
Why we love this
Chicken salad is the ultimate versatile component, offering a creamy, cool contrast to the warm, roasted items on your board. It provides a delightful mix of textures: tender chicken, crunchy celery, and perhaps the snap of a fresh grape or apple. It feels classic yet can be modernized with different herbs and spices. When served in a beautiful glass bowl or on large lettuce leaves, it adds an element of elegance and serves as a fantastic spread for crackers or toasted baguette slices.
Ingredients
- 2 cups cooked, shredded chicken
- 1/2 cup Greek yogurt or mayonnaise
- 1/4 cup diced celery
- 2 tablespoons red onion, finely minced
- 1 teaspoon Dijon mustard
- Fresh dill or parsley
How to make it
- In a large mixing bowl, combine the Greek yogurt (or mayo), Dijon mustard, and chopped herbs to create a creamy, tangy dressing base.
- Fold in the finely diced celery and red onion, ensuring they are evenly distributed so every bite has a consistent crunch.
- Add the shredded chicken to the bowl and use a large spatula to fold the mixture together until the chicken is thoroughly coated but not smashed.
- Season with salt and plenty of black pepper to taste; the creaminess of the dressing often requires a bit more seasoning than you might expect.
- If you have time, let the salad chill in the refrigerator for 30 minutes before serving; this allows the flavors to meld and the dressing to thicken.
- Serve in a chilled bowl on your board, garnished with a few sprigs of fresh dill to signal the freshness of the ingredients.
Final Thoughts on the Perfect Board
Building a viral-worthy food board is less about following strict rules and more about embracing variety and abundance. By focusing on these core recipes—from the sizzle of the stirfry to the crunch of the crispy chicken—you create a landscape of flavors that invites exploration. Remember to fill in the gaps with small handfuls of nuts, fresh berries, or sprigs of herbs to give it that lush, ‘pro-blogger’ look. Most importantly, enjoy the process of creating something beautiful for the people you love. Happy hosting!