
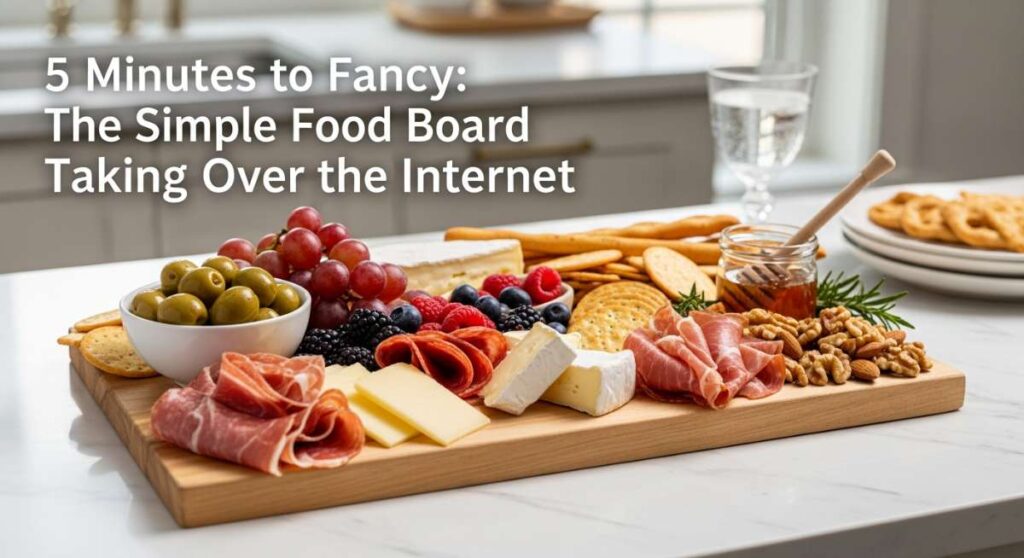
5 Minutes to Fancy: The Simple Food Board Taking Over the Internet
We’ve all been there: the doorbell is about to ring, your friends are parking their cars, and you’re standing in the kitchen feeling like you missed the memo on how to be a ‘Pinterest-perfect’ host. There is a certain kind of magic in gathering people together, but the stress of prep work often steals the joy right out of the evening. That’s why I fell head-over-heels for the ‘Simple Food Board’ trend—it’s the ultimate hack for looking like a pro without the three-day prep cycle.
This isn’t just about throwing crackers on a plate; it’s about creating a curated, decadent experience that celebrates textures, temperatures, and bold flavors. It’s about that ‘wow’ factor when you set a board down and everyone immediately reaches for their phones to take a photo before diving in. These bite-sized delights are designed to be effortless yet elevated, turning a casual Tuesday night into a memory your friends will talk about for weeks.
How to make crispy potatoes?
Why we love this
There is something fundamentally comforting about a perfectly crispy potato that shatters with a satisfying crunch before revealing a middle as soft as a cloud. The aroma of roasted rosemary and garlic dancing through the air is enough to make any kitchen feel like a rustic bistro in the heart of the countryside. When they are hot from the oven, glistening with a light coat of sea salt and olive oil, they become the undisputed stars of any food board, providing a salty, earthy base that pairs beautifully with almost any dip or drink.
Ingredients
- Baby Yukon Gold potatoes
- Extra virgin olive oil
- Fresh rosemary sprigs
- Flaky sea salt and cracked black pepper
- Garlic powder
How to make it
- Start by parboiling your baby potatoes in a large pot of heavily salted water for about 10-12 minutes. You want them tender enough that a fork pierces them easily but not so soft that they fall apart completely.
- Drain the potatoes and let them steam dry in a colander for 2 minutes; this removal of excess moisture is the secret to maximum crunch.
- Place the potatoes on a large baking sheet and use the bottom of a heavy glass or a potato masher to gently ‘smash’ them until they are about half an inch thick, creating jagged edges that will crisp up beautifully.
- Drizzle generously with high-quality olive oil and sprinkle with chopped rosemary, garlic powder, salt, and pepper. Toss gently to ensure every nook and cranny is coated.
- Roast in a preheated oven at 425°F (220°C) for 25-30 minutes. Do not flip them too early! Wait until the bottoms are deep golden brown and the edges look lacy and dark before turning them over for the final 5-10 minutes of cooking.
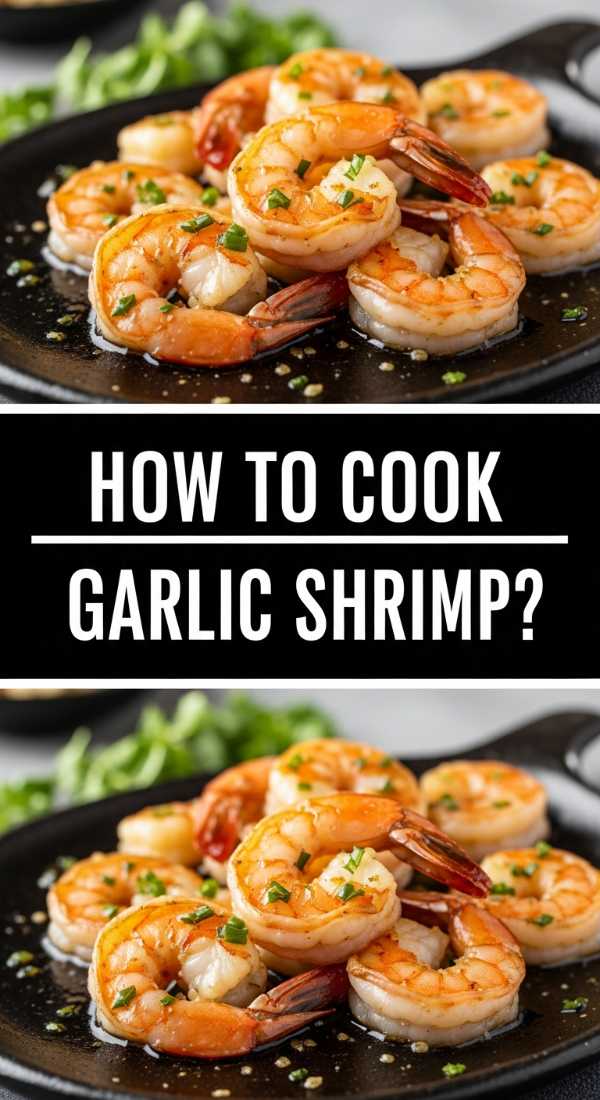
How to cook garlic shrimp?

Why we love this
Garlic shrimp are the epitome of ‘fast-fancy,’ offering a luxurious, protein-packed addition to your board that feels incredibly indulgent. The way the butter emulsifies with the shrimp juices and the pungent garlic creates a rich, velvety sauce that begs to be soaked up with a piece of crusty bread. Each bite offers a snap of freshness followed by a wave of savory, lemony brightness that cuts through the richness of other board components like cheese or fried snacks. It is a sensory experience that feels like a summer night on the coast.
Ingredients
- Large shrimp, peeled and deveined
- 4 cloves of garlic, minced
- Unsalted butter and olive oil
- Red pepper flakes
- Fresh parsley and lemon wedges
How to make it
- Pat your shrimp completely dry with paper towels. Any moisture on the surface will cause the shrimp to steam rather than sear, and we want that beautiful golden color.
- Heat a large skillet over medium-high heat and add a tablespoon of olive oil and two tablespoons of butter. Wait until the butter stops foaming and starts to turn a very pale nut-brown.
- Add the shrimp in a single layer, making sure not to overcrowd the pan. If you have a lot of shrimp, work in batches to maintain the heat of the skillet.
- Sear the shrimp for 2 minutes without moving them. Once they develop a pinkish-orange hue on the bottom, flip them over and immediately add the minced garlic and red pepper flakes.
- Cook for only 1 more minute until the shrimp are opaque and curled into a loose ‘C’ shape. Do not overcook, or they will become rubbery. Remove from heat, toss with fresh parsley and a heavy squeeze of lemon juice, and serve immediately while the butter is still sizzling.
How to bake cheesy bites?
Why we love this
Cheesy bites are the ultimate crowd-pleaser, delivering a warm, gooey center encased in a golden, herb-crusted dough that pulls apart with effortless grace. The scent of melting mozzarella mixed with Italian seasoning is a nostalgic trigger for pure comfort and joy. As you pull one apart, the long, elastic stretch of the cheese creates a visual feast that is just as satisfying as the taste itself. They are chewy, salty, and utterly addictive, making them the perfect centerpiece for a shared board where everyone is reaching for just ‘one more.’
Ingredients
- Refrigerated pizza dough or biscuit dough
- Mozzarella cheese cubes
- Melted butter
- Garlic salt and Italian herbs
- Grated parmesan cheese
How to make it
- Preheat your oven to 375°F (190°C) and line a baking sheet with parchment paper to prevent the cheese from sticking if any leaks out.
- Divide your dough into small, golf-ball-sized portions. Flatten each piece in the palm of your hand and place a single cube of mozzarella right in the center.
- Carefully fold the dough over the cheese and pinch the seams tightly. Roll the ball between your palms to ensure a smooth, spherical shape with no gaps for the cheese to escape during baking.
- In a small bowl, whisk together melted butter, garlic salt, and dried Italian herbs. Dip each dough ball into the butter mixture or brush it on generously until they are fully coated.
- Arrange the balls on the baking sheet, touching slightly if you want a ‘pull-apart’ effect. Sprinkle with grated parmesan and bake for 15-18 minutes until they are puffed up and a deep, golden brown. Let them rest for 3 minutes before serving so the cheese sets slightly.
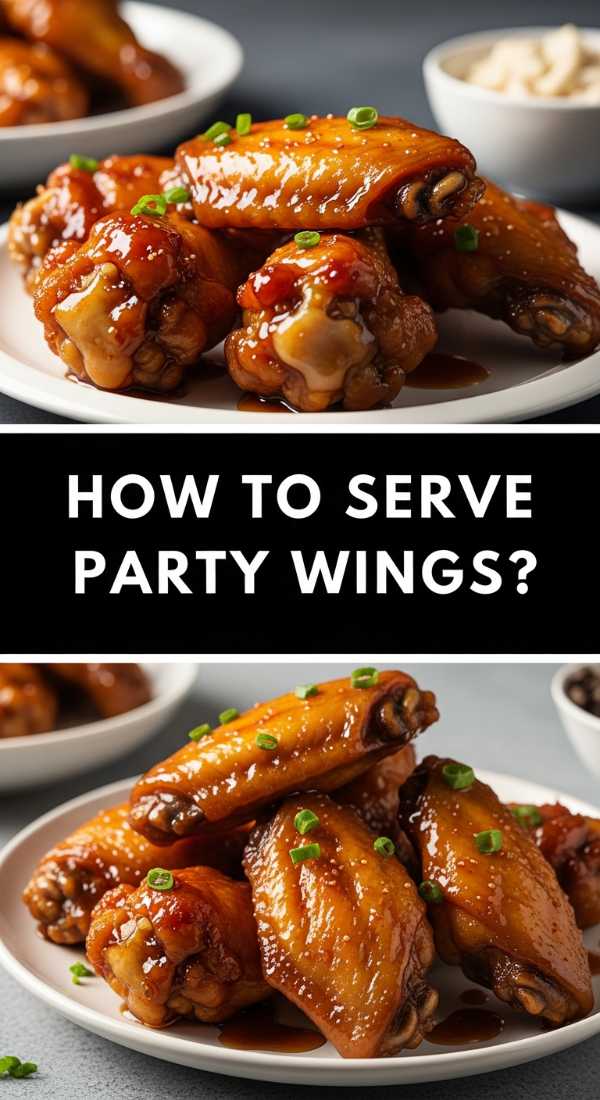
How to serve party wings?

Why we love this
There is a rugged, primal joy in a tray of perfectly cooked party wings, especially when they strike the balance between a crispy exterior and a succulent, tender interior. The way the sticky glaze clings to the skin, providing a sweet-and-spicy kick that lingers on the palate, makes them a high-energy addition to any gathering. Whether they are charred from a grill or crisped in an air fryer, the combination of smoky aroma and bold sauce creates an interactive eating experience that encourages guests to get their hands a little dirty and enjoy the moment.
Ingredients
- Chicken wingettes and drummettes
- Baking powder (for extra crunch)
- Salt, pepper, and smoked paprika
- Your favorite buffalo or BBQ glaze
- Celery sticks and blue cheese dip
How to make it
- The secret to crispy wings at home is drying them thoroughly and using baking powder. Toss the raw wings in a bowl with a teaspoon of baking powder and your dry seasonings until evenly coated.
- If using an oven, place a wire rack over a baking sheet. This allows hot air to circulate under the wings, ensuring the bottom gets as crispy as the top.
- Bake at 425°F (220°C) for about 45-50 minutes. Flip the wings halfway through the cooking time. You are looking for the skin to be bubbling, golden, and firm to the touch.
- While the wings are hot, transfer them to a large stainless steel bowl. Pour your sauce of choice over them and toss vigorously. The heat from the wings will help the sauce thicken and adhere to the skin.
- Arrange them on your board with fresh celery and a cooling dip. Pro tip: Garnish with sliced green onions or sesame seeds for a professional look that pops against the glaze.
How to make loaded nachos?

Why we love this
Loaded nachos are a symphony of textures—the sharp crunch of corn tortillas, the velvety smoothness of melted cheese, the creamy richness of avocado, and the bright, acidic pop of fresh salsa. It’s a dish designed for sharing, where every chip is a different adventure depending on which toppings it catches. The visual of a towering pile of colorful ingredients is enough to draw a crowd instantly, making it the perfect ‘anchor’ for a food board that needs a bit of festive, casual energy. It’s messy, it’s vibrant, and it’s pure fun.
Ingredients
- Thick-cut tortilla chips
- Shredded Mexican cheese blend
- Black beans or seasoned ground beef
- Pickled jalapeños
- Sour cream, guacamole, and fresh cilantro
How to make it
- Avoid the ‘nacho fail’ of having a top layer of cheese and dry chips underneath by using the layering technique. Start with a base layer of chips on a sheet pan, then add half your cheese and toppings. Add a second layer of chips and the remaining cheese on top.
- Preheat your broiler to high. Place the nachos on the middle rack rather than the top rack; this allows the cheese to melt deeply into the layers without burning the chips on the edges.
- Broil for 3-5 minutes, watching constantly. You want the cheese to be bubbling and just starting to show tiny brown spots of caramelization.
- Once out of the oven, immediately add your cold toppings. Dollop the sour cream and guacamole in several spots so everyone can reach some, and scatter the jalapeños and cilantro over the top.
- Transfer the entire parchment sheet of nachos onto your serving board for a rustic, ‘just-made’ appearance that keeps the board clean.
How to bake mini pizzas?
Why we love this
Mini pizzas offer all the nostalgic satisfaction of a classic pie but in a charming, hand-held format that fits perfectly on a board. The contrast between the slightly charred, chewy crust and the sweet, bubbling tomato sauce creates a timeless flavor profile that appeals to everyone from kids to gourmets. Topped with fresh basil and a drizzle of balsamic glaze, they look like artisanal creations from a high-end wood-fired oven. They are versatile, customizable, and provide a substantial, bready bite that balances out lighter appetizers.
Ingredients
- Small naan breads or English muffins
- Marinara sauce
- Fresh mozzarella pearls
- Pepperoni or sliced veggies
- Fresh basil and chili oil
How to make it
- Preheat your oven to 450°F (230°C). If you have a pizza stone, use it; otherwise, a preheated baking sheet works well to ensure a crisp bottom crust.
- Spread a thin, even layer of marinara sauce on your base. Don’t go too heavy on the sauce, as the moisture can make the small crusts soggy during the short bake time.
- Top with mozzarella pearls and your chosen toppings. For mini pizzas, keep the toppings small (like diced pepperoni) so they don’t fall off when people pick them up.
- Bake for 8-10 minutes. For the perfect finish, turn on the broiler for the last 60 seconds to get those beautiful charred ‘leopard spots’ on the cheese and crust edges.
- Remove from the oven and let them sit for 2 minutes. This allows the sauce to settle. Garnish with fresh basil leaves and a tiny drizzle of chili oil or honey for a trendy, viral-worthy flavor boost.
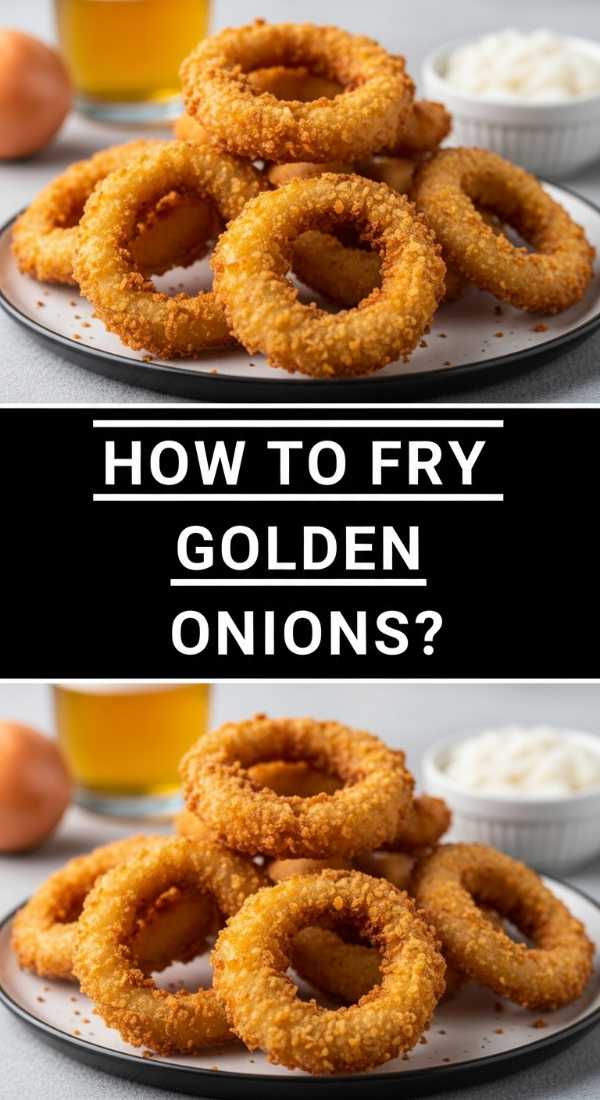
How to fry golden onions?
Why we love this
There is a specific, heady aroma that comes from onions being slowly fried to a deep, golden brown—it’s the scent of savory magic happening in the pan. These onions aren’t just a garnish; they are a concentrated explosion of sweetness and umami that can transform a simple cracker or a piece of cheese into a gourmet experience. Their silky, jam-like texture provides a sophisticated counterpoint to crunchy elements on the board, offering a depth of flavor that feels like it took hours of preparation, even when it’s quite simple.
Ingredients
- 2 large yellow onions, thinly sliced
- Butter and neutral oil
- A pinch of sugar and salt
- Splash of balsamic vinegar or sherry
How to make it
- Heat a wide skillet over medium heat with a combination of butter (for flavor) and oil (to prevent burning). Once the butter is melted and foaming, add the onions.
- Stir the onions to coat them in the fat, then turn the heat down to medium-low. Patience is key here; you want the natural sugars in the onions to release slowly without the edges becoming bitter and burnt.
- Add a pinch of salt to help draw out moisture and a pinch of sugar to accelerate the caramelization process. Cook, stirring every few minutes, for about 20-25 minutes.
- When the onions are a deep amber color and very soft, deglaze the pan with a splash of balsamic vinegar or sherry. This lifts the flavorful browned bits (the fond) off the bottom of the pan and coats the onions in a tangy glaze.
- Allow them to cool slightly before placing them in a small ramekin on your board. They can be served warm or at room temperature.
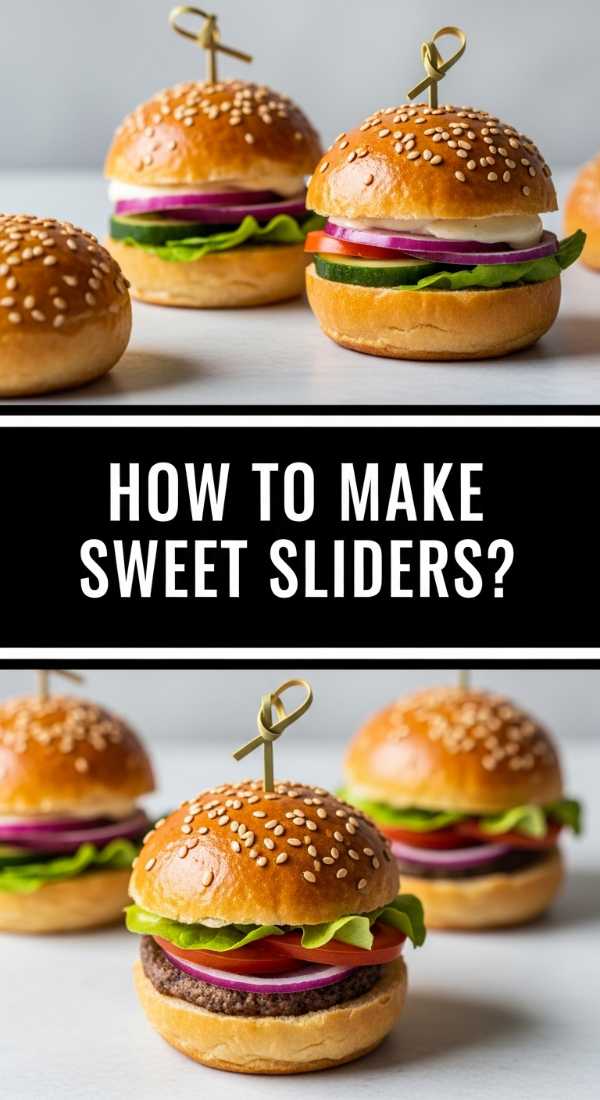
How to make sweet sliders?
Why we love this
Sweet sliders bring an unexpected and delightful ‘dessert’ element to a food board, proving that boards aren’t just for savory snacks. The pillowy softness of a toasted brioche bun paired with the bright, tart burst of macerated berries and velvety cream creates a bite that is both light and decadent. It’s a playful take on a classic slider that surprises the senses and cleanses the palate after salty appetizers. The visual of colorful fruit spilling out of golden buns adds a touch of whimsy and elegance to your spread.
Ingredients
- Mini brioche sliders or Hawaiian rolls
- Fresh strawberries or blackberries
- Whipped cream or mascarpone
- Honey and fresh mint
- Powdered sugar for dusting
How to make it
- Slice your mini buns in half and lightly toast them in a dry pan over medium heat until the cut sides are golden brown. This creates a barrier so the juices from the fruit don’t soak into the bread.
- In a small bowl, toss your sliced fruit with a tablespoon of honey and a few torn mint leaves. Let this sit for 5 minutes; the honey will draw out the juices, creating a natural syrup.
- Spread a thick layer of whipped cream or sweetened mascarpone on the bottom half of each toasted bun.
- Spoon the macerated fruit over the cream, ensuring some of the syrup trickles down the side for that ‘viral’ look.
- Place the top bun on, secure with a decorative toothpick if needed, and give the whole platter a light dusting of powdered sugar just before serving to make them look like they came from a high-end bakery.
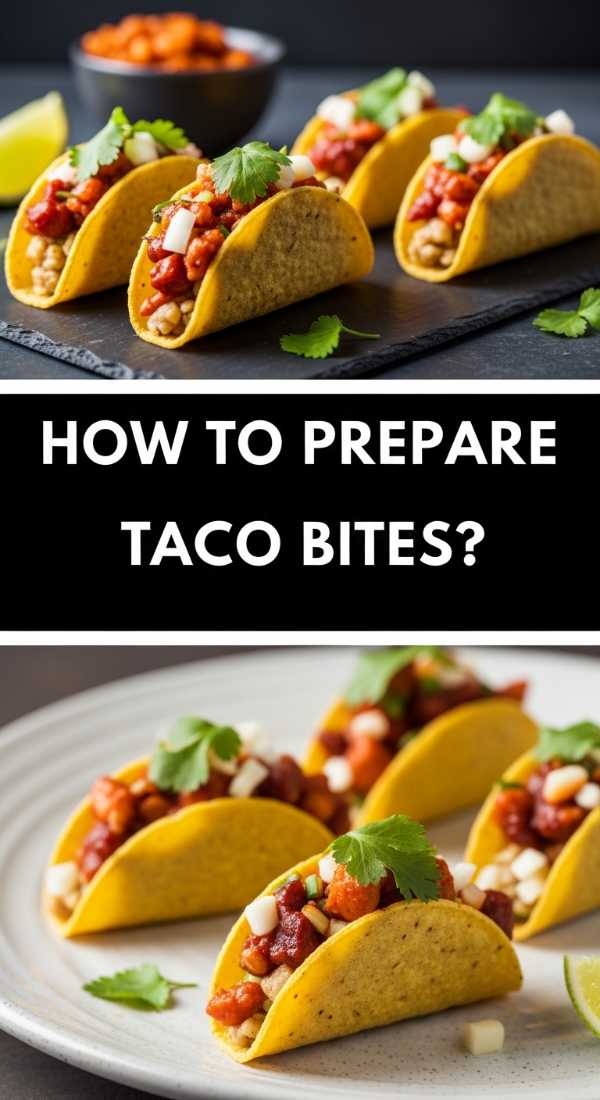
How to prepare taco bites?
Why we love this
Taco bites are the ultimate finger food, condensing all the bold, zesty flavors of a street taco into a single, crunch-filled mouthful. The clever use of a crispy shell ‘cup’ makes them easy to grab and eat without the usual mess of a standard taco, making them ideal for a social food board. Each bite is a layers-deep experience: the warmth of seasoned meat, the coolness of lime-infused crema, and the sharp bite of fresh radish or onion. They bring a vibrant, festive energy to the table that is impossible to resist.
Ingredients
- Wonton wrappers or mini tortilla rounds
- Ground beef or black beans with taco seasoning
- Shredded lettuce and diced tomatoes
- Lime crema (sour cream mixed with lime juice)
- Fresh cilantro and radishes
How to make it
- To make the ‘cups,’ press wonton wrappers into a greased mini-muffin tin. Bake at 350°F (175°C) for 8-10 minutes until they are golden and hold their shape. This creates a much sturdier base than a standard chip.
- While the cups cool, brown your protein in a skillet over medium-high heat. Add your taco seasoning and a splash of water, simmering until the liquid has evaporated and the meat is highly seasoned and slightly ‘tacky.’
- Layer a small amount of shredded lettuce in the bottom of each cup to act as a moisture barrier, then top with a generous spoonful of the warm protein.
- Add a tiny dollop of diced tomatoes and a thin slice of radish for crunch and color.
- Drizzle the lime crema over the top using a squeeze bottle or a spoon for a clean, professional finish, and garnish with a single cilantro leaf per bite.
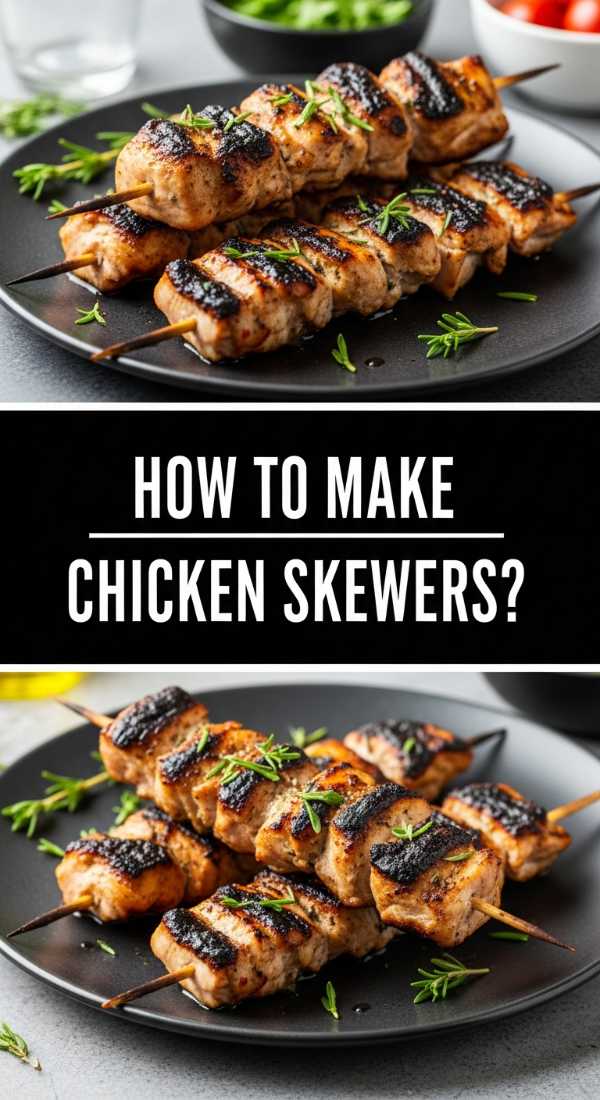
How to make chicken skewers?
[IMAGE_10]
Why we love this
Chicken skewers are a board-favorite because they offer a lean, protein-rich option that feels substantial yet easy to eat while mingling. The charred, smoky edges from the grill or broiler add a complex dimension to the juicy, marinated meat, making each skewer feel like a mini-meal. Whether you lean into Mediterranean flavors with lemon and oregano or a spicy Thai satay, the presentation of neatly stacked skewers adds verticality and structure to your food board, making it look professionally styled and incredibly inviting.
Ingredients
- Chicken breast or thighs, cut into 1-inch cubes
- Marinade: Olive oil, lemon juice, garlic, and dried herbs
- Wooden skewers (soaked in water for 30 mins)
- Dipping sauce (Tzatziki or Peanut sauce)
How to make it
- Marinate the chicken cubes for at least 30 minutes (but no more than 4 hours, or the lemon juice will start to cook the meat). This ensures the chicken stays juicy under high heat.
- Thread 3-4 pieces of chicken onto each soaked wooden skewer. Leave a little space between the pieces so the heat can circulate and brown all sides evenly.
- Heat a grill pan or a heavy cast-iron skillet over high heat. You want it screaming hot so you get those distinctive dark grill marks without overcooking the center.
- Cook the skewers for 3-4 minutes per side. Resist the urge to move them until they naturally release from the pan; this is the signal that a perfect crust has formed.
- Check for an internal temperature of 165°F (74°C). Once done, let them rest for 5 minutes on a plate covered with foil to lock in the juices. Arrange them in a fan shape on your board next to a small bowl of dipping sauce.
Conclusion
Creating a viral-worthy food board isn’t about spending hours in the kitchen; it’s about selecting a few high-impact recipes that offer a variety of textures and flavors. By focusing on these ‘5 Minutes to Fancy’ techniques, you can transform simple ingredients into a stunning, interactive centerpiece that brings people together. Remember, the best boards are the ones that feel lived-in and loved, so don’t worry about perfection—just focus on the flavors and the friends gathered around your table. Happy hosting!