
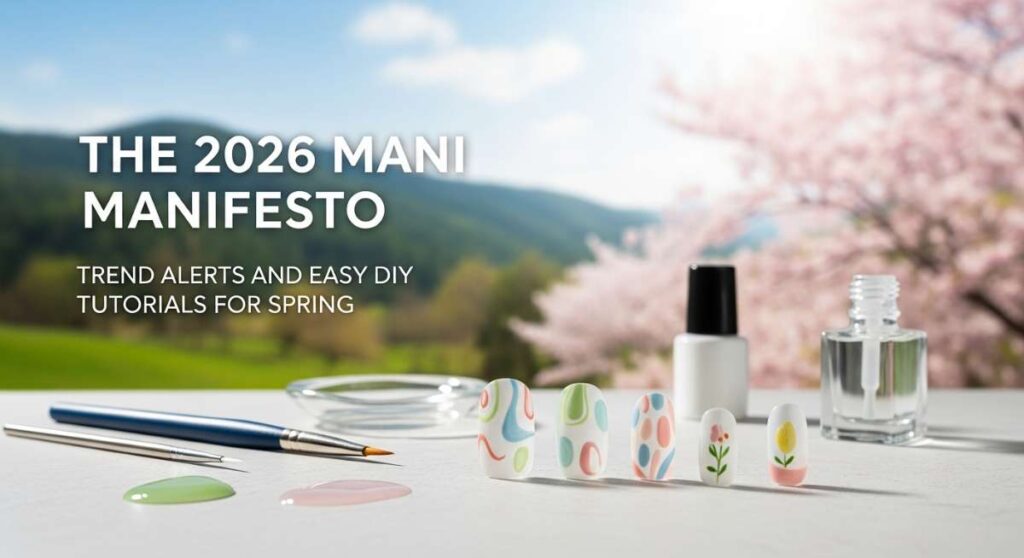
The 2026 Mani Manifesto: Trend Alerts and Easy DIY Tutorials for Spring
Hello, my loves! Can you feel it? The air is finally softening, and there is that gentle, sweet scent of renewal drifting through the window. Spring 2026 isn’t just a change in the weather; it’s a whole mood of reclaiming our joy. I’ve spent the last few mornings sipping matcha and looking at the first blossoms, thinking about how our hands are the storytellers of our lives—they hold our coffee, they wave hello to friends, and they deserve to be draped in the most beautiful colors of the season.
This year, the ‘Mani Manifesto’ is all about softness meeting self-expression. I wanted to create a space for us to play with color without the stress of a salon bill. Whether you’re a minimalist at heart or someone who wants their nails to scream ‘baddie,’ I’ve gathered the ten trends that are absolutely defining this spring. Grab your favorite blanket, put on a cozy playlist, and let’s dive into our little home-spa session together.
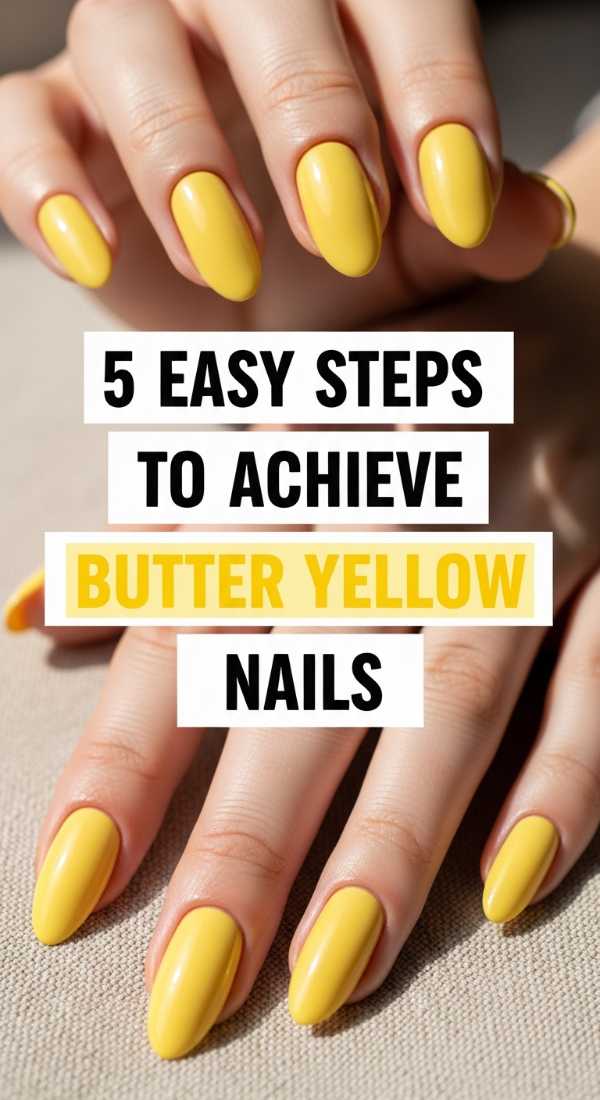
The Sunshine Glow: 5 Easy Steps to Butter Yellow Nails
Why to love this Design:
Butter yellow is like a warm hug for your fingertips. It’s softer than neon and more sophisticated than primary yellow, capturing that exact moment the sun hits a field of daffodils. It brightens every skin tone and brings an instant smile to your face whenever you look down at your keyboard.
Essential Elements:
- Creamy Pastel Yellow Polish
- Ridge-filling Base Coat
- Glossy Top Coat
- Nail Buffer
How to Prepare:
- Gently buff the nail surface to ensure a smooth canvas.
- Apply a ridge-filling base coat to prevent the yellow pigment from looking streaky.
- Apply the first coat of butter yellow using three thin strokes (center, side, side).
- Let dry for two minutes, then apply a second thin coat for full opacity.
- Seal with a high-shine top coat to give it that ‘glazed’ look.
Budget Range
- Essie ‘Hay There’ ($10)
- Sally Hansen Insta-Dri Base ($6)
- Holo Taco Super Glossy Taco ($11)
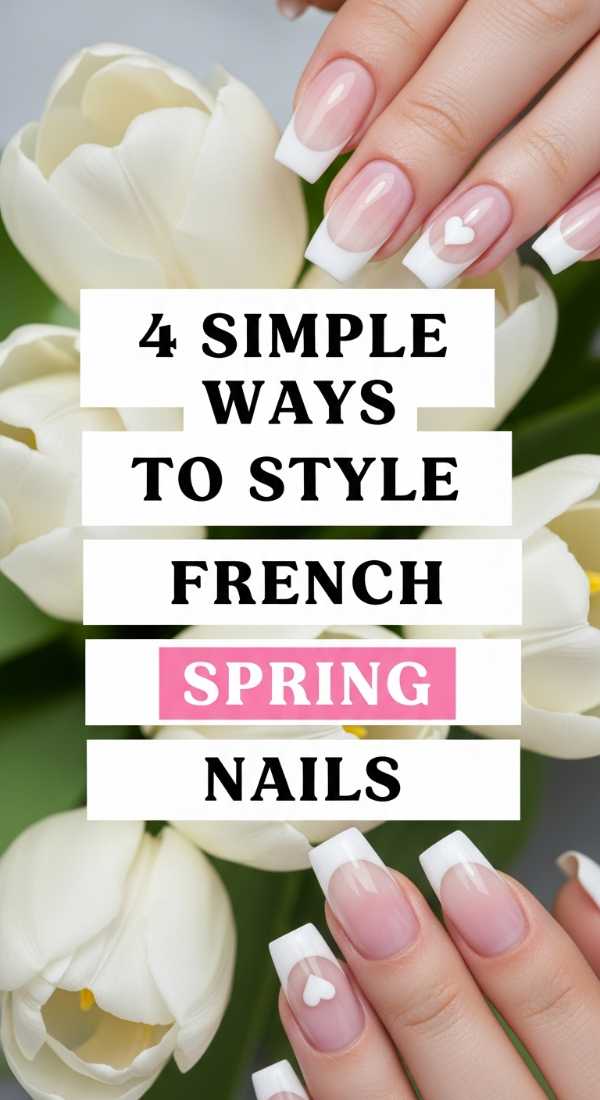
Twist on Tradition: 4 Simple Ways to Style French Spring Nails
Why to love this Design:
The French mani is the ultimate classic, but for Spring 2026, we’re giving it a whimsical, cloud-soft makeover. It’s the perfect ‘clean girl’ aesthetic but with a playful wink. It makes your fingers look miles long and works for everything from a Sunday brunch to a spring wedding.
Essential Elements:
- Sheer Pink or Nude Base
- Pastel Tip Colors (Mint, Lilac, Peach)
- Ultra-thin Striper Brush
- Reinforcement Stickers (Optional)
How to Prepare:
- Paint your entire nail with two coats of your sheer nude base.
- Use a thin striper brush to follow the natural curve of your free edge with a pastel hue.
- For a modern twist, try a ‘double French’ by adding a second thin line just below the first.
- If you struggle with steady hands, use circular reinforcement stickers as a guide for the perfect arc.
Budget Range
- Zoya ‘Bela’ ($12)
- Orly Pastel Punch Collection ($15 for set)
- Detail Brushes from Amazon ($5)
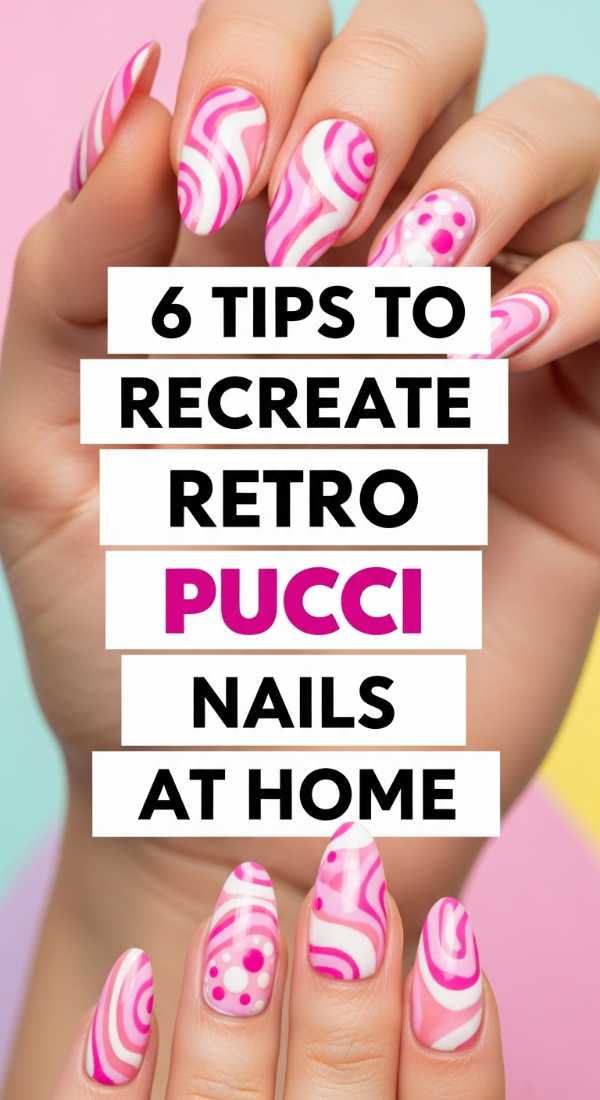
The Groovy Revival: 6 Tips to Recreate Retro Pucci Nails at Home
Why to love this Design:
There is something so soul-stirring about the swirling, psychedelic patterns of the 60s and 70s. Recreating Pucci-inspired prints on your nails feels like wearing a vintage silk scarf. It’s artistic, colorful, and a guaranteed conversation starter.
Essential Elements:
- 3-4 Contrasting Spring Shades (e.g., Pink, Teal, Orange)
- Black or White Outlining Polish
- Dotting Tool
- Matte or Glossy Finish
How to Prepare:
- Start with a solid base color in a neutral or the lightest shade of your palette.
- Use a dotting tool to place ‘blobs’ of different colors randomly across the nail.
- Connect the blobs using a fine liner brush to create organic, swirling shapes.
- Wait for the shapes to dry slightly before adding thin lines of white or black to define the borders.
- Focus on one ‘accent nail’ if doing every finger feels too overwhelming!
- Clean your brush with acetone between every color swap to keep the swirls crisp.
Budget Range
- OPI Spring Power Palette ($11 each)
- Nail Art Dotting Tool Set ($4)
- Pure Acetone ($3)
Quiet Luxury: 3 Ways to Master Short Square Nails for Spring
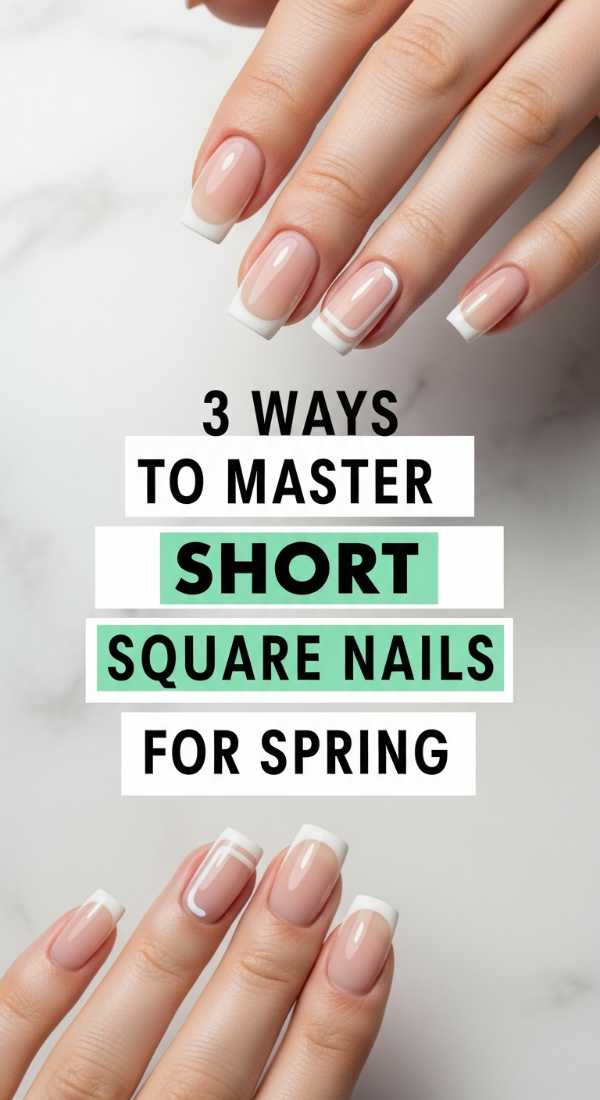
Why to love this Design:
Short square nails are the epitome of ‘Quiet Luxury.’ They are practical for our busy lives (no more typing struggles!) but look incredibly chic and intentional. This spring, we are leaning into the ‘soap nails’ trend—ultra-clean, healthy, and subtly shimmering.
Essential Elements:
- Glass Nail File
- Cuticle Oil
- Translucent Shimmer Polish
How to Prepare:
- File your nails straight across, then lightly soften the very corners to create a ‘squoval’ that doesn’t snag.
- Focus heavily on cuticle care; push them back gently and hydrate with oil so the nail bed looks elongated.
- Apply a single coat of translucent, pearlescent polish for a ‘your nails but better’ glow.
Budget Range
- Mont Bleu Glass File ($10)
- SolarOil Cuticle Care ($9)
- Olive & June ‘BEB’ ($9)
Skyward Bound: 5 Steps to Apply Spring Blue Nails Perfectly

Why to love this Design:
Spring blue is the color of clarity. Think of a clear April sky or a robin’s egg. Blue can be tricky because it stains, but when done right, it’s the most refreshing pop of color against a spring trench coat.
Essential Elements:
- Cornflower or Sky Blue Polish
- Stain-preventing Base Coat
- Clean-up Brush
- Acetone
How to Prepare:
- Always start with a high-quality base coat to prevent the blue pigment from tinting your natural nails.
- Apply the blue polish in very thin layers; blue tends to be ‘goopy,’ so patience is key.
- Cap the free edge (the very tip) to prevent chipping.
- Dip a small makeup brush in acetone to clean up any polish that touched your skin for a salon-crisp line.
- Finish with a quick-dry top coat to lock in that airy blue pigment.
Budget Range
- CND Vinylux ‘Blue Moon’ ($11)
- Seche Vite Dry Fast Top Coat ($9)
- ELF Concealer Brush for clean-up ($5)
Glazed & Glowing: 4 Easy Tricks for Spring Chrome Nails
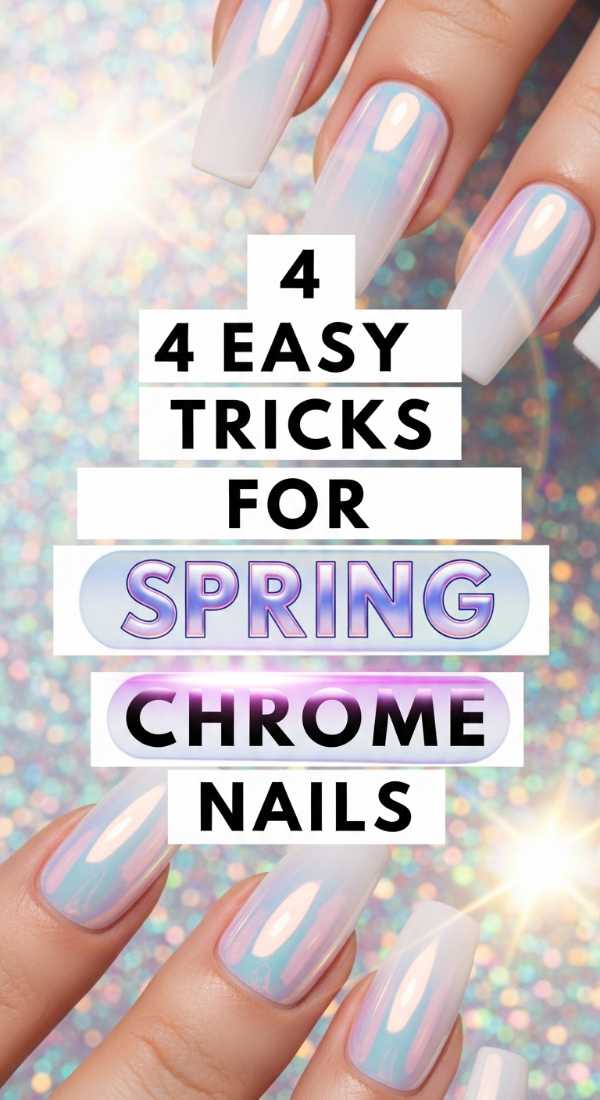
Why to love this Design:
Chrome isn’t going anywhere, loves! For 2026, we are moving away from heavy silver and into ‘iridescent pearl’ chromes. It makes your nails look like they are glowing from within, catching the soft spring light beautifully.
Essential Elements:
- Chrome Powder (Pearl or Champagne)
- No-Wipe Gel Top Coat (or special air-dry chrome base)
- Eyeshadow Applicator
How to Prepare:
- Apply your base color and let it dry almost completely (or cure if using gel).
- Apply a no-wipe top coat; this is the secret for the powder to ‘grab’ properly.
- Use an eyeshadow sponge to buff a tiny amount of chrome powder into the nail until it turns into a mirror.
- Gently brush away excess dust before sealing with a final top coat to prevent the ‘glitter look’ and keep it smooth.
Budget Range
- Born Pretty Pearl Powder ($7)
- Beetles No Wipe Gel Top Coat ($8)
- Disposable Eyeshadow Sponges ($3)
Y2K Romance: 7 Steps for Tuscan Nails 2000s Style
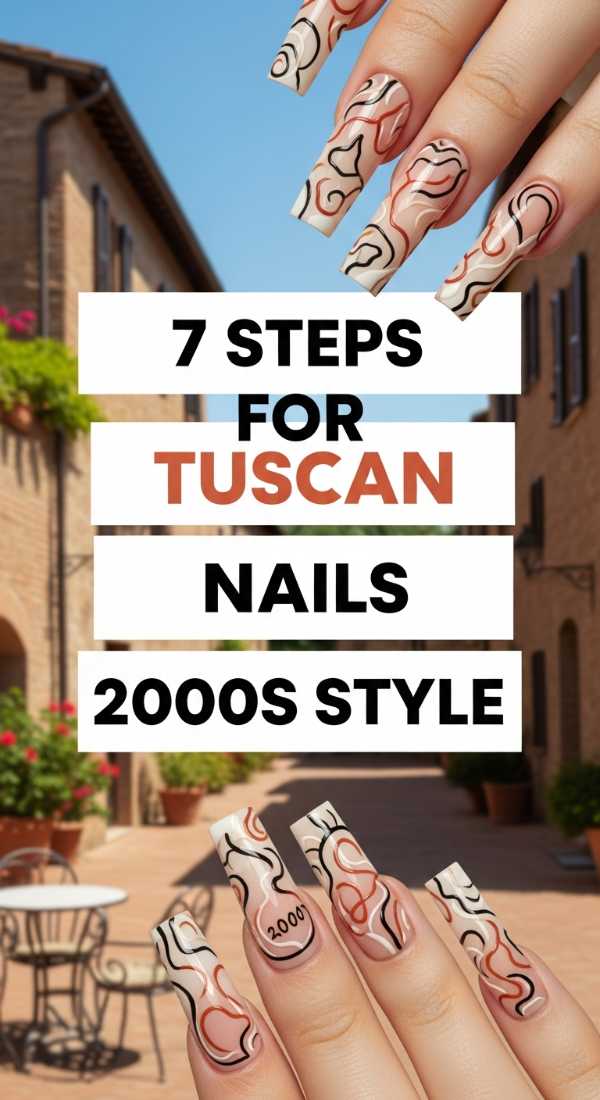
Why to love this Design:
This is for my vintage-loving babes! Tuscan 2000s combines warm terracotta and sunset oranges with the kitschy charms of the early aughts—think tiny butterflies and gold accents. It feels like a summer vacation in Italy found its way into a time machine.
Essential Elements:
- Terracotta or Burnt Orange Polish
- Gold Leaf or Gold Flakes
- Small Butterfly Decals
- Nail Glue
How to Prepare:
- Shape nails into a soft almond to mimic the 2000s aesthetic.
- Apply two coats of a warm, earthy Tuscan orange.
- While the polish is tacky, use tweezers to place small bits of gold leaf near the cuticle.
- Apply a butterfly decal on the ring finger for that Y2K nostalgia.
- Apply a thick layer of top coat to level out the texture of the decals.
- Add a tiny rhinestone in the center of the butterfly if you’re feeling extra.
- Finish with a rich hand cream to give that sun-drenched glow.
Budget Range
- Lights Lacquer ‘Siena’ ($13)
- Nail Art Gold Leaf Flakes ($6)
- Butterfly Nail Stickers from Etsy ($5)
Deep Waters: 5 Simple Methods for Teal Spring Nails
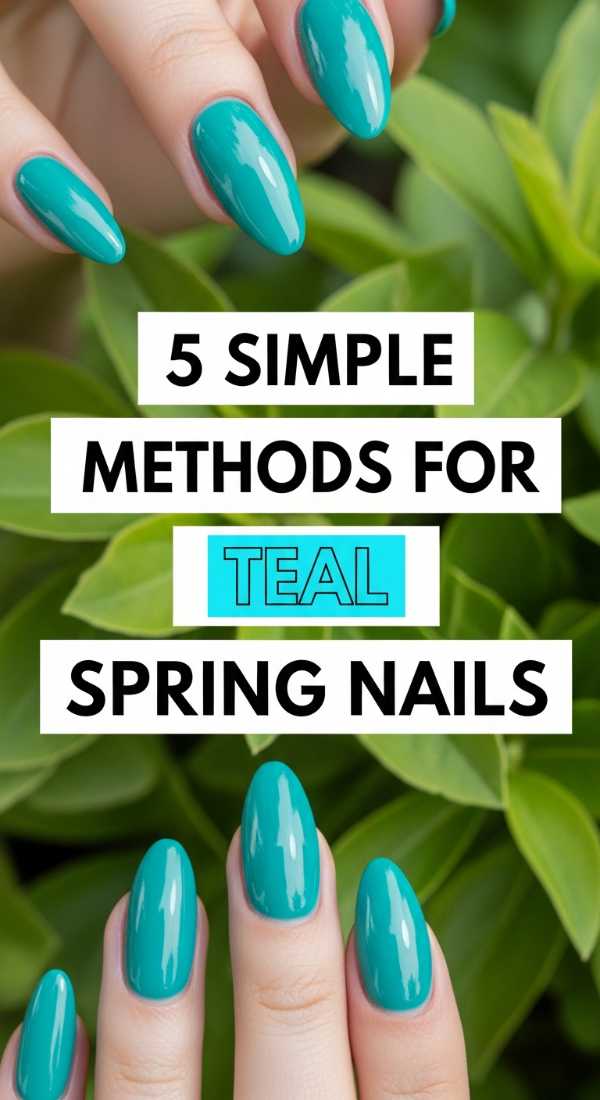
Why to love this Design:
Teal is the sophisticated older sister of mint. It’s deep, mysterious, yet perfectly appropriate for spring transition. It bridges the gap between winter’s dark tones and summer’s brights perfectly.
Essential Elements:
- Teal Polish
- Matte Top Coat (Optional)
- Gold Striping Tape
How to Prepare:
- Method 1: Solid teal with a high-gloss finish for a ‘gemstone’ look.
- Method 2: Apply a matte top coat over teal to make it look like sea glass.
- Method 3: Add a vertical gold stripe down the center for a minimalist, modern vibe.
- Method 4: Teal ombre using a makeup sponge and a lighter mint shade.
- Method 5: Teal French tips for a moody but seasonal look.
Budget Range
- Revlon ‘High Roller’ ($6)
- Pacifico Matte Top Coat ($9)
- Gold Striping Tape ($4)
Bold & Beautiful: 6 Steps to Create Baddie Spring Nails
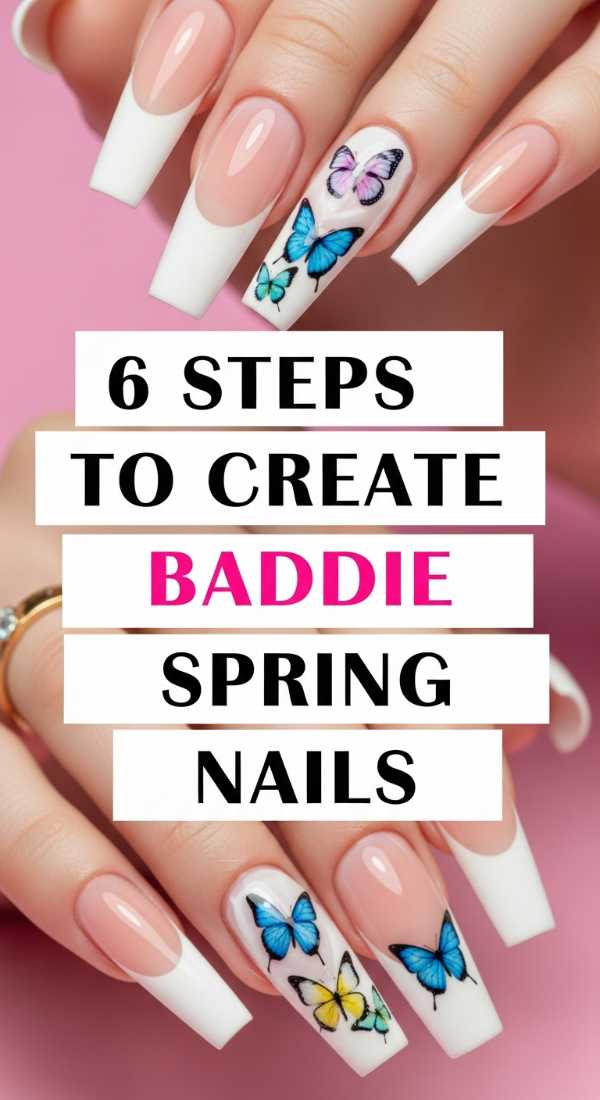
Why to love this Design:
Sometimes, we just want to feel powerful. Baddie nails are all about length, sharp shapes (like coffin or stiletto), and unapologetic extras. In 2026, we are doing ‘Soft Baddie’—long nails but in sweet pastel gradients.
Essential Elements:
- Press-on Coffin Nails or Extensions
- Pastel Purple and Pink Polishes
- Large Rhinestones
- Strong Nail Glue
How to Prepare:
- Prep your natural nails by removing oils with alcohol.
- Apply your long coffin-shaped extensions.
- Create a ‘vertical ombre’ by painting half the nail pink and half purple, blending in the middle.
- Apply a line of rhinestones along the cuticle or in a ‘V’ shape at the tip.
- Seal the charms with a dedicated jewelry gel or extra thick top coat.
- Strike a pose! These nails are made for the ‘gram.
Budget Range
- KISS Masterpiece Press-Ons ($12)
- Modelones Gel Polish Kit ($20)
- Bulk Rhinestone Pack ($8)
The Artist’s Canvas: 4 Ways to Paint Spring Abstract Nails
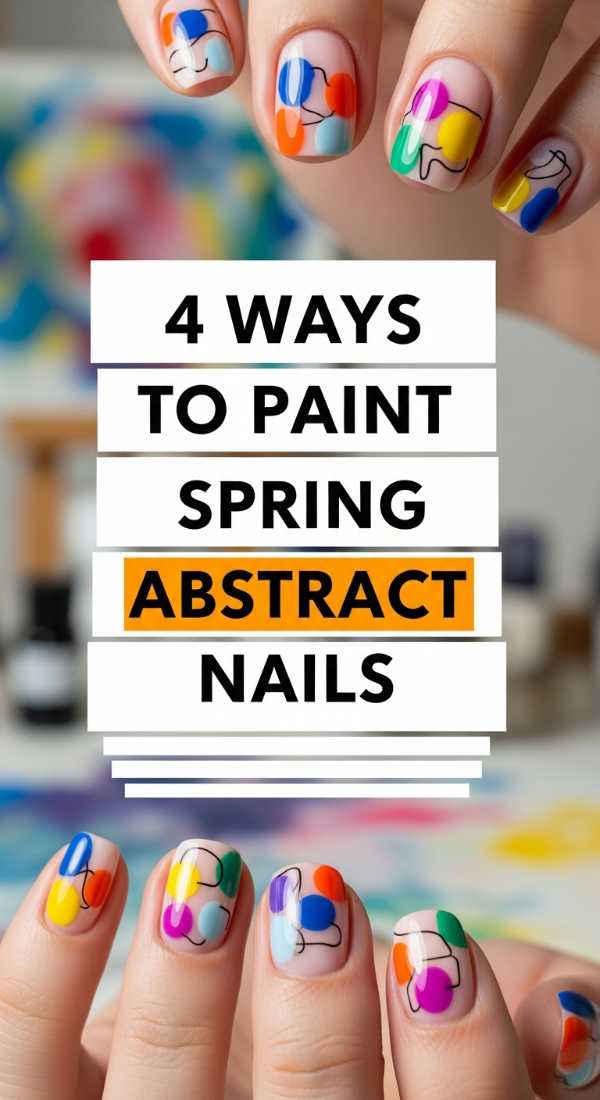
Why to love this Design:
Abstract nails are the most forgiving DIY. There are no mistakes, only ‘art.’ It’s the perfect way to use up those half-empty bottles of polish sitting in your drawer and create something entirely unique to you.
Essential Elements:
- A mix of 5+ Polish Colors
- Fine Liner Brush
- Matte Base
How to Prepare:
- The ‘Blob’ Method: Drop random dots of color and let them spread naturally.
- The ‘Negative Space’ Method: Leave half the nail bare and paint geometric shapes on the top half.
- The ‘Splatter’ Method: Use an old toothbrush to flick tiny specks of color onto a white base.
- The ‘Line Work’ Method: Draw thin, wavy lines in contrasting colors over a matte nude base.
Budget Range
- Target ‘Maniology’ Brush Set ($10)
- Sinful Colors (Assorted shades for $2 each)
- Juliette Has A Gun Hand Cream ($20)
A Note from My Heart to Yours
As you sit down to paint your nails this week, I hope you see it as more than just a beauty routine. It’s a moment of stillness in a fast world. It’s a way to tell yourself that you are worth the time and the effort. Whether you chose a simple butter yellow or went full ‘baddie’ with charms and gems, your hands look beautiful because they are yours. Tag me in your ‘Mani Manifesto’ photos—I can’t wait to see your creations! Sending you so much light and spring magic.