

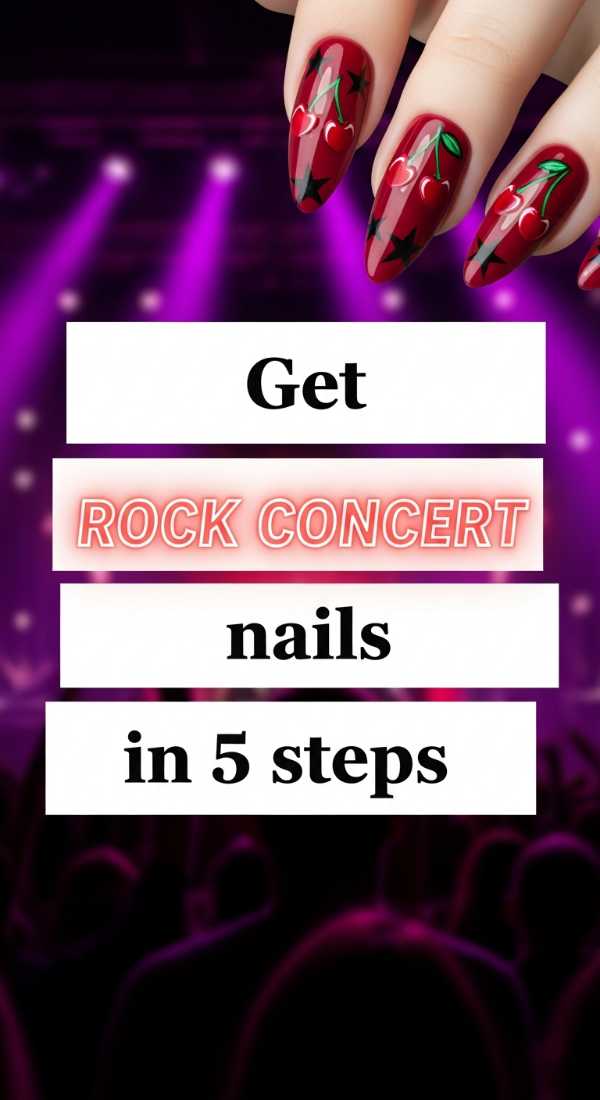
Edgy Mani Magic: Master the Art of Rock Concert Nails
Hello, my loves! I’m so happy you’re here in this little corner of the internet today. There is something truly magical about the buzz in the air right before a rock concert, isn’t there? The music, the crowd, and that feeling of absolute freedom. For me, preparing for a night like that is a ritual of self-love, and it always starts with my fingertips. Our hands are how we clap, how we reach for the sky, and how we express our inner rockstar.
I want to wrap you in a warm hug and remind you that your nails are a canvas for your soul. Whether you’re heading to an indie basement show or a massive stadium tour, your mani should make you feel powerful and beautiful. Today, I’m sharing my favorite ways to bring that edgy energy to your nails while keeping the process as soft and gentle as a summer breeze. Let’s dive into this masterclass together, sweet friends.
Get rock concert nails in 5 steps
Why to love these Nails:
These nails are the ultimate ‘everything’ look for a high-energy show. They combine durability with high-shine drama, ensuring that no matter how much you’re dancing, your hands look like a masterpiece under the strobe lights.
Essential Items:
- Long-wear base coat
- Holographic charcoal polish
- Silver glitter topper
- Sturdy top coat
- Cuticle oil
How to Prepare:
- Cleanse your nails with alcohol to remove any natural oils.
- Apply one thin layer of base coat to protect your natural nail.
- Swipe on two coats of your charcoal polish for depth.
- Dab silver glitter onto the tips for a gradient effect.
- Seal everything with a thick, high-shine top coat.
Budget Range
- Essie Gel Couture Base: $13
- Holo Taco Charcoal: $14
- Sally Hansen Top Coat: $7
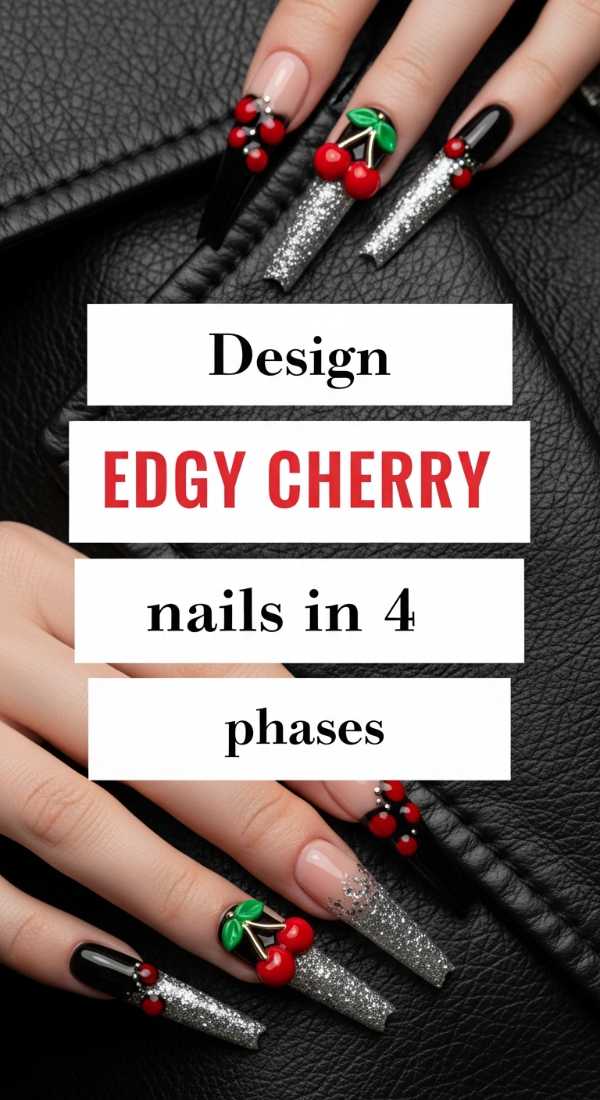
Design edgy cherry nails in 4 phases
Why to love these Nails:
I am absolutely obsessed with the contrast of a sweet cherry design against a dark, moody background. It’s that perfect mix of ‘coquette’ and ‘grunge’ that feels so modern and fresh for a concert vibe.
Essential Items:
- Deep black polish
- Ruby red cream polish
- Emerald green detailer
- Dotting tool
How to Prepare:
- Phase 1: Paint all nails a glossy, solid black and let dry completely.
- Phase 2: Use a dotting tool to place two red circles close together near the center.
- Phase 3: Drag a tiny brush with green polish to create the stems and a small leaf.
- Phase 4: Apply a quick-dry top coat to merge the colors seamlessly.
Budget Range
- OPI Black Onyx: $11
- Revlon Red: $6
- Detail Brushes (Set): $5
Master 8-ball nail art in 6 stages

Why to love these Nails:
There is something so retro and cool about the 8-ball aesthetic. It’s playful yet bold, and it tells the world you’re ready to take a bit of a risk with your style. It’s a total conversation starter in the VIP line!
Essential Items:
- Jet black polish
- Crisp white polish
- Fine liner brush
- Large dotting tool
- Matte top coat (optional)
How to Prepare:
- Stage 1: Apply a smooth black base coat and let it cure.
- Stage 2: Use a large dotting tool to create a perfect white circle in the center.
- Stage 3: Let the white dry fully so the black ink doesn’t bleed.
- Stage 4: Carefully paint a small ‘8’ inside the white circle with your liner brush.
- Stage 5: Touch up the edges of the white circle with black if needed.
- Stage 6: Finish with your favorite top coat for a professional look.
Budget Range
- Orly White Tips: $10
- Nail Art Tool Kit: $8
- Seche Vite Top Coat: $9
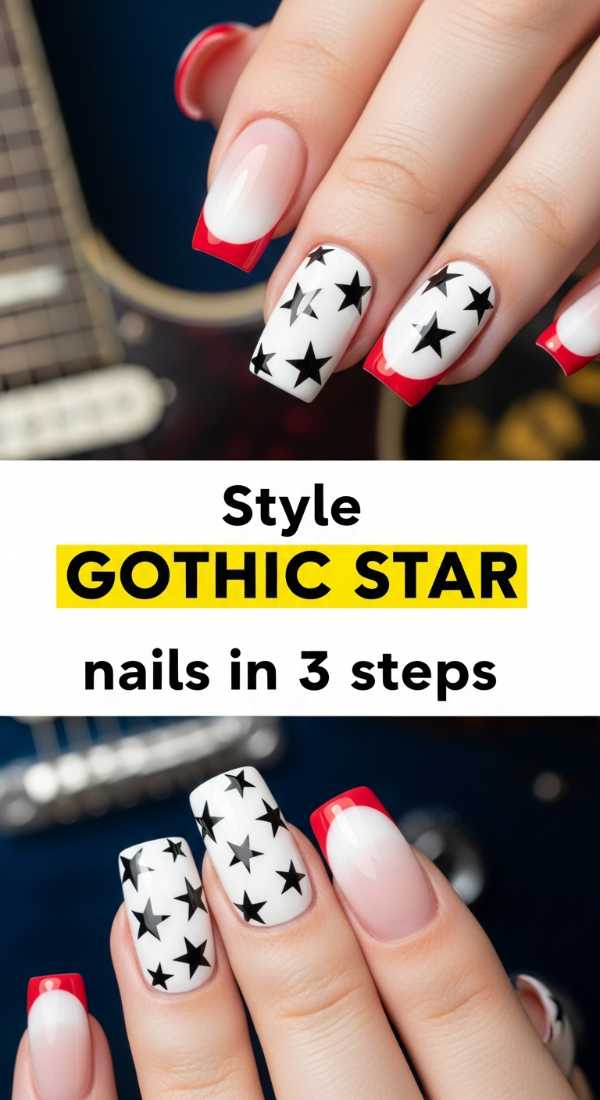
Style gothic star nails in 3 steps
Why to love these Nails:
If you’re a dreamer who loves a bit of mystery, these stars are for you. They feel like a night sky full of possibilities, but with that sharp, gothic edge that pairs perfectly with a leather jacket and boots.
Essential Items:
- Sheer ‘jelly’ black polish
- Silver metallic polish
- Ultra-fine nail art brush
How to Prepare:
- Step 1: Paint two coats of the sheer black to create a smoky, translucent base.
- Step 2: Paint a four-pointed ‘sparkle’ star using the silver metallic polish.
- Step 3: Add a tiny silver dot in the center of the star for extra dimension.
Budget Range
- Cirque Colors Spotted: $12
- Essence Silver Metal: $4
- Winstonia Detail Brush: $6
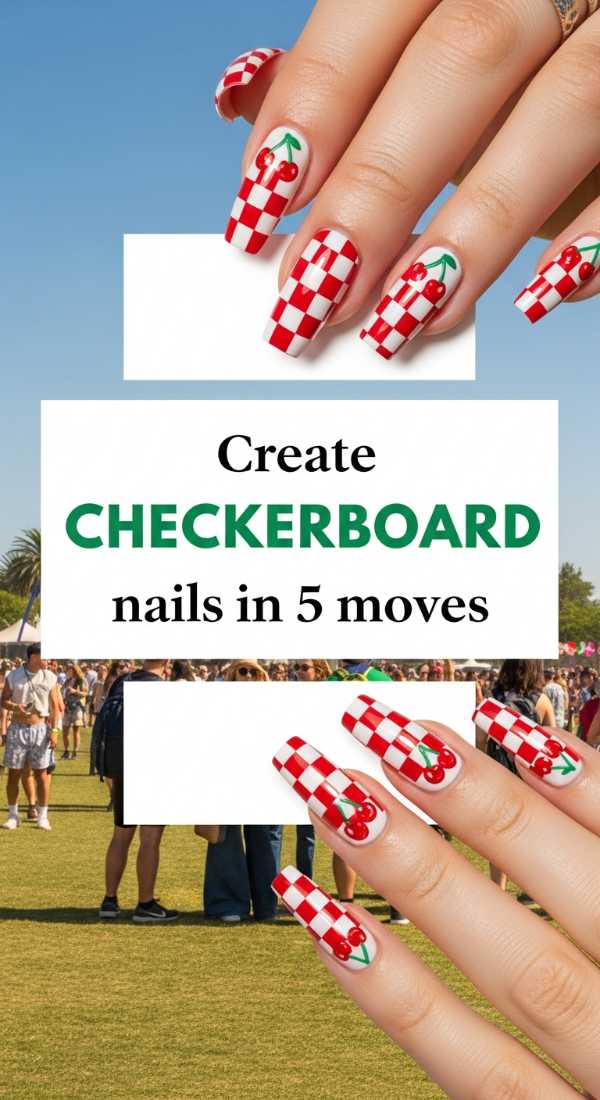
Create red checkerboard nails in 5 moves
Why to love these Nails:
Checkerboard is a rock and roll classic! Doing it in red and black gives it a fiery, passionate energy that screams ‘front row.’ It’s surprisingly easy to do once you find your rhythm, my loves.
Essential Items:
- Vibrant red polish
- Matte black polish
- Striping tape or a steady hand
How to Prepare:
- Move 1: Paint the entire nail red and let it dry until it’s hard to the touch.
- Move 2: Use striping tape to create a grid of four squares.
- Move 3: Fill in the top-left and bottom-right squares with black polish.
- Move 4: Gently peel the tape away while the polish is still slightly tacky.
- Move 5: Seal the texture with a high-gloss top coat to level it out.
Budget Range
- Zoya Red Polish: $12
- Nail Striping Tape: $3
- Wet n Wild Black: $2
Apply punk cherry charms in 4 steps
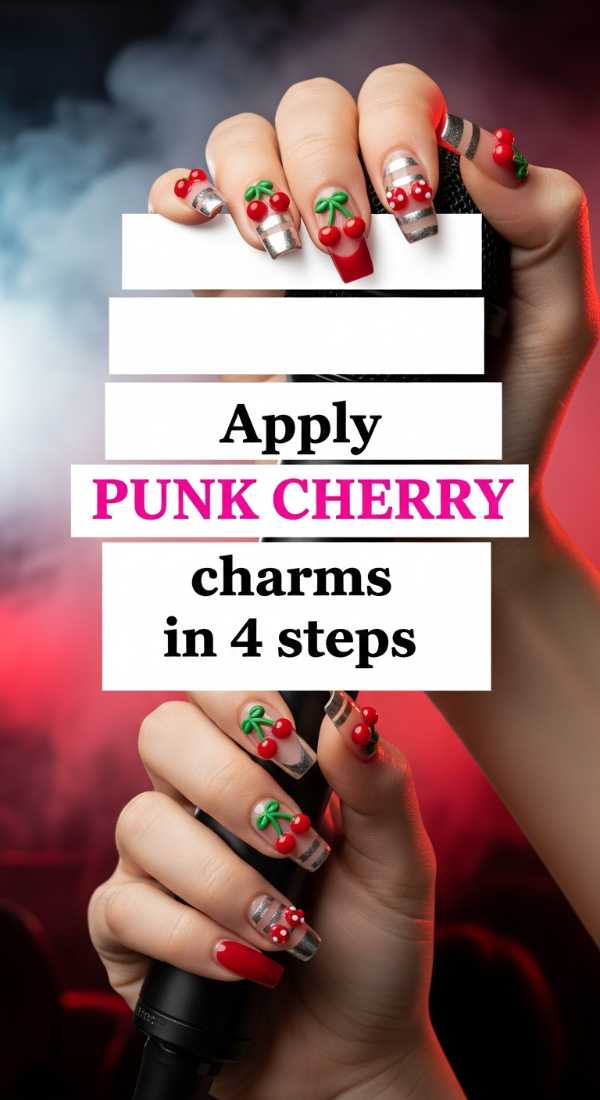
Why to love these Nails:
Sometimes we want a little 3D magic! Adding charms makes your manicure feel like a piece of jewelry. These punk cherries are rebellious, fun, and so incredibly stylish for a concert photo op.
Essential Items:
- 3D Cherry charms
- Nail glue or thick builder gel
- Tweezers
- Silver studs
How to Prepare:
- Step 1: Finish your base color and top coat first.
- Step 2: Place a small bead of nail glue where you want the charm to sit.
- Step 3: Use tweezers to press the cherry charm into the glue for 10 seconds.
- Step 4: Surround the base of the charm with a little extra top coat to lock it in.
Budget Range
- Amazon Cherry Charms: $6
- Makartt Nail Glue: $7
- Precision Tweezers: $5
Achieve matte black nails in 5 minutes
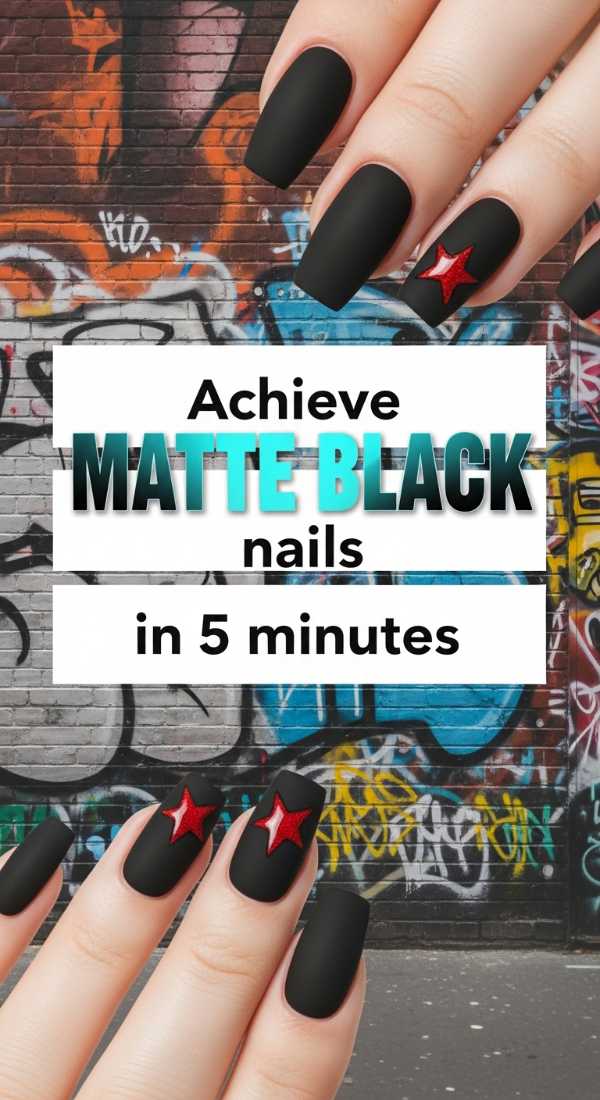
Why to love these Nails:
There is nothing more chic or effortless than matte black. It’s the ‘little black dress’ of the nail world. It looks expensive, edgy, and honestly, it goes with every single concert outfit in your closet.
Essential Items:
- One-coat black polish
- High-quality matte top coat
How to Prepare:
- Step 1: Apply one thick, even coat of black polish.
- Step 2: Ensure the edges are perfectly clean using a brush dipped in remover.
- Step 3: Once dry, apply the matte top coat in three quick strokes.
- Step 4: Avoid touching the nails for 5 minutes to prevent streaks.
- Step 5: Apply oil only to the cuticles, avoiding the matte surface.
Budget Range
- Sinful Colors Black: $3
- OPI Matte Top Coat: $11
- Cleanup Brush: $4
Prepare concert ready nails in 7 steps
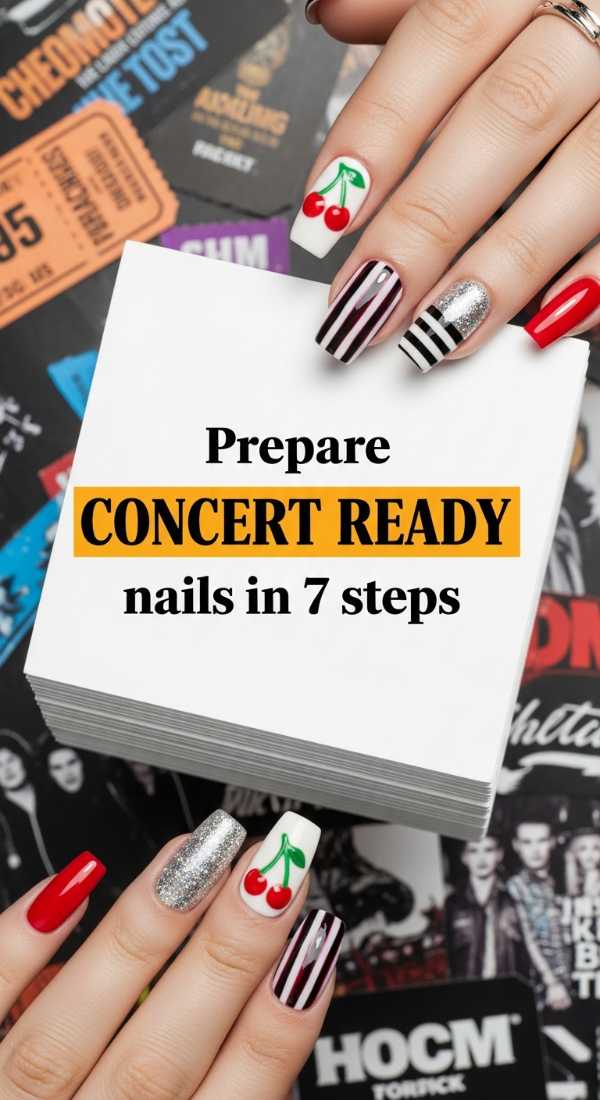
Why to love these Nails:
This is all about the foundation, sweeties. A concert is a workout for your hands! This routine ensures your nails stay strong and gorgeous from the first opening act to the final encore.
Essential Items:
- Nail file
- Buffing block
- Dehydrator
- Strength base coat
How to Prepare:
- Step 1: Shape your nails into a rounded square for maximum strength.
- Step 2: Gently buff the surface to remove any shine.
- Step 3: Wipe with a dehydrator to ensure perfect adhesion.
- Step 4: Apply a strengthening base coat.
- Step 5: Apply two thin layers of color.
- Step 6: Use a long-wear top coat.
- Step 7: Cap the free edge of the nail with polish to prevent chipping.
Budget Range
- Glass Nail File: $9
- CND Stickey Base: $10
- Nail Dehydrator: $6
Paint alt french tips in 3 ways
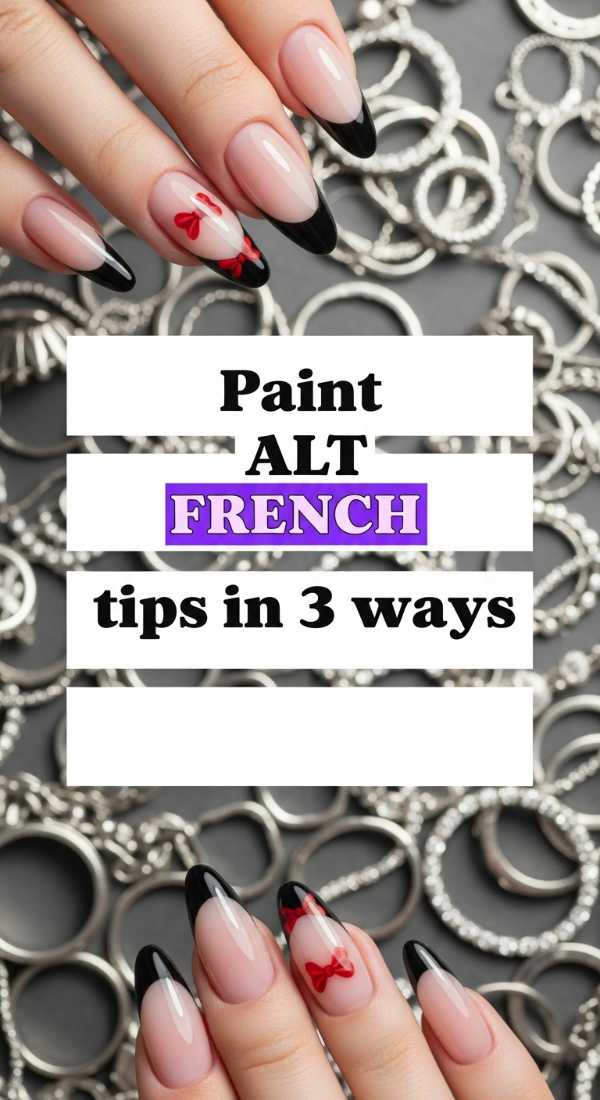
Why to love these Nails:
The traditional French mani’s cool older sister! It’s sophisticated but with a dark twist. It’s the perfect way to look ‘put together’ while still keeping your rock edge intact.
Essential Items:
- Nude base polish
- Black or metallic polish for tips
- French tip guides
How to Prepare:
- Way 1 (The V-Shape): Paint two diagonal lines at the tip meeting in a sharp point.
- Way 2 (The Drip): Use a dotting tool to pull ‘drips’ of color down from the tip.
- Way 3 (The Micro-Tip): Paint an ultra-thin line of black along the very edge for a subtle look.
Budget Range
- Essie Mademoiselle: $9
- Manicure Guides: $4
- Maybelline Black: $5
Rock On, My Loves!
I hope these designs spark a little fire in your heart and get you excited for your next big night out. Remember, there are no rules in art or music—just follow what makes you feel the most like *you*. Take a deep breath, enjoy the process of painting, and when you’re standing in that crowd, know that you are absolutely glowing from head to toe. I can’t wait to see your beautiful edgy manis! Until next time, stay sweet and stay rock n’ roll.