
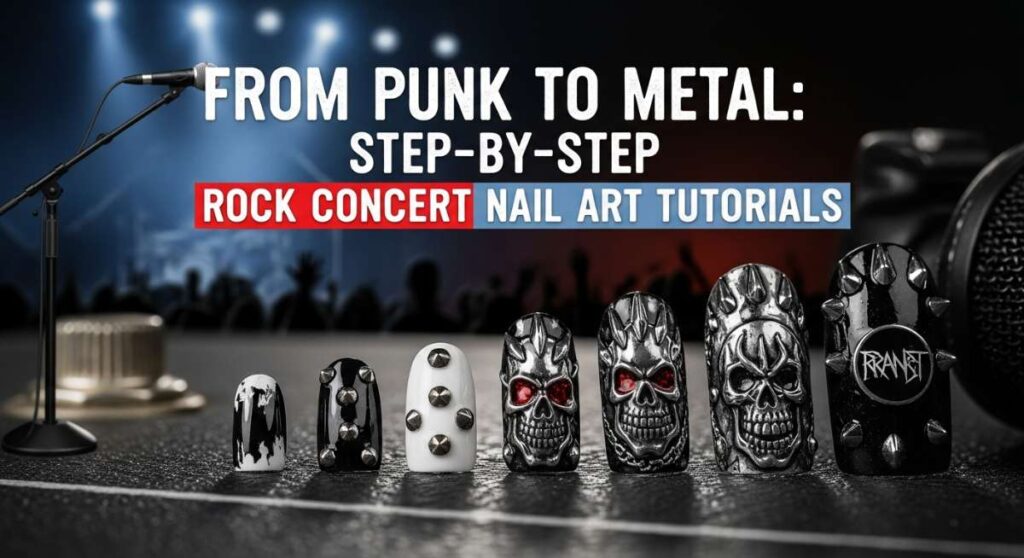
From Punk to Metal: Step-by-Step Rock Concert Nail Art Tutorials
Hello, my sweet loves. There is something so incredibly soulful about the way music vibrates through us, isn’t there? Whether you’re getting ready to lose yourself in the heavy, rhythmic heartbeat of a metal show or finding your voice in the rebellious spirit of a punk gig, I want you to feel that magic right down to your fingertips. Our hands do so much for us—they hold our drinks, they clap in rhythm, and they reach toward the stage in pure joy.
Today, I’m wrapping you in a warm embrace and guiding you through ten beautiful, edgy nail designs that will make you feel like the rockstar you truly are. We aren’t just painting nails; we’re creating tiny canvases of self-expression that celebrate your unique, radiant spirit. Grab a warm cup of tea, find a cozy spot, and let’s create something breathtaking together, step by gentle step.
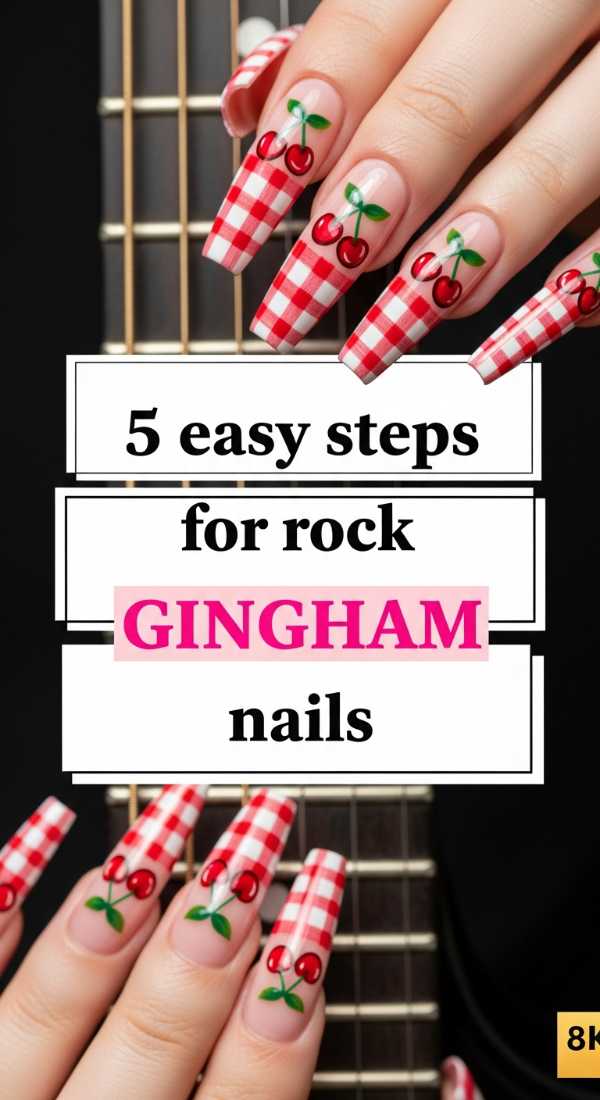
7 Steps to Get the Cherry Rock Look

Why to love these Nails:
These nails are the perfect blend of ‘sweetheart’ and ‘rebel.’ They remind us that even in the middle of a mosh pit, there is room for softness and charm. The deep red against a dark base creates a delicious contrast that feels both vintage and modern.
Essential Items:
- Jet black base polish
- Deep cherry red polish
- Fine-line detail brush
- Glossy top coat
- Nail primer
How to Prepare:
- Cleanse your nails with alcohol to ensure a smooth, loving canvas.
- Apply a strengthening base coat to protect your natural shine.
- Paint two thin, even layers of jet black polish and let them dry completely.
- Using your detail brush, dot two small red circles close together for the cherries.
- Connect the cherries with a delicate ‘V’ shape using black or green polish.
- Add a tiny white ‘highlight’ dot on each cherry for a 3D effect.
- Seal your masterpiece with a thick, protective glossy top coat.
Budget Range
- OPI Black Onyx – $11.50
- Essie ‘Forever Yummy’ Red – $10.00
- Detail Brush Set (Amazon) – $6.00
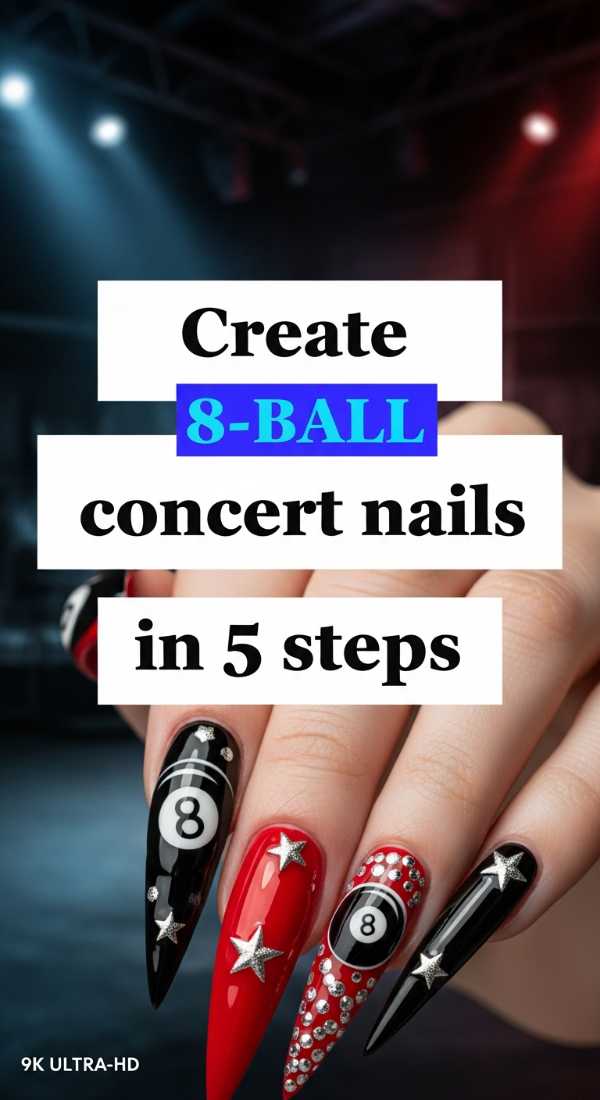
Create 8-ball Concert Nails in 5 Steps
Why to love these Nails:
The 8-ball is a classic symbol of luck and punk-rock attitude. These nails are bold and graphic, making them a fantastic conversation starter while you’re waiting in line for the merch booth. They feel solid, grounded, and so very cool.
Essential Items:
- Opaque black polish
- Crisp white polish
- Large dotting tool
- Fine-tip black marker or striper
How to Prepare:
- Apply two coats of black polish as your foundation.
- Using a large dotting tool, place a bold white circle in the center of the nail.
- Wait for the white circle to dry so the colors don’t bleed into each other.
- Carefully paint a small ‘8’ inside the white circle with your fine-tip tool.
- Finish with a high-shine top coat to make the colors pop.
Budget Range
- Sally Hansen Insta-Dri Black – $7.00
- Wet n Wild White – $2.00
- Dotting Tool Kit – $5.00
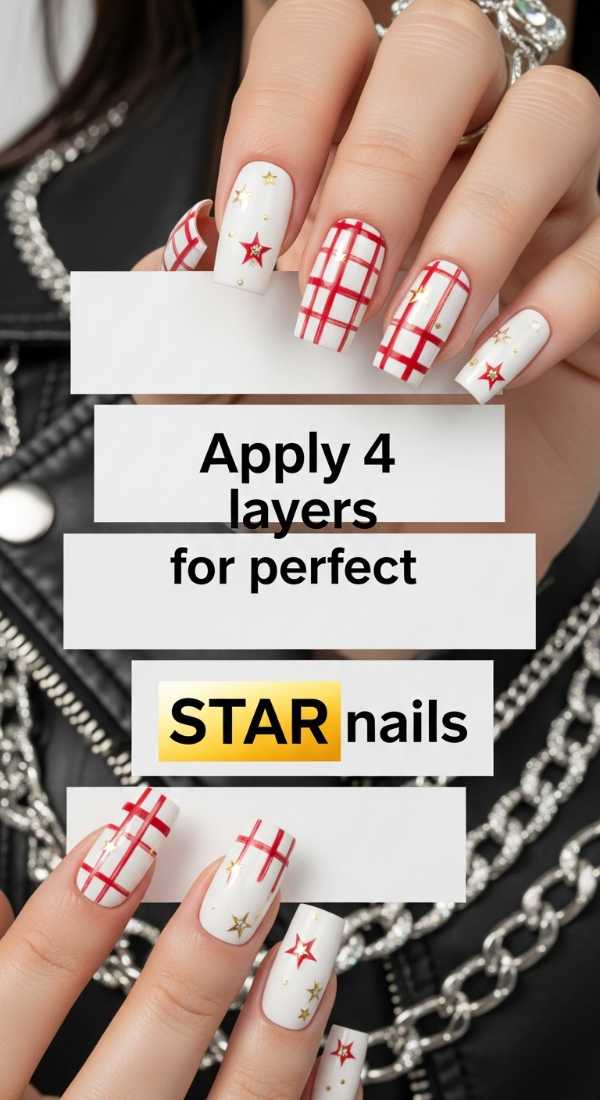
Apply 4 Layers for Perfect Star Nails
Why to love these Nails:
Oh, darlings, these stars are like little sparks of hope on your fingers. They catch the concert lights beautifully, reflecting all the energy of the night back into the world. They are ethereal yet grounded in a heavy metal aesthetic.
Essential Items:
- Sheer black or charcoal base
- Silver holographic glitter
- Black star decals or stamps
- Plumping top coat
How to Prepare:
- Layer 1: Apply a sheer, smoky charcoal base to create depth.
- Layer 2: Swipe a thin coat of holographic silver glitter over the bottom half.
- Layer 3: Carefully place your star accents (decals or hand-painted) over the glitter.
- Layer 4: Apply a thick plumping top coat to encapsulate the stars for a smooth finish.
Budget Range
- Holotaco Silver Flake – $14.00
- Zoya ‘Storm’ Charcoal – $12.00
- Star Nail Decals – $4.00
5 Easy Steps for Rock Gingham Nails
Why to love these Nails:
Gingham gives off such a wonderful 90s grunge vibe, doesn’t it? It feels cozy like a flannel shirt but looks sharp and intentional. It’s a rhythmic pattern that matches the steady beat of a bass guitar.
Essential Items:
- Light grey polish
- Black striper polish
- Matte top coat
How to Prepare:
- Paint your base with two coats of light grey.
- Paint three vertical black lines from base to tip.
- Paint three horizontal black lines across the nail to create a grid.
- Fill in the overlapping squares with a slightly darker grey or second layer of black.
- Apply a matte top coat for that soft, velvet-touch grunge feel.
Budget Range
- Essie ‘Petal Pushers’ Grey – $10.00
- Art Deco Black Striper – $5.00
- NYX Matte Finish – $7.00
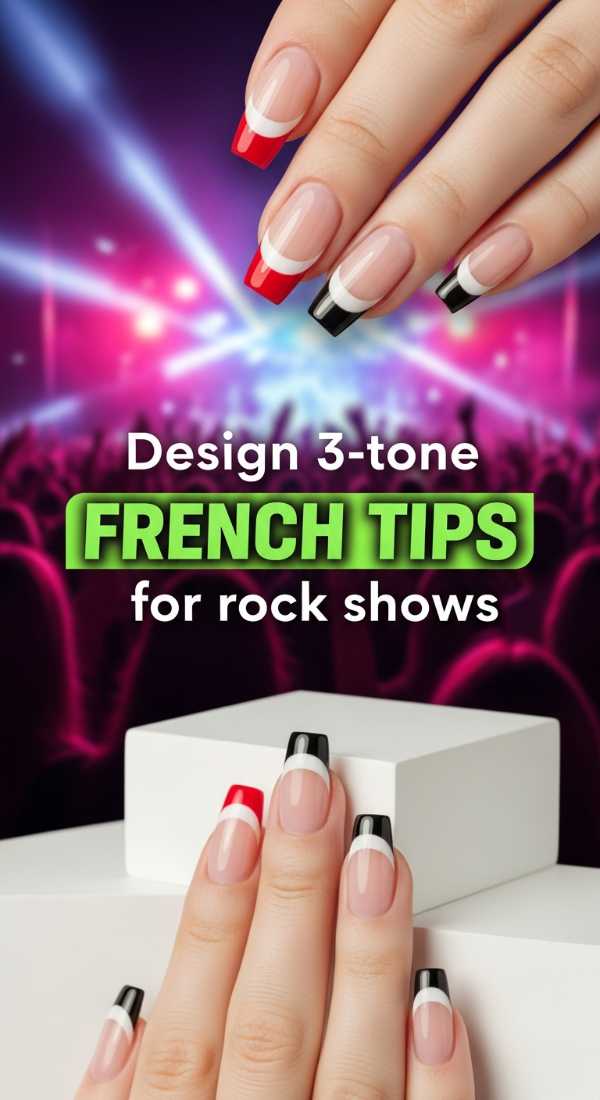
Design 3-tone French Tips for Rock Shows
Why to love these Nails:
This is a sophisticated take on metal style. By using three tones of the same color family, you create a gradient that looks like forged steel. It’s elegant, strong, and incredibly chic for any show.
Essential Items:
- Gunmetal shimmer polish
- Silver metallic polish
- Deep matte black
How to Prepare:
- Apply the matte black over the entire nail as your base.
- Paint a wide ‘French’ tip using the gunmetal shimmer.
- Add a much thinner ‘micro-tip’ at the very edge using the bright silver.
- Repeat on all fingers for a cohesive, metallic-gradient look.
Budget Range
- ILNP ‘Industrial’ Gunmetal – $12.50
- Revlon Silver – $6.00
- Orly Matte Top – $12.00
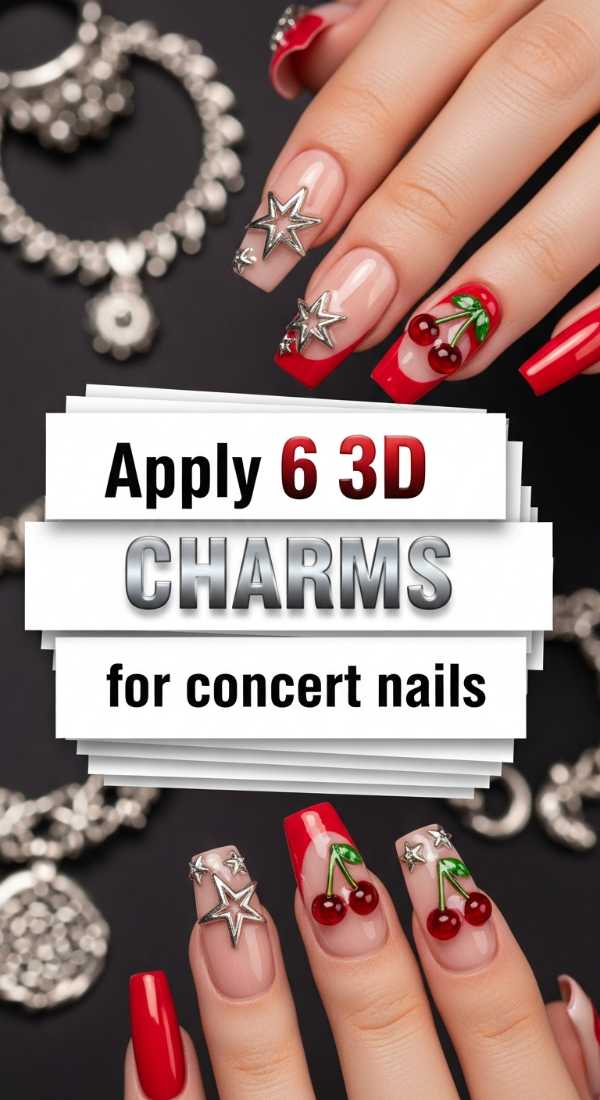
Apply 6 3D Charms for Concert Nails
Why to love these Nails:
For my loves who want to make a statement, 3D charms are the way to go. They add texture and a sense of ‘more is more’ that fits perfectly with the theatrical side of metal music. It’s wearable jewelry!
Essential Items:
- Strong nail glue or gem gel
- Tiny metal studs
- Skull or cross charms
- Tweezers
How to Prepare:
- Paint your nails a solid, dark color and let dry.
- Apply a small dot of glue where you want the first charm.
- Place a skull charm in the center with tweezers.
- Add four tiny silver studs around the charm like a frame.
- Place one final ‘spike’ charm at the cuticle base.
- Hold each in place for 10 seconds to ensure they stay during the encore!
Budget Range
- Makartt Rhinestone Glue – $9.00
- Metal Charm Variety Pack – $8.00
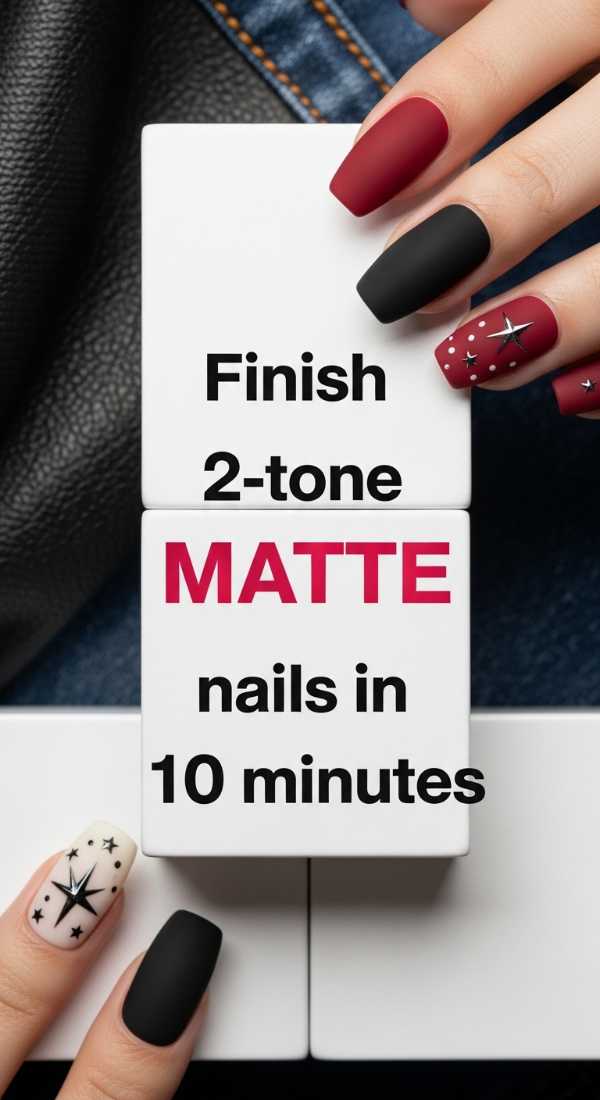
Finish 2-tone Matte Nails in 10 Minutes
Why to love these Nails:
Sometimes we are in a rush to catch the opening act, and that’s okay! This look is fast, effective, and deeply atmospheric. The contrast between matte and gloss is a subtle way to show off your edgy side.
Essential Items:
- Burgundy or deep purple polish
- Matte top coat
- Glossy top coat
How to Prepare:
- Paint all nails with your deep burgundy shade (5 mins).
- Apply a matte top coat to the entire nail (2 mins).
- Once dry, use the glossy top coat to paint a simple vertical stripe or heart (3 mins).
- This creates a ‘hidden’ texture that looks incredible under stage lights.
Budget Range
- OPI ‘Got the Blues for Red’ – $11.50
- Matte/Gloss Duo Pack – $12.00
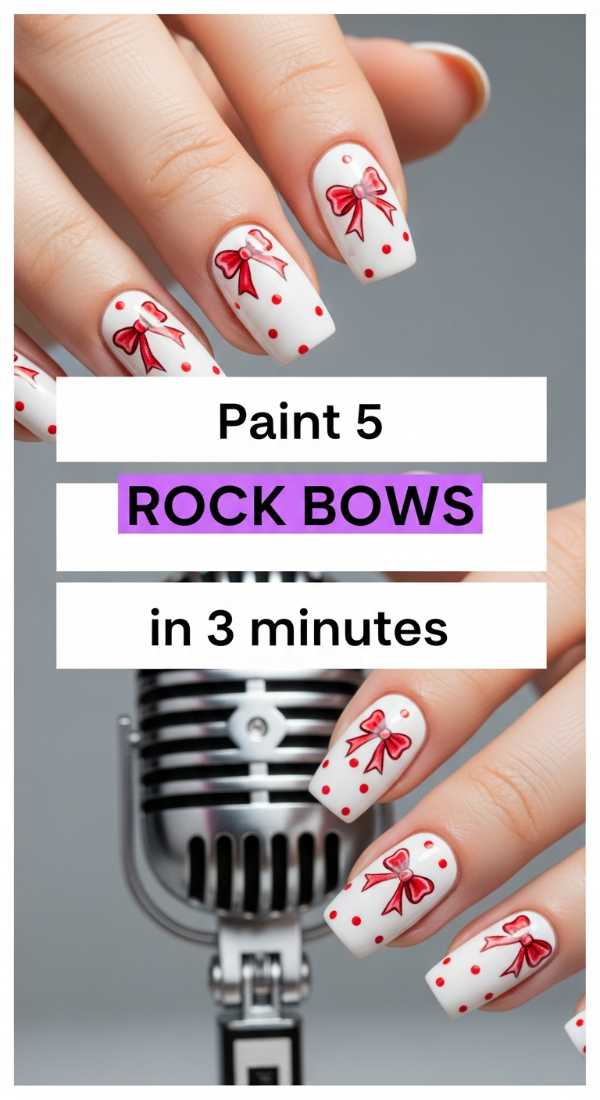
Paint 5 Rock Bows in 3 Minutes
Why to love these Nails:
Who says rock can’t be ‘coquette’? These little black bows add a touch of gothic romance to your concert look. They are dainty but dark, just like a beautiful power ballad.
Essential Items:
- Nude or sheer pink base
- Black detail pen or polish
How to Prepare:
- Apply a sheer base for a clean look.
- Paint two small triangles touching at the points to form the bow loops.
- Add two tiny lines coming down for the ribbons.
- Repeat on five accent nails (or all ten!).
- Seal with a quick-dry top coat.
Budget Range
- Sally Hansen Nude – $7.00
- Nail Art Pen – $8.00
Shape 10 Spiked Nails for Your Next Gig
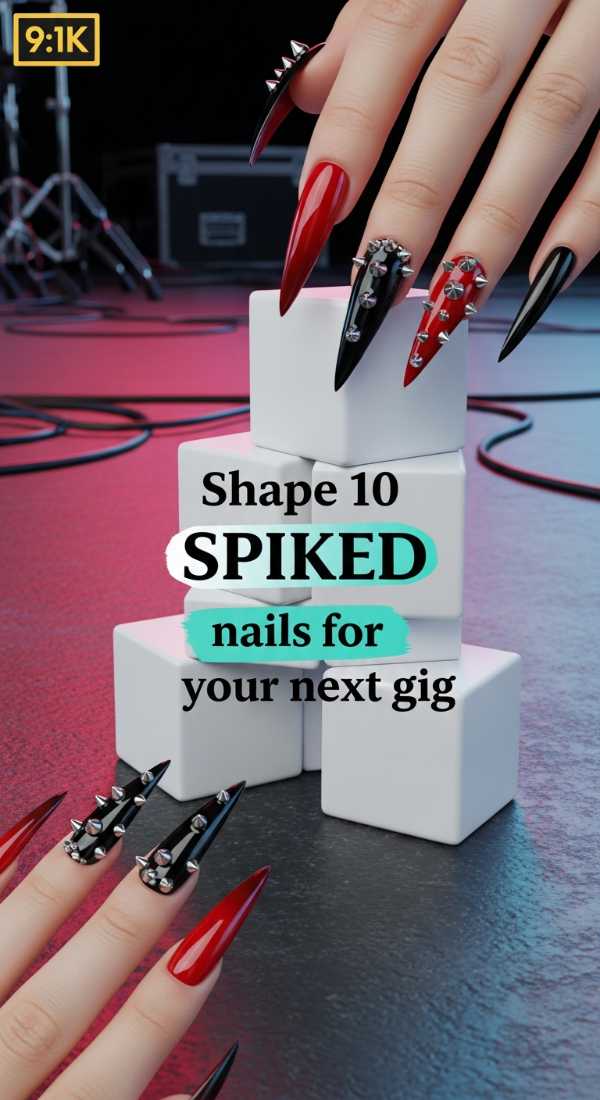
Why to love these Nails:
The silhouette of your nails can be just as powerful as the art on them. Spiked, stiletto nails are the ultimate ‘metal’ accessory. They elongate the fingers and give you a fierce, confident energy.
Essential Items:
- Long nail tips (stiletto shape)
- Course nail file (100/180 grit)
- Chrome powder
How to Prepare:
- Glue on your long stiletto tips.
- File the sides at an angle to create a sharp, ‘spiked’ point on all 10 nails.
- Buff the surface until smooth.
- Apply a black base and rub on silver chrome powder for a ‘weaponized’ metallic finish.
Budget Range
- Full Cover Stiletto Tips – $10.00
- Chrome Powder Kit – $15.00
Add 3 Types of Glitter for Rock Nails
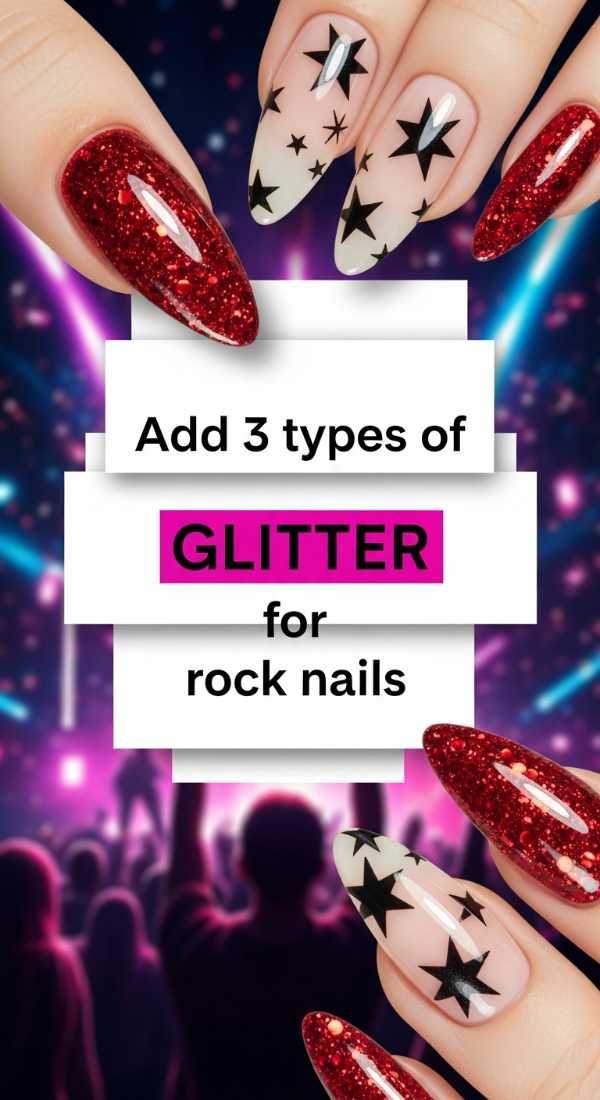
Why to love these Nails:
Glitter is essentially crushed stars, and you deserve to shine, darling. By mixing three types of glitter, you create a multidimensional look that moves and breathes with the music.
Essential Items:
- Fine silver glitter
- Chunky black glitter
- Holographic ‘bar’ glitter
How to Prepare:
- Apply a layer of fine silver glitter as your base.
- Dab chunky black glitter onto the tips for a ‘dipped’ effect.
- Carefully place a few pieces of holographic bar glitter in the center to catch ‘rainbow’ light.
- Finish with two layers of top coat to smooth out the texture.
Budget Range
- Loose Glitter Pots – $3.00 each
- Clear Polish – $5.00
Wrapping Your Heart in Music and Art
I hope these tutorials make you feel inspired and ready to head out into the night with confidence, my darlings. Whether you choose the sweetness of the cherries or the sharpness of the spikes, remember that your beauty comes from the joy you feel when the music starts. Take this time for yourself, enjoy the process of creating, and have the most magical time at your concert. You are a star, and your nails are just the beginning of your light.