
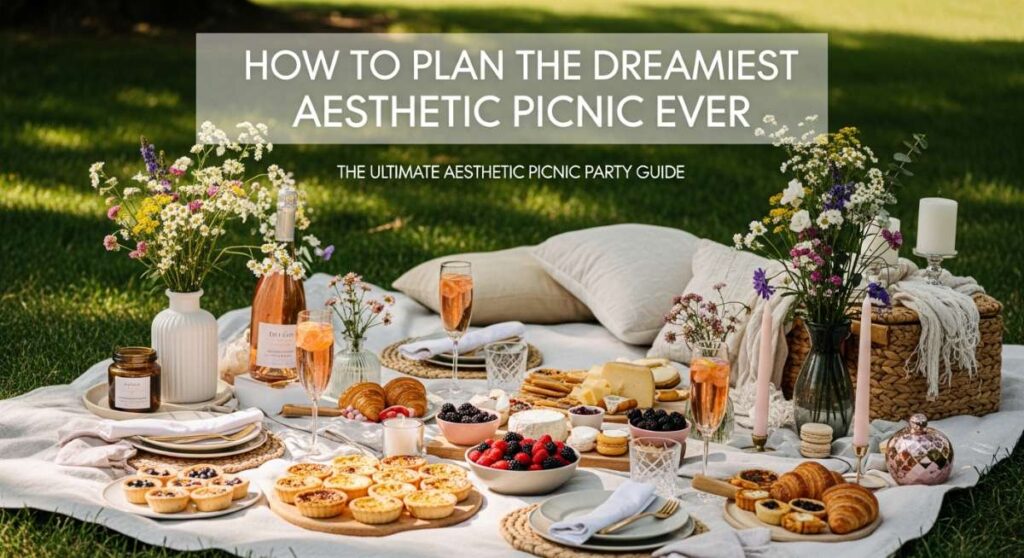
How to Plan the Dreamiest Aesthetic Picnic Ever
Hello my loves! There is something truly magical about the way the golden sun filters through the trees, casting a soft glow over a perfectly spread linen blanket. Lately, I have been craving moments that feel like a cloud-soft embrace—moments where time slows down, the laughter of friends sounds like music, and every little detail feels like it was plucked straight from a romantic indie film. Life can be so fast-paced, and creating a dreamscape outdoors is my favorite way to reconnect with the beauty of the present.
Today, I am so excited to share my heart with you in this Ultimate Aesthetic Picnic Party Guide. Whether you are celebrating a birthday, a bridal shower, or simply the joy of a Saturday afternoon, I want to help you curate an experience that feels as beautiful as it looks. We aren’t just planning a lunch; we are weaving together a tapestry of memories, textures, and flavors that you and your favorite people will cherish forever. So, grab a cup of tea, get cozy, and let’s start dreaming together.
The Ultimate Aesthetic Picnic Party Guide
Why to love this recipe:
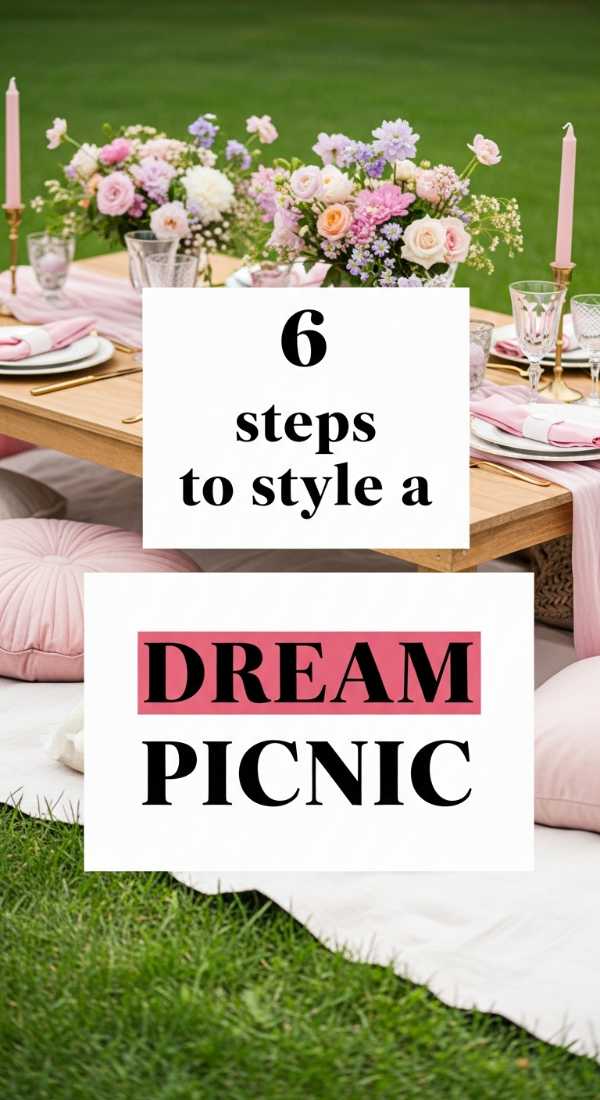
Styling a picnic is about creating a sanctuary. It’s that feeling of stepping into a cozy living room that just happens to be under the open sky. By layering textures and heights, you turn a patch of grass into a high-end lounge that feels both luxurious and incredibly inviting.
Essential Ingredients:
- Large neutral linen blankets
- Assorted plush throw pillows
- Low wooden picnic table or crates
- Fresh wildflowers in vintage vases
- Cloth napkins and gold cutlery
- Battery-operated taper candles
How to Prepare:
- Select a flat, shaded area under a sprawling tree.
- Layer your blankets, overlapping them to create a large, soft base.
- Place a low wooden table in the center for structure.
- Scatter pillows around the perimeter for comfortable lounging.
- Set out your place settings with cloth napkins and gold accents.
- Finish with clusters of wildflowers and candles for an ethereal touch.
Budget Range
- Linen Throw: $25 – $45
- Floor Cushions: $15 – $30 each
- Vintage Bud Vases: $2 – $5 at thrift stores
Why to love this recipe:
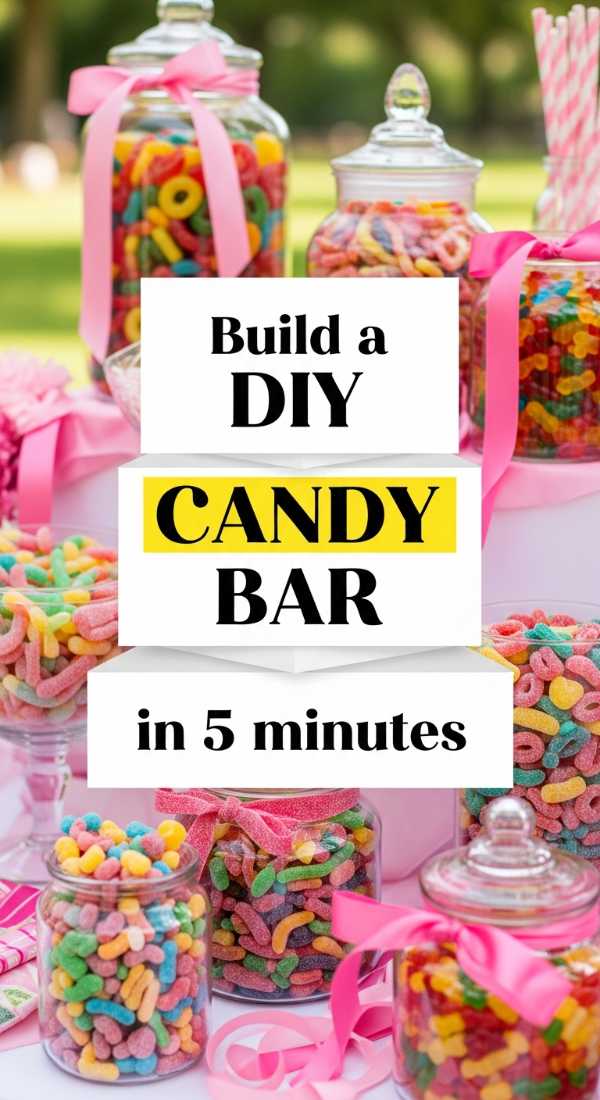
A DIY candy bar is pure whimsy and nostalgia wrapped in sugar. It adds a pop of playful color to your picnic and gives your guests a sweet little activity to enjoy between bites of savory snacks. Plus, it looks absolutely stunning in photos!
Essential Ingredients:
- Assorted glass jars of different heights
- Pastel-colored gummy hearts and marshmallows
- Rose-flavored rock candy
- Small paper treat bags
- Mini silver scoops
How to Prepare:
- Clean and dry your glass jars thoroughly.
- Fill each jar with a specific type of candy, keeping colors coordinated.
- Arrange the jars on one end of your picnic table.
- Place mini scoops inside or next to each jar.
- Stack the treat bags nearby for guests to fill.
Budget Range
- Glass Jar Set: $15 – $25
- Bulk Aesthetic Candy: $20 – $40
- Mini Scoops: $5 – $8
Why to love this recipe:
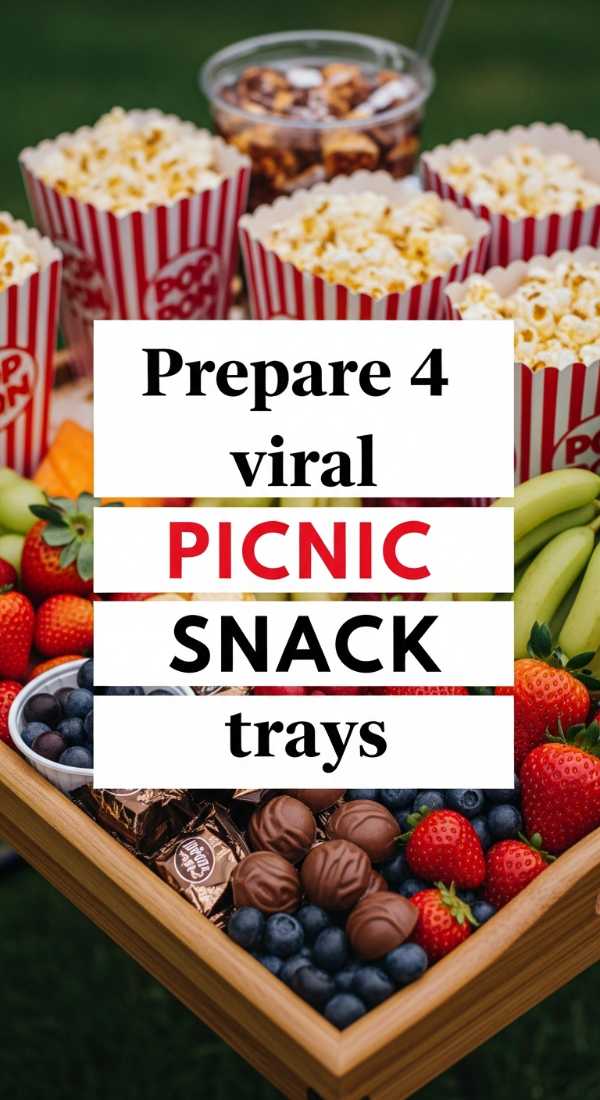
Snack trays are the heart of a social picnic. These four viral variations—Charcuterie, Rainbow Veggie, Mediterranean Hummus, and Dessert—ensure there is a little something for every craving. They are effortless to share and even easier to assemble.
Essential Ingredients:
- Wooden or marble serving boards
- Brie, Prosciutto, and honeycomb
- Sliced bell peppers, cucumbers, and radishes
- Hummus, olives, and pita bread
- Macarons, strawberries, and chocolate squares
How to Prepare:
- Place your ‘anchor’ items (like cheese wheels or dip bowls) on the trays first.
- Fan out crackers or bread around the anchors.
- Fill large gaps with your main proteins or vegetables.
- Tuck in small fruits or nuts to fill every single empty space for that ‘lush’ look.
Budget Range
- Wooden Serving Board: $12 – $30
- Artisan Cheeses: $5 – $10 per block
- Pre-cut Veggie Platter: $10 – $15
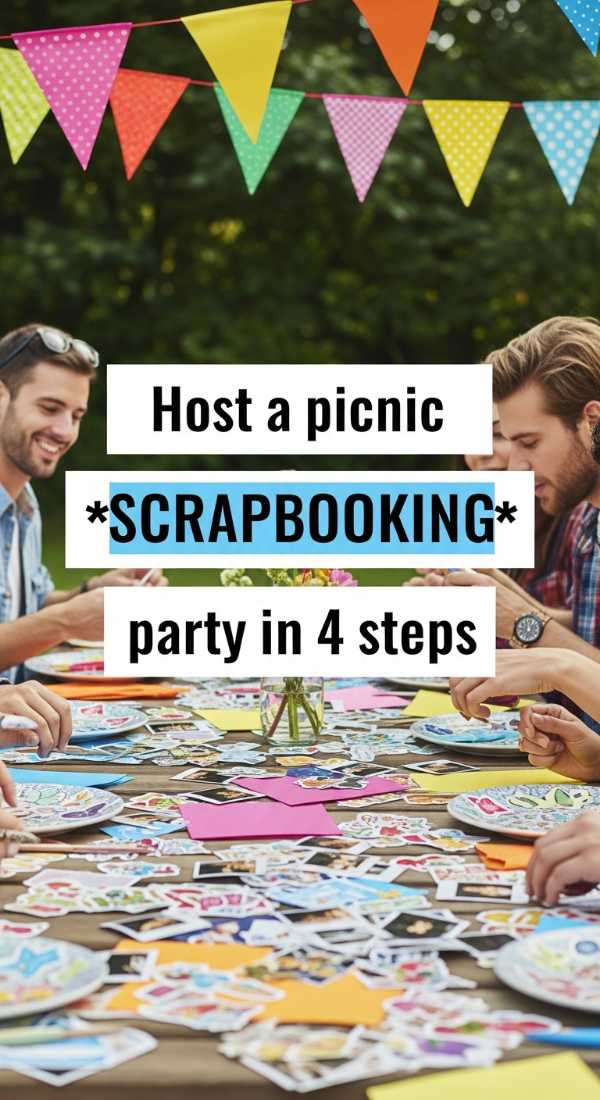
Why to love this recipe:
A scrapbooking party is the ultimate way to preserve the magic of your day in real-time. It turns a simple hangout into a creative workshop where everyone leaves with a piece of art and a heart full of gratitude.
Essential Ingredients:
- Instant film camera and extra film
- Washi tape in floral patterns
- Miniature scrapbooks or cardstock
- Metallic pens and aesthetic stickers
How to Prepare:
- Designate a ‘Creative Corner’ on your picnic blanket.
- Take instant photos of your guests as they arrive.
- Lay out the washi tape, pens, and stickers for easy access.
- Encourage everyone to glue their photo into a book and write a sweet note.
Budget Range
- Mini Instax Camera: $70 – $90
- Film (20 pack): $15 – $20
- Washi Tape Set: $8 – $12

Why to love this recipe:
Having a dress theme makes the entire event feel cohesive and special. It encourages your loves to play dress-up and step into a dream world for a few hours. A ‘Cottagecore’ or ‘Soft Pastels’ theme is timeless and looks beautiful against nature.
Essential Ingredients:
- Digital mood board or Pinterest link
- Coordinating hair ribbons
- Small flower crowns
How to Prepare:
- Choose a theme (e.g., ‘Vintage Garden’ or ‘White Linen’).
- Send out an invitation with a color palette three weeks in advance.
- Provide a basket of hair ribbons or flower crowns for guests to wear upon arrival.
Budget Range
- Satin Ribbon Spools: $3 – $7
- Floral Wire for Crowns: $5
- Digital Invite Template: $0 – $10
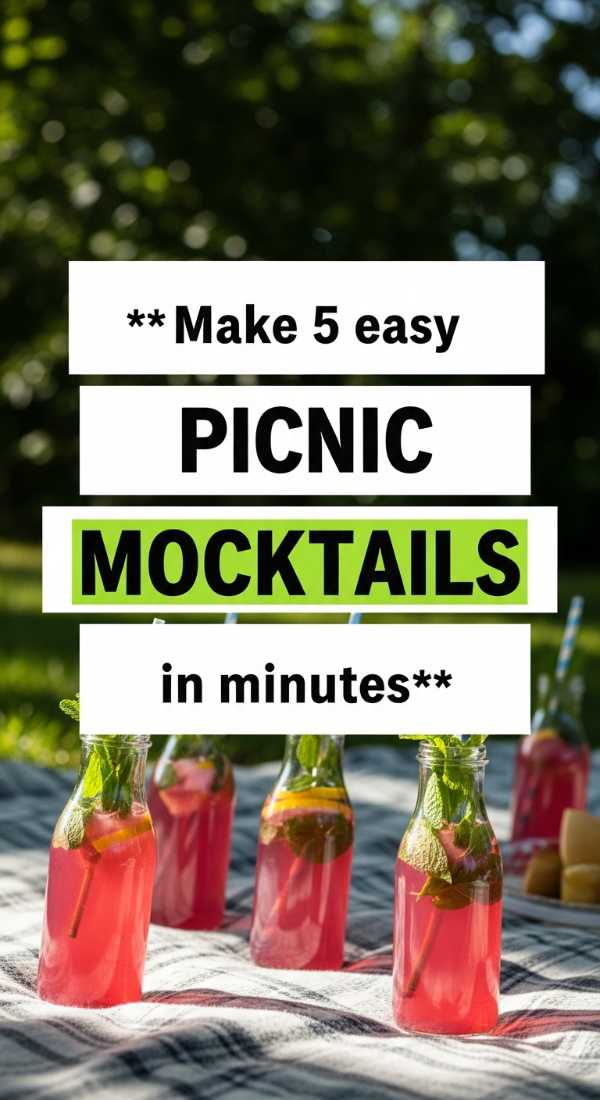
Why to love this recipe:
These mocktails are refreshing, sophisticated, and completely alcohol-free. They sparkle in the light and provide a fancy ‘cheers’ moment without any of the fuss, keeping everyone hydrated and happy.
Essential Ingredients:
- Sparkling water or ginger ale
- Elderflower syrup
- Fresh mint and raspberries
- Edible glitter
- Coupe glasses
How to Prepare:
- Add a drop of elderflower syrup to each coupe glass.
- Pour in chilled sparkling water.
- Stir in a tiny pinch of edible glitter for magic.
- Garnish with a sprig of mint and two raspberries.
- Serve immediately while bubbly.
Budget Range
- Plastic Coupe Glasses (Set of 12): $15 – $20
- Elderflower Syrup: $10 – $15
- Sparkling Water: $5 – $8
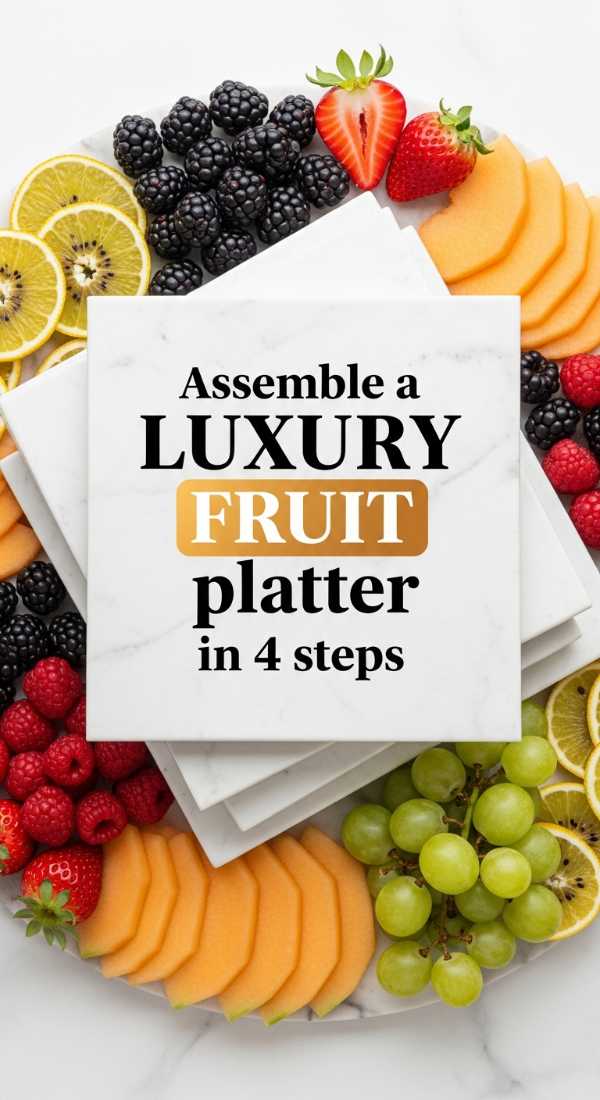
Why to love this recipe:
A luxury fruit platter is like a crown jewel for your table. It’s healthy, vibrant, and adds a natural sweetness that balances out savory snacks. The key is in the ‘overflowing’ arrangement style.
Essential Ingredients:
- Whole pineapple, dragon fruit, and grapes
- Starfruit for unique shapes
- Fresh mint leaves for garnish
- Honey for drizzling
How to Prepare:
- Slice larger fruits like pineapple or dragon fruit into wedges.
- Arrange fruit by color to create a gradient or rainbow effect.
- Tuck in grape clusters to create depth and height.
- Drizzle with honey and scatter mint leaves for a professional finish.
Budget Range
- Exotic Fruit (Dragon fruit/Starfruit): $5 – $8 each
- Honey Bear: $4 – $6
- Mint Bunch: $2
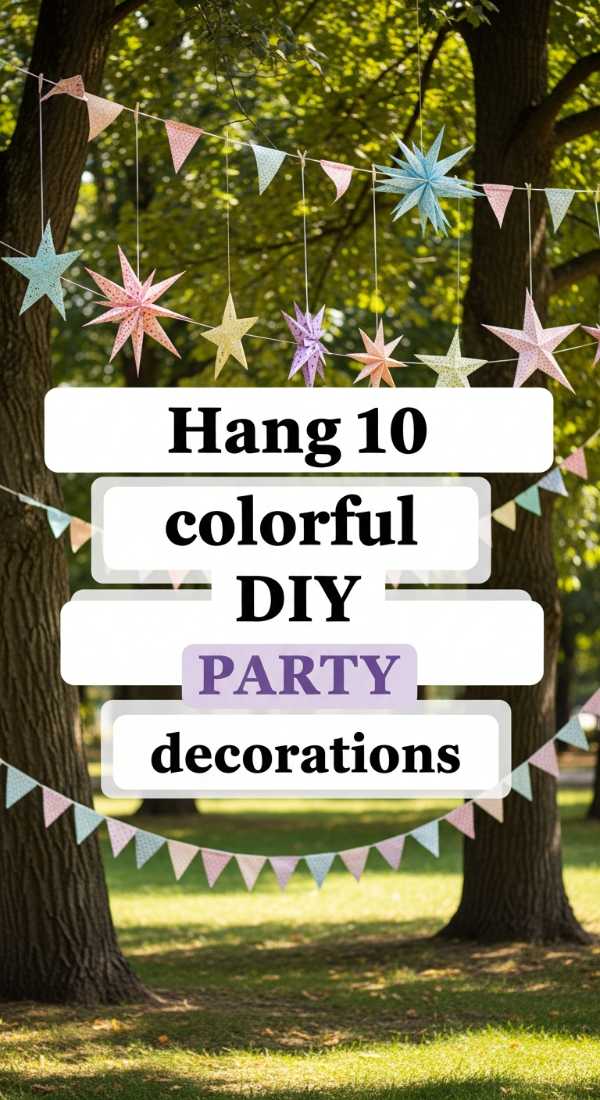
Why to love this recipe:
Decorations are the jewelry of your picnic. They catch the breeze and add movement to your setup. DIYing these items adds a personal, handmade touch that shows your guests how much you care.
Essential Ingredients:
- Fabric scraps for bunting
- Paper lanterns
- Ribbon streamers
- Battery-powered fairy lights
How to Prepare:
- Cut fabric into triangles and glue to twine for bunting.
- Hang paper lanterns at varying heights from tree branches.
- Tie long ribbons to the backs of chairs or nearby low branches.
- Weave fairy lights through your picnic baskets and centerpieces.
- (Repeat for all 10 colorful items like tissue pom-poms and hand-painted signs).
Budget Range
- Fabric Scraps: $0 – $10
- Paper Lanterns (Set): $12 – $18
- Fairy Lights: $8 – $15
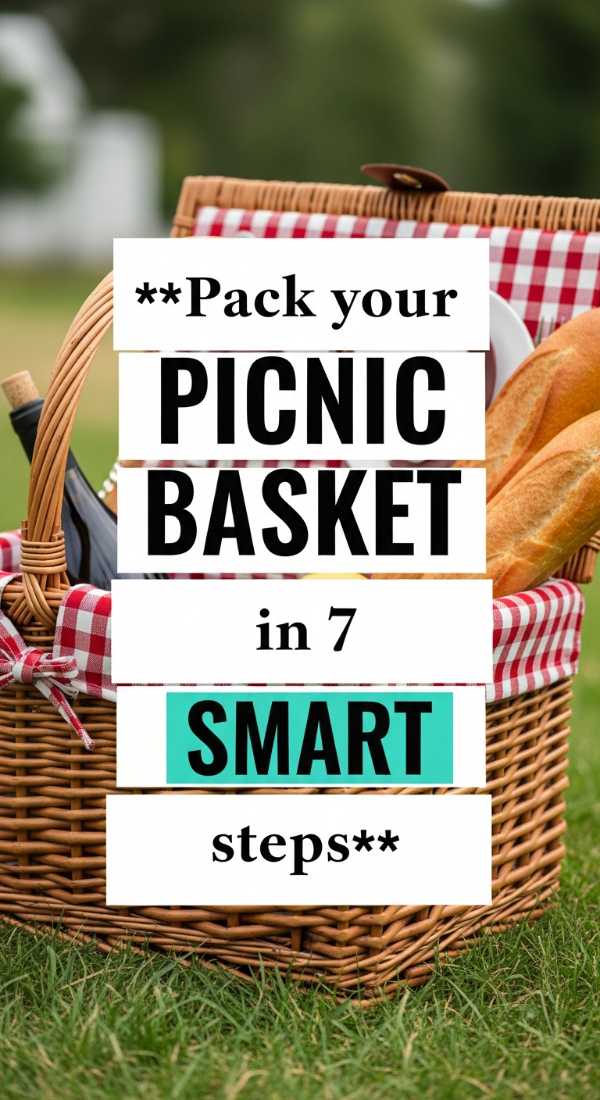
Why to love this recipe:
A well-packed basket is the secret to a stress-free picnic. It ensures nothing leaks, nothing breaks, and everything stays at the perfect temperature so you can focus on the fun.
Essential Ingredients:
- Sturdy wicker picnic basket
- Insulated cooler bags
- Reusable beeswax wraps
- Small cutting board
How to Prepare:
- Place heavy, non-perishable items at the bottom.
- Put chilled items in an insulated bag with ice packs.
- Wrap delicate sandwiches in beeswax wraps.
- Stack trays horizontally to prevent sliding.
- Place a small towel on top to prevent items from rattling.
- Tuck utensils into side pockets.
- Finish by placing your lightest items (like napkins) on the very top.
Budget Range
- Wicker Picnic Basket: $35 – $60
- Beeswax Wraps: $12 – $18
- Insulated Bag Insert: $10 – $15
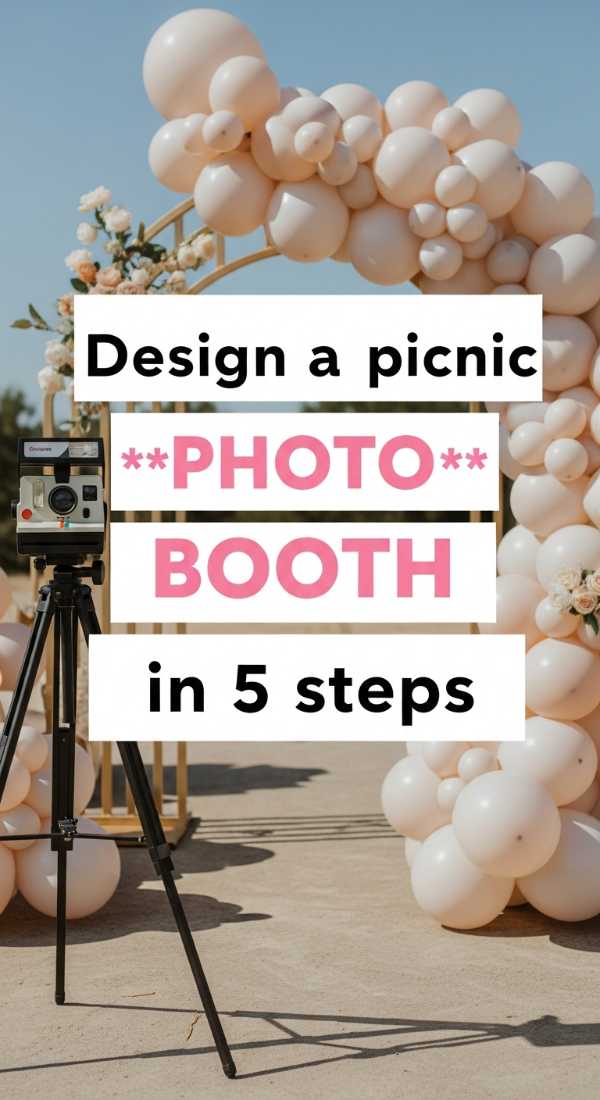
Why to love this recipe:
In our digital age, a photo booth is the ultimate gift for your friends. It provides a dedicated space for everyone to capture their outfits and the beautiful setup without having to search for the right light.
Essential Ingredients:
- Freestanding wooden frame or vintage ladder
- Draped lace fabric
- Handheld props (vintage fans, parasols)
- Tripod for phones
How to Prepare:
- Set up your frame or ladder in a spot with soft, indirect light.
- Drape lace fabric over the frame to create a dreamy backdrop.
- Place a basket of props next to the setup.
- Position the tripod at eye level.
- Add a small sign that says ‘Say Cheese, Loves!’
Budget Range
- Vintage Ladder: $10 – $20 (Secondhand)
- Lace Fabric (2 yards): $10 – $15
- Phone Tripod: $15 – $25
Gathering with Intention
As the sun begins to set and the air turns cool, I hope you take a moment to look around at the beautiful space you’ve created. There is so much magic in the intentionality of a picnic. It’s not just about the food or the photos—it’s about carving out a slice of peace in a busy world and sharing it with the people who make your heart feel full. I hope these tips help you plan a day that feels like a soft, golden dream. Go forth and create something beautiful, my loves!