
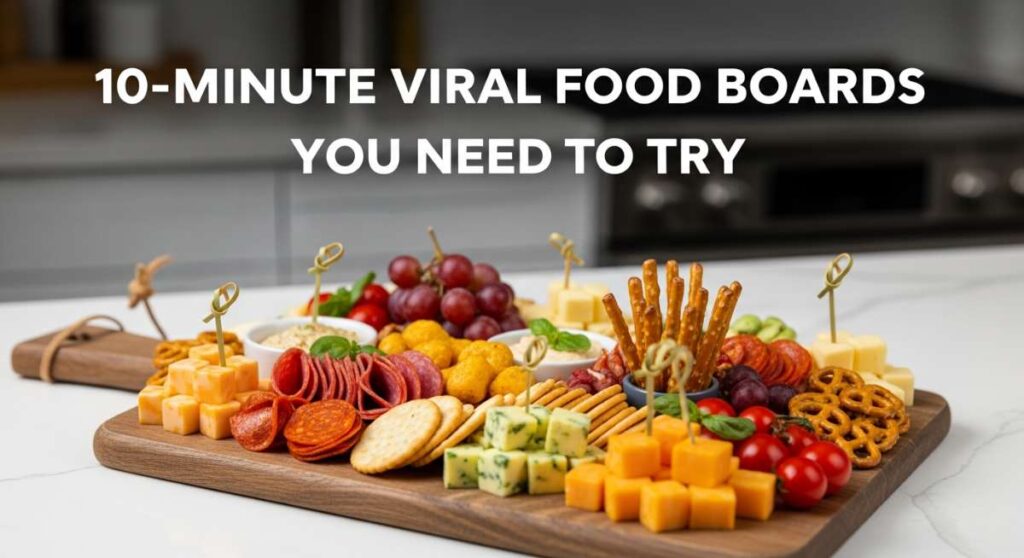
10-Minute Viral Food Boards You Need to Try
There is something undeniably magical about the golden hour of a summer afternoon, when the sun hangs low and the air feels heavy with the scent of blooming jasmine and charcoal grills. In my home, this is the time when the kitchen becomes a sanctuary of simple, beautiful food. We’ve all seen those stunning viral food boards scrolling through our feeds—the ones that look like they took hours to curate but actually celebrate the art of the ‘slow living’ lifestyle. I’ve found that the best memories aren’t made over complicated five-course meals, but over a shared board filled with fresh, vibrant ingredients that everyone can pick at while sharing stories.
Today, I’m sharing my favorite secrets for creating that effortless ‘Simple Food Board’ aesthetic. Whether you are hosting a backyard bash or just want to treat yourself to a beautiful solo lunch, these ten concepts are designed to be prep-light and flavor-heavy. We are leaning into the textures of the season—the crunch of a garden-fresh cucumber, the silkiness of melted cheese, and the zing of citrus. Let’s dive into these ten-minute wonders that will transform your summer dining experience into something truly viral-worthy.
How to prep healthy summer meals?

Why we love this
Prepping healthy meals for the summer is all about capturing the rainbow on a single wooden board. We love the way a well-organized prep station feels like a breath of fresh air; the crisp ‘snap’ of raw bell peppers, the earthy aroma of freshly washed kale, and the vibrant, juicy pop of cherry tomatoes. It turns the chore of cooking into a sensory ritual that fuels your body with clean energy. When you see these colors laid out, it makes choosing a healthy option feel like an indulgence rather than a restriction, especially when paired with a zesty lemon-tahini drizzle that ties the whole board together.
Ingredients
- Red, yellow, and orange bell peppers
- English cucumbers
- Heirloom cherry tomatoes
- Blanched snap peas
- Radishes, thinly sliced
- Pre-cooked quinoa or farro
- Lemon-tahini dressing
How to make it
- Begin by thoroughly washing all your produce in ice-cold water to ensure maximum crispness and to remove any grit from the garden.
- Slice your bell peppers into uniform 1/2-inch strips and julienne your cucumbers to create a consistent texture across the board.
- For the snap peas, bring a small pot of salted water to a rolling boil and blanch them for exactly 60 seconds before immediately plunging them into an ice bath; this locks in that bright emerald color.
- Arrange the grains in a central bowl and fan the vegetables out in concentric circles, grouping them by color to create that signature ‘viral’ gradient effect.
- Finish by garnishing with microgreens and placing the dressing in a small ceramic ramekin on the side for easy dipping or drizzling.
How to make creamy rotel dip?
Why we love this
Nothing says ‘viral comfort food’ quite like a bubbling pot of creamy Rotel dip. This dish is a sensory powerhouse; the aroma of browned savory meat mixed with the sharp, salty tang of melting cheese and the spicy kick of green chilies is enough to bring everyone to the kitchen island immediately. We love the velvety, molten texture that coats a salty tortilla chip perfectly, providing a satisfying crunch followed by a warm, gooey finish. It’s the ultimate crowd-pleaser that feels nostalgic and decadent all at once, making it the perfect center-piece for a casual snack board.
Ingredients
- 1 lb Velveeta or high-quality melting cheese, cubed
- 1 can (10 oz) Rotel Original Diced Tomatoes and Green Chilies
- 1 lb ground breakfast sausage or lean ground beef
- 1/2 cup heavy cream (optional for extra silkiness)
- Fresh cilantro for garnish
- Tortilla chips or toasted baguette slices
How to make it
- Place a large skillet over medium-high heat and add your ground meat, breaking it apart with a wooden spoon into small, uniform crumbles.
- Sauté the meat until it is deeply browned and caramelized, ensuring there is no pink left, then drain the excess fat thoroughly to prevent the dip from becoming oily.
- Lower the heat to low-medium and add the cubed cheese and the entire can of Rotel (including the juices) to the skillet.
- Stir constantly with a silicone spatula, using a folding motion to incorporate the tomatoes into the melting cheese until the mixture is completely smooth and glossy.
- If the dip feels too thick, whisk in the heavy cream one tablespoon at a time until you reach a pourable yet thick consistency, then serve immediately in a pre-warmed bowl.
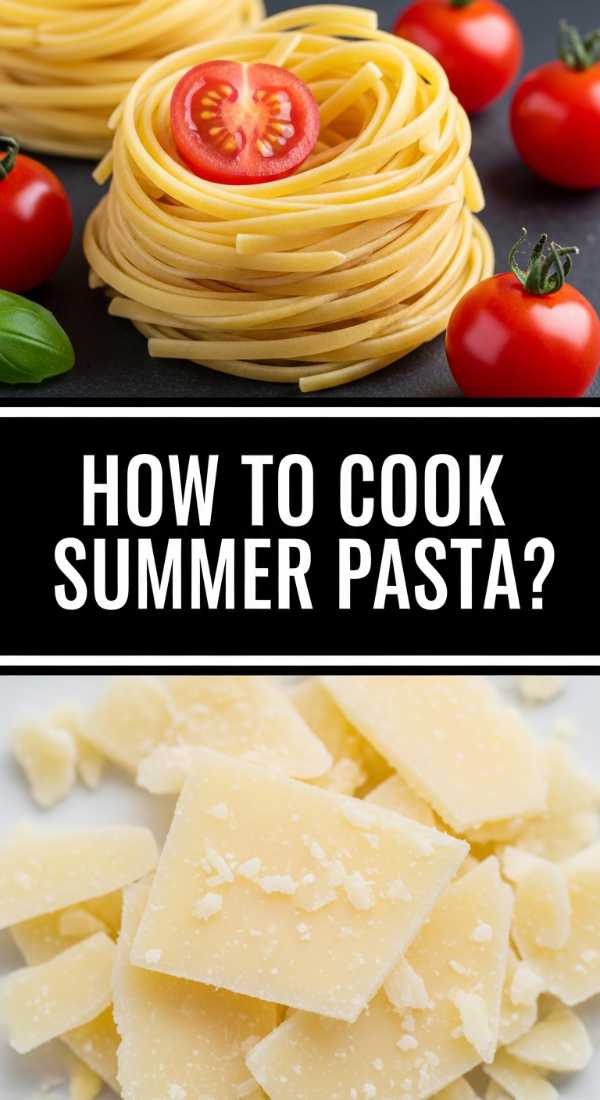
How to cook fresh summer pasta?
Why we love this
Fresh summer pasta is a love letter to the garden, focusing on lightness rather than heavy sauces. We love the way the steam carries the scent of torn basil and minced garlic across the room, creating an instant appetite. The texture is a beautiful contrast between the ‘al dente’ bite of the pasta and the softened, jammy burst of cherry tomatoes that have just begun to break down in the heat. It’s a dish that feels elegant and breezy, perfect for an outdoor dinner board where the pasta is the star, surrounded by piles of freshly grated parmesan and crusty bread.
Ingredients
- 1 lb Linguine or Angel Hair pasta
- 2 cups cherry tomatoes, halved
- 4 cloves garlic, thinly sliced
- 1/2 cup extra virgin olive oil
- 1 large bunch of fresh basil, torn
- Red pepper flakes and sea salt
- Freshly grated Parmesan cheese
How to make it
- Bring a large pot of heavily salted water (it should taste like the sea) to a vigorous boil and cook your pasta for 2 minutes less than the package directions for a true al dente finish.
- While the pasta cooks, heat olive oil in a wide pan over medium-low heat and add the sliced garlic, cooking until it is fragrant and pale gold—do not let it brown or it will turn bitter.
- Add the halved tomatoes and a pinch of red pepper flakes to the oil, turning the heat up slightly and cooking until the tomatoes begin to blister and release their juices, forming a natural sauce.
- Reserve one cup of starchy pasta water before draining the noodles, then toss the pasta directly into the tomato pan.
- Add the reserved pasta water and a handful of parmesan, tossing vigorously over high heat for 60 seconds to emulsify the sauce before folding in the fresh basil and serving.
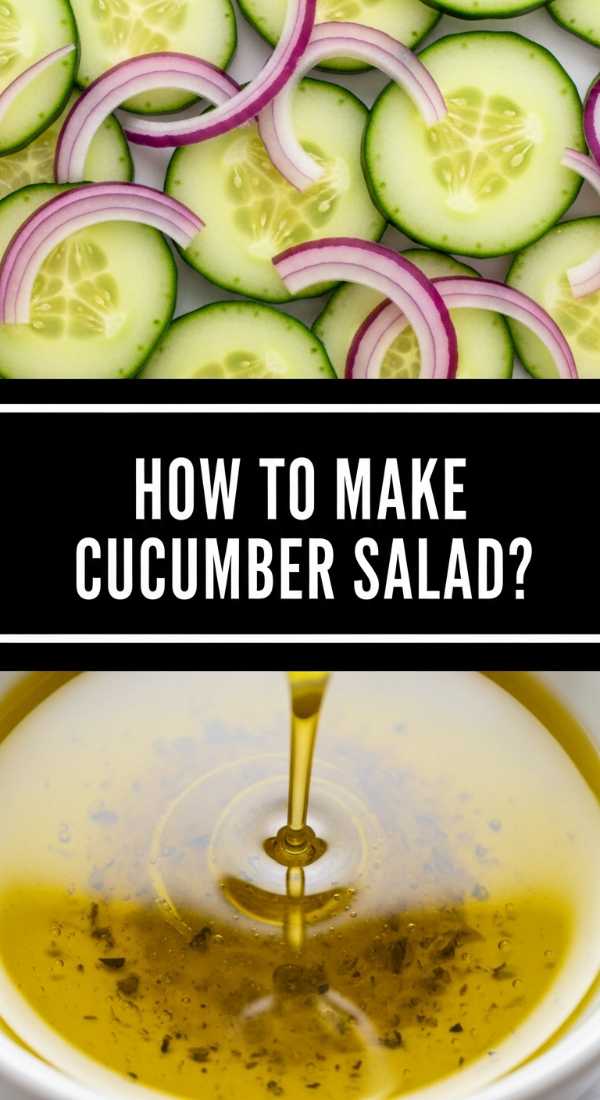
How to make cucumber tomato salad?

Why we love this
This salad is the definition of refreshing; it’s a cooling balm on a hot summer day. The sensory experience is dominated by the ‘crunch’ of the cucumber and the ‘yield’ of a ripe, sun-warmed tomato, all tied together by the sharp, acidic bite of red wine vinegar. We love the way the juices from the vegetables mingle with the olive oil to create a dressing that you’ll want to soak up with a piece of bread. The aroma of red onion and dried oregano gives it a Mediterranean flair that transports you to a seaside café with every single bite.
Ingredients
- 3 large Persian cucumbers, sliced into half-moons
- 4 Roma tomatoes, chopped into bite-sized chunks
- 1/2 red onion, very thinly sliced
- 1/4 cup extra virgin olive oil
- 2 tbsp red wine vinegar
- 1 tsp dried oregano
- Salt and cracked black pepper
- Feta cheese crumbles (optional)
How to make it
- In a large glass bowl, combine your sliced cucumbers and tomatoes, ensuring they are cut into roughly the same size to ensure a balanced forkful.
- To take the ‘bite’ out of the red onions, soak the slices in a bowl of ice water for 5 minutes, then pat them dry before adding them to the salad.
- Whisk together the olive oil, red wine vinegar, and dried oregano in a small jar until the dressing is fully emulsified and slightly thickened.
- Pour the dressing over the vegetables and toss gently with large spoons, being careful not to bruise the tomatoes or turn the cucumbers mushy.
- Let the salad sit at room temperature for at least 15 minutes before serving to allow the flavors to marinate, then top with feta cheese just before placing on your food board.
How to make easy summer desserts?

Why we love this
Summer desserts should be sweet, effortless, and highlight the peak of berry season. We love a dessert board that features macerated berries that have become glossy and syrupy, paired with the cloud-like fluffiness of whipped cream. The smell is purely intoxicating—like a bowl of sugar-dusted sunshine. There’s a playful joy in assembling your own shortcake or dipping a piece of dark chocolate into a tart raspberry puree. It’s the perfect light ending to a meal that doesn’t leave you feeling weighed down, keeping the energy of the party high and sweet.
Ingredients
- Fresh strawberries, blueberries, and blackberries
- Store-bought angel food cake or pound cake, cubed
- 2 cups heavy whipping cream
- 1/4 cup powdered sugar
- 1 tsp vanilla bean paste
- Fresh mint leaves for garnish
How to make it
- Wash and hull your strawberries, slicing the larger ones and leaving the smaller ones whole for a rustic, organic look on the board.
- In a chilled metal bowl, combine the heavy cream, powdered sugar, and vanilla bean paste, whisking on high speed until stiff peaks form—be careful not to over-whisk or it will turn into butter.
- Cut your cake into uniform 2-inch cubes and toast them lightly in a dry pan over medium heat for 2 minutes to give them a slight golden crunch on the edges.
- Arrange the cake cubes on one side of the board and the berries on the other, placing the bowl of whipped cream in the center.
- Garnish the entire board with fresh mint leaves and a final dusting of powdered sugar through a fine-mesh sieve for a professional, ‘viral’ finish.
How to make fun summer drinks?
Why we love this
Hydration becomes an art form when you’re crafting fun summer drinks. We love the visual of a crystal-clear pitcher filled with ice, floating citrus wheels, and bruised herbs that release their essential oils into the water. The sensory experience is all about the ‘clink’ of ice against glass and the immediate cooling sensation of a tart, fizzy beverage hitting your throat. Whether it’s a mocktail or a spiked lemonade, these drinks add a pop of color and a sense of celebration to any board, making even a simple Tuesday feel like a special occasion.
Ingredients
- Fresh lemons and limes, sliced into rounds
- Fresh ginger, peeled and sliced
- Sparkling water or club soda
- Honey or agave syrup
- Fresh rosemary sprigs or mint
- Handful of frozen berries (act as ice cubes)
How to make it
- Muddle a few slices of ginger and a handful of mint at the bottom of a large pitcher to release the juices and aromatic oils.
- Add your sweetener (honey or agave) and stir vigorously with a long spoon until it has dissolved into the base flavors.
- Fill the pitcher three-quarters of the way with ice cubes, then tuck the citrus wheels and frozen berries into the gaps for a beautiful layered look.
- Slowly pour the sparkling water over the ice, allowing the carbonation to mix the ingredients naturally without losing too many bubbles.
- Top each glass with a fresh sprig of rosemary and serve alongside your food boards to keep your guests refreshed and happy.
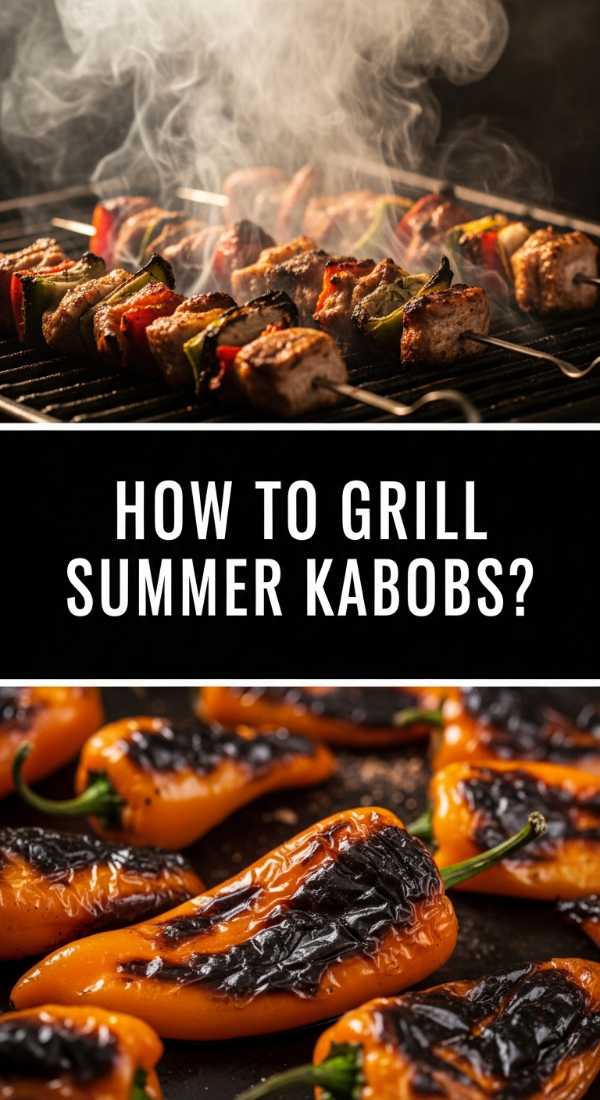
How to grill perfect summer kabobs?

Why we love this
Grilling kabobs is the quintessential summer activity that brings out the smoky, charred aromas of the backyard. We love the way the high heat of the grill caramelizes the natural sugars in vegetables like red onions and pineapples, creating a sweet and savory profile that is impossible to resist. The texture of a perfectly grilled kabob is a balance of juicy, tender meat and vegetables that still retain a bit of their structural integrity. It’s a tactile, fun way to eat that encourages everyone to grab a stick and enjoy the outdoor breeze.
Ingredients
- Chicken breast or top sirloin beef, cut into 1-inch cubes
- Zucchini, sliced into thick rounds
- Red onion, cut into large chunks
- Pineapple chunks (fresh is best)
- Olive oil, soy sauce, and honey for the marinade
- Bamboo or metal skewers
How to make it
- If using bamboo skewers, soak them in water for at least 30 minutes to prevent them from catching fire on the grill.
- Whisk together olive oil, soy sauce, honey, and minced garlic in a bowl, then toss the meat in the marinade for at least 20 minutes in the refrigerator.
- Thread the meat and vegetables onto the skewers in an alternating pattern, ensuring they are snug but not overly crowded so the heat can circulate around each piece.
- Preheat your grill to medium-high (about 400°F) and lightly oil the grates to prevent sticking.
- Grill the skewers for 10-12 minutes, turning them every 3 minutes, until the meat is cooked through and the vegetables have beautiful, dark char marks.
How to cook refreshing summer soup?
Why we love this
A refreshing summer soup, like a chilled Gazpacho, is a total game-changer for hot-weather dining. We love the vibrant, silky texture of blended vegetables that have been chilled to perfection, offering a savory ‘slurp’ that is both hydrating and satisfying. The aroma is clean and bright, dominated by cucumber and bell pepper with a hint of garlic. It’s a sophisticated addition to a food board, especially when served in small shot glasses or shooters, providing a concentrated burst of garden flavor that cleanses the palate between heavier bites.
Ingredients
- 6 ripe tomatoes, cored and chopped
- 1 cucumber, peeled and seeded
- 1 red bell pepper, seeded
- 1/2 red onion
- 2 tbsp sherry vinegar
- 1/4 cup high-quality olive oil
- Salt and a dash of Tabasco
How to make it
- Place all the chopped vegetables into a high-powered blender and pulse until you reach a consistency you like—some prefer it chunky, while others like it completely smooth.
- While the blender is running on low, slowly drizzle in the olive oil and sherry vinegar to create a creamy, stable emulsion.
- Season generously with salt and a dash of Tabasco for a subtle back-of-the-throat heat that balances the coolness of the vegetables.
- Pass the soup through a fine-mesh sieve if you want a truly elegant, restaurant-style texture, discarding any skins or seeds.
- Chill the soup in the refrigerator for at least 2 hours before serving; summer soup must be served ice-cold to truly capture its refreshing potential.
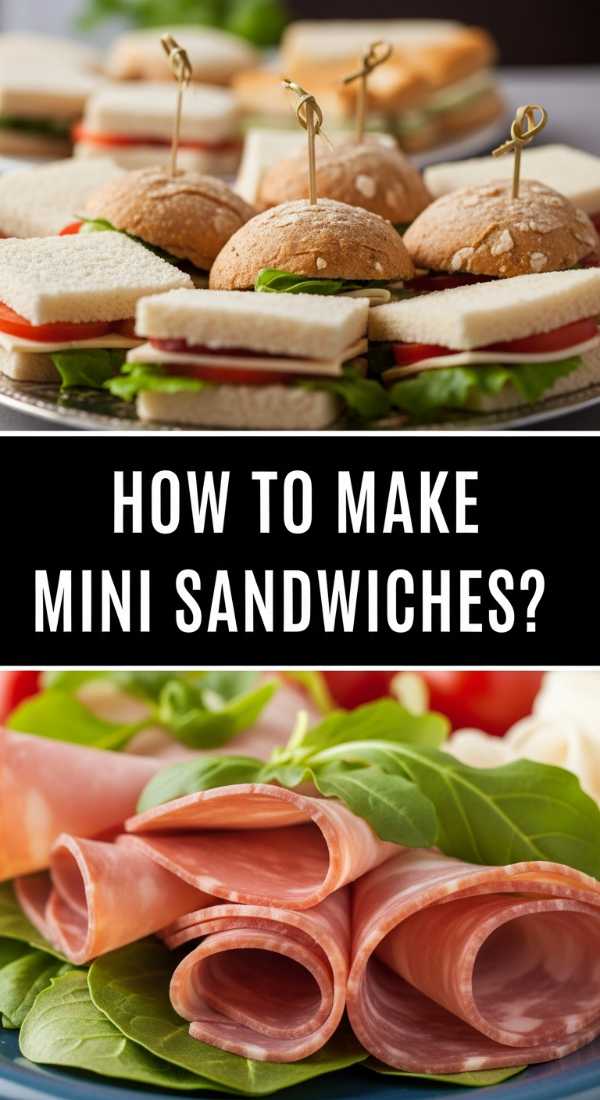
How to make mini party sandwiches?
Why we love this
Mini party sandwiches, or sliders, are the ultimate ‘viral’ board addition because they are just so cute and customizable. We love the feeling of a soft, pillowy brioche bun giving way to layers of savory deli meats, melted cheese, and a zesty spread. The aroma of warm butter and herbs brushed over the tops of the buns as they come out of the oven is heavenly. These little bites are easy for guests to grab with one hand while they mingle, making them the functional heroes of any social gathering or family snack board.
Ingredients
- 1 pack of Hawaiian sweet rolls or mini brioche buns
- Deli turkey or ham, thinly sliced
- Provolone or Swiss cheese slices
- Honey mustard or chipotle mayo
- Melted butter, garlic powder, and dried parsley for the topping
How to make it
- Without pulling the rolls apart, use a long serrated knife to slice the entire slab of rolls in half horizontally.
- Spread a generous layer of honey mustard or mayo across the bottom half of the rolls, then layer on the meat and cheese evenly.
- Replace the top half of the rolls and use a knife to cut along the pre-made lines, creating individual sandwiches that stay together in the pan.
- Whisk together melted butter, garlic powder, and parsley, then use a pastry brush to coat the tops of the buns thoroughly.
- Bake at 350°F for 10-12 minutes until the cheese is gooey and the tops of the buns are golden brown and slightly crisp.
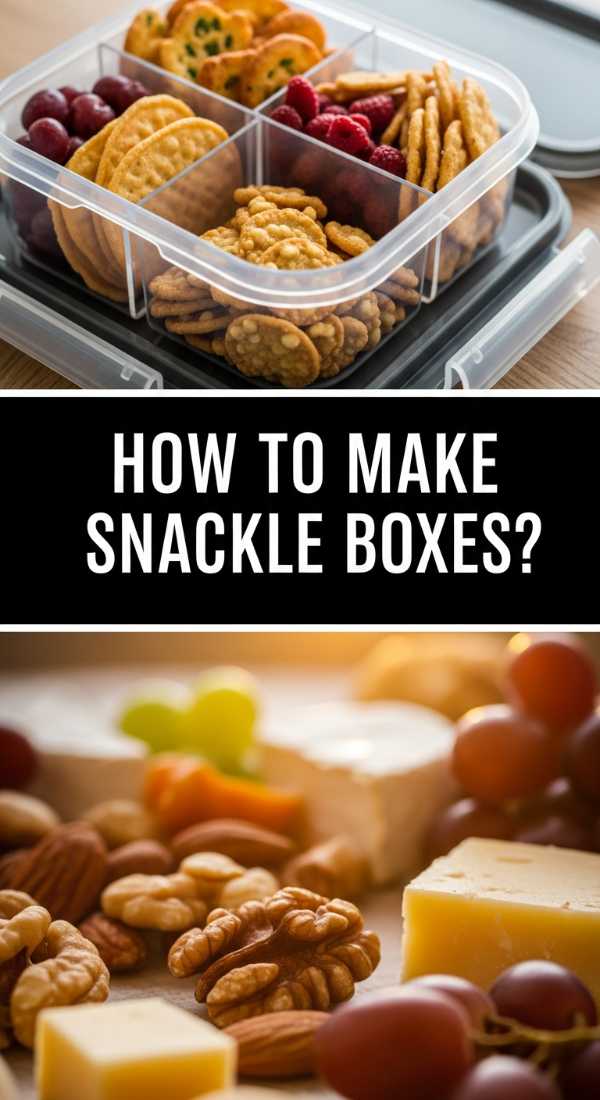
How to build summer snackle boxes?
[IMAGE_10]
Why we love this
The ‘snackle box’ is the ultimate viral trend for a reason—it’s portable, organized, and endlessly fun to look at. We love the variety of textures and flavors packed into small compartments; the saltiness of a pretzel, the creaminess of a cheese cube, and the sweetness of a dried apricot all living side-by-side. It’s the perfect solution for boat days, picnics, or beach trips where you want a full grazing experience without the mess. There is a deep satisfaction in seeing every little cubby filled with a different treat, making it a visual and culinary treasure chest for kids and adults alike.
Ingredients
- A multi-compartment tackle box or craft organizer (food-safe)
- Mixed nuts and pretzels
- Cheddar and Pepper Jack cheese cubes
- Grapes and apple slices (tossed in lemon juice)
- Pepperoni slices or beef jerky
- Dried cranberries or chocolate-covered raisins
How to make it
- Ensure your container is thoroughly washed and dried before you begin packing to maintain the freshness of the ingredients.
- Fill the largest compartments with ‘bulk’ items like pretzels and nuts that provide the base of the snacking experience.
- In the smaller sections, nestle the more delicate items like cheese cubes and fruits, ensuring that wet items (like grapes) are not touching dry items (like crackers) to prevent sogginess.
- Add a ‘surprise’ element in one of the middle sections, like a few pieces of dark chocolate or some colorful gummy candies to keep the box exciting.
- Snap the lid shut and keep the box in a cooler bag with an ice pack until you’re ready to open it up and let the grazing begin!
Conclusion: The Art of Effortless Summer Hosting
Creating these 10-minute viral food boards isn’t just about the food; it’s about reclaiming your time and focusing on what truly matters—connection. By utilizing fresh, seasonal ingredients and simple assembly techniques, you can host a beautiful gathering without the stress of a professional chef. I hope these ideas inspire you to clear off your kitchen counter, grab a wooden board, and start building something delicious. Remember, the best food boards are the ones made with love and shared with friends. Happy summer snacking!