
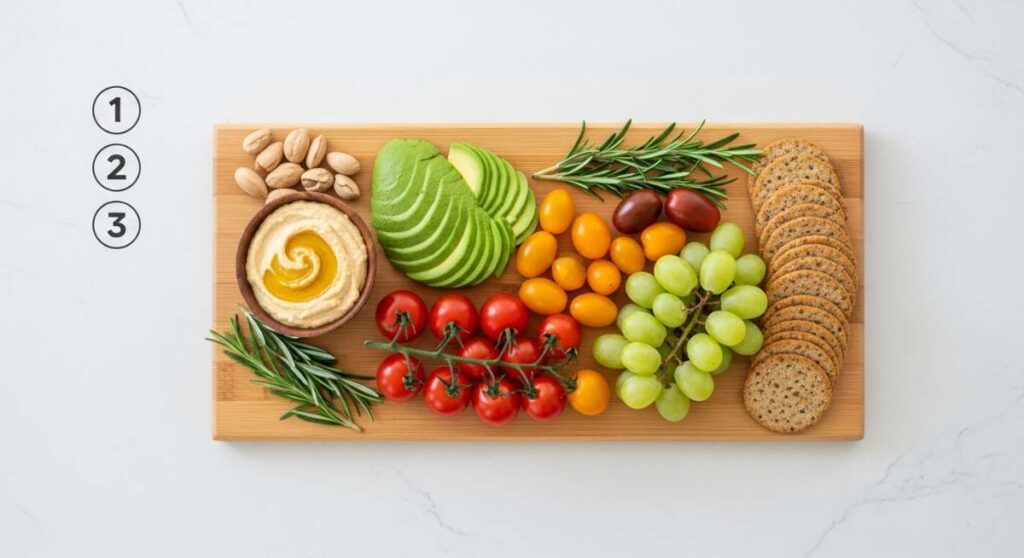
There is something inherently magical about a summer evening when the sun hangs low, painting everything in a golden hue, and the air is thick with the scent of blooming jasmine and charcoal grills. I remember the first time I set out a food board for my friends; it wasn’t just about the food, but the way it forced us to slow down, reach across the table, and share stories. This ‘Viral Simple Food Board’ trend isn’t just a Pinterest aesthetic—it’s a lifestyle shift toward communal, effortless, and vibrantly fresh eating that celebrates the season’s bounty in its truest form.
Mastering this trend doesn’t require a culinary degree or hours of stressful prep. It’s about the art of assembly and choosing ingredients that speak for themselves. In this guide, I’m going to walk you through ten essential components that will turn your board into a centerpiece of conversation and flavor. From the crunch of a garden-fresh salad to the sweet, caramelized notes of a peach dessert, we are going to build a spread that feels as good as it looks.
How to make fresh summer salad?
Why we love this
This salad is the ultimate celebration of texture and brightness, offering a refreshing crunch that cuts through any heavy summer heat. We adore the way the peppery arugula dances with the succulent, sun-ripened tomatoes, creating a symphony of flavors that feels like a garden party in your mouth. The aroma is dominated by the earthy scent of torn basil and the sharp, clean tang of a high-quality balsamic reduction. It is the kind of dish that makes you feel light, nourished, and completely in tune with the vibrant energy of the outdoors.
Ingredients
- 2 cups baby arugula
- 1 pint heirloom cherry tomatoes, halved
- 1/2 cup fresh bocconcini (small mozzarella balls)
- 1/4 cup fresh basil leaves, torn
- 2 tablespoons extra virgin olive oil
- 1 tablespoon aged balsamic glaze
- Flaky sea salt and cracked black pepper to taste
How to make it
- Begin by thoroughly washing your arugula in cold water to ensure maximum crispness; use a salad spinner to remove every drop of moisture so the dressing adheres perfectly rather than sliding off.
- In a large wooden bowl—which adds a beautiful rustic touch to your food board—toss the dried arugula with the halved heirloom tomatoes and the creamy bocconcini.
- Prepare a simple emulsion by whisking the extra virgin olive oil with a pinch of salt and pepper in a small jar until it looks slightly cloudy and thickened.
- Drizzle the olive oil mixture over the greens and toss gently with your hands or tongs, ensuring every leaf is lightly coated but not weighed down.
- Scatter the hand-torn basil over the top just before serving to prevent the edges from oxidizing and turning black.
- Finish the dish with a dramatic drizzle of balsamic glaze in a zigzag pattern and a final sprinkle of flaky sea salt for that professional, gourmet touch.
How to grill sweet corn?
Why we love this
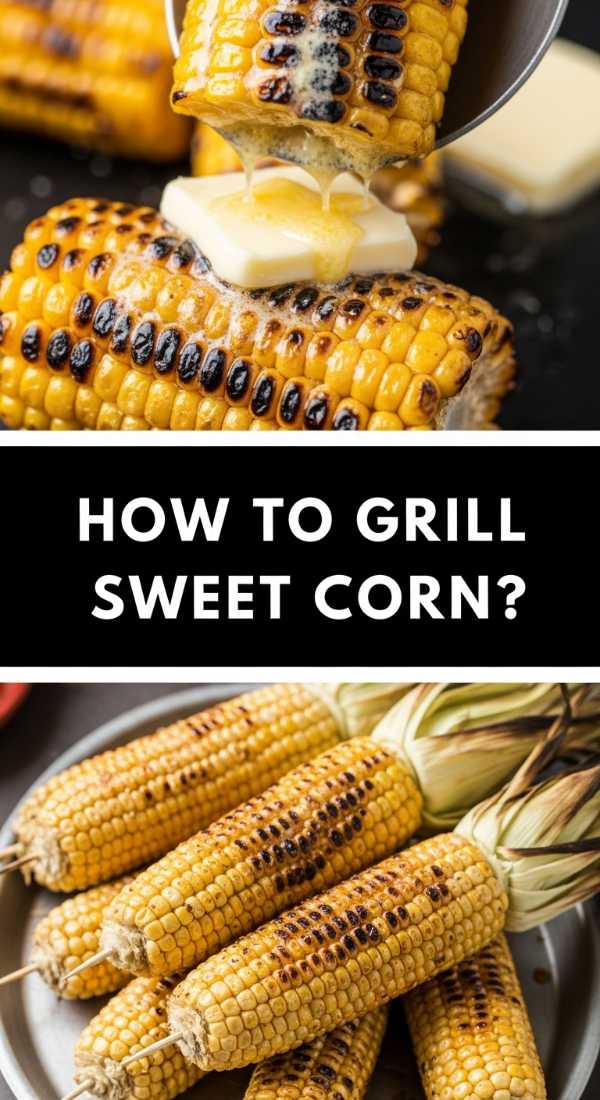
There is nothing quite like the smoky, charred aroma of corn hitting a hot grill to signal that summer has truly arrived. We love the contrast between the snap of the individual kernels and the creamy, melting butter that seeps into every crevice, carrying hints of lime and chili. Each bite offers a burst of natural sweetness followed by a lingering heat that awakens the palate. It’s a messy, hands-on experience that brings a sense of nostalgic joy and rustic charm to any food board gathering.
Ingredients
- 4 ears of fresh sweet corn, shucked
- 3 tablespoons salted butter, softened
- 1 teaspoon chili powder or smoked paprika
- 1 fresh lime, cut into wedges
- 1/4 cup chopped fresh cilantro
- 2 tablespoons crumbled cotija cheese (optional)
How to make it
- Preheat your grill to a medium-high heat setting, roughly 400°F (200°C), and ensure the grates are scraped clean and lightly oiled to prevent sticking.
- While the grill heats, prepare your compound butter by mixing the softened butter with chili powder in a small bowl until the color is a uniform, vibrant orange.
- Place the shucked corn directly onto the hot grates; you should hear a satisfying sizzle immediately upon contact.
- Grill the corn for approximately 10 to 12 minutes, using long-handled tongs to rotate the ears every 2 to 3 minutes to achieve an even char and prevent burning on one side.
- Look for the kernels to turn a deep golden yellow with patches of blackened, caramelized spots—this is where the smoky flavor lives.
- Remove the corn from the grill and immediately slather with the prepared chili butter while the ears are piping hot, allowing the fat to melt and coat the kernels.
- Garnish with a generous squeeze of lime juice, a sprinkle of cilantro, and cotija cheese for an elevated ‘street corn’ style presentation.
How to cook zucchini pasta?
Why we love this
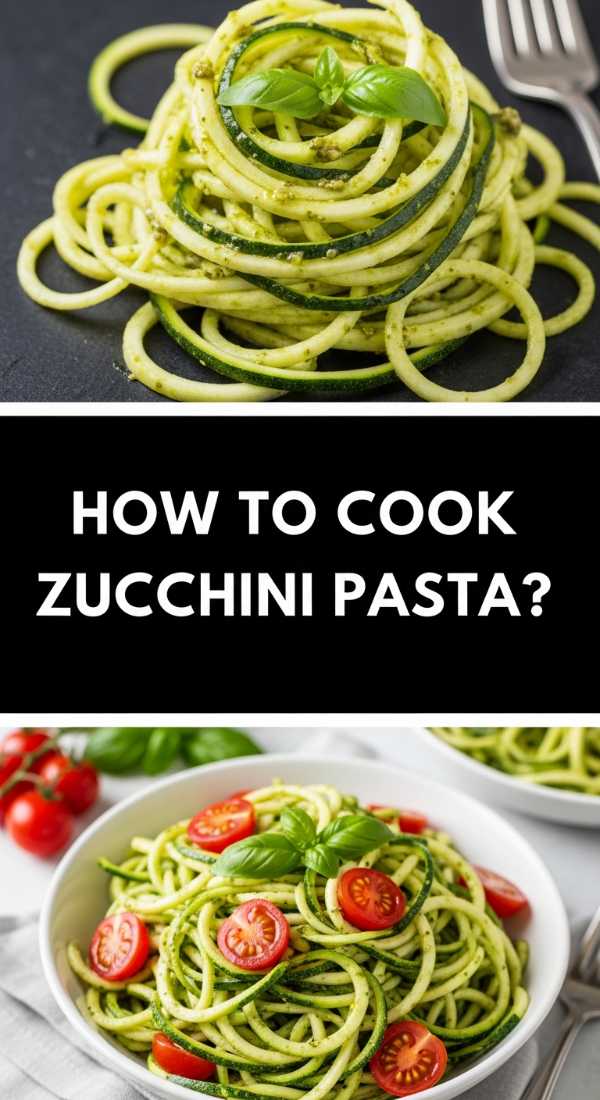
This dish is a revelation for those who want the comfort of pasta without the heavy, lethargic feeling that often follows a big meal. We love how the zucchini ‘noodles’ maintain a slight al dente snap, absorbing the rich, garlicky oils and the bright acidity of lemon zest. The kitchen fills with the mouth-watering scent of sautéed garlic and toasted pine nuts, creating an atmosphere of sophisticated home cooking. It’s a vibrant, emerald-green addition to your board that looks as healthy as it tastes.
Ingredients
- 3 large zucchini, spiralized into noodles
- 3 cloves garlic, thinly sliced
- 3 tablespoons high-quality olive oil
- 1/2 teaspoon crushed red pepper flakes
- 1/4 cup freshly grated Parmesan cheese
- Zest of one lemon
- Salt and pepper to taste
How to make it
- After spiralizing your zucchini, lay the ‘noodles’ out on a clean kitchen towel and sprinkle lightly with salt; let them sit for 10 minutes to draw out excess moisture.
- Squeeze the noodles firmly inside the towel to remove as much liquid as possible—this is the secret step that prevents a watery, soggy pasta dish.
- Heat olive oil in a large skillet over medium-low heat and add the sliced garlic and red pepper flakes, cooking slowly for 2-3 minutes until the garlic is golden but not browned.
- Increase the heat to medium and add the zucchini noodles to the pan, tossing them quickly with tongs to coat them in the infused oil.
- Sauté for only 2 to 3 minutes; you want the noodles to be heated through and slightly softened, but they should still hold their shape and have a firm bite.
- Immediately remove from the heat and stir in the lemon zest and Parmesan cheese, which will melt into a light, savory sauce.
- Serve instantly on your board, finished with a final crack of black pepper and a drizzle of cold-pressed olive oil.
How to bake peach dessert?

Why we love this
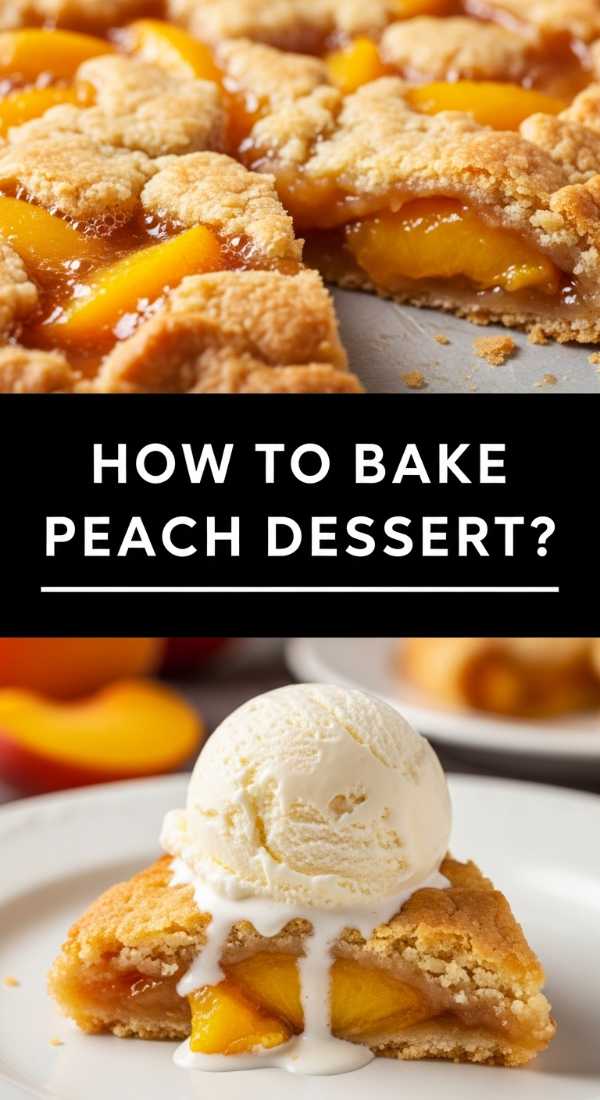
Baking peaches transforms them from a simple fruit into a luxurious, jammy treat that tastes like bottled sunshine. We love how the natural sugars caramelize under the heat, creating a sticky, golden glaze that contrasts beautifully with a dollop of cold cream or a sprinkle of herbs. The aroma is intoxicating—a blend of warm honey, toasted crust, and floral stone fruit that wafts through the house. It provides a sweet, soft counterpoint to the savory elements of your food board, offering a sophisticated end to the meal.
Ingredients
- 4 ripe peaches, halved and pitted
- 2 tablespoons honey or maple syrup
- 1/2 teaspoon ground cinnamon
- 1 sheet of frozen puff pastry, thawed
- 1 egg (for egg wash)
- Fresh thyme or mint for garnish
How to make it
- Preheat your oven to 400°F (200°C) and line a baking sheet with parchment paper to ensure the sugar doesn’t stick to the pan.
- Roll out your thawed puff pastry on a lightly floured surface and cut it into eight squares slightly larger than your peach halves.
- Place a peach half, cut-side down, in the center of each pastry square and lightly score the pastry around the fruit with a knife, being careful not to cut all the way through.
- Drizzle the peaches with honey and a sprinkle of cinnamon, allowing the spices to settle into the center cavity where the pit used to be.
- Brush the exposed edges of the puff pastry with a whisked egg wash to ensure a deep, professional golden-brown finish once baked.
- Bake for 15 to 18 minutes until the pastry has puffed up significantly and the peaches look tender and slightly shimmery from the melted honey.
- Let them cool for 5 minutes on the tray so the juices can set, then transfer to your board and garnish with fresh thyme for an earthy, aromatic touch.
How to grill juicy skewers?
Why we love this
Skewers are the ultimate board food because they are naturally portioned and visually stunning with their alternating layers of color. We love the smoky depth that only a grill can provide, turning simple pieces of protein and vegetables into charred, juicy morsels. The sound of the fat dripping onto the coals and the sight of those perfect grill marks make the preparation feel like a true event. Each bite is a perfect balance of tender meat and the slight crunch of blistered peppers and onions.
Ingredients
- 1 lb chicken breast or top sirloin beef, cut into 1-inch cubes
- 1 red bell pepper and 1 yellow bell pepper, cut into squares
- 1 red onion, cut into chunks
- 1/4 cup olive oil
- 2 tablespoons soy sauce
- 1 tablespoon honey
- 2 cloves garlic, minced
How to make it
- If using wooden skewers, soak them in water for at least 30 minutes prior to grilling to prevent them from catching fire or splintering.
- In a bowl, whisk together the olive oil, soy sauce, honey, and minced garlic to create a marinade that balances salt, fat, and sugar.
- Toss your cubed protein in the marinade and let it sit in the refrigerator for at least 20 minutes (chicken) or up to 2 hours (beef) to tenderize the fibers.
- Thread the skewers by alternating the meat with a piece of pepper and a chunk of onion; do not crowd them too tightly or the meat won’t cook evenly on the sides.
- Heat the grill to high (425°F) and oil the grates; place skewers down and sear for 3-4 minutes per side without moving them to develop a crust.
- Continue rotating until the internal temperature reaches 165°F for chicken or your desired doneness for beef, usually taking 10-12 minutes total.
- Rest the skewers for 5 minutes before placing them on the food board to allow the juices to redistribute throughout the meat.
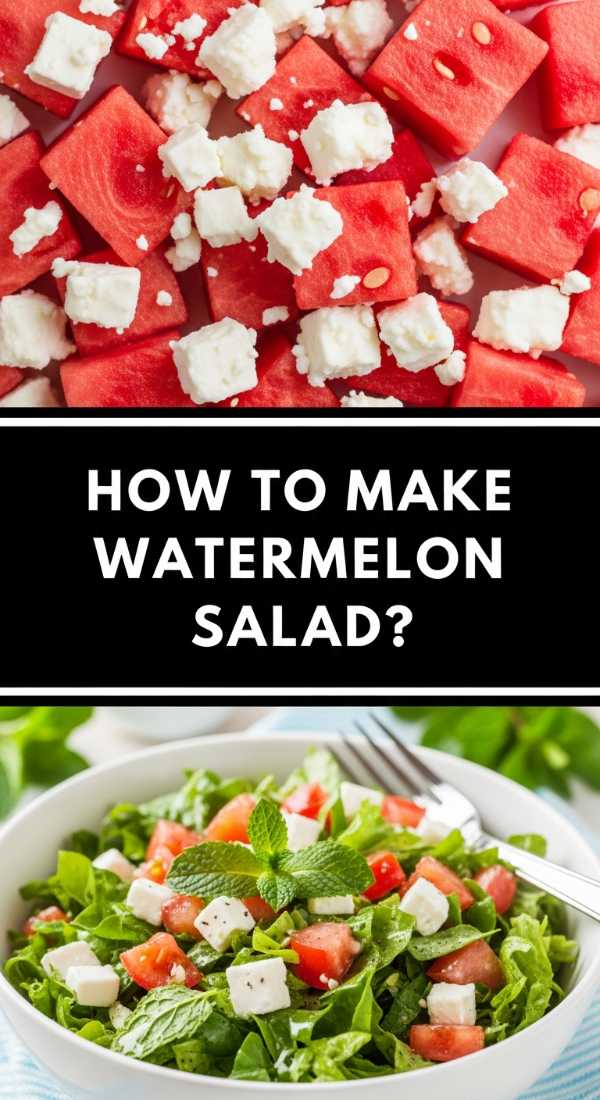
How to make watermelon salad?
Why we love this
This salad is the definition of ‘refreshing’ and acts as a palate cleanser among the bolder flavors of the board. We love the unexpected but brilliant marriage of cold, sweet watermelon with the sharp, salty tang of crumbled feta cheese. The fragrance of fresh mint leaves being torn over the bowl is instantly cooling, making it a sensory delight on a hot afternoon. It’s a dish that looks like a jewel box on your table, with pink, white, and green hues that pop against any background.
Ingredients
- 4 cups seedless watermelon, cubed and chilled
- 1/2 cup crumbled feta cheese
- 1/4 cup fresh mint leaves, chiffonade
- 1 tablespoon lime juice
- A drizzle of extra virgin olive oil
- Optional: Thinly sliced red onion or cucumber
How to make it
- Start with a very cold watermelon that has been refrigerated for at least 4 hours; the temperature contrast is essential for the salad’s refreshing quality.
- Cut the watermelon into uniform 1-inch cubes, discarding any excess rind, and place them in a wide, shallow serving bowl.
- If using red onions, slice them paper-thin and soak them in ice water for 5 minutes to remove their harsh bite before adding them to the melon.
- Gently scatter the crumbled feta over the watermelon; do not over-mix, as the white cheese will take on a pink hue from the melon juice if handled too much.
- To ‘chiffonade’ the mint, stack the leaves, roll them like a cigar, and slice them into thin ribbons, then scatter them immediately over the salad.
- Whisk the lime juice and olive oil together and drizzle it over the top just seconds before bringing the board to the table to keep everything crisp.
- Finish with a tiny pinch of sea salt, which surprisingly makes the sweetness of the watermelon taste even more intense.
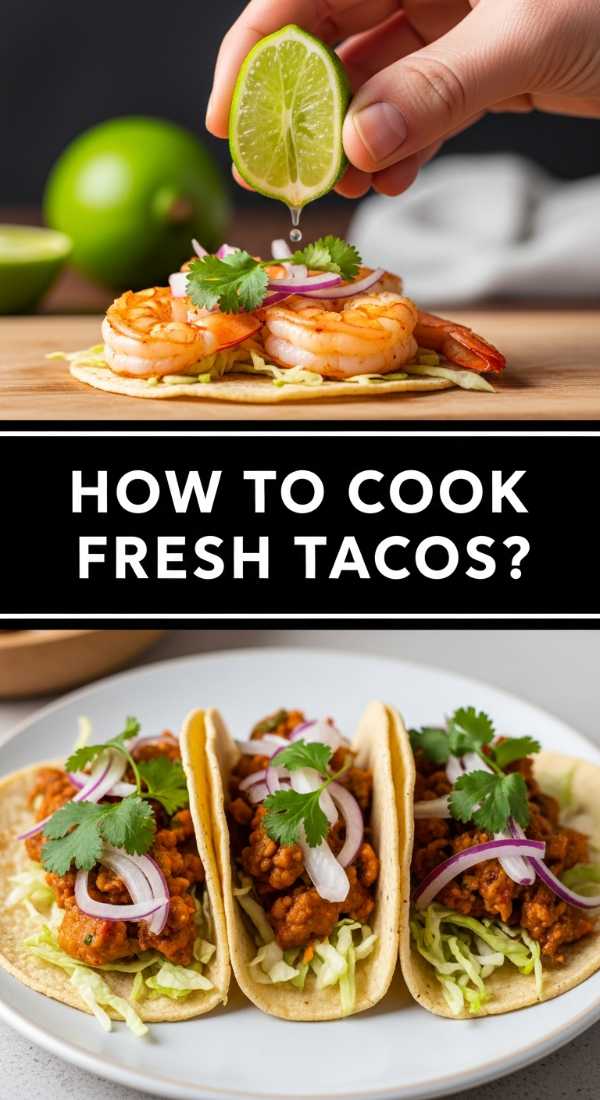
How to cook fresh tacos?

Why we love this
Tacos are the heartbeat of a casual food board, offering a customizable experience that everyone enjoys. We love the tactile nature of assembling them—the warmth of a charred tortilla in the palm of your hand, topped with zesty, marinated fillings and cool, creamy sauces. The air fills with the smell of toasted corn and lime, creating an atmosphere of festive relaxation. It’s a dish that encourages guests to interact, share toppings, and get a little bit messy in the best way possible.
Ingredients
- 8 small corn tortillas
- 1 lb shrimp or white fish (like cod), seasoned with cumin and lime
- 2 cups shredded cabbage (slaw mix)
- 1/2 cup sour cream mixed with lime juice (crema)
- Fresh cilantro and sliced radishes for crunch
How to make it
- Season your chosen protein with a dry rub of cumin, chili powder, and salt, then sauté in a hot skillet with a little oil for 2-3 minutes per side until opaque.
- The most critical step for flavor: warm each corn tortilla directly over a gas flame or in a dry cast-iron skillet for 30 seconds per side until they develop charred spots and become pliable.
- Stack the warm tortillas in a clean cloth napkin or a dedicated tortilla warmer to keep them soft and steamy while you prepare the rest.
- Toss your shredded cabbage with a splash of vinegar and salt to create a quick, acidic slaw that will provide a necessary crunch.
- Prepare your crema by thinning out sour cream with lime juice and a dash of hot sauce until it reaches a drizzle-able consistency.
- Arrange the components on the board: the warm tortillas, the hot protein, a bowl of slaw, and the crema in a small squeeze bottle or dish.
- Garnish the taco platter with radish coins and cilantro sprigs so guests can assemble their perfect bite with a mix of heat, cream, and crunch.
How to make summer shortcake?
Why we love this
Summer shortcake is the quintessential nostalgic dessert, evoking memories of backyard picnics and sticky-fingered joy. We love the interplay between the slightly crumbly, buttery biscuit and the pools of sweet, macerated strawberry juice that soak into the base. The whipped cream should be soft and billowy, like a cloud, adding a decadent richness that rounds out the tartness of the berries. It’s a beautiful, rustic dessert that doesn’t need to be perfect to be absolutely delicious.
Ingredients
- 1 quart fresh strawberries, hulled and sliced
- 1/4 cup granulated sugar
- 2 cups all-purpose flour
- 1 tablespoon baking powder
- 1/2 cup cold salted butter, cubed
- 3/4 cup heavy cream (for biscuits) + 1 cup for whipping
How to make it
- At least 30 minutes before serving, toss your sliced strawberries with sugar in a bowl; the sugar will draw out the juices to create a natural, brilliant red syrup.
- For the biscuits, pulse flour, baking powder, and cold butter in a food processor until it looks like coarse crumbs, then stir in the cream until just combined.
- Pat the dough into a 1-inch thick circle and cut into rounds; bake at 425°F (220°C) for 12-15 minutes until the tops are a light, toasted brown.
- While the biscuits cool slightly, whip the remaining cold heavy cream in a chilled bowl until soft peaks form—avoid over-whipping to keep it silky.
- Split each warm biscuit in half horizontally and place the bottom half on your food board or individual plates.
- Spoon a generous amount of the strawberries and their syrup over the bottom half, letting the liquid seep into the warm crumb.
- Top with a massive dollop of whipped cream and the top half of the biscuit, letting the cream slightly melt down the sides for a mouth-watering look.
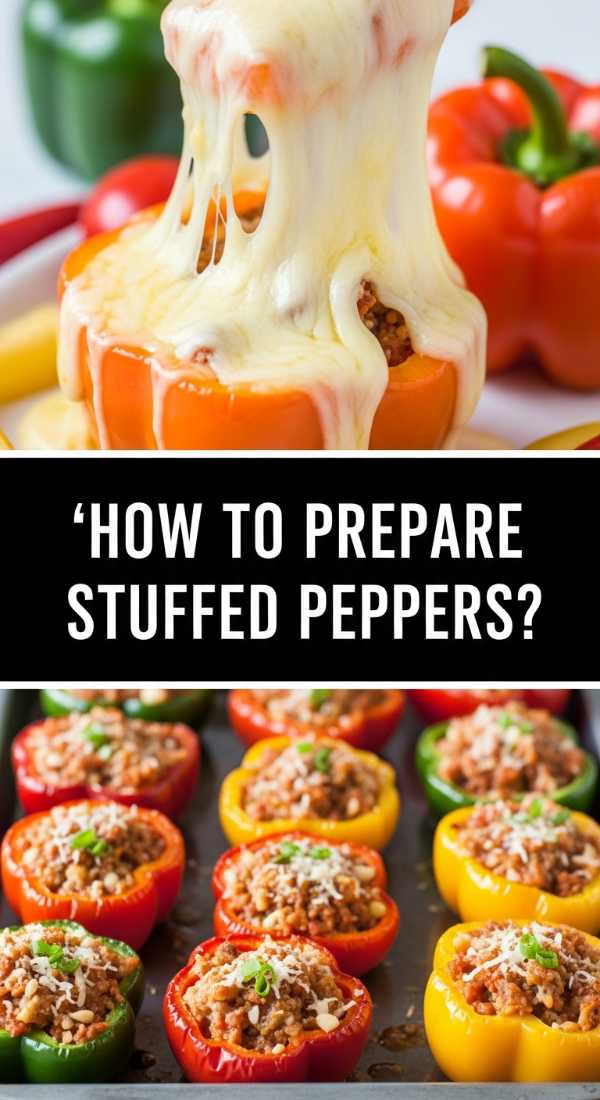
How to prepare stuffed peppers?
Why we love this
Stuffed peppers are like little edible bowls of comfort, packed with savory flavors and varying textures. We love how the bell pepper walls become tender and sweet after roasting, providing a vibrant vessel for the hearty filling inside. The aroma of melting cheese and toasted spices creates a sense of homey warmth that anchors the lighter elements of the food board. It’s a versatile dish that manages to be both filling and sophisticated, especially when topped with fresh herbs and a drizzle of oil.
Ingredients
- 4 large bell peppers (any color), tops removed and deseeded
- 2 cups cooked quinoa or brown rice
- 1 can black beans, rinsed
- 1 cup corn kernels
- 1 teaspoon cumin and 1 teaspoon smoked paprika
- 1 cup shredded Monterey Jack cheese
How to make it
- Place the hollowed-out peppers in a baking dish with a half-inch of water at the bottom; cover with foil and bake at 375°F for 10 minutes to pre-soften the walls.
- In a large mixing bowl, combine the cooked grains, black beans, corn, spices, and half of the cheese, stirring until the mixture is well-distributed.
- Remove the peppers from the oven, drain the water, and pack the grain mixture tightly into each pepper, mounding it slightly at the top.
- Cover the dish again with foil and bake for another 20 minutes to ensure the peppers are fully tender and the filling is steaming hot.
- Remove the foil, sprinkle the remaining cheese over the tops, and return to the oven for 5 minutes or until the cheese is bubbly and starting to brown.
- Let the peppers stand for at least 5 minutes before moving them to the board; this allows the filling to firm up so they don’t fall apart when handled.
- Garnish with a dollop of Greek yogurt or avocado slices to add a cool, creamy element to the warm, spiced filling.
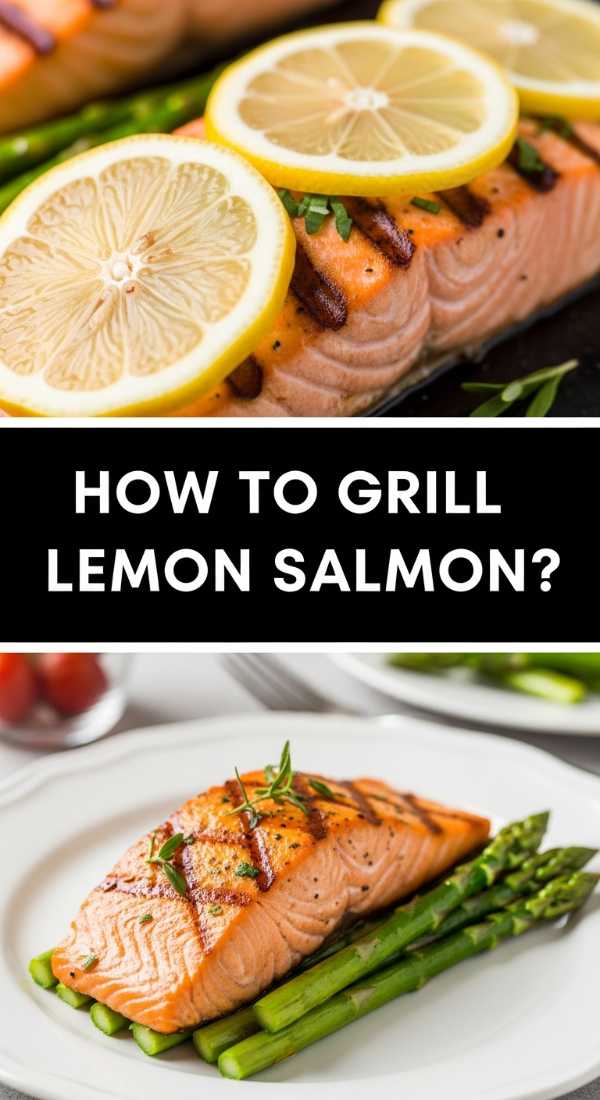
How to grill lemon salmon?
[IMAGE_10]
Why we love this
Salmon is the crown jewel of any high-end food board, offering a rich, buttery flavor that feels incredibly indulgent. We love the way the bright acidity of charred lemon slices cuts through the fattiness of the fish, creating a balanced and elegant bite. The skin, when grilled properly, becomes crackling and salty, providing a delightful textural contrast to the flaky, tender meat. It is a visually stunning centerpiece that carries the scent of fresh herbs and citrus, instantly elevating the entire spread.
Ingredients
- 1 large side of salmon or 4 individual fillets
- 2 lemons, thinly sliced into rounds
- 2 tablespoons olive oil
- 1 tablespoon fresh dill, chopped
- 1 teaspoon garlic powder
- Salt and lemon pepper to taste
How to make it
- Remove the salmon from the refrigerator 20 minutes before cooking to bring it to room temperature; this ensures even cooking throughout the thickest part of the fish.
- Pat the skin side of the salmon extremely dry with paper towels; moisture is the enemy of crispy skin and will cause the fish to stick to the grill.
- Brush the salmon with olive oil and season generously with salt, garlic powder, and lemon pepper, pressing the seasonings into the flesh.
- Clean your grill grates thoroughly and oil them well; heat the grill to medium-high (about 400°F).
- Place the salmon skin-side down on the grill and do not touch it for at least 5-6 minutes; the skin will naturally release from the grates once it is crisp.
- Carefully flip the fish and top with the lemon slices, closing the grill lid and cooking for another 3-4 minutes until the fish reaches an internal temp of 135°F.
- Remove from heat and let it rest on a warm platter for 5 minutes, allowing the residual heat to bring it to a perfect, flaky 145°F before placing on the board.
Conclusion
Creating a viral-worthy food board is less about following a strict recipe and more about embracing the joy of fresh, seasonal ingredients. By combining these ten elements—from the charred sweetness of grilled corn to the delicate flakes of lemon salmon—you create a tapestry of flavors that invites everyone to the table. Remember, the ‘simple’ in Simple Food Board refers to the ease of enjoyment. So, pour a cold drink, set out your spread, and enjoy the effortless beauty of a meal shared with those you love.
Frequently Asked Questions
Check out some of the most common questions about mastering the food board trend.