
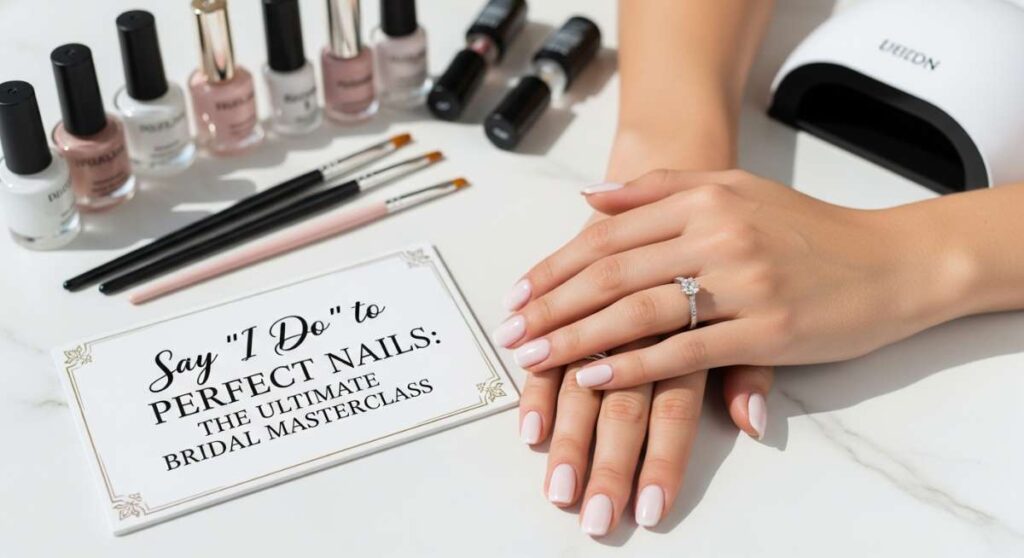
Say ‘I Do’ to Perfect Nails: The Ultimate Bridal Masterclass
Oh, my loves, there is something truly magical in the air, isn’t there? When the planning is in full swing and you can almost hear the soft rustle of your gown, your mind starts dancing toward those tiny details that make your heart skip a beat. Your hands will be holding your bouquet, sliding on a ring, and toasted with champagne; they deserve to be wrapped in a cloud-soft embrace of beauty.
I remember sitting with a cup of tea, dreaming of my own perfect bridal look, and realizing that my nails weren’t just an accessory—they were a reflection of the love and peace I felt inside. Today, I want to walk hand-in-hand with you through this masterclass, helping you find that perfect shade and shape that feels just like *you*.
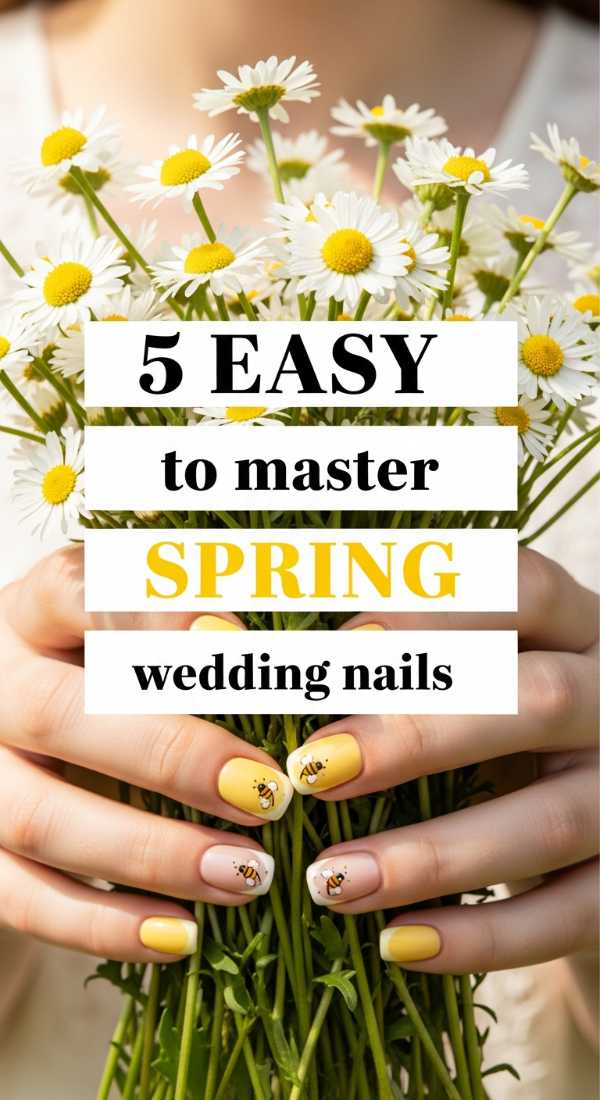
5 Easy Steps to Master Spring Wedding Nails
Why to love these Nails:
Spring is all about the awakening of the soul, and these nails reflect that soft, budding energy. Think of them as a gentle whisper of cherry blossoms and morning dew, perfect for the bride who feels at home in a garden of soft pastels.
Essential Items:
- Soft lavender or sage green polish
- Fine-tip nail art brush
- Tiny floral decals or white acrylic paint
- High-gloss top coat
- Cuticle oil with a floral scent
How to Prepare:
- Gently shape your nails into a soft oval to mimic the curves of a petal.
- Apply two thin coats of your chosen pastel base.
- Use the fine brush to dot tiny white flowers near the cuticle or tip.
- Seal the design with a glossy top coat for that ‘freshly rained on’ garden shine.
- Massage in cuticle oil to keep your hands looking hydrated for photos.
Budget Range
- Essie ‘Spring Awakening’ Polish – $10.00
- Nail Art Detail Brushes – $6.00
- Sally Hansen ‘Insta-Dri’ Top Coat – $7.00
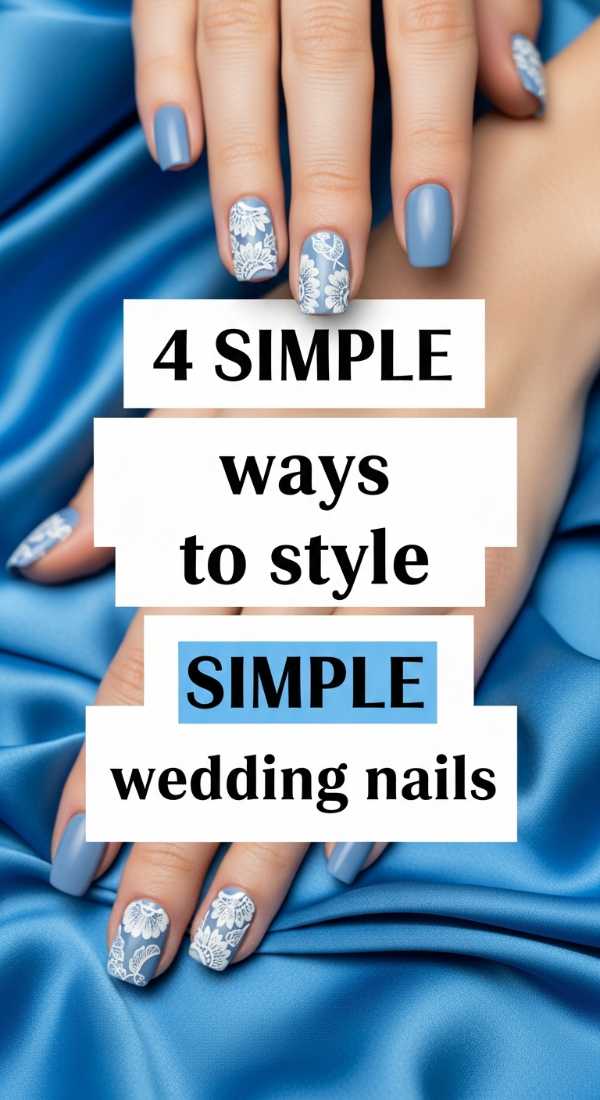
4 Simple Ways to Style Blue Wedding Nails
Why to love these Nails:
Your ‘Something Blue’ doesn’t have to be hidden away! Incorporating blue into your manicure is a sophisticated way to honor tradition while adding a touch of cool, serene elegance that looks stunning against a white gown.
Essential Items:
- Dusty blue or cornflower polish
- Silver foil flakes
- Clear base coat
- Nail tweezers
How to Prepare:
- Cleanse the nail surface with alcohol to ensure a long-lasting bond.
- Apply a sheer blue base for a ‘jelly’ look or a solid creme for impact.
- Carefully place silver foil flakes on the ring finger for a ‘starry’ accent.
- Apply a thick layer of top coat to smooth out the texture of the foil.
Budget Range
- OPI ‘It’s a Boy!’ Polish – $11.50
- Silver Foil Nail Flakes – $5.00
- Seche Vite Dry Fast Top Coat – $9.00
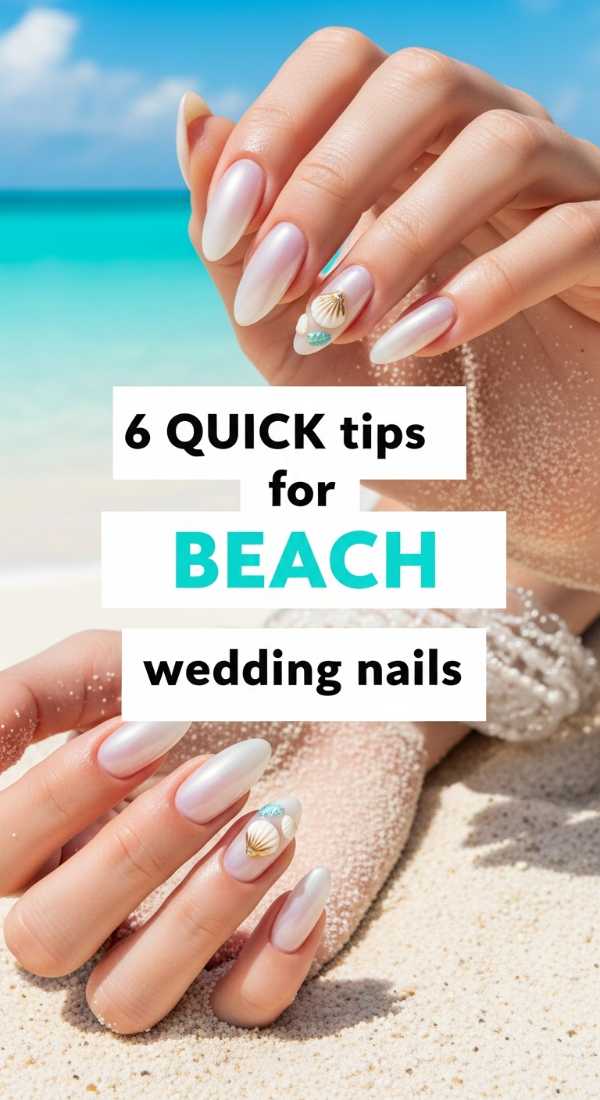
6 Quick Tips for Beach Wedding Nails
Why to love these Nails:
Beach weddings are all about the sand between your toes and the sea breeze in your hair. These nails capture the iridescent magic of a seashell, reflecting the sunlight in the most ethereal way as you say your vows by the shore.
Essential Items:
- Iridescent ‘Glazed Donut’ powder or polish
- Nude base color
- Sponge applicator
- UV lamp (if using gel)
- UV-resistant top coat
How to Prepare:
- Start with a very sheer nude to keep the look natural.
- Buff the surface slightly if using chrome powder.
- Apply the iridescent powder using a sponge for a seamless glow.
- Use a UV-resistant top coat to prevent yellowing in the bright beach sun.
- Avoid heavy glitters that might compete with the natural sparkle of the ocean.
- Keep the length manageable so you don’t worry about breakage in the sand.
Budget Range
- Born Pretty Pearl Powder – $8.00
- Zoya ‘Bela’ Nude Polish – $12.00
- SunUV Mini Lamp – $15.00
3 Secrets for Flawless French Tip Wedding Nails
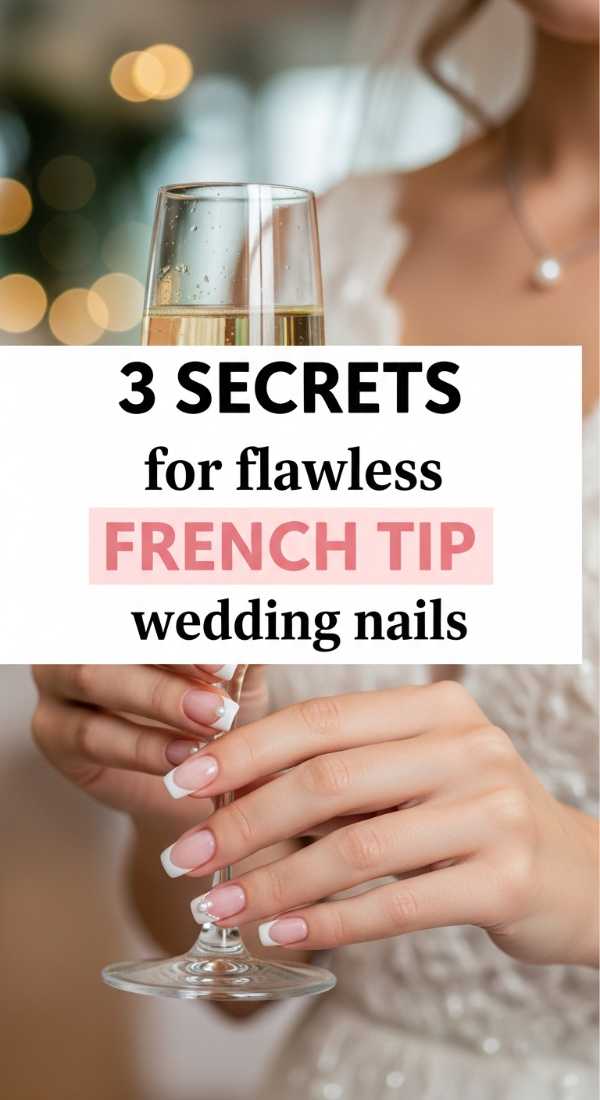
Why to love these Nails:
The French tip is the ultimate love letter to bridal tradition. It is timeless, clean, and lengthens the fingers beautifully, making your hands look delicate and polished for every close-up shot of the rings.
Essential Items:
- French manicure guide stickers
- Opaque white polish
- Sheer pinkish-nude base
How to Prepare:
- The first secret is the base: use a ‘pink’ nude rather than a beige to make the nail bed look healthy.
- Second, use guides to ensure the white arc is symmetrical on every finger.
- Third, apply a very thin ‘sandwich’ layer of the sheer base *over* the white tip to soften the look.
Budget Range
- Orly French Manicure Kit – $15.00
- Manicure Guide Stickers – $3.00
- Butter London ‘Sheer Wisdom’ – $18.00
7 Ideas to Create Elegant White Wedding Nails
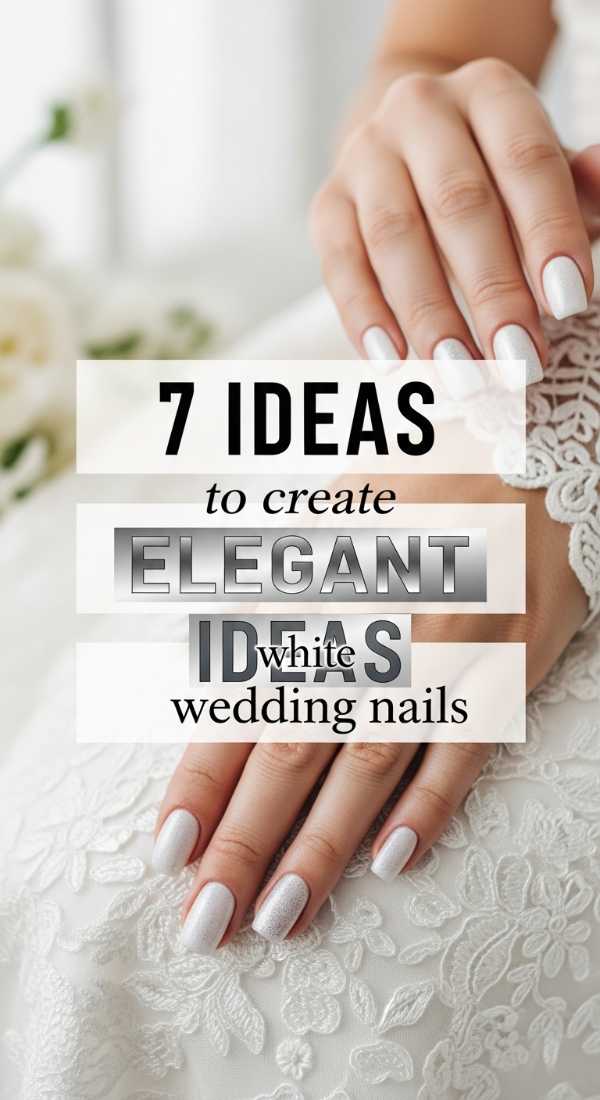
Why to love these Nails:
White nails are the epitome of bridal purity. From stark, modern whites to soft, milky tones, they create a monochromatic harmony with your dress that feels both high-fashion and incredibly romantic.
Essential Items:
- Milky white polish
- Matte top coat (optional)
- Fine silver striping tape
- Moisturizing hand mask
How to Prepare:
- Exfoliate your hands the night before to ensure a smooth canvas for the white.
- Apply three very thin coats of milky white to avoid streaking.
- Add a single vertical silver stripe down the center of the middle finger.
- Consider a matte top coat for a modern, velvet-like finish.
- Use a cleanup brush dipped in acetone for perfect edges.
- Keep the shape consistent (almond works best for white).
- Finish with a brightening hand cream.
Budget Range
- DND ‘Milky White’ Gel Polish – $9.00
- Silver Striping Tape – $4.00
- Aveeno Repairing Hand Mask – $3.50
5 Easy Methods for Pink Wedding Nails
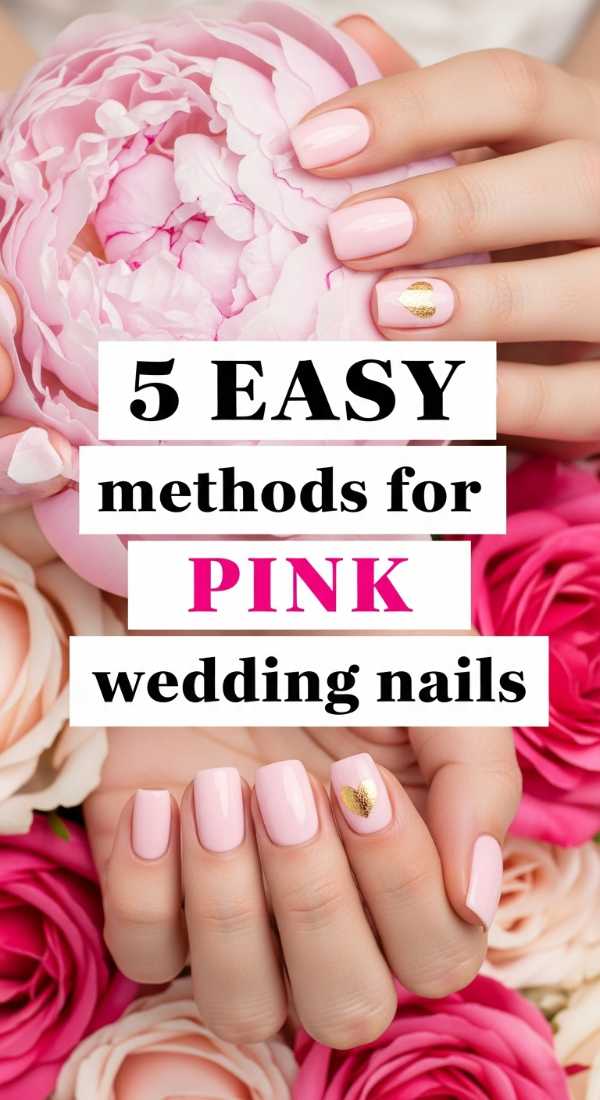
Why to love these Nails:
Pink is the color of a blushing bride. Whether it’s a soft ballet slipper or a warm rose, pink nails bring a glow to your hands that feels feminine, youthful, and deeply affectionate.
Essential Items:
- Rose-toned polish
- Fine shimmer topper
- Buffing block
How to Prepare:
- Buff the nails to a high shine before applying color.
- Apply two coats of a rose-gold-leaning pink.
- Dab a tiny bit of shimmer just at the base of the nail.
- Blend the shimmer upward for a subtle ‘bridal ombre’ effect.
- Finish with a plumping top coat.
Budget Range
- Essie ‘Ballet Slippers’ – $10.00
- Revlon ‘Couture’ Pink – $8.00
- Olive & June Super Glossy Top Coat – $9.00
8 Creative Ways to Wear Pearl Wedding Nails
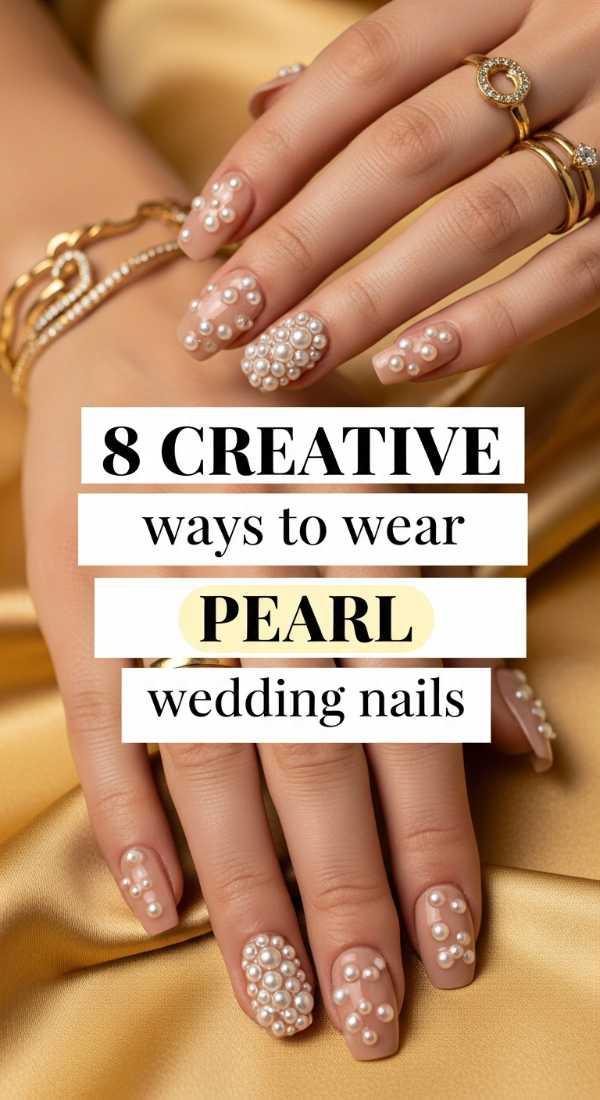
Why to love these Nails:
Pearls are a girl’s best friend on her wedding day. Adding 3D pearl elements or a pearlescent finish adds a dimension of luxury and vintage charm that is simply unmatched.
Essential Items:
- Flat-back mini pearls
- Nail glue or thick gel base
- Pearlescent polish
- Pick-up tool
How to Prepare:
- Apply your pearlescent base and let it dry completely.
- Decide on your pattern (a ‘tiara’ of pearls at the cuticle is stunning).
- Apply a tiny dot of glue where you want the pearl.
- Use the pick-up tool to set the pearl into the glue.
- Press firmly for 5 seconds.
- Repeat in a cluster on the ring finger.
- Avoid top-coating *over* the pearls to keep their luster.
- Keep the other nails simple to let the pearls shine.
Budget Range
- Nail Art Pearl Mixed Sizes – $7.00
- Nail Glue (Professional Grade) – $6.00
- OPI ‘Kyoto Pearl’ – $11.50
4 Steps for Classy Wedding Nails Short Length
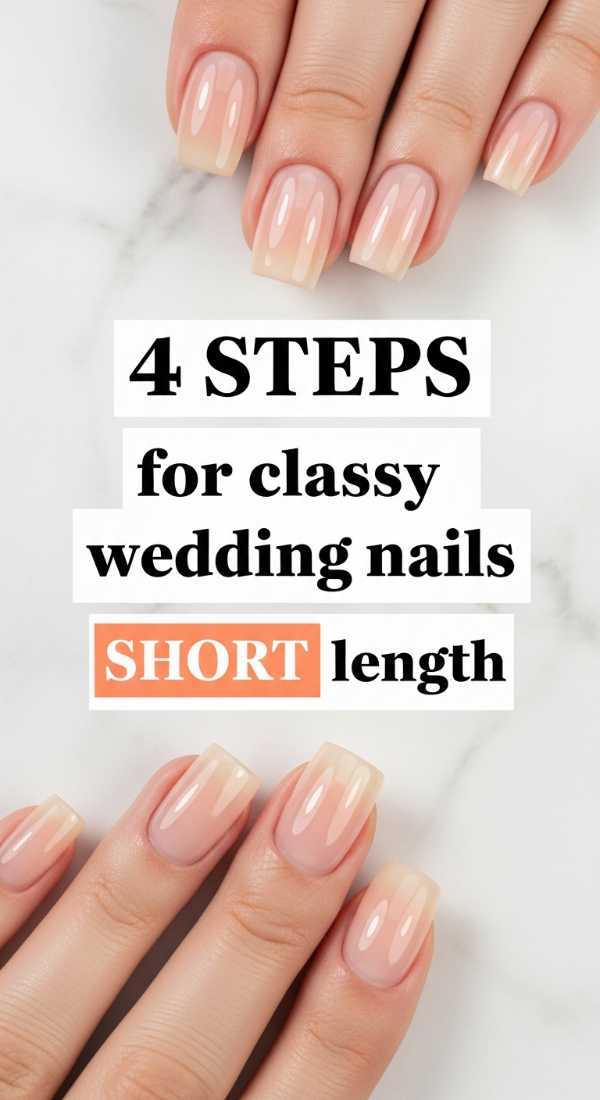
Why to love these Nails:
My loves, never feel like you need long extensions to be a beautiful bride! Short nails are practical, chic, and look incredibly ‘quiet luxury.’ They allow your natural beauty to take center stage.
Essential Items:
- Glass nail file
- Deeply pigmented nude polish
- High-shine top coat
How to Prepare:
- Use a glass file to prevent peeling and create a perfectly smooth edge.
- Push back cuticles carefully to maximize the ‘real estate’ of the nail.
- Choose a polish that matches your skin’s undertone perfectly for an elongated look.
- Apply a thick, ‘gel-like’ top coat to give the nails a rich, expensive volume.
Budget Range
- Mont Bleu Glass Nail File – $10.00
- Chanel ‘Le Vernis’ in Ballerina – $32.00
- Wet n Wild Shine Top Coat – $3.00
6 Trendy Looks for Wedding Nails Square

Why to love these Nails:
Square nails offer a modern, architectural edge to a bridal look. They are perfect for the bride who loves structure, clean lines, and a bit of a ‘boss bride’ aesthetic while remaining totally elegant.
Essential Items:
- Square nail tips or forms
- Stiff filing board
- Cream-finish polish
How to Prepare:
- File the sides of the nails strictly parallel to ensure a true square shape.
- File the tip straight across in one direction to avoid splitting.
- Slightly soften just the very corners so they don’t snag your veil.
- Apply a solid cream-finish polish (no shimmer) to emphasize the shape.
- Add a tiny rhinestone in one corner for a ‘geometric’ sparkle.
- Use a high-gloss finish.
Budget Range
- Kiss Salon Acrylic Kit – $12.00
- OPI ‘Alpine Snow’ – $11.50
- Rhinestone Nail Art Set – $6.00
5 Bold Tips for Black Wedding Nails
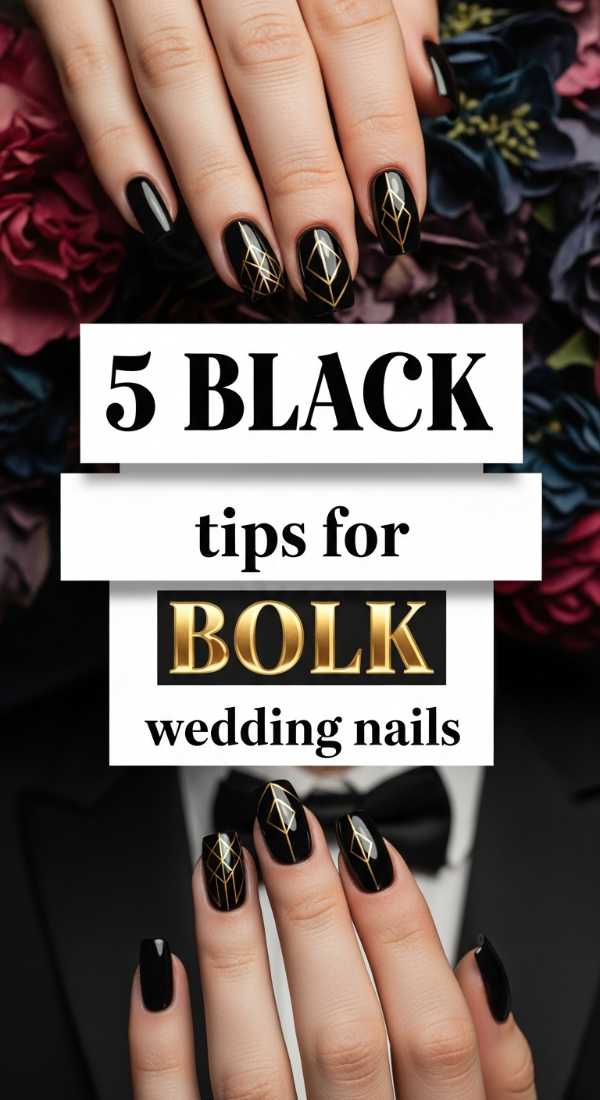
Why to love these Nails:
For the unconventional, moody, or black-tie bride, black nails are a stunning statement. They create a breathtaking contrast against a white dress and exude a sense of mystery and high-fashion confidence.
Essential Items:
- Jet black polish
- Gold leaf or gold foil
- Matte and Glossy top coats
How to Prepare:
- Apply a very high-quality base coat to prevent staining the nail bed.
- Apply black polish in two thin, careful coats.
- Try the ‘tuxedo look’: matte black nail with a glossy black tip.
- Add a touch of gold leaf to the edges for a ‘kintsugi’ inspired look.
- Use a clean-up brush dipped in acetone to ensure the perimeter is perfect.
Budget Range
- Lights Lacquer ’42’ (Black) – $13.00
- Gold Leaf Sheets – $5.00
- Essie Matte About You – $10.00
A Soft Farewell: Your Hands, Your Story
As you prepare to walk down that aisle, remember that your nails are the finishing touch on a story you’ve been writing for a long time. Whether you chose a classic French tip or a bold black, what matters most is the hand you are holding at the end of that walk. Take a deep breath, look at your beautiful hands, and know that you are absolutely radiant. I am sending you so much love on your special day!