
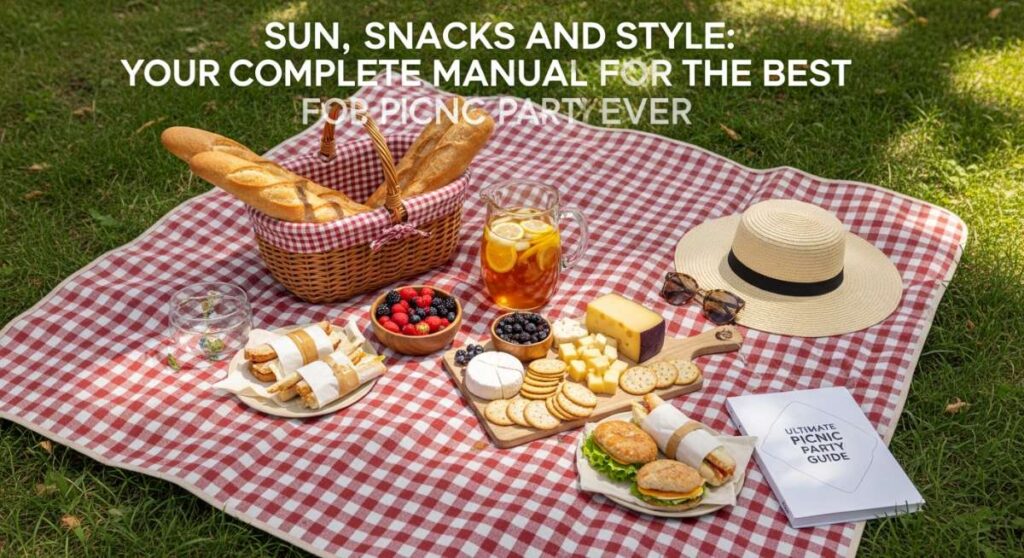
Sun, Snacks, and Style: Your Complete Manual for the Best Picnic Party Ever
Hello, my loves! There is something so incredibly magical about that golden hour light filtering through the trees, the feeling of soft grass beneath your toes, and the sound of laughter echoing over a spread of delicious treats. I truly believe that a picnic isn’t just a meal outdoors; it’s a cloud-soft embrace for the soul, a chance to slow down and savor the sweetness of life with the people who mean the most to us.
Lately, I’ve been dreaming of ways to make these moments even more special, turning a simple afternoon in the park into a curated experience that feels like a scene from a movie. Whether you’re celebrating a birthday, an anniversary, or just the fact that the sun is finally shining, I’ve put together this ultimate guide to help you host the most aesthetic and soul-warming picnic party ever. Let’s dive into the magic together!
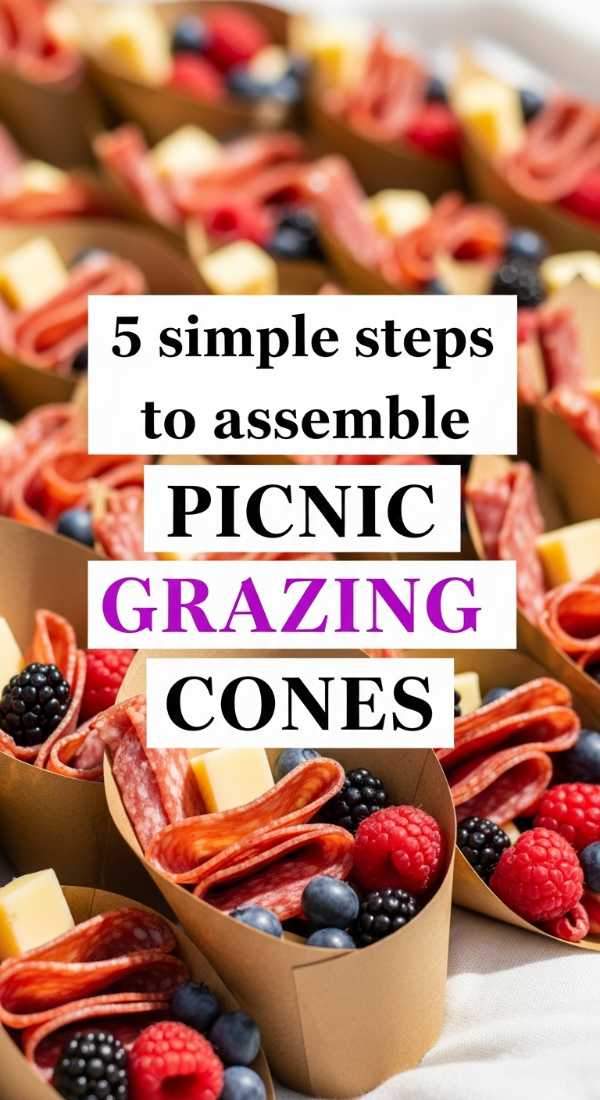
5 simple steps to assemble picnic grazing cones
Why to love this recipe:
Grazing cones are the ultimate way to make charcuterie feel personal and portable. They eliminate the ‘communal plate’ awkwardness and allow your guests to wander through the meadow while snacking on a perfectly portioned medley of flavors. Plus, they look absolutely darling in photos!
Essential Ingredients:
- Craft paper cones
- Salami or Prosciutto ribbons
- Cubed sharp cheddar and brie wedges
- Green grapes and dried apricots
- Artisanal breadsticks and rosemary crackers
- Fresh sprigs of thyme for garnish
How to Prepare:
- Place a sturdy rosemary cracker at the bottom of the cone to provide a stable base.
- Fold your deli meats into ‘roses’ or ribbons and thread them onto a small wooden skewer.
- Tuck in your cheese wedges and breadsticks, varying the heights for visual interest.
- Fill the remaining gaps with fresh grapes and dried fruit to add a pop of color.
- Finish with a delicate sprig of thyme and a small honey stick tucked into the side.
Budget Range
- Pack of 50 bamboo cones: $12.00
- Assorted charcuterie meat pack: $15.00
- Gourmet cheese selection: $20.00
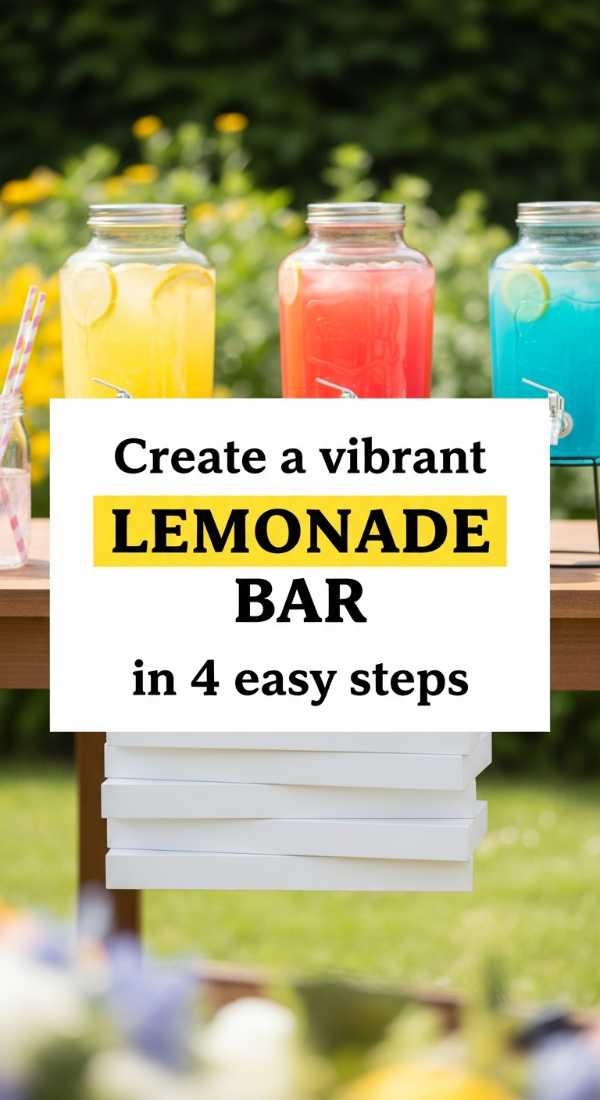
Create a vibrant lemonade bar in 4 easy steps
Why to love this recipe:
Nothing says summer quite like a crisp, cold lemonade, but making it a ‘bar’ experience adds that touch of whimsy we all love. It’s an interactive way for your darlings to customize their own refreshing sips while keeping the vibe light and bright.
Essential Ingredients:
- Freshly squeezed lemon base (lemon juice + simple syrup)
- Chilled sparkling water
- Fresh berries (strawberries, blueberries, raspberries)
- Fresh mint leaves and lavender sprigs
- Ice cubes with frozen flower petals
How to Prepare:
- Set out a large glass dispenser filled with your concentrated lemon and simple syrup base.
- Provide glass carafes of sparkling water so guests can control the fizz and sweetness levels.
- Arrange small ceramic bowls filled with washed berries and fresh herbs for muddling.
- Set out a bucket of ‘floral ice’—simply freeze edible flowers in your ice trays the night before!
Budget Range
- Glass beverage dispenser: $25.00
- Set of 12 mason jars: $18.00
- Fresh produce and herbs: $15.00
7 quick tips to style a dreamy picnic table

Why to love this recipe:
The table is the heart of your party, the place where stories are shared and memories are made. Styling it isn’t about perfection; it’s about creating a soft, inviting space that feels intentional and full of love. Think of it as a canvas for your afternoon.
Essential Ingredients:
- Low-profile wooden folding table
- Linen table runner in a neutral tone
- Small ceramic bud vases
- Wildflowers or dried eucalyptus
- Taper candles (battery operated for safety)
- Cloth napkins in soft pastels
- Handwritten place cards
How to Prepare:
- Layer your linen runner across the table, letting it bunch slightly for a relaxed, ‘undone’ look.
- Place your largest serving platters first to establish the layout.
- Scatter bud vases filled with wildflowers in between the food boards.
- Use different heights for your candles to create a sense of movement.
- Fold cloth napkins loosely and place a handwritten name card on each.
- Scatter a few loose flower petals across the wood for a ‘fallen from the trees’ effect.
- Add a few small bowls of olives or nuts to fill in any empty spaces.
Budget Range
- Linen table runner: $14.00
- Assorted glass bud vases: $10.00
- Faux battery-operated taper candles: $22.00
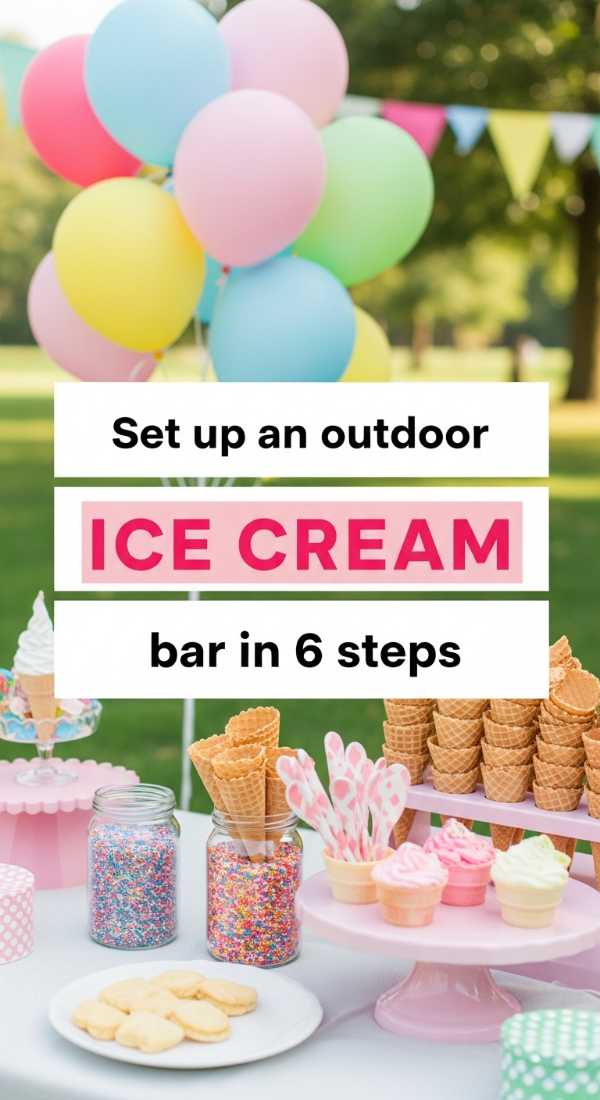
Set up an outdoor ice cream bar in 6 steps
Why to love this recipe:
There is a nostalgic, childlike joy in building your own ice cream sundae under the sun. It’s the perfect cooling treat that brings a smile to everyone’s face, making the afternoon feel like a true celebration of summer’s bounty.
Essential Ingredients:
- Three varieties of premium ice cream (Vanilla, Strawberry, Sea Salt Caramel)
- Waffle cones and biodegradable bowls
- Rainbow sprinkles and crushed cookies
- Fresh whipped cream
- Maraschino cherries
- Salted caramel and chocolate fudge sauce
How to Prepare:
- Place ice cream tubs inside a deep galvanized bucket filled with ice and rock salt to prevent melting.
- Set out waffle cones in a decorative stand or basket.
- Transfer toppings into matching glass jars with small wooden spoons.
- Keep sauces in easy-squeeze bottles to minimize the mess.
- Prepare a ‘cherry station’ with a small bowl and napkins.
- Assign one person as the ‘scooper’ to keep the line moving and the ice cream covered.
Budget Range
- Galvanized metal party tub: $15.00
- Set of topping jars with spoons: $20.00
- Bulk waffle cones: $8.00
Build your own slider bar in 5 easy phases
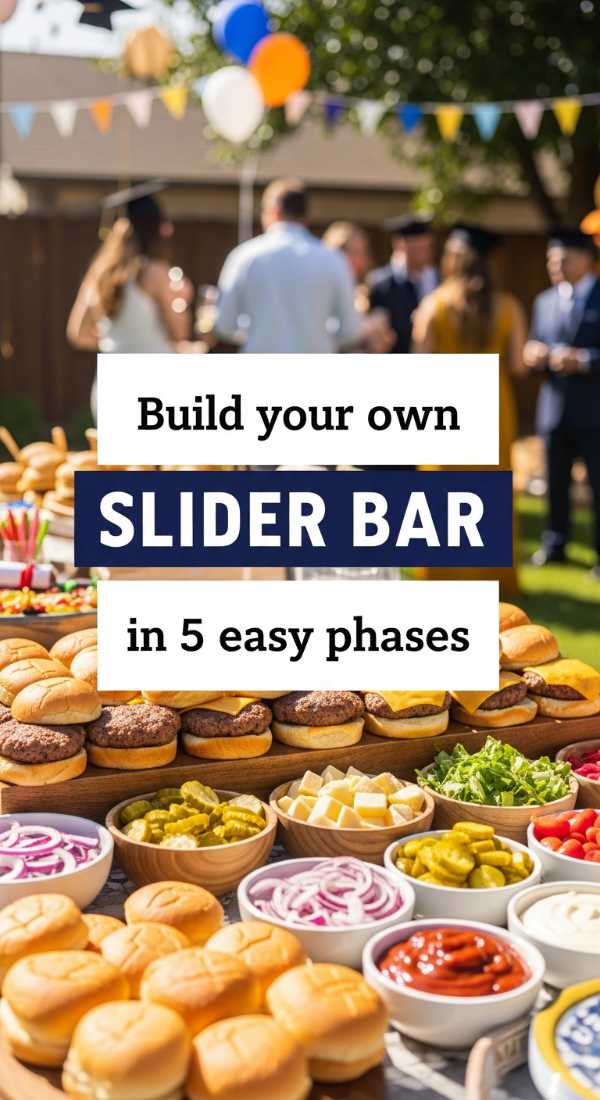
Why to love this recipe:
Sliders are the perfect picnic food—handheld, customizable, and so much fun to assemble. A slider bar allows everyone to play chef, ensuring every guest gets exactly what they crave while keeping the host (that’s you!) out of the kitchen and in the sunshine.
Essential Ingredients:
- Mini brioche buns
- Pre-cooked protein (pulled pork, grilled chicken, or veggie patties)
- Sliced cheeses (cheddar, swiss, pepper jack)
- Toppings: Pickles, caramelized onions, arugula
- Assorted spreads: Garlic aioli, BBQ sauce, spicy mustard
How to Prepare:
- Phase 1: Toast the brioche buns slightly and wrap them in a warm cloth basket.
- Phase 2: Keep the proteins warm in an insulated carrier or thermal dish.
- Phase 3: Arrange the cheeses on a marble slab to keep them cool but accessible.
- Phase 4: Place the fresh toppings in a divided wooden tray for easy grabbing.
- Phase 5: Line up the sauces with small spreaders and plenty of napkins nearby.
Budget Range
- Divided wooden serving tray: $18.00
- Insulated food carrier: $30.00
- Pack of 24 brioche slider buns: $10.00
Prepare a fresh fruit grazing board in 3 steps
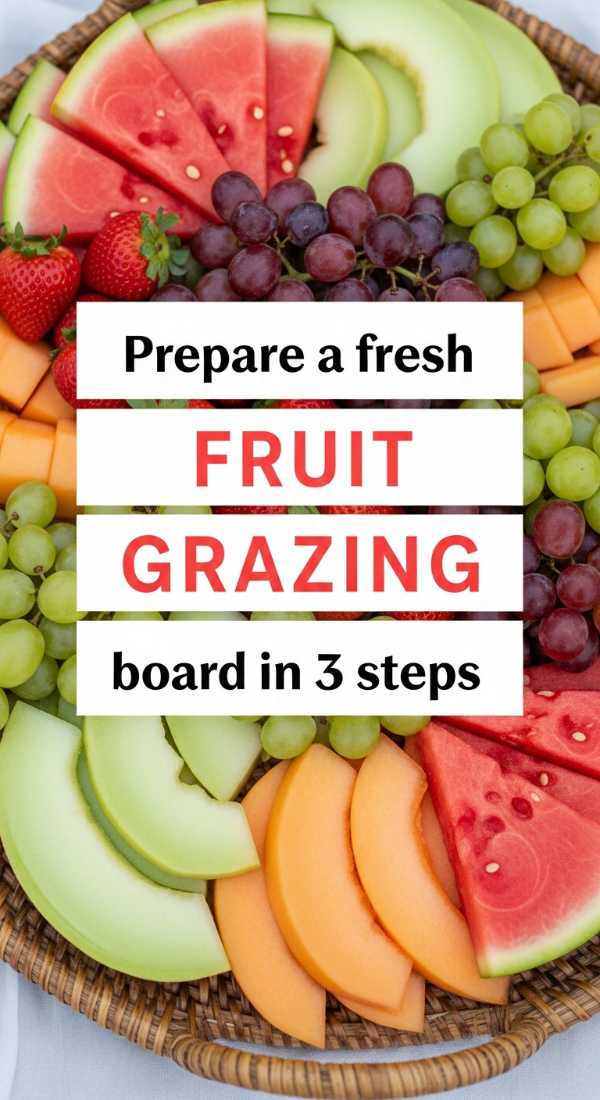
Why to love this recipe:
A fruit board is like a rainbow on a platter. It’s naturally sweet, incredibly hydrating, and provides that light, refreshing crunch that balances out the heavier picnic snacks. It’s the centerpiece that looks almost too pretty to eat!
Essential Ingredients:
- Seasonal favorites: Watermelon wedges, kiwi slices, and dragon fruit
- Berries: Blackberries and golden raspberries
- Dipping element: Honey-yogurt dip or dark chocolate ganache
- Fresh mint for styling
How to Prepare:
- Start by placing your dip bowl in the center of a large circular wooden board.
- Anchor the board with the largest items first, like watermelon wedges and clusters of grapes.
- Fill every single remaining gap with smaller berries and kiwi slices until no wood is showing, then tuck in mint leaves.
Budget Range
- Extra-large acacia wood board: $28.00
- Seasonal fruit bundle: $25.00
- Small ceramic dip bowls: $6.00
Hang outdoor string lights in 4 simple steps
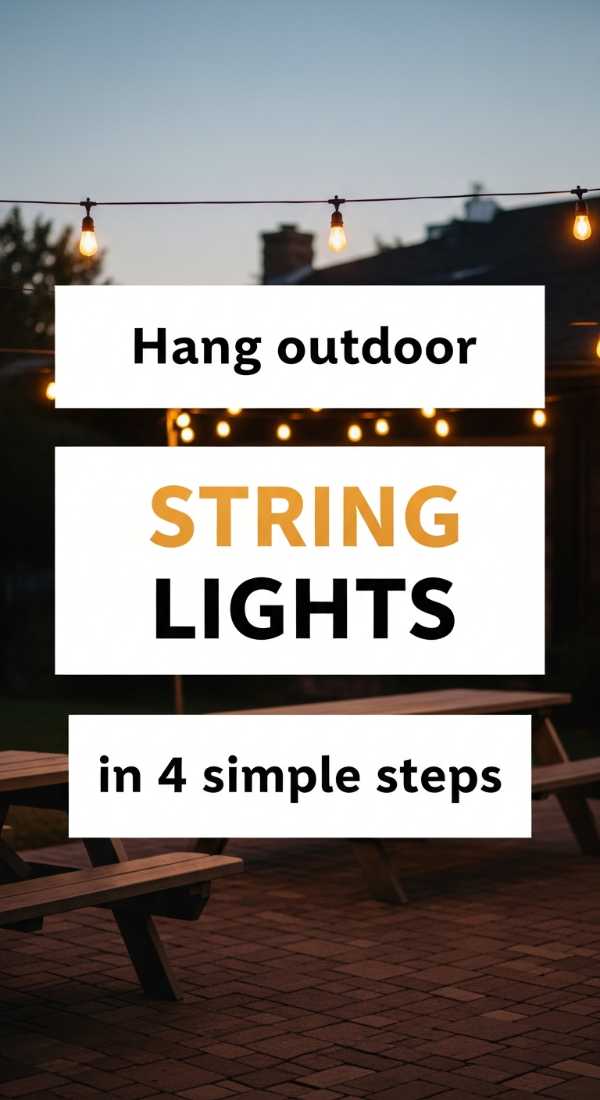
Why to love this recipe:
As the sun begins to dip, the right lighting transforms a picnic into a fairytale. String lights provide a soft, ambient glow that makes the space feel intimate and safe, stretching those precious moments well into the evening.
Essential Ingredients:
- Shatterproof LED Edison bulbs
- Portable power bank or battery-operated sets
- Heavy-duty command hooks or zip ties
- Collapsible light poles (if no trees are nearby)
How to Prepare:
- Identify your anchor points—ideally two trees or the corners of your picnic setup.
- If using trees, wrap the first end securely and use zip ties to keep the wire taut.
- Drape the lights in a gentle ‘U’ shape above the seating area for a canopy effect.
- Connect to your power source and tuck any loose wires under the edge of a rug or blanket.
Budget Range
- Battery-operated globe string lights: $18.00
- Portable power station: $50.00
- Pack of heavy-duty zip ties: $5.00
Create the perfect floor seating in 5 easy steps

Why to love this recipe:
There is an inherent coziness to floor seating. It breaks down formalities and encourages everyone to get comfortable. By layering textures and colors, you create a soft ‘nest’ that feels like a warm hug for your guests.
Essential Ingredients:
- Large outdoor waterproof base rug
- Assorted woven throw rugs
- Overstuffed floor cushions
- Soft knit throw blankets
- Low-height crates for side tables
How to Prepare:
- Lay down your waterproof base rug first to protect your linens from damp grass.
- Layer 2-3 woven rugs on top at different angles for a bohemian, textured look.
- Place the largest floor cushions around the perimeter of the ‘table’ area.
- Fold throw blankets and place them over the back of cushions for guests who get chilly.
- Intersperse small wooden crates to act as stable surfaces for drinks.
Budget Range
- Outdoor waterproof rug: $25.00
- Set of 4 floor cushions: $45.00
- Woven cotton throw rug: $15.00
Roll aesthetic picnic sandwich wraps in 3 steps
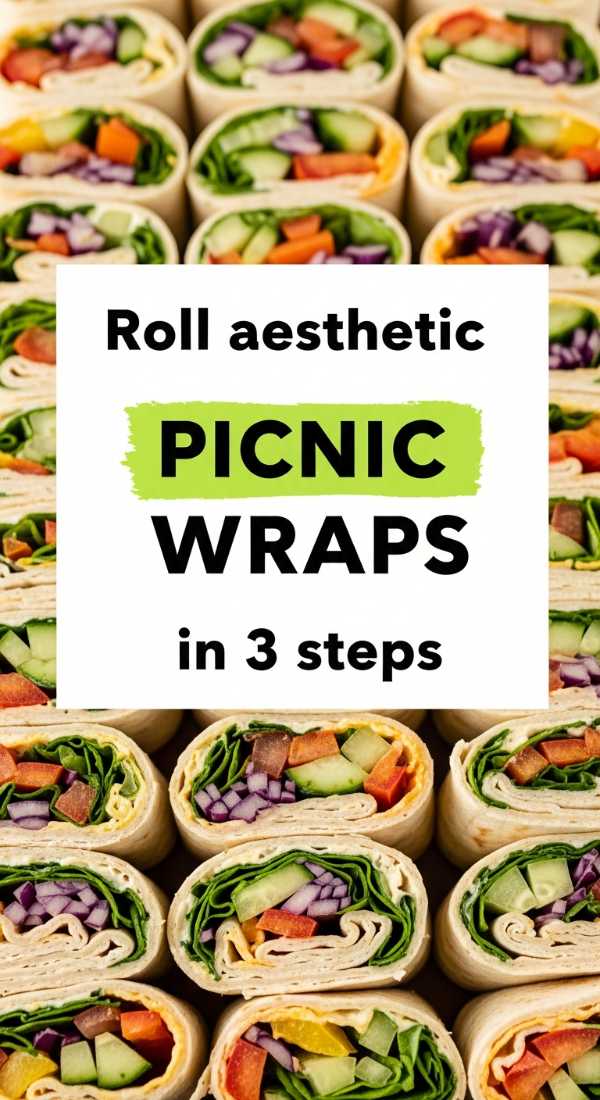
Why to love this recipe:
Sandwiches are a picnic staple, but ‘wraps’ are much easier to eat without making a mess. By using butcher paper and twine, you turn a simple wrap into a gorgeous little gift for your guests to unwrap.
Essential Ingredients:
- Large flour or spinach tortillas
- Cream cheese or hummus (to act as glue)
- Fresh greens, deli meats, and thinly sliced veggies
- Butcher paper and baker’s twine
How to Prepare:
- Layer your fillings tightly in the center of the tortilla and roll it up as snugly as possible.
- Wrap the entire roll in a piece of butcher paper, tucking the ends in like a burrito.
- Tie a piece of baker’s twine around the middle in a bow and slice the wrap in half diagonally through the paper.
Budget Range
- Roll of brown butcher paper: $9.00
- Baker’s twine spool: $6.00
- Fresh wrap ingredients: $15.00
Mix 6 refreshing picnic mocktails in minutes

Why to love this recipe:
A beautiful drink makes any occasion feel like a party. These mocktails are sophisticated, hydrating, and look stunning with their botanical garnishes. They ensure everyone, from the littles to the grown-ups, feels included in the toast.
Essential Ingredients:
- Base: Cucumber water or sparkling cider
- Syrups: Elderflower, pomegranate, or ginger syrup
- Garnishes: Dried citrus wheels, rosemary, and edible pansies
How to Prepare:
- The ‘Garden Fizz’: Mix cucumber water with elderflower syrup and a squeeze of lime.
- The ‘Sunset Sparkle’: Pomegranate juice topped with sparkling cider.
- The ‘Herbaceous Pear’: Pear nectar mixed with ginger ale and a rosemary sprig.
- The ‘Berry Blush’: Muddled raspberries with club soda and a dash of honey.
- The ‘Citrus Bloom’: Grapefruit juice, tonic water, and a dried orange slice.
- The ‘Meadow Mint’: Lime juice, agave, sparkling water, and heavy mint.
Budget Range
- Artisanal elderflower syrup: $12.00
- Dried citrus wheel garnish pack: $10.00
- Case of sparkling water: $6.00
Wrapping Your Day in Golden Light
As the sun begins to set and the shadows stretch long across the grass, take a moment to look around. My hope for you is that your picnic isn’t just about the ‘perfect’ setup, but about the feeling of being truly present. May your baskets be full, your hearts be light, and your memories be as sweet as the lemonade we shared today. Go out there and create your own little slice of heaven, my loves. You deserve all the magic in the world!