
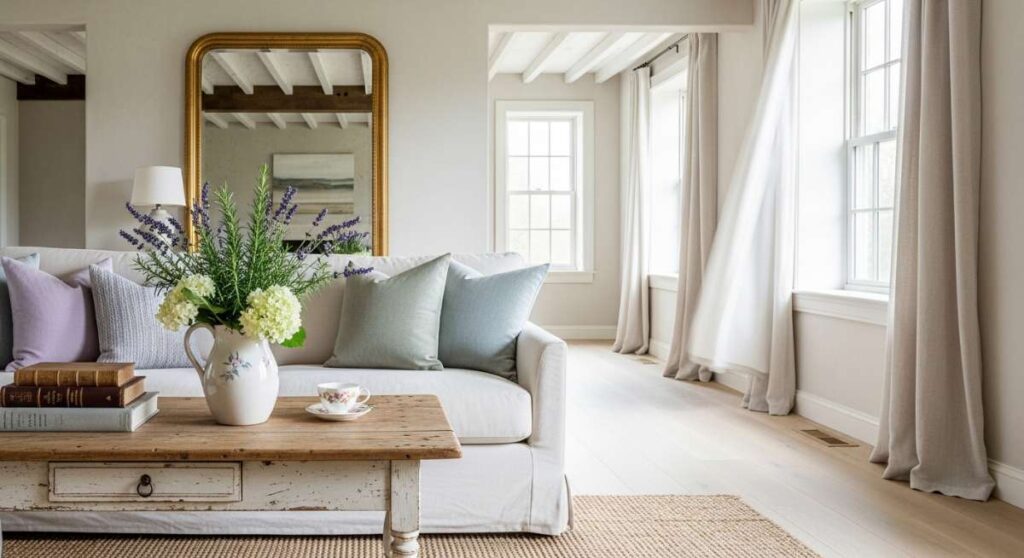
Have you ever scrolled through your feed and felt a sudden, visceral ache for a life that feels a little slower, a little more intentional, and infinitely more beautiful? I call it the ‘Provence Pull.’ It’s that craving for sun-drenched stone walls, the smell of drying lavender, and interiors that tell a story of generations past while still feeling light and airy. There’s something about the French Country aesthetic that bridges the gap between rugged rustic charm and high-end elegance like nothing else can.
Creating a dreamy French Country escape isn’t just about buying a few pieces of distressed furniture; it’s about curating a lifestyle that celebrates the ‘art de vivre.’ It’s about the way the light hits a bowl of peaches on a reclaimed wood table or how a vintage gold mirror reflects the soft blue of a toile-covered wall. Today, we’re diving deep into the elements of rustic refinement to help you transform your home into a sanctuary that feels both regal and wonderfully lived-in.
How to Achieve French Cottagecore Serenity with Blue Toile Wallpaper

Why we love this
There is an undeniable magic in the intricate, pastoral storytelling of blue toile de Jouy. It evokes the feeling of a quiet afternoon in the French countryside, where the air is cool and the only sound is the rustle of leaves. The monochromatic blue-and-white palette offers a crisp, clean serenity that anchors a room without overwhelming the senses. When you run your fingers over a high-quality toile, you can almost feel the history embedded in the scenes of shepherds and sprawling estates, creating a visual rhythm that is both sophisticated and deeply comforting.
Essential Elements:
- Traditional Blue Toile de Jouy wallpaper rolls
- Non-woven wallpaper paste
- Smoothing brush or squeegee
- Seam roller
- Sharp utility knife with extra blades
- Plumb line or laser level
How to make it
- Prepare the ‘Canvas’: Ensure your walls are sanded to a smooth finish and primed with a wallpaper primer. This acts as the base layer, preventing the adhesive from soaking too quickly into the drywall, much like tempering a pan before cooking.
- The Perfect Alignment: Use a plumb line to mark a perfectly vertical starting point. The ‘technique’ here is to never trust the corner of the room, as houses settle and shift; you need a true gravity-based line.
- Applying the Adhesive: Apply a medium-thick layer of paste directly to the wall using a roller. The ‘heat level’ here is visual: the paste should look milky and wet but not dripping. If it starts to turn clear, it’s too dry and won’t bond.
- Setting the Pattern: Align the first strip to your plumb line, leaving two inches of overhang at the top and bottom. Carefully smooth from the center outwards to remove air bubbles, using firm but gentle pressure to avoid stretching the paper.
- The Seam Mastery: When placing the second strip, match the pastoral pattern exactly at eye level first. Use the seam roller to press the edges together until the join becomes invisible. The ‘visual cue’ for doneness is a seamless transition where the blue ink of one sheet meets the other perfectly.
How to Style Antique Gold Furniture for a Shabby Chic Luxury Sanctuary

Why we love this
Antique gold provides that ‘Old World’ weight that grounds the lightness of French Country decor. It’s not the shiny, brassy gold of modern minimalism, but a deep, burnished glow that suggests a life well-lived and stories well-told. When placed against soft linens or distressed wood, a gilded chair or a gold-leafed console table acts as a focal point of luxury. The texture is often slightly pitted or worn, catching the light in a way that feels like a warm embrace rather than a cold, metallic flash.
Essential Elements:
- Gilded Louis XIV style chairs or side tables
- Gold leaf kit or antique gold wax (for DIY touch-ups)
- Soft microfiber buffing cloth
- Clear matte sealant
- Fine-grit sandpaper
How to make it
- Surface Prepping: If your piece is too shiny, lightly sand the high points with fine-grit sandpaper. This creates a ‘tooth’ for the antique finish to grip and mimics natural wear patterns found in centuries-old estates.
- The Waxing Phase: Apply an antique gold wax or dark wax using a stiff brush. Work in small circular motions, pushing the pigment into the carved details of the wood. Think of this as ‘seasoning’ the piece—the depth comes from the layers.
- Buffing for Glow: Wait approximately 15 minutes for the wax to set, then buff the surface with a microfiber cloth. The ‘technique’ is to use rapid, light strokes. This generates a tiny amount of heat that bonds the wax and creates a soft, satin-like luster.
- Highlighting: Take a tiny amount of bright gold leaf or paint and ‘dry brush’ only the very tips of the carvings. This mimics how natural sunlight hits the edges, giving the piece a three-dimensional pop.
- Sealing the Deal: Apply a very thin coat of matte sealant to high-touch areas. The ‘visual cue’ is a surface that looks dry and historical, not wet or plastic-like.
How to Design a Coquette Bedroom for a Whimsical Princess Lifestyle

Why we love this
The coquette aesthetic is the ultimate celebration of femininity and playful elegance. It’s about embracing the ‘princess’ within through layers of lace, silk bows, and soft, rounded edges. Walking into a coquette bedroom feels like entering a romantic dreamscape where every detail is a love letter to beauty. We love the mix of delicate textures—the crispness of a ruffled pillowcase against the soft sheen of a satin duvet—creating a multi-sensory experience that feels both indulgent and nostalgically sweet.
Essential Elements:
- Ruffled linen bedding in cream or blush
- Silk or velvet ribbons for curtain tie-backs
- Vintage porcelain figurines or trinket dishes
- Soft pink or peach accent lighting
- Floral lace overlays
How to make it
- Layering the Base: Start with a high-thread-count cotton sheet set as your foundation. This is your ‘base temperature.’ Add a heavy, ruffled duvet in a pale pastel tone to provide volume and weight.
- The Bow Technique: Instead of standard curtain rods, use silk ribbons to tie your drapes. Loop the ribbon twice and pull the ears of the bow wide to create a ‘butterfly’ effect. The cue for ‘doneness’ is when the bow looks plump and intentional, not saggy.
- Texture Stacking: Place a lace runner over a wooden vanity. The contrast between the hard wood and the soft, intricate lace creates a ‘gourmet’ visual layer.
- Fragrance Infusion: Place dried rose petals in small porcelain bowls around the room. The ‘aroma level’ should be subtle—a whisper of floral scent that greets you when you move through the space.
- Lighting Adjustment: Replace harsh white bulbs with warm-toned LEDs (2700K). This creates a ‘golden hour’ glow that softens the edges of the room and makes the pastels pop.
How to Create an Old Money Aesthetic for a Victorian Inspired Retreat
Why we love this
Old Money aesthetic is the art of understated wealth and inherited taste. It’s not about logos or loud trends; it’s about the quiet confidence of a leather-bound book, a well-worn Persian rug, and heavy velvet curtains that block out the modern world. We love this style for its permanence. It feels like a retreat that has existed for centuries, offering a sense of stability and intellectual depth. The scent of old wood and the tactile richness of heavy fabrics create a sanctuary that is as much a library as it is a bedroom.
Essential Elements:
- Dark wood furniture (mahogany or walnut)
- Heavy velvet drapes with tassel tie-backs
- Gilt-framed oil paintings or portraits
- Leather-bound books or vintage desk accessories
- Ornate brass floor lamps
How to make it
- The Foundation of Weight: Position a heavy, dark wood desk or armoire as the room’s anchor. Ensure it is balanced against a lighter wall color to avoid a ‘heavy’ visual taste.
- Curating the Gallery: Hang oil paintings at eye level, ensuring the frames are substantial. The ‘technique’ is to group them closely to create a ‘collector’s wall’ vibe.
- Drapery Installation: Mount your curtain rods significantly higher and wider than the actual window. This creates a ‘luxury scale’ effect. Use heavy velvet that pools slightly on the floor (the ‘break’).
- Polishing the Brass: Use a specialized metal cleaner to polish brass elements until they have a ‘warm’ reflection, not a mirror finish. The visual cue is a soft, buttery glow.
- Styling the ‘Accumulation’: Stack books horizontally and vertically on shelves. This ‘prep’ suggests a lifetime of reading and curation rather than a staged showroom.
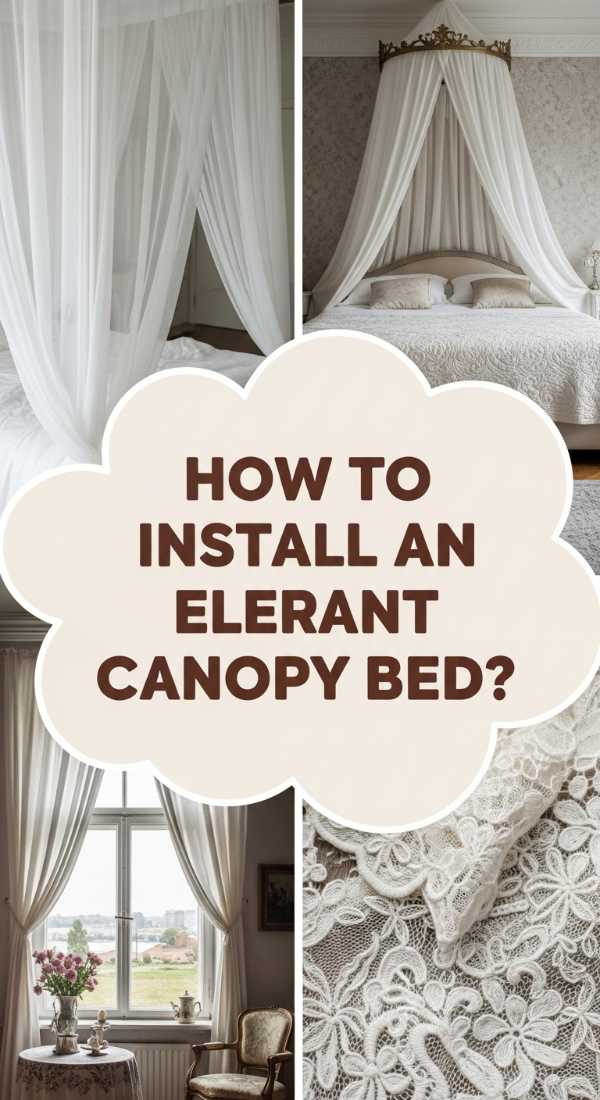
How to Install an Elegant Canopy Bed for a Dreamy Romantic Atmosphere
Why we love this
A canopy bed is the crowning jewel of a French Country bedroom. It creates a ‘room within a room,’ a private cocoon that feels incredibly safe and romantic. There is something deeply soothing about the way sheer fabric catches a breeze or the way the high frame defines the sleeping space. It turns the simple act of going to bed into a grand event. The interplay of the sturdy frame and the ethereal drapes provides a visual balance that is the hallmark of rustic refinement.
Essential Elements:
- Four-poster bed frame (iron or carved wood)
- Sheer linen or cotton voile panels
- Hidden curtain rings or ties
- Fabric steamer
- Iron ties or hooks for the posts
How to make it
- Frame Assembly: Ensure the frame is bolted tightly to prevent any swaying. A ‘sturdy’ base is essential for the heavy fabric load.
- Fabric Selection: Choose a fabric with high ‘breathability.’ Voile or lightweight linen is best. The ‘technique’ is to use four times the width of the frame in fabric to ensure lush, thick folds.
- Draping Method: Thread the panels onto the top rails. For a ‘romantic’ look, let the center of the fabric swag slightly in the middle of each rail.
- The Steaming Phase: Once hung, use a high-heat steamer to remove every wrinkle. The ‘visual cue’ for doneness is when the fabric hangs in perfect, vertical columns of light and shadow.
- Post Gathering: Use fabric ties to pull the panels toward the posts. Adjust the ‘tension’ so the fabric looks effortless but stays out of the way when entering the bed.
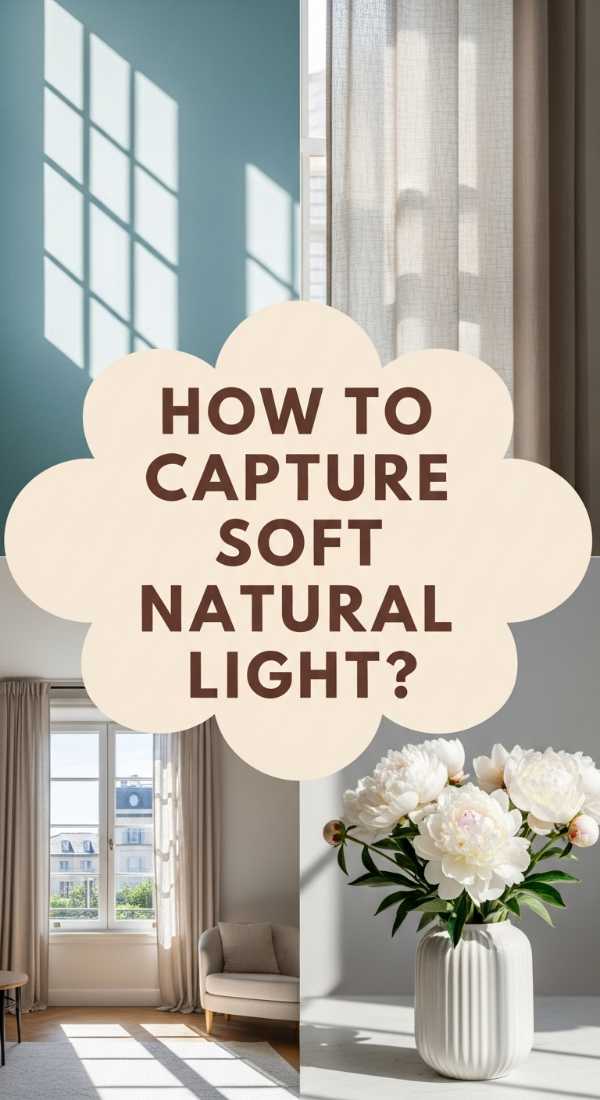
How to Capture Soft Natural Light for a Pastel Blue Aesthetic
Why we love this
The color blue, when hit by natural morning light, has a cooling, meditative quality that can lower the ‘visual temperature’ of a room instantly. It mimics the hazy skies of the French Riviera or the shutters of a farmhouse in Provence. We love how this aesthetic feels fresh and clean, yet incredibly cozy. The way the light bounces off a pale blue wall and filters through a lace curtain creates a dance of shadows that is both poetic and rejuvenating to the soul.
Essential Elements:
- Pale blue paint (cool undertones)
- Sheer lace or ‘café’ curtains
- Large mirrors with antiqued glass
- White or cream light-reflective surfaces
- Crystal accents (chandeliers or knobs)
How to make it
- Reflective Positioning: Place a large, ornate mirror directly opposite your largest window. This ‘doubles’ the light intake, effectively ‘brightening the recipe’ of the room.
- Window Dressing: Remove heavy blinds and replace them with sheer lace. The ‘technique’ here is light diffusion—the lace breaks up direct sunbeams into a soft, romantic glow.
- Paint Application: Use a satin finish for your blue paint rather than matte. This creates a subtle ‘sheen’ that catches the light at different angles, mimicking the movement of water.
- Prism Effect: Hang a crystal chandelier or place glass decanters on a sunny windowsill. The ‘visual cue’ is the appearance of tiny rainbows (‘fire’) scattered across the blue walls.
- Color Balancing: Ensure the floor is a light wood or cream rug. This prevents the ‘light’ from being absorbed by dark surfaces at the base of the room.
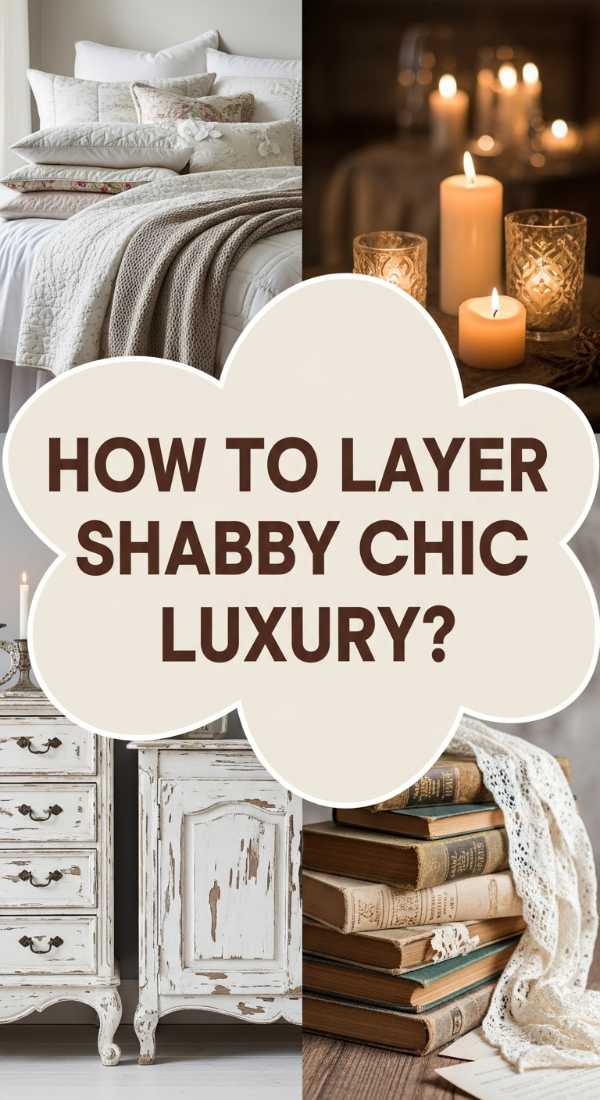
How to Layer Shabby Chic Luxury for a Cozy Elegant Atmosphere

Why we love this
Shabby Chic is all about the beauty of imperfection—the ‘wabi-sabi’ of the West. It’s the luxury of comfort. We love the tactile feast of layering different fabrics: a chunky knit throw over a linen chair, or a silk pillow next to a burlap cushion. It creates an atmosphere that invites you to kick off your shoes and stay a while. The colors are muted, the edges are soft, and the overall feeling is one of lived-in opulence that doesn’t take itself too seriously.
Essential Elements:
- Distressed white wooden furniture
- Oversized linen slipcovers
- Assorted throw pillows in mixed textures
- Chunky wool or mohair throws
- Floral-patterned quilts
How to make it
- The Slipcover Base: Choose a high-quality linen slipcover that is slightly oversized. The ‘technique’ is to tuck it deeply into the creases of the sofa for a ‘tailored but relaxed’ look.
- The Rule of Three: Layer pillows in groups of three, varying the sizes and textures. Start with a large linen square, add a medium floral cotton, and finish with a small velvet lumbar.
- Distressing Wood: If your furniture is too new, use a ‘dry brush’ technique with white chalk paint. Apply light pressure to the edges and corners where natural wear would occur.
- Throw Placement: Don’t fold your throws perfectly. Instead, ‘toss’ them over the arm of a chair and tuck one corner in. The ‘visual cue’ for doneness is an effortless drape that looks like someone just stepped away.
- Mixing the Old: Incorporate one ‘truly’ vintage item, like a tattered quilt, amongst the newer pieces to provide authenticity to the ‘shabby’ element.
How to Master French Country Decor for a Vintage Romantic Bedroom

Why we love this
Mastering French Country decor is about finding the perfect equilibrium between the farmhouse and the chateau. It’s the smell of fresh bread mixed with the sight of a crystal chandelier. We love this style because it feels grounded in the earth—through stone and wood—but reaches for the heavens with its elegant curves and romantic flourishes. A vintage romantic bedroom in this style is the ultimate escape, offering a timeless sanctuary where the modern world simply ceases to exist.
Essential Elements:
- Reclaimed wood headboard or armoire
- Wrought iron light fixtures
- Lavender sachets and fresh greenery
- Neutral color palette (oatmeal, cream, stone)
- Antique clocks or ticking-stripe fabrics
How to make it
- The Earthy Foundation: Start with a neutral base. Use ‘stone’ or ‘oatmeal’ tones for the walls. This provides the ‘savory’ depth that allows the romantic elements to shine.
- Hardware Swap: Replace modern drawer pulls with antiqued brass or ceramic knobs. This ‘prep’ work instantly ages the room by decades.
- Greenery Integration: Place a large olive tree or lavender plant in a terracotta pot. The ‘aroma and visual’ combination adds an organic layer that is essential to the ‘country’ side of the aesthetic.
- Symmetry Setup: Place matching nightstands and lamps on either side of the bed. This creates a sense of ‘order’ and ‘chateau elegance’ amidst the rustic textures.
- Textile Mix: Combine a rough jute rug with a soft cotton duvet. The ‘technique’ is contrast—the roughness of the rug makes the bed feel even softer by comparison.
How to Incorporate Whimsical Decor for a Dreamy Cottage Bedroom
Why we love this
Whimsy is the ‘secret sauce’ that prevents a room from feeling too stiff or museum-like. It’s the unexpected birdcage used as a planter, the fairy lights hidden in a canopy, or a collection of mismatched vintage mirrors. We love whimsical decor because it injects personality and a sense of wonder into the home. It turns a bedroom into a storybook setting where the imagination can run wild, and every corner holds a delightful little surprise that makes you smile.
Essential Elements:
- Vintage birdcages or wire baskets
- Warm-toned fairy lights or string lights
- Botanical prints and pressed flowers
- Antique trunks used as nightstands
- Hand-painted ceramic accents
How to make it
- Lighting the Magic: Drape fairy lights behind a sheer curtain or inside a glass cloche. The ‘heat level’ should be a low, flickering warmth that mimics fireflies.
- The Floating Gallery: Use thin twine and tiny wooden clips to hang pressed flowers or botanical sketches along a wall. This ‘prep’ adds a delicate, temporary feel to the decor.
- Repurposing Items: Take a vintage wire birdcage and place a stack of old letters or a potted ivy inside. The ‘technique’ is to use objects for something other than their original purpose.
- Color Splashes: In an otherwise neutral room, add one ‘whimsical’ color—like a mint green chair or a buttery yellow pillow. This acts as the ‘acid’ in a recipe, brightening all the other ‘flavors.’
- Curating the ‘Clutter’: Arrange small trinkets in groups of odd numbers (3, 5, or 7). The ‘visual cue’ for doneness is a display that feels gathered over time, not staged.
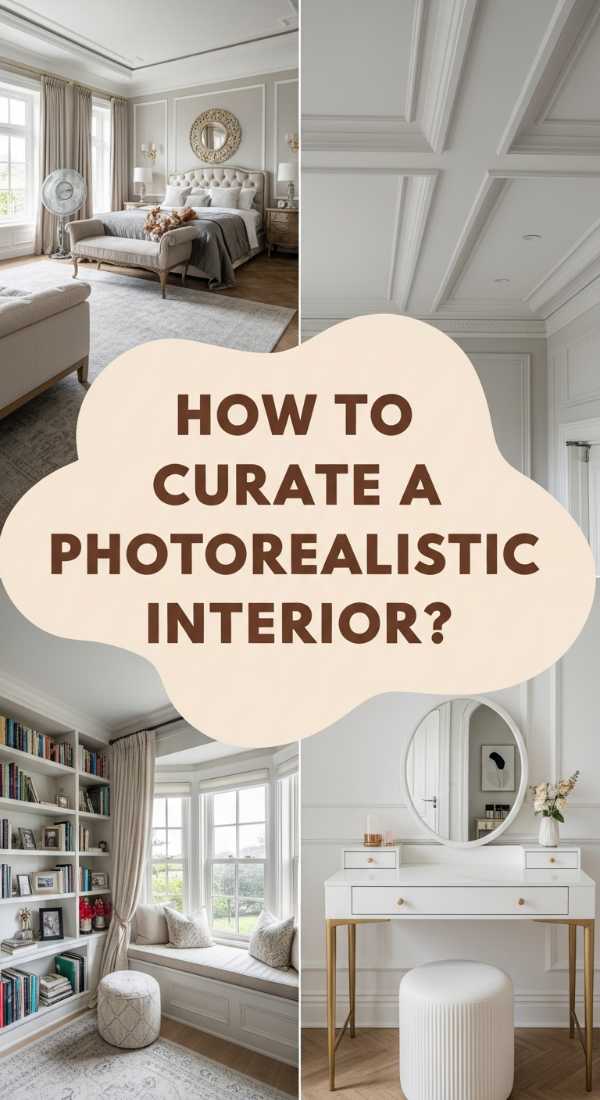
How to Curate a Photorealistic Interior for a High End Sanctuary
[IMAGE_10]
Why we love this
A ‘photorealistic’ interior is one so perfectly balanced and beautifully lit that it looks like a high-end magazine cover come to life. It’s about the precision of placement and the quality of light. We love this approach because it demands excellence in every choice—from the weight of the linens to the angle of the chair. It creates a sanctuary that feels incredibly high-end and professional, yet maintains that essential French warmth. It’s the ultimate expression of the ‘Rustic Refinement’ philosophy.
Essential Elements:
- High-quality, natural fiber textiles
- Layered professional lighting (ambient, task, accent)
- Large-scale art pieces
- Premium natural materials (marble, solid wood, wool)
- Professional-grade steamer and cleaning supplies
- Minimalist but impactful styling
How to make it
- Lighting the Scene: Use the ‘three-point lighting’ rule. An overhead chandelier (ambient), a bedside lamp (task), and a small picture light (accent). This ‘technique’ creates depth and shadow, essential for that ‘photorealistic’ look.
- The Steam Finish: Every single fabric—curtains, bedskirts, pillowcases—must be perfectly steamed. The ‘visual cue’ is a total lack of distracting creases, allowing the eye to focus on the color and texture.
- Scale Mastery: Choose fewer, larger items rather than many small ones. A single, massive landscape painting is more ‘high-end’ than a wall of small photos. This is the ‘reduction’ phase of decorating.
- Material Integrity: Ensure all ‘look-alike’ materials are replaced with the real thing. Use real marble, solid wood, and genuine linen. The ‘tactile weight’ is what gives the room its premium feel.
- The Final Polish: Dust every surface and use a lint roller on all fabrics. The ‘doneness’ cue is a room that looks ready for a professional photographer to walk in at any moment.
The French Country Dream Awaits
Creating a French Country escape is a journey of layers, textures, and a bit of romantic whimsy. Whether you start with a single roll of blue toile or go all-in on a gilded canopy bed, remember that the goal is to create a space that feels like ‘you’—only a slightly more relaxed, slightly more elegant version. Embrace the imperfections, let the light in, and enjoy the beautiful sanctuary you’ve built.