
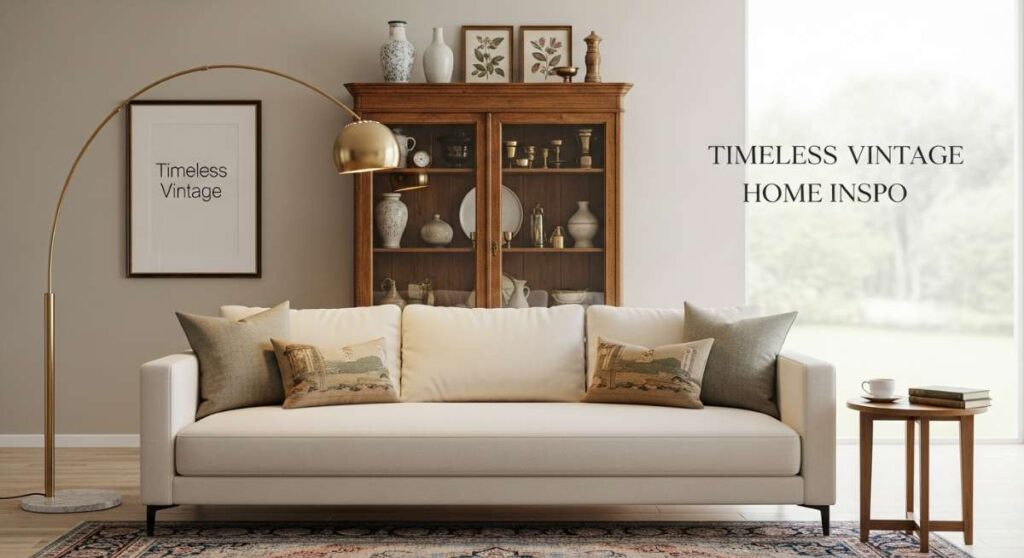
Have you ever walked into a room and felt like the walls were whispering secrets from another century? There is a profound, soulful magic in a home that feels collected rather than decorated. It’s the scent of beeswax polish on a 19th-century sideboard, the cool touch of a marble bust, and the way a sunbeam hits a piece of tarnished brass at four in the afternoon. Creating a timeless vintage look isn’t just about buying old things; it’s about weaving a narrative of history and comfort into the very fabric of your daily life.
For me, the obsession started with a single cracked tea tin from my grandmother’s kitchen. It wasn’t perfect, but it had character—a history that IKEA could never replicate. In our fast-paced, digital world, returning to ‘Old World’ aesthetics provides a grounding sense of permanence. It’s about slowing down and appreciating the craftsmanship of the past while making it feel fresh and functional for the way we live today. Let’s dive into how you can transform your space into a storied sanctuary.
How to Source Timeless Antiques for an Eclectic Living Room Aesthetic
Why we love this
There is nothing quite like the thrill of the hunt, that sudden heartbeat skip when you spot a mid-century silhouette under a layer of dust at a local flea market. An eclectic living room thrives on the friction between different eras, blending the sturdy reliability of solid oak with the delicate curves of a Regency armchair. The air in such a room feels thick with stories, carrying a faint, pleasant aroma of old paper and wood resin that makes you want to curl up with a glass of wine and a thick novel for hours on end.
Essential Elements:
- Solid wood coffee table with natural patina
- Occasional chairs from varying eras (Victorian, Art Deco, etc.)
- Vintage textile pillows or kilim rugs
- Found objects like brass magnifying glasses or stoneware crocks
- A mix of matte and polished finishes
How to make it
- Begin by identifying your ‘anchor’ piece, usually a large sofa or a substantial cabinet, and ensure it has classic lines that won’t compete with smaller, more ornate finds.
- Visit local estate sales and antique malls early in the morning, looking specifically for ‘dovetail joints’ in drawers and heavy weight in furniture, which indicate high-quality solid wood construction rather than veneers.
- Evaluate the ‘bones’ of a piece rather than its surface; look past ugly fabric or chipped paint to see if the structural silhouette is pleasing and sturdy.
- Negotiate with vendors by pointing out necessary repairs, but always remain respectful of the history of the item, aiming for a price that reflects the restoration work you’ll need to put in.
- Place your finds in the room by grouping them in odd numbers, ensuring that a 1920s side table sits next to a more modern sofa to create that sought-after eclectic tension.
How to Style Cozy Linens for a Charming Cottagecore Bedroom
Why we love this
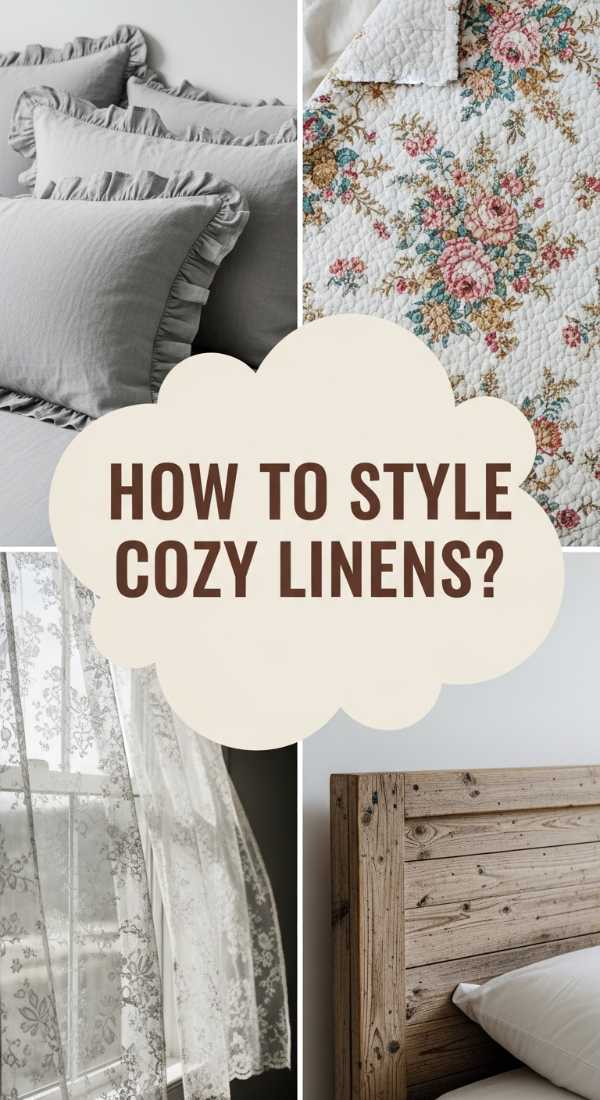
Stepping into a cottagecore bedroom feels like being enveloped in a warm, lavender-scented hug after a long day in the cold. The tactile experience of heavy, stone-washed linen against your skin is unmatched, offering a breathable yet substantial weight that regulates your body temperature perfectly. Visually, the soft ripples and natural wrinkles of the fabric create an inviting, effortless beauty that celebrates imperfection and the simple joy of a bed that looks lived-in and loved.
Essential Elements:
- 100% Belgian or French flax linen sheets
- Hand-quilted bedspread or coverlet
- Ruffled pillow shams in neutral tones
- Knitted wool throw blanket for the foot of the bed
- Muted floral or gingham accents
How to make it
- Start with a high-quality linen fitted sheet, ensuring it is pulled taut to create a smooth foundation before layering the more textured elements on top.
- Layer a flat sheet with the ‘right’ side facing down, so that when you fold the top edge over the duvet, the beautiful hem or embroidery is visible to the eye.
- Choose a duvet cover one size larger than your actual duvet insert (e.g., a King duvet inside a Queen cover) to create a plush, overstuffed appearance that looks incredibly inviting.
- Add a hand-quilted coverlet over the bottom third of the bed, folding it back in a ‘Z’ shape to showcase the different textures and patterns you’ve selected.
- Finish the look by ‘chopping’ your pillows in the center to create a soft indentation, then toss a chunky knit throw haphazardly across one corner for that perfect, Pinterest-worthy ‘undone’ aesthetic.
How to Curate Vintage Art for a Sophisticated Gallery Wall
Why we love this
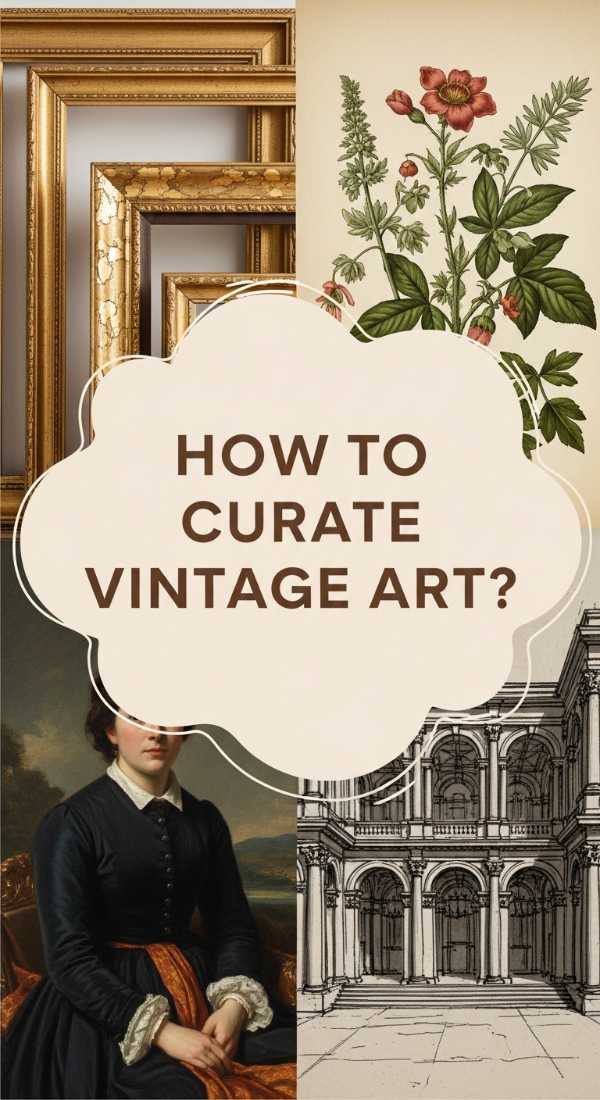
A gallery wall of vintage art acts as a window into the souls of artists long gone, bringing a sense of intellectual curiosity and timelessness to a modern home. The smell of oil paint on old canvas and the sight of intricate, gilded frames with slight chips reveal a history that adds depth to any hallway or study. There is a profound satisfaction in seeing a moody landscape hung beside a botanical sketch, creating a visual rhythm that guides the eye and sparks conversation about where each piece was found.
Essential Elements:
- Ornate gold-leaf or dark wood frames
- Original oil paintings or high-quality canvas prints
- Botanical illustrations and architectural sketches
- Small brass picture lights
- Consistent color palette (e.g., moody greens and earthy browns)
How to make it
- Collect pieces over time rather than all at once, focusing on art that resonates emotionally, whether it’s a seascape that reminds you of home or a portrait with an enigmatic expression.
- Source frames from thrift stores even if the art inside is poor; you can always swap out the contents, and old frames often have a weight and detail that modern ones lack.
- Lay all your pieces out on the floor in front of the wall you intend to use, experimenting with spacing—keep about 2 to 3 inches between each frame for a cohesive look.
- Use kraft paper to cut out templates of each frame, tape them to the wall with painter’s tape, and step back to check the balance of heights and widths before hammering a single nail.
- Install your art starting from the center and working outwards, ensuring the ‘eye-level’ line is approximately 57 to 60 inches from the floor for a professional, museum-like finish.
How to Blend Mid-Century Modern Furniture for a Sleek Retro Vibe

Why we love this
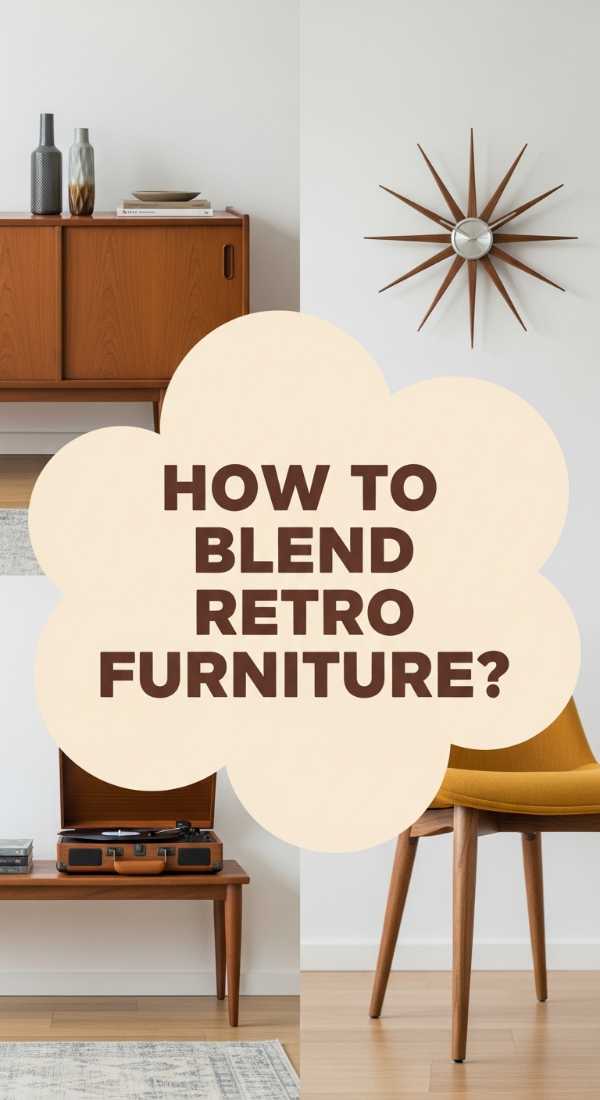
Mid-century modern design is the perfect bridge between the ornate past and the minimalist future, offering clean lines and warm wood tones that feel incredibly current. There is a satisfying ‘click’ to a well-oiled teak drawer and a visual lightness to tapered legs that makes a room feel spacious and airy. This aesthetic brings a sense of optimistic, ‘Mad Men’ era sophistication to your home, where every piece serves a functional purpose while doubling as a work of sculptural art.
Essential Elements:
- Teak or Walnut sideboards and credenzas
- Tapered ‘peg’ legs on seating and tables
- Geometric patterns in textiles or rugs
- Iconic lighting silhouettes (Sputnik or AJ lamps)
- Organic shapes like kidney-bean coffee tables
How to make it
- Select one ‘hero’ piece of MCM furniture, such as a long teak credenza, and place it against a neutral wall to let its wood grain and silhouette be the focal point.
- Balance the ‘leggy’ nature of mid-century furniture with a low-profile, plush rug to ground the space and prevent the room from feeling too sparse or ‘hovering.’
- Incorporate pops of period-accurate colors like mustard yellow, burnt orange, or avocado green through pillows or ceramic vases to add warmth to the wood tones.
- Ensure your wood tones are compatible; while they don’t have to match perfectly, try to stick within the same ‘warmth’ family (e.g., pairing teak with walnut rather than grey-washed oak).
- Keep surfaces clutter-free, using the internal storage of your MCM pieces to hide modern tech, leaving only a few curated accessories like a glass decanter or a ceramic bowl on top.
How to Layer Rich Velvet Textures for a Moody Victorian Parlor
Why we love this
Velvet is the ultimate fabric of luxury, catching the light in its dense pile to create a play of shadows and highlights that is purely cinematic. In a moody Victorian-inspired parlor, the scent of cedarwood incense and the sight of deep emerald or burgundy velvet drapes create an atmosphere of mystery and comfort. The fabric feels cool and smooth to the touch initially, but quickly warms to your body, making a velvet armchair the most sought-after seat in the house during a rainstorm.
Essential Elements:
- Deep-toned velvet upholstery (emerald, navy, or plum)
- Heavy velvet floor-to-ceiling drapes
- Tufted furniture details (Chesterfield style)
- Fringed or tasseled throw pillows
- Dark wood paneling or moody paint colors
How to make it
- Choose a high-performance velvet or a cotton velvet for high-traffic areas, as these are more durable and develop a beautiful ‘crushed’ patina over time rather than looking worn out.
- Install your velvet curtains high and wide—at least 12 inches above the window frame—to allow the heavy fabric to pool slightly on the floor for a dramatic, regal effect.
- Layer different weights of velvet; use a heavy, thick velvet for the main sofa and a lighter, silkier velvet for accent cushions to create visual depth and tactile variety.
- Contrast the softness of the velvet with hard, reflective surfaces like a marble-topped coffee table or a gold-framed mirror to prevent the room from feeling too ‘heavy’ or flat.
- Maintain the luster of the fabric by steaming it occasionally to lift the pile and using a soft-bristled brush to sweep away dust, keeping the colors vibrant and the texture inviting.
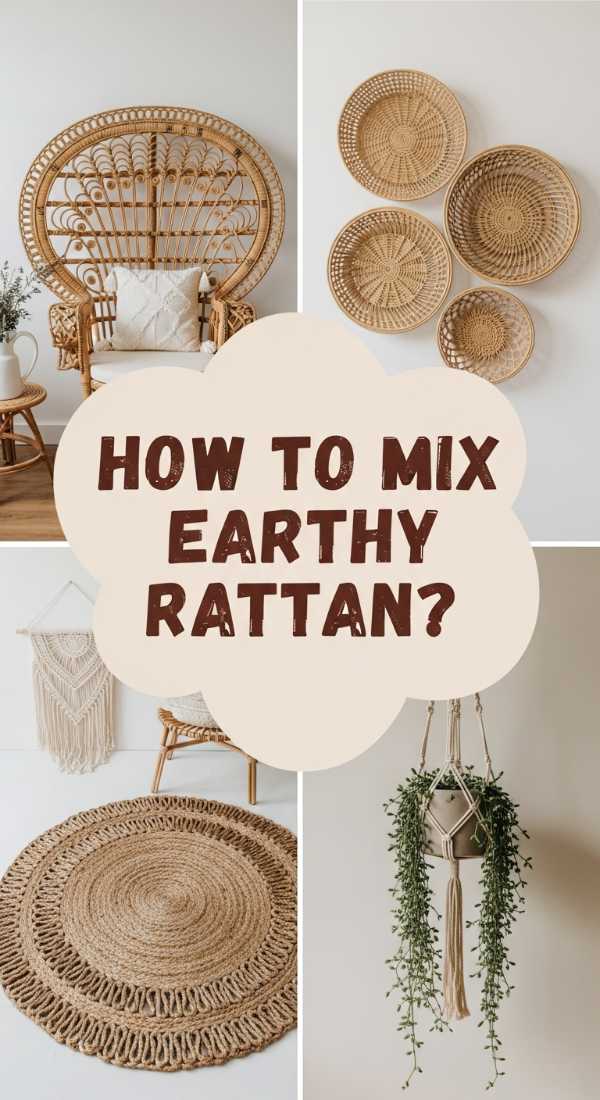
How to Mix Earthy Rattan Elements for a Warm Bohemian Sanctuary
Why we love this
Rattan brings a slice of the natural world indoors, offering a weave and texture that feels sun-drenched and relaxed. It has an earthy, slightly straw-like scent when new, and its lightweight nature makes it easy to move around as your mood changes. In a bohemian sanctuary, rattan provides a necessary organic contrast to soft textiles, creating a space that feels like a permanent vacation—a place where the boundaries between the garden and the living room beautifully blur.
Essential Elements:
- Peacock chairs or rattan armchairs
- Woven rattan storage baskets and hampers
- Rattan headboards or side tables
- Hanging macramé plant holders
- Plenty of leafy green indoor plants (monstera, ferns)
How to make it
- Source vintage rattan that has aged to a deep honey hue, as newer pieces can often look too yellow or ‘raw’ for a sophisticated vintage look.
- Check the ‘binding’ of the rattan; ensure the small strips of cane wrapping the joints are intact and not unravelling, which can lead to structural instability over time.
- Soften the hard lines of woven furniture by adding a sheepskin rug or a linen cushion, which makes the piece much more comfortable for long-term lounging.
- Group rattan elements with other natural materials like terracotta pots and jute rugs to reinforce the earthy, grounded palette of the room.
- Light your rattan pieces from the side or behind with warm lamps; the light filtering through the open weave creates stunning, intricate shadow patterns on your walls at night.
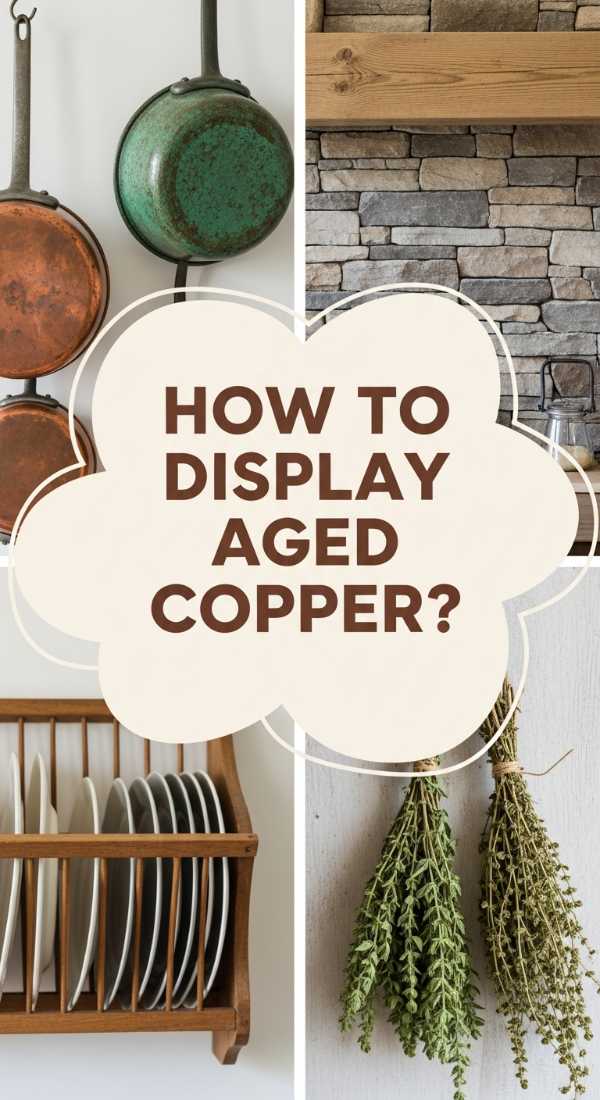
How to Display Aged Copper Cookware for a Rustic Farmhouse Kitchen
Why we love this
A kitchen filled with aged copper feels like the heart of a French country estate, echoing with the sounds of bubbling stews and the rhythmic chop of a knife. The metal has a unique warmth, glowing with a soft rose-gold light that deepens into a rich, dark patina over years of use. There is a tactile pleasure in the weight of a copper pot in your hand, a reminder of a time when kitchen tools were made to last for generations and were as beautiful as they were functional.
Essential Elements:
- Vintage copper pots, pans, and kettles
- A sturdy wrought iron or brass pot rack
- Open wooden shelving for display
- Linen tea towels in neutral stripes
- Antique wooden cutting boards
- Dried herbs hanging from hooks
How to make it
- Source copper that is ‘tin-lined’ or ‘stainless steel-lined’ if you intend to cook with it; unlined copper should only be used for whipping egg whites or as pure decoration.
- Install a heavy-duty wall or ceiling-mounted pot rack, ensuring it is anchored directly into the wall studs to support the significant weight of solid copper cookware.
- Arrange your pots by size—largest to smallest—to create a sense of organized abundance that looks professional yet cozy and approachable.
- Decide on your ‘patina level’; if you prefer a bright shine, polish with a mixture of lemon and salt once a month, but for a true ‘farmhouse’ look, let the metal darken naturally.
- Mix in a few pieces of copper with different shapes, such as a tall stockpot next to a shallow sauté pan, to add visual interest and break up the uniformity of the display.
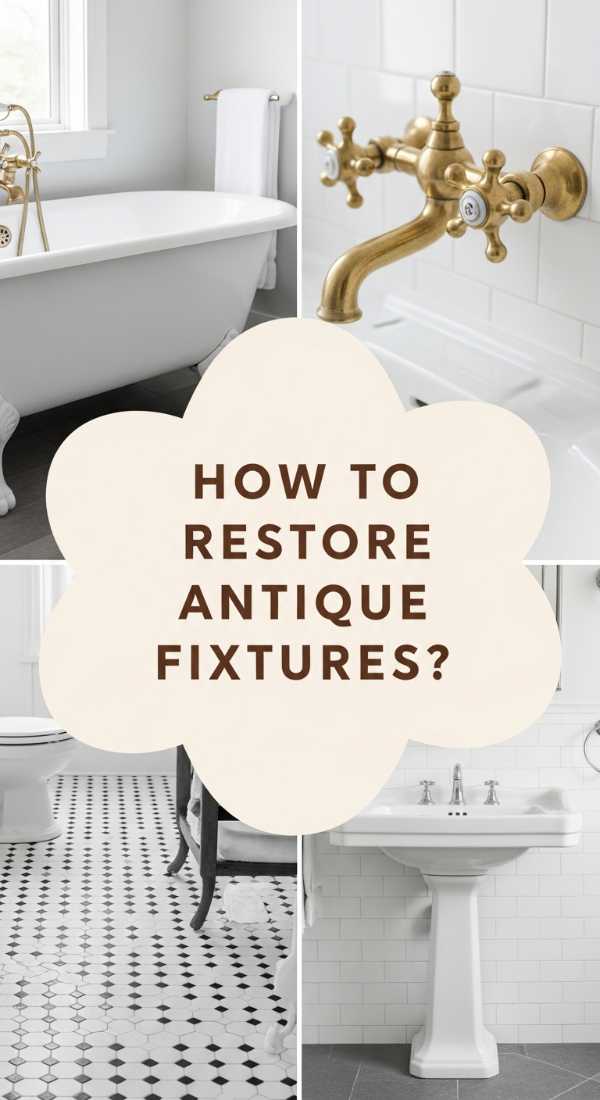
How to Restore Antique Fixtures for a Luxe Period Style Bathroom

Why we love this
There is a specific luxury in turning a heavy, porcelain-handled tap and feeling the smooth resistance of a well-made vintage valve. A bathroom styled with restored antique fixtures feels like a private spa from the Edwardian era, where the steam from a hot bath carries the scent of eucalyptus and expensive milled soap. It’s a space that prioritizes the ritual of self-care, turning a mundane morning routine into a moment of historical elegance and tactile satisfaction.
Essential Elements:
- Clawfoot tub with polished chrome or brass feet
- Cross-handle taps with ‘Hot’ and ‘Cold’ ceramic indices
- Pedestal sink or a repurposed vintage vanity
- Subway tile with dark grout
- Antique-style pull-chain toilet (if possible)
How to make it
- Search salvage yards for original brass or nickel fixtures, looking for those with minimal deep pitting, as surface tarnish can usually be buffed away with the right compounds.
- Replace all internal rubber washers and gaskets with modern equivalents; this ensures the vintage ‘look’ remains while the plumbing function is leak-free and reliable.
- If using a vintage dresser as a vanity, seal the top with several layers of marine-grade varnish or a custom-cut piece of marble to protect the wood from water damage.
- Polish the metal components using a dedicated metal cream and a soft microfiber cloth, working in circular motions until the original luster is revealed beneath the grime.
- Pair your restored fixtures with modern high-pressure showerheads hidden behind vintage-style ‘hoop’ curtain rods to enjoy the best of both historical charm and modern convenience.
How to Choose Warm Brass Lighting for a Soft Golden Hour Glow
Why we love this
Lighting is the jewelry of the home, and vintage-style brass is the gold standard for creating a warm, inviting ambiance. The way a brass lamp reflects a soft, amber light creates an eternal ‘golden hour’ within your four walls, making skin tones look radiant and wood furniture look rich. There is a nostalgic comfort in the gentle ‘clink’ of a pull-chain or the turn of a brass knob, signaling the end of the day and the beginning of a cozy evening in.
Essential Elements:
- Articulated brass floor lamps
- Sconces with milk glass or fluted shades
- Edison-style amber-tinted bulbs
- Brass picture lights for artwork
- Dimmer switches for every light source
How to make it
- Look for ‘unlacquered brass’ if you want your lighting to age and develop a natural, dark patina over time, or ‘antiqued brass’ for a pre-worn, matte appearance.
- Select bulbs with a warm color temperature—specifically 2200K to 2700K—to mimic the soft, flickering glow of candlelight and avoid the harsh ‘hospital’ blue of standard LEDs.
- Position your brass lamps near mirrors or glass-fronted cabinets to double the warm reflection and spread the golden light further into the corners of the room.
- Layer your lighting by ensuring you have three levels: ambient (ceiling), task (reading lamps), and accent (picture lights), all in the same brass finish family for consistency.
- Always install a dimmer switch for your main overhead brass fixtures; being able to lower the light to a soft hum is the key to achieving that moody, vintage atmosphere at night.
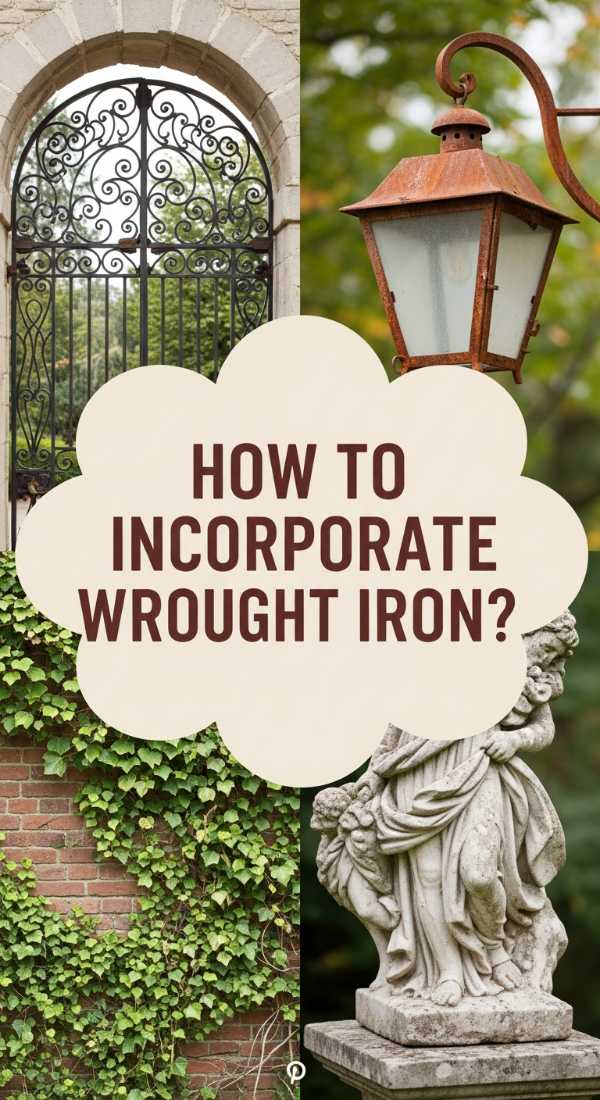
How to Incorporate Wrought Iron Accents for a Romantic Secret Garden Entryway
[IMAGE_10]
Why we love this
Wrought iron carries an air of romantic permanence, reminiscent of hidden gardens in New Orleans or ancient gates in the English countryside. The cool, heavy feel of an iron handle and the intricate, hand-forged scrolls provide a beautiful contrast to the soft, chaotic growth of climbing roses or ivy. In an entryway, it acts as a sturdy sentinel, promising a home inside that is safe, storied, and deeply rooted in tradition, while smelling faintly of damp earth and blooming jasmine.
Essential Elements:
- Arched wrought iron gates or screen doors
- Black iron lanterns with flicker-flame bulbs
- Iron boot scrapers and umbrella stands
- Climbing plants like wisteria or climbing roses
- Stone or brick pavers for the walkway
How to make it
- Select iron pieces with traditional ‘scrollwork’ or ‘finials’ that match the architectural era of your home to ensure the entryway feels authentic rather than ‘tacked on.’
- Treat any existing rust with a wire brush and a coat of rust-inhibiting primer before applying a matte black exterior paint to protect the metal from the elements.
- Flank your iron gate with large stone planters filled with overflowing greenery to soften the ‘hard’ look of the metal and create a lush, welcoming transition zone.
- Install your iron lanterns at eye level on either side of the door to create a symmetrical, formal look that provides plenty of safe, ambient light for guests.
- Train climbing vines to weave through the iron bars manually as they grow, using soft garden twine to secure them until the plant naturally ‘takes’ to the structure for that secret garden feel.
Embracing the Beauty of the Past
Creating a vintage-inspired home is a journey, not a destination. It’s about the slow accumulation of things that speak to you, pieces that have survived the decades to find a new life in your hands. When you mix the old with the new, you’re not just decorating; you’re storytelling. You’re building a space that feels grounded, warm, and entirely unique to you. So, go ahead—visit that dusty antique shop, layer those linens, and let the ‘Old World’ breathe new life into your home.