
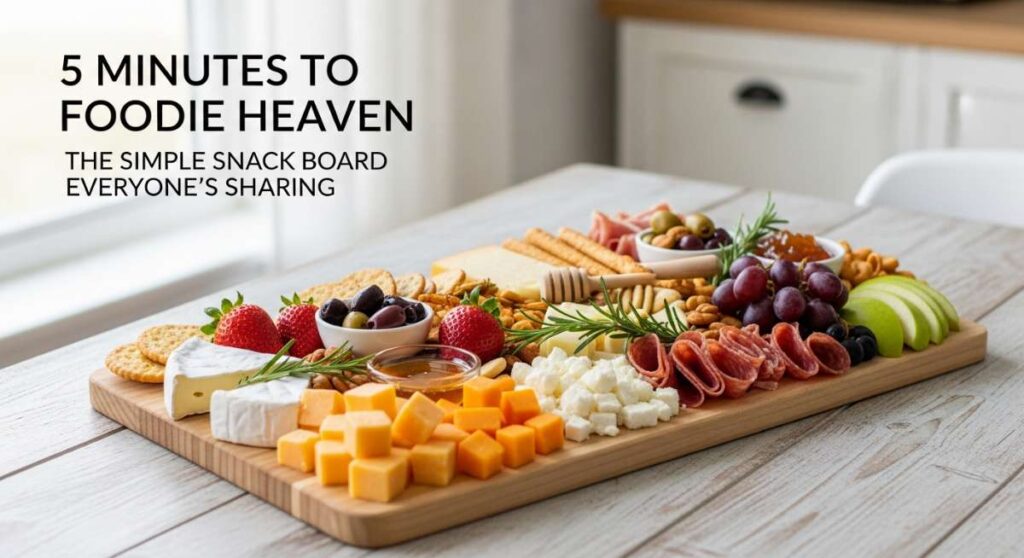
We have all been there: the sun is setting, friends are on their way over, and your stomach is starting to rumble for something more than just a handful of chips. There is a specific kind of magic that happens when you set down a giant, colorful board filled with treats that look like they belong in a magazine but took you mere minutes to assemble. It’s about that collective ‘ooh’ from the crowd and the way the evening transforms from a simple hangout into a core memory, all centered around a shared love for good, honest food.
Lately, my kitchen has become a laboratory for these ‘snackable’ moments. I’ve realized that you don’t need a five-course meal to impress; you just need a few high-impact recipes that hit all those sensory notes—the crunch, the creaminess, the sweet, and the heat. This snack board isn’t just food; it’s an invitation to linger longer, talk deeper, and enjoy the season for everything it’s worth. From nostalgic desserts to zesty dips, we’re diving into the recipes that are currently breaking the internet for their simplicity and sheer deliciousness.
How to make Shoneys strawberry pie?

Why we love this
This pie is pure, unadulterated nostalgia served on a plate, featuring a vibrant, ruby-red glaze that catches the light and promises a burst of summer in every bite. The texture is a masterclass in contrasts: the crisp, buttery crunch of a perfectly baked pastry crust meets the soft, yielding sweetness of whole, sun-ripened strawberries. As you slice into it, the aroma of fresh fruit and sweet gelatin fills the air, evoking memories of vintage diners and slow Sunday afternoons. It is light enough to follow a heavy meal yet decadent enough to stand alone as the centerpiece of your dessert board.
Ingredients
- 1 baked 9-inch pie shell
- 1 quart fresh strawberries, hulled
- 1 cup granulated sugar
- 3 tablespoons cornstarch
- 1 cup water
- 3 tablespoons strawberry-flavored gelatin powder
- Whipped cream for topping
How to make it
- Begin by preparing your fresh strawberries; wash them thoroughly and remove the green hulls, then pat them dry with a paper towel to ensure the glaze adheres perfectly. Arrange the whole berries tip-side up in your pre-baked and cooled pie shell, packing them tightly so there are no large gaps.
- In a medium saucepan, whisk together the granulated sugar and cornstarch until no lumps remain, then gradually pour in the water while continuing to whisk over medium heat. Bring the mixture to a gentle boil, stirring constantly; you will see it transform from a cloudy liquid into a thick, translucent syrup.
- Once the mixture is thick and clear, remove it from the heat immediately and stir in the strawberry gelatin powder until it is fully dissolved and the color is a brilliant, deep red. Allow the glaze to cool for about 10 to 15 minutes—it should be thick enough to coat a spoon but still pourable.
- Slowly pour the slightly cooled glaze over the strawberries in the pie shell, starting from the center and working outward to ensure every berry is completely encased in the sweet syrup. Place the pie in the refrigerator for at least 3 to 4 hours, or until the glaze is fully set and firm to the touch. Serve with a generous dollop of whipped cream for the classic diner experience.
How to make Rotel dip?
Why we love this
There is something almost hypnotic about the way warm, melted cheese pulls away from a tortilla chip, and Rotel dip is the undisputed king of that experience. It is a savory, velvety sea of golden cheese punctuated by the bright, zesty acidity of tomatoes and the subtle, lingering heat of green chiles. The aroma is instantly recognizable—salty, spicy, and deeply comforting—making it the ultimate social food that disappears within minutes of being served. It’s the kind of dip that feels like a hug for your taste buds, providing a rich, creamy base that complements the sharp crunch of any chip or veggie it touches.
Ingredients
- 16 oz Velveeta cheese, cubed
- 1 can (10 oz) Ro-Tel Diced Tomatoes and Green Chilies
- 1/2 lb ground sausage or beef (optional)
- 1/2 teaspoon garlic powder
- Fresh cilantro for garnish
How to make it
- If you are using meat, begin by browning your ground sausage or beef in a skillet over medium-high heat, breaking it into small crumbles with a spatula until it is fully cooked and no pink remains. Drain the excess fat thoroughly to ensure your dip isn’t greasy.
- Cut your Velveeta cheese into 1-inch cubes; this helps the cheese melt evenly and prevents any scorching at the bottom of your pot or bowl. Place the cheese cubes into a heavy-bottomed saucepan or a microwave-safe bowl.
- Add the undrained can of Ro-Tel tomatoes and green chilies directly onto the cheese; the liquid in the can is essential for achieving the perfect pourable consistency. If you’ve cooked meat, stir that in now along with the garlic powder.
- For the stovetop method, heat over low-medium heat, stirring frequently with a heat-resistant spatula until the cheese is completely smooth and bubbling slightly. If using a microwave, heat in 30-second intervals, stirring vigorously between each session to distribute the heat. Once the dip is silky and uniform, transfer it to a warm serving bowl and garnish with fresh cilantro.
How to make cucumber salad?
Why we love this
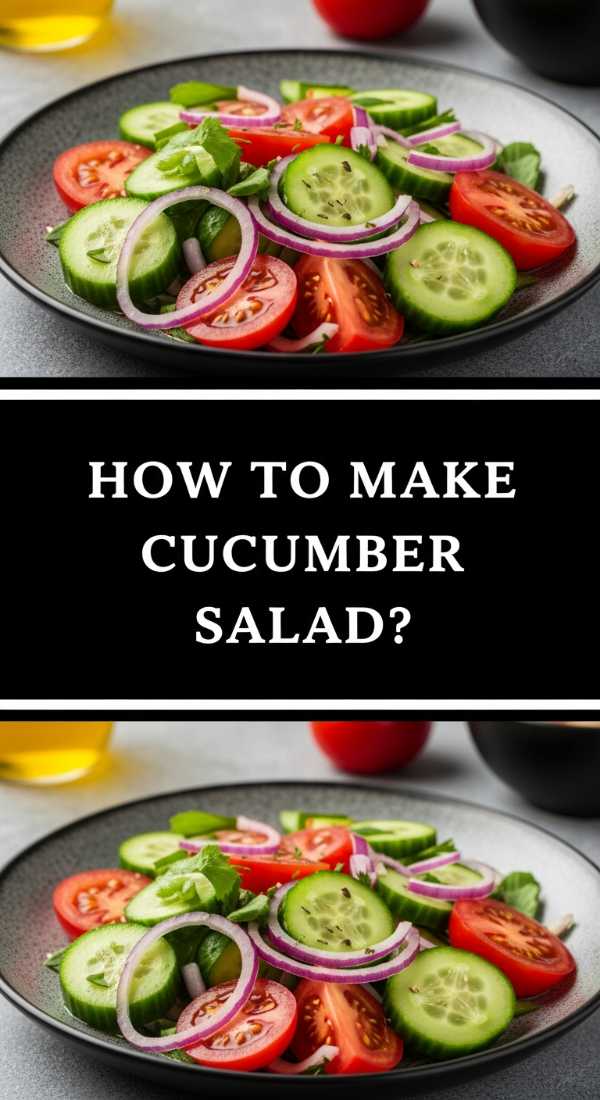
This salad is the ultimate palate cleanser, offering a crisp, cooling explosion of flavor that cuts through the richness of any snack board with ease. The paper-thin slices of cucumber provide a satisfying, watery crunch, while the sharp bite of red onion is mellowed by a sweet and tangy vinegar dressing. There is a refreshing floral note from fresh dill that lingers on the tongue, making every bite feel like a breath of fresh air on a hot summer afternoon. Its translucent, jewel-like appearance adds a sophisticated touch of green to your spread, promising a healthy yet addictive snack that keeps you coming back for more.
Ingredients
- 2 large English cucumbers, thinly sliced
- 1/2 small red onion, thinly sliced
- 1/2 cup white vinegar
- 1/4 cup water
- 2 tablespoons granulated sugar
- 1 teaspoon salt
- 1/2 teaspoon black pepper
- 2 tablespoons fresh dill, chopped
How to make it
- Start by slicing your English cucumbers into very thin rounds; using a mandoline slicer set to about 1/8 inch will give you that professional, uniform look that allows the dressing to permeate every slice. Slice the red onion into thin slivers and toss them into a large glass bowl with the cucumbers.
- In a separate small jar or bowl, whisk together the white vinegar, water, sugar, salt, and black pepper. Continue whisking until the sugar and salt have completely dissolved into the liquid, creating a clear, piquant brine.
- Pour the liquid mixture over the cucumbers and onions, ensuring every slice is submerged or coated. Add the freshly chopped dill and toss gently with tongs or large spoons to distribute the herbs evenly without breaking the delicate cucumber rounds.
- Cover the bowl with plastic wrap and refrigerate for at least 1 hour before serving. This chilling period is crucial as it allows the cucumbers to slightly pickle and the flavors to meld. Give it one final toss before plating to bring the dressing back to the surface.
How to make chicken wraps?
Why we love this
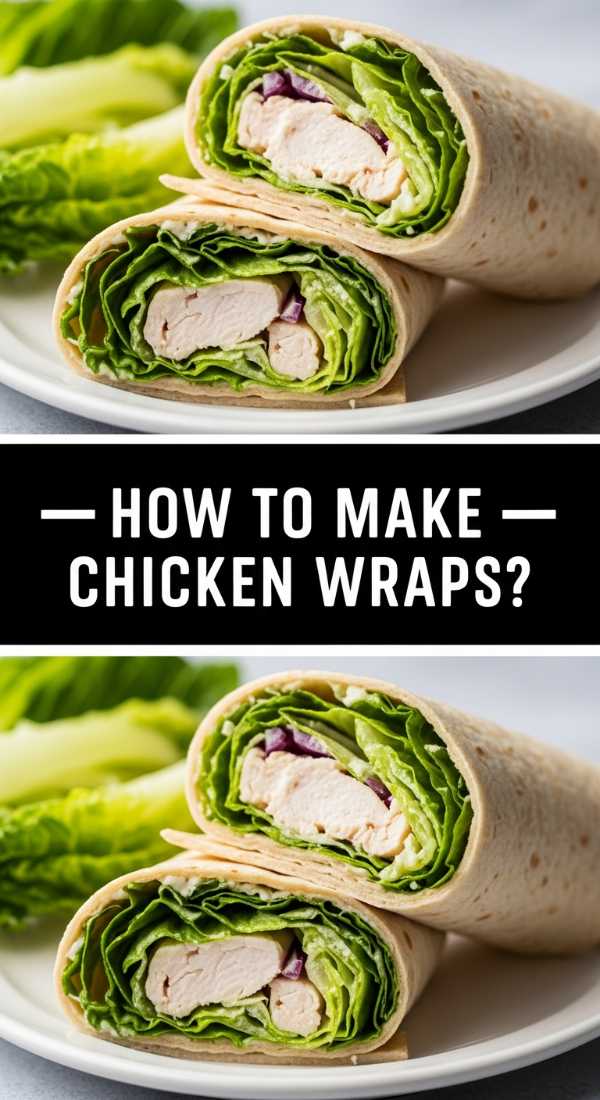
A chicken wrap is the ultimate handheld hero, offering a symphony of textures wrapped in a soft, pillowy flour tortilla. Imagine the savory, charred flavor of grilled chicken strips paired with the cool, watery snap of romaine lettuce and the creamy richness of a ranch or caesar drizzle. Every bite is a balanced meal, providing a satisfying density that keeps you full while remaining light enough to eat on the go. The subtle scent of toasted flour and seasoned poultry creates an inviting aroma that makes these wraps a universal favorite for both kids and adults alike.
Ingredients
- 4 large flour tortillas
- 2 cups cooked chicken breast, shredded or sliced
- 2 cups shredded lettuce
- 1/2 cup diced tomatoes
- 1/4 cup shredded cheddar cheese
- 1/4 cup ranch dressing or buffalo sauce
- 1/4 cup sliced avocado
How to make it
- Ensure your chicken is seasoned and cooked through; for the best flavor, use chicken that has been grilled with a bit of garlic and herb seasoning. Slice the warm chicken into thin strips or shred it into bite-sized pieces so the wrap is easy to bite through.
- To make the tortillas more pliable and prevent them from cracking, heat them for about 10 seconds in a dry skillet or for 15 seconds in the microwave between damp paper towels. Lay one tortilla flat on a clean cutting board.
- Layer your ingredients in the center third of the tortilla: start with a bed of shredded lettuce, followed by the chicken, tomatoes, cheese, and avocado. Drizzle your choice of dressing or sauce over the top, being careful not to overfill, which can cause the wrap to burst.
- To fold, tuck the left and right sides of the tortilla inward toward the center. Then, starting from the bottom edge closest to you, roll the tortilla tightly upward, keeping the side flaps tucked in as you go. Slice diagonally across the middle with a sharp serrated knife to reveal the colorful layers inside.
How to make pasta salad?
Why we love this
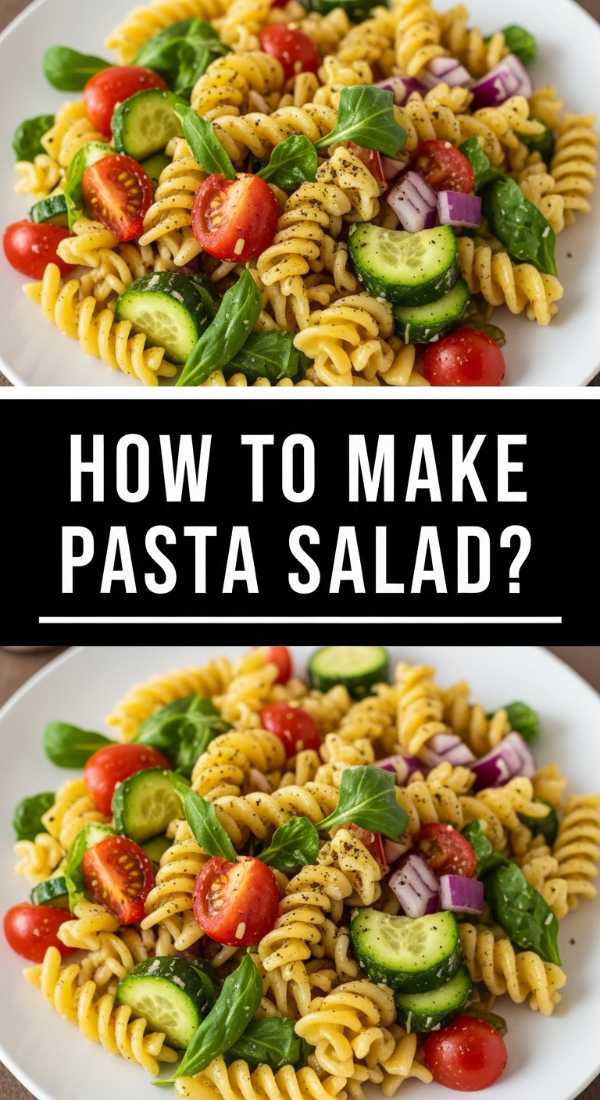
Pasta salad is the vibrant, colorful soul of any outdoor gathering, bringing a hearty Mediterranean energy to your snack board. The rotini pasta spirals act as little vessels, capturing pools of zesty Italian dressing, while the assortment of olives, peppers, and cheeses provides a rhythmic variety of textures—from soft and chewy to sharp and crunchy. It smells of dried oregano, garlic, and red wine vinegar, an aroma that instantly transports your senses to a seaside terrace. It is a dish that actually tastes better the longer it sits, making it the perfect low-stress addition to a busy hosting schedule.
Ingredients
- 1 lb rotini or fusilli pasta
- 1 cup Italian vinaigrette dressing
- 1 cup cherry tomatoes, halved
- 1/2 cup English cucumber, diced
- 1/2 cup black olives, sliced
- 1/2 cup bell peppers, chopped
- 1/2 cup mozzarella pearls or cubed feta
- 1/4 cup fresh parsley, chopped
How to make it
- Bring a large pot of salted water to a rolling boil. Add your pasta and cook according to the package instructions, but aim for ‘al dente’ (firm to the bite). Overcooked pasta will become mushy once it soaks up the dressing, so keep a close eye on the timer.
- Immediately drain the pasta in a colander and rinse it under cold running water. This stops the cooking process instantly and removes excess starch, which prevents the pasta from sticking together as it cools.
- Transfer the cold pasta to a large mixing bowl and add about half of your Italian dressing, tossing well to coat. Let this sit for 10 minutes; the pasta will absorb the flavor. Then, add the tomatoes, cucumbers, olives, peppers, and cheese.
- Pour the remaining dressing over the salad and fold everything together gently. Garnish with fresh parsley and a crack of black pepper. For the best results, let the salad chill in the fridge for at least two hours so the pasta can fully hydrate with the vinaigrette.
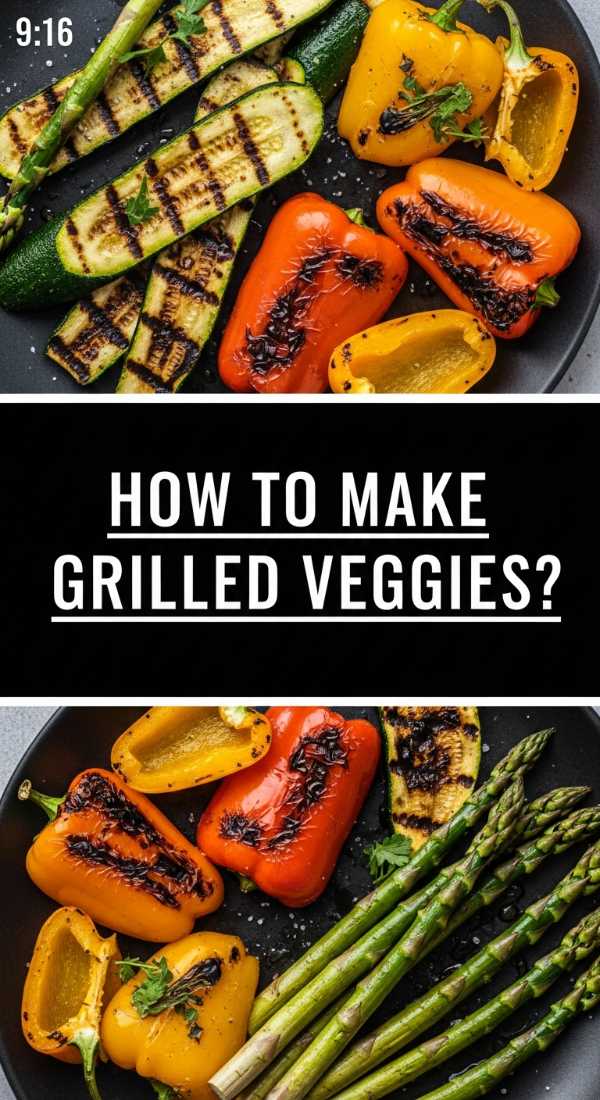
How to make grilled veggies?

Why we love this
There is an earthy, smoky sophistication to grilled vegetables that raw produce simply cannot match. When exposed to high heat, the natural sugars in zucchini, bell peppers, and asparagus caramelize, creating those beautiful, charred grill marks and a deep, concentrated sweetness. The texture is a delightful middle ground—tender enough to melt in your mouth but with enough structural integrity to provide a substantial bite. The scent of char-grilled greens and olive oil drifting through the air is the quintessential smell of a summer cookout, adding a rustic, gourmet feel to your snack board.
Ingredients
- 2 zucchinis, sliced into planks
- 2 bell peppers, cut into wide strips
- 1 bunch asparagus, woody ends trimmed
- 1 red onion, cut into thick wedges
- 3 tablespoons olive oil
- 1 teaspoon balsamic glaze
- 1 teaspoon dried oregano
- Salt and pepper to taste
How to make it
- Preheat your grill to medium-high heat (about 400°F). While the grill is heating, prep your vegetables by ensuring they are cut into large enough pieces that they won’t fall through the grates; for asparagus, keep them whole, and for zucchini, slice them into long, thick strips.
- In a large tray, toss all the vegetables with olive oil, dried oregano, salt, and pepper. Use your hands to ensure every surface is lightly coated with oil; this is the key to achieving those distinct, dark grill marks without the vegetables sticking to the metal.
- Place the vegetables on the hot grill grates in a single layer. Sear the peppers and zucchini for about 3-4 minutes per side until they have clear char marks and have softened slightly. Asparagus usually takes a bit less time, around 3-5 minutes total, depending on thickness.
- Remove the vegetables from the grill and arrange them on a platter. While they are still steaming hot, drizzle with a little balsamic glaze for a hit of acidity. Serve warm or at room temperature as a healthy, smoky component of your snack board.
How to make summer cocktails?

Why we love this
A perfectly crafted summer cocktail is like a vacation in a glass, offering an icy, effervescent escape from the heat. Whether it’s a muddled fruit mojito or a sparkling citrus spritz, the appeal lies in the balance of bright acidity, subtle sweetness, and the cooling sting of ice. The visual of condensation dripping down a highball glass, garnished with a sprig of fresh mint or a slice of lime, is enough to make anyone feel instant relief. The aroma is a heady mix of botanical spirits and freshly bruised herbs, promising a refreshing experience that makes the simple act of sipping a drink feel like a celebration.
Ingredients
- 2 oz gin or light rum
- 1 oz fresh lime juice
- 1/2 oz simple syrup
- 4-5 fresh mint leaves or basil leaves
- 1/2 cup sparkling water or club soda
- Fresh berries or citrus wheels for garnish
- Ice cubes
How to make it
- Start by placing your fresh herbs (mint or basil) and the simple syrup in the bottom of a sturdy glass or a cocktail shaker. Use a muddler to gently press down on the leaves; you want to release the essential oils without shredding the leaves into tiny bits, which can make the drink bitter.
- Add the fresh lime juice and your chosen spirit (gin for a botanical kick or rum for a tropical feel). Fill the shaker with a handful of ice and shake vigorously for about 15 seconds. You’ll know it’s ready when the outside of the shaker feels frost-cold to the touch.
- Fill your serving glass with fresh ice—crushed ice works best for a summer feel as it chills the drink faster. Strain the mixture from the shaker into the glass, filling it about three-quarters of the way.
- Top the glass with sparkling water or club soda for that essential fizz. Use a long spoon to give it a quick, gentle stir from the bottom. Garnish with a fresh citrus wheel and an extra sprig of herbs for a professional, Instagram-ready finish.
How to make grilled kabobs?

Why we love this
Kabobs are the ultimate interactive food, offering a customizable parade of flavors on a stick that are as fun to look at as they are to eat. There is something deeply satisfying about the rhythm of alternating juicy pieces of marinated meat with crisp, blackened vegetables. The high-heat grilling creates a charred exterior on the protein that locks in all the savory juices, while the vegetables provide a bright, sweet contrast. The aroma of searing meat and caramelized onions over an open flame is irresistible, drawing everyone to the grill and creating an instant party atmosphere.
Ingredients
- 1 lb steak tips or chicken breast, cubed
- 1 large red bell pepper, cut into chunks
- 1 large green bell pepper, cut into chunks
- 1 red onion, cut into chunks
- 1/2 cup soy sauce or BBQ marinade
- 2 tablespoons olive oil
- Wooden or metal skewers
How to make it
- If you are using wooden skewers, soak them in water for at least 30 minutes prior to grilling. This prevents them from catching fire or splintering while over the high heat of the grill.
- Prepare your protein by cutting it into uniform 1-inch cubes. Place the meat in a bowl with your chosen marinade (a mix of soy sauce, honey, and garlic works wonders) and let it sit in the fridge for at least 30 minutes to tenderize.
- Thread the ingredients onto the skewers, alternating between meat, pepper, and onion. Don’t pack them too tightly; leaving a tiny bit of space between pieces ensures the heat can circulate and cook the meat evenly on all sides.
- Preheat your grill to medium-high. Lightly oil the grates, then lay the kabobs down. Grill for about 8-12 minutes, turning them a quarter-turn every 2-3 minutes. You are looking for an internal temperature of 165°F for chicken or 145°F for medium-rare steak, with beautiful charring on the vegetable edges.
How to make dandelion jelly?
Why we love this
Dandelion jelly is a hidden gem of the culinary world, often called ‘sunshine in a jar’ for its brilliant golden hue and its surprisingly delicate, honey-like flavor. It carries a faint, grassy floral note that feels like a spring morning, with a smooth, spreading consistency that glows when spread over a warm biscuit or piece of toast. Making this jelly is a poetic process of foraging and patience, resulting in a unique condiment that sparks conversation and awe. It smells subtly of wild meadows and lemon, offering a sophisticated sweetness that is much more complex than standard fruit jams.
Ingredients
- 2 cups dandelion petals (yellow parts only)
- 4 cups boiling water
- 1/4 cup lemon juice
- 1 package (1.75 oz) powdered pectin
- 4 cups granulated sugar
How to make it
- The most important step is harvesting: gather fresh dandelions from an area free of pesticides. Pluck the yellow petals away from the green base (the sepals); the green parts are very bitter and will ruin the flavor of your jelly if included. Aim for 2 cups of pure yellow fluff.
- Place the petals in a heat-proof jar and pour 4 cups of boiling water over them. Let this ‘tea’ steep overnight in the refrigerator. The next day, strain the liquid through a fine-mesh sieve or cheesecloth, squeezing the petals to get every drop of golden essence.
- Transfer the dandelion tea to a large pot and stir in the lemon juice and powdered pectin. Bring the mixture to a full rolling boil (one that doesn’t stop when you stir it) over high heat.
- Add the sugar all at once and stir constantly. Return to a full boil and boil hard for exactly one minute. Remove from heat and skim off any foam from the surface. Pour the hot liquid into sterilized jars, leaving a bit of headspace. Let them cool completely on the counter; the jelly will set as it cools, transforming into a beautiful, clear amber spread.
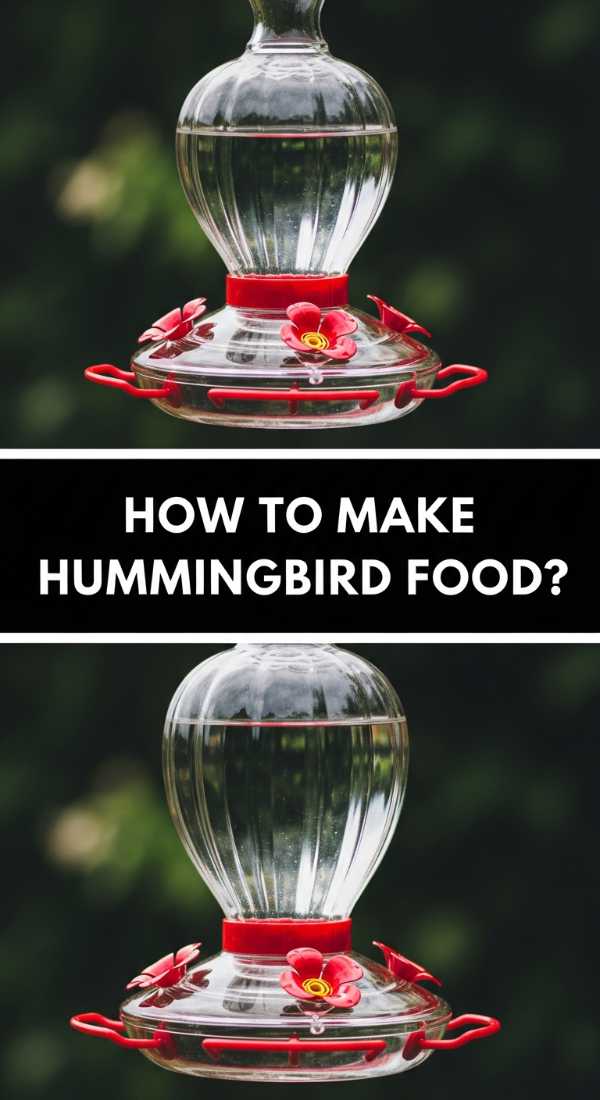
How to make hummingbird food?
[IMAGE_10]
Why we love this
While not for us to eat, adding a hummingbird feeder near your outdoor snack board area is the ultimate lifestyle ‘flex’ that brings nature right to your table. The simple act of boiling sugar and water creates a life-sustaining nectar that attracts these shimmering, emerald-hued birds, providing endless entertainment for your guests. There is a quiet joy in watching their wings blur as they hover near the feeder, a sight that makes any backyard feel like a lush, tropical sanctuary. It is a clean, honest way to interact with your environment without the need for artificial dyes or store-bought chemicals.
Ingredients
- 1 cup granulated white sugar
- 4 cups water
How to make it
- The golden rule of hummingbird food is the 4:1 ratio: four parts water to one part white granulated sugar. Do not use honey, brown sugar, or artificial sweeteners, as these can be fatal to the birds.
- Mix the sugar and water in a medium saucepan. Bring the mixture to a low boil over medium heat, stirring occasionally. Boiling is important not just to dissolve the sugar completely, but to neutralize any impurities or bacteria in the water that could harm the hummingbirds.
- Boil the mixture for about 2-3 minutes. This creates a stable syrup that won’t ferment as quickly in the sun. Remove the pot from the heat and let the nectar cool to room temperature. This is vital; never put hot liquid into a plastic feeder as it can warp the plastic and harm the birds’ delicate tongues.
- Once completely cool, fill your clean hummingbird feeder. Store any leftover nectar in a sealed container in the refrigerator for up to two weeks. Remember to clean your feeder every few days to keep the ‘customers’ coming back and staying healthy!
The Secret to the Perfect Spread
At the end of the day, the best snack boards aren’t about perfection; they are about variety and the love you put into the preparation. Whether you are serving a nostalgic Shoney’s pie or a fresh pasta salad, the key is to mix temperatures, textures, and flavors so there is a little something for everyone. So, grab your biggest platter, whip up a few of these viral favorites, and get ready to host the foodie event of the season!