
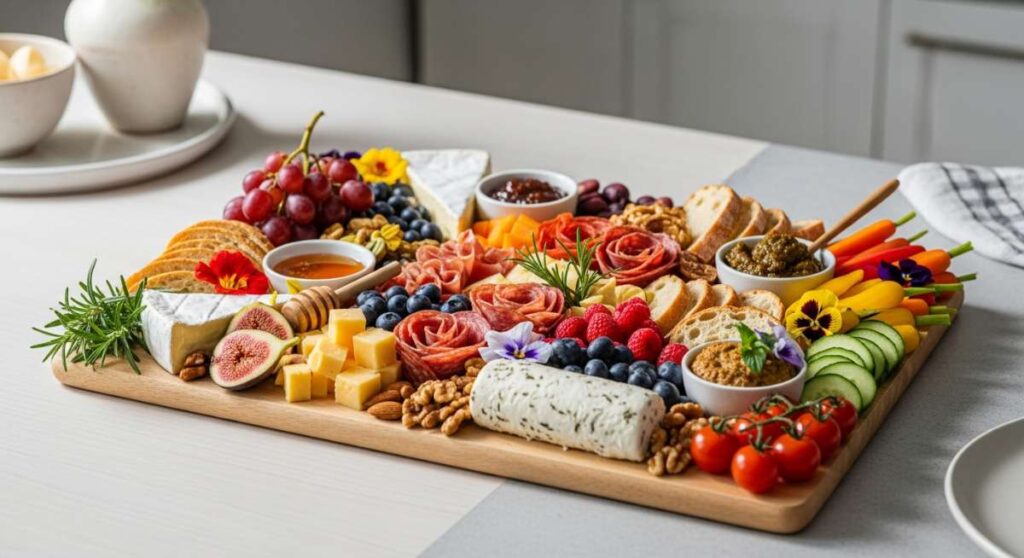
There is something truly magical about the way food brings us together, especially when it is presented with a little bit of flair. In 2024, the food board trend has evolved from simple charcuterie into a full-blown lifestyle movement, focusing on vibrant colors, effortless assembly, and those ‘Instagrammable’ moments that feel like a warm hug. Whether you are hosting a backyard sunset dinner or just treating yourself to a beautiful solo lunch, these viral food board ideas are designed to be as delicious as they are aesthetic.
I remember the first time I set out a themed board for my friends; the room instantly filled with ‘oohs’ and ‘aahs,’ but more importantly, it sparked a relaxed environment where everyone could graze at their own pace. There is no stress in a board—no formal plating, just pure, shared enjoyment. It’s about celebrating the seasons, the freshness of the ingredients, and the simple joy of a meal that looks like art but tastes like home.
How to make strawberry pie
Why we love this
This strawberry pie is the ultimate centerpiece for a summer dessert board, offering a burst of ruby-red color and a fragrance that fills the entire kitchen with the scent of sun-ripened berries. We love the contrast between the buttery, flaky crust that shatters with every forkful and the jammy, sweet-tart filling that feels like a celebration of warm weather. There is something deeply nostalgic about a homemade pie, especially when topped with a cloud of whipped cream that slowly melts into the warm fruit. It is a sensory journey that starts with the golden visual of the lattice and ends with the comforting, sugary embrace of a classic American treat.
Ingredients
- 2 deep-dish pie crusts (homemade or store-bought)
- 2 lbs fresh strawberries, hulled and halved
- 3/4 cup granulated sugar
- 1/4 cup cornstarch
- 1 tablespoon lemon juice
- 1 teaspoon vanilla extract
- 1 egg (for egg wash)
- Turbinado sugar for topping
How to make it
- Begin by preheating your oven to 425°F (220°C). If using a homemade crust, roll it out on a floured surface to about 12 inches in diameter and carefully drape it over your pie dish, trimming the edges to leave a 1-inch overhang.
- In a large mixing bowl, combine your halved strawberries, sugar, cornstarch, lemon juice, and vanilla. Toss gently with a spatula until every berry is coated; the cornstarch is vital here as it thickens the juices to prevent a soggy bottom.
- Pour the berry mixture into the prepared crust, mounding them slightly in the center for a beautiful profile.
- Roll out the second crust and cut into 1-inch strips to create a lattice top, weaving them over and under to create a sturdy, professional-looking pattern.
- Crimp the edges of the top and bottom crusts together to seal the juices inside. Whisk the egg with a splash of water and brush the entire top of the pie, then sprinkle generously with turbinado sugar for a crunchy, glittering finish.
- Bake at 425°F for 15 minutes, then reduce the heat to 375°F (190°C) and continue baking for another 35-45 minutes until the crust is deep golden brown and the filling is bubbling through the lattice.
How to make rotel dip
Why we love this
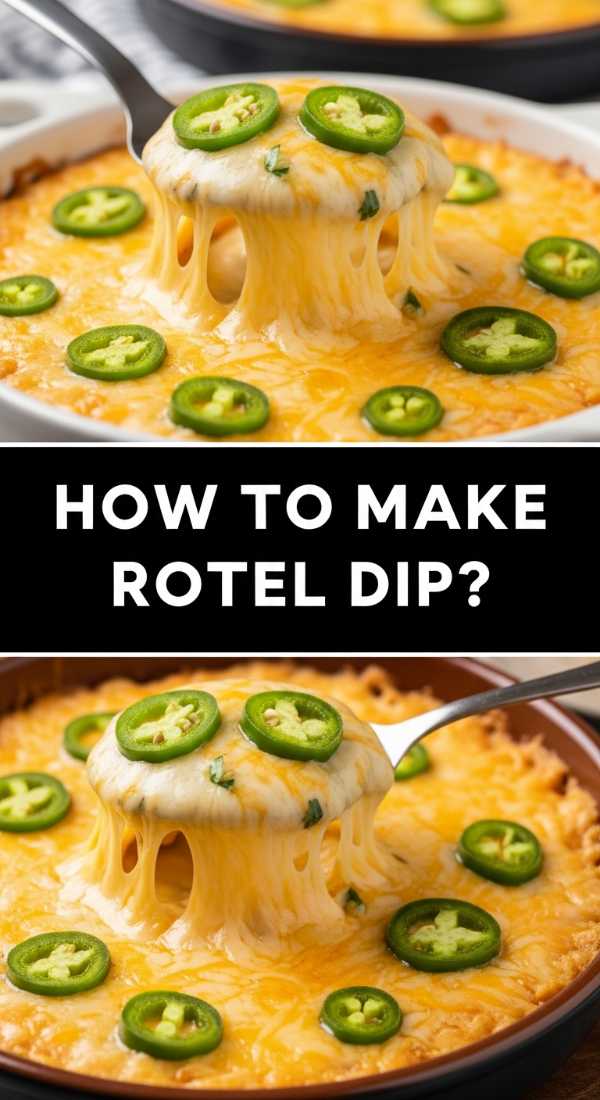
No snack board is complete without the creamy, spicy, and utterly addictive presence of a classic Rotel dip. It is the ultimate comfort food that bridges the gap between sophisticated hosting and laid-back gaming nights, offering a velvety texture that clings perfectly to every tortilla chip. The aroma of browned sausage mixed with melted cheese and the zesty kick of diced green chilies is enough to draw anyone into the kitchen. It’s a crowd-pleaser because it’s warm, savory, and has that perfect level of spice that keeps you coming back for just one more dip, making it the heart of any viral party board.
Ingredients
- 1 lb ground pork sausage (mild or hot)
- 1 block (16 oz) Velveeta cheese, cubed
- 2 cans (10 oz each) Rotel Diced Tomatoes and Green Chilies
- 1/2 cup heavy cream (optional for extra creaminess)
- Fresh cilantro for garnish
- Tortilla chips for serving
How to make it
- Place a large skillet or heavy-bottomed pot over medium-high heat. Add the ground sausage and use a wooden spoon to break it into small, uniform crumbles. Cook until no pink remains and the meat is slightly browned and crispy.
- Drain the excess fat from the skillet to ensure the dip isn’t greasy, then return the pan to low heat.
- Add the cubed Velveeta cheese to the pan. It is crucial to use low heat here to prevent the cheese from scorching or becoming grainy; patience results in the smoothest texture.
- Pour in both cans of Rotel (do not drain the liquid, as the tomato juice adds essential flavor and thins the cheese to the right consistency).
- Stir constantly with a spatula as the cheese melts, incorporating the sausage and tomatoes into a unified, silky dip. If you prefer a thinner consistency, stir in the heavy cream during the last 2 minutes of melting.
- Once the dip is completely smooth and steaming, transfer it to a serving bowl on your board and garnish with fresh chopped cilantro.
How to make tomato salad
Why we love this
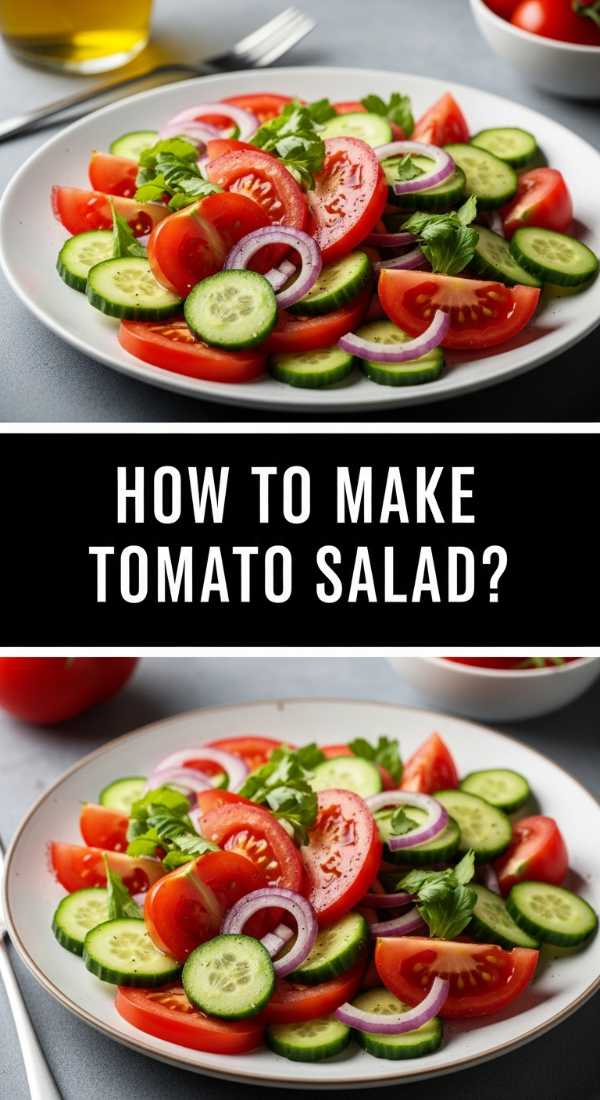
This tomato salad is a vibrant explosion of color that serves as the perfect ‘fresh’ anchor for a Mediterranean-themed food board. We love the way the acidic pop of heirloom tomatoes mingles with the creamy richness of fresh mozzarella and the peppery notes of basil leaves. The visual appeal of mismatched tomato shapes—from deep purples to bright yellows—creates an instant aesthetic win that feels both rustic and high-end. Each bite is a refreshing palate cleanser, drizzled in high-quality olive oil and a balsamic reduction that adds a deep, syrupy sweetness to the savory garden flavors.
Ingredients
- 1.5 lbs mixed heirloom tomatoes (various sizes and colors)
- 8 oz fresh mozzarella pearls or torn bocconcini
- 1/4 cup fresh basil leaves, chiffonade
- 2 tablespoons extra-virgin olive oil
- 1 tablespoon balsamic glaze
- Flaky sea salt and cracked black pepper
How to make it
- Start by washing and drying your tomatoes thoroughly. For the larger heirlooms, slice them into thick, uneven wedges to give the salad a rustic, artisanal look. For cherry or grape tomatoes, simply slice them in half to reveal their juicy interiors.
- Arrange the tomato slices on a flat platter, overlapping them slightly to create depth. Tuck the mozzarella pearls into the gaps between the tomatoes.
- Season the tomatoes generously with flaky sea salt and freshly cracked black pepper. The salt is essential as it draws out the natural juices of the tomatoes, creating a natural ‘dressing’ on the plate.
- Just before serving, scatter the fresh basil ribbons over the top. Using fresh basil is key; dried herbs won’t provide the same aromatic punch.
- Drizzle the extra-virgin olive oil in a slow, steady stream across the entire salad, followed by a decorative zig-zag of the balsamic glaze.
- Let the salad sit for 5 minutes at room temperature before placing it on your board to allow the flavors to marinate and the salt to work its magic.
How to make chicken wraps
Why we love this
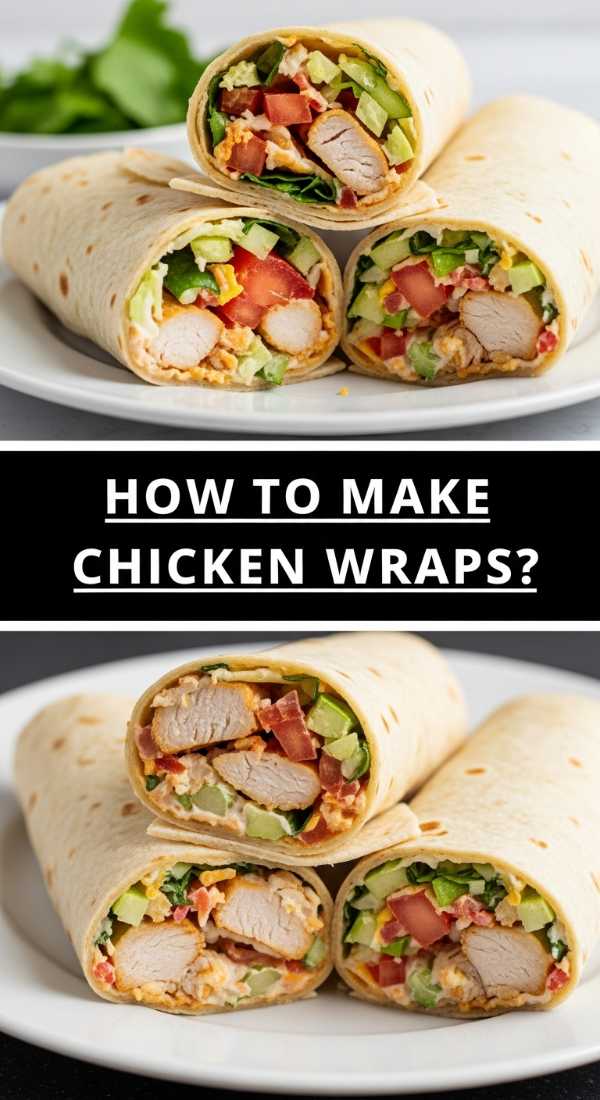
Chicken wraps are the versatile heroes of the aesthetic food board, offering a tidy, hand-held option that satisfies hunger without the mess of a traditional sandwich. We love the crunch of fresh romaine lettuce combined with tender, seasoned chicken and a tangy dressing that ties everything together. The wraps can be sliced into ‘pinwheels’ to show off their colorful interior layers, making them a visual treat that guests can easily grab and go. They provide a satisfying balance of proteins and greens, feeling light and energizing while still being incredibly filling and flavorful.
Ingredients
- 2 large flour tortillas (spinach or sun-dried tomato flavors work well for color)
- 2 cups cooked chicken breast, shredded or sliced
- 1 cup shredded romaine lettuce
- 1/2 cup shredded carrots
- 1/4 cup ranch or Caesar dressing
- 1/4 cup shredded cheddar cheese
How to make it
- Lay your tortillas flat on a clean cutting board. If they are cold, microwave them for 10 seconds to make them more pliable and prevent tearing during the rolling process.
- Spread a thin, even layer of your chosen dressing across the center of each tortilla, leaving about an inch of space around the edges.
- Layer the shredded lettuce first to create a moisture barrier, then pile the chicken, carrots, and cheddar cheese in a neat line down the middle. Do not overfill, or the wrap will be difficult to seal.
- To fold, tuck in the sides of the tortilla first, then pull the bottom edge over the filling and roll tightly toward the top. The tightness of the roll is what keeps the wrap together without needing toothpicks.
- Place the wrap seam-side down on the board. Using a very sharp serrated knife, slice the wrap diagonally in the center for a classic look, or cut into 1-inch sections for pinwheel appetizers.
- Arrange them on your food board with the cut side facing up to display the vibrant interior layers.
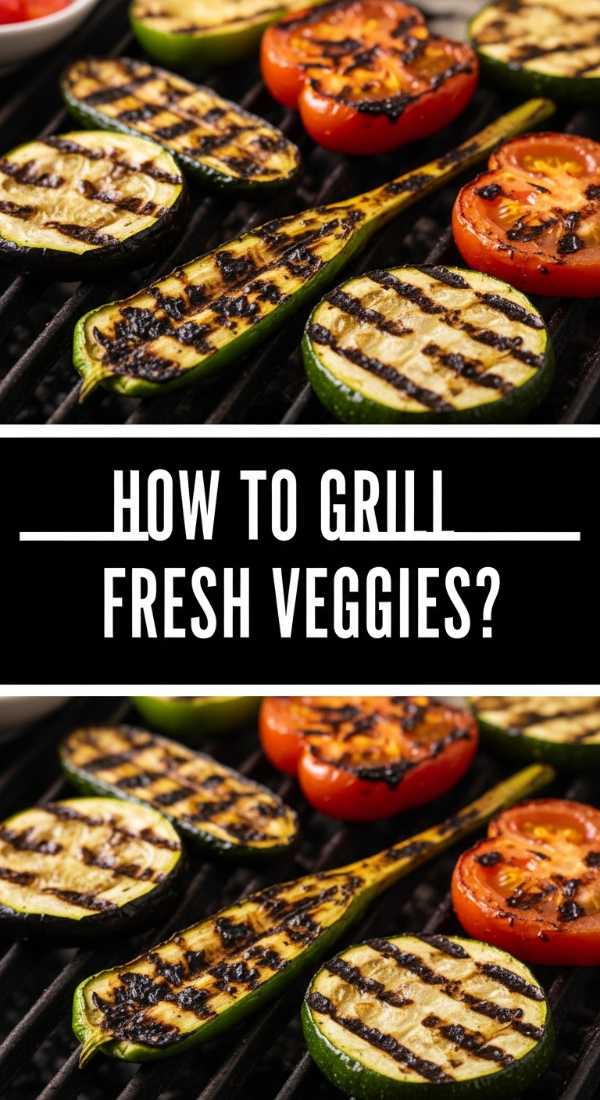
How to grill fresh veggies
Why we love this
There is nothing quite like the smoky, charred sweetness of vegetables fresh off the grill to add an earthy element to your viral food board. We love the transformation of simple produce into tender, caramelized delicacies that carry the nostalgic aroma of a summer cookout. The blackened grill marks add a professional, rustic aesthetic that contrasts beautifully with raw elements on the board. It’s a healthy, colorful addition that appeals to everyone, offering a variety of textures from the snap of a bell pepper to the creamy interior of a grilled zucchini slice.
Ingredients
- 2 zucchini, sliced into long planks
- 1 bunch asparagus, woody ends trimmed
- 2 bell peppers (red and yellow), cut into wide strips
- 1 red onion, cut into thick rounds
- 3 tablespoons olive oil
- 1 teaspoon garlic powder
- Salt and pepper to taste
How to make it
- Preheat your grill to medium-high heat (around 400°F). Ensure the grates are clean and lightly oiled to prevent sticking.
- In a large bowl, toss all your prepared vegetables with olive oil, garlic powder, salt, and pepper. Ensure every piece is lightly coated, as the oil facilitates those beautiful char marks.
- Place the vegetables across the grates in a single layer. Start with the denser veggies like onions and zucchini, as they take slightly longer.
- Grill the zucchini and peppers for 3-4 minutes per side. You are looking for clear, dark grill lines and a slight softening of the texture while maintaining a bit of ‘bite.’
- Add the asparagus during the last 3-5 minutes of cooking, as they are delicate and can overcook quickly. Roll them occasionally with tongs to ensure even charring.
- Remove the vegetables from the grill and let them cool slightly. For the best presentation on your board, keep the shapes distinct and arrange them in a rainbow pattern to maximize visual impact.
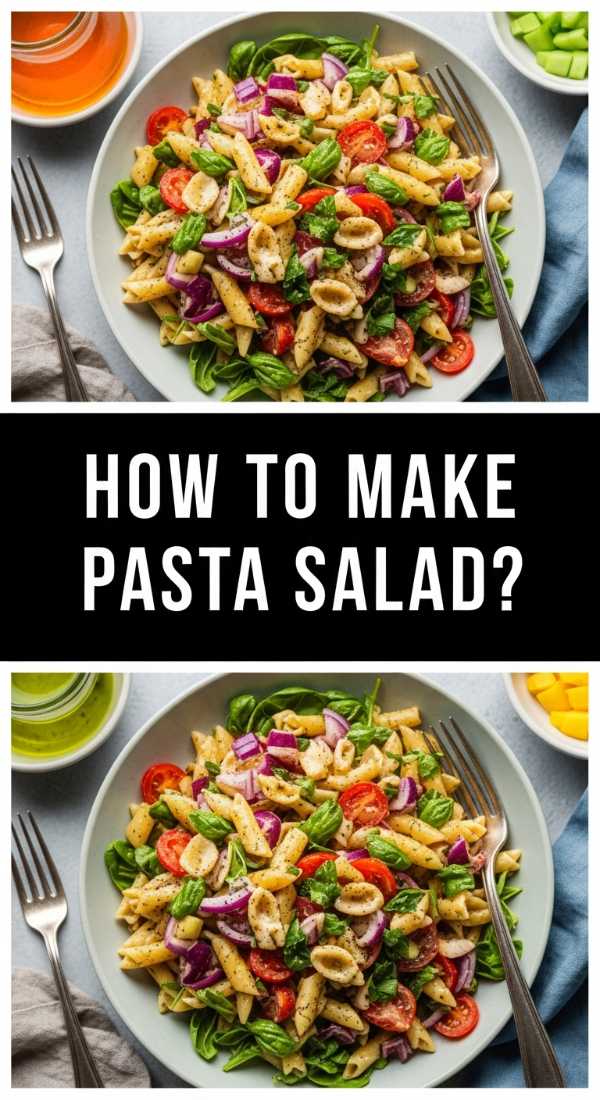
How to make pasta salad
Why we love this
Pasta salad is the ultimate ‘make-ahead’ board addition that actually tastes better as it sits, allowing the tangy dressing to soak deep into the noodles. We love the playful textures of rotini or bow-tie pasta mixed with crunchy cucumbers, salty olives, and sharp feta cheese. It’s a cold, refreshing dish that provides a hearty base for a summer gathering, offering a symphony of Mediterranean flavors in every spoonful. The bright colors of the vegetables against the pale pasta make it a visual highlight, and its durability means it stays looking fresh even after hours on the table.
Ingredients
- 1 lb rotini or fusilli pasta
- 1/2 cup Greek vinaigrette dressing
- 1 cup cherry tomatoes, halved
- 1 cucumber, diced
- 1/2 cup Kalamata olives, pitted
- 1/2 cup crumbled feta cheese
- Fresh parsley for garnish
How to make it
- Bring a large pot of salted water to a rolling boil. Cook the pasta according to the package directions, but aim for ‘al dente’—it should have a firm bite. Overcooked pasta will become mushy once the dressing is added.
- Drain the pasta and immediately rinse it under cold running water. This stops the cooking process and removes excess starch, preventing the noodles from sticking together.
- In a large mixing bowl, combine the cooled pasta with the cherry tomatoes, diced cucumber, olives, and feta cheese.
- Pour the Greek vinaigrette over the mixture and toss thoroughly with large spoons until every nook and cranny of the pasta is coated.
- Taste and adjust seasoning; pasta often needs an extra pinch of salt or a squeeze of lemon once it is cold.
- Chill in the refrigerator for at least 30 minutes before serving. This allows the pasta to absorb the flavors. Transfer to a decorative bowl for your food board and top with a sprinkle of fresh parsley for a pop of green.
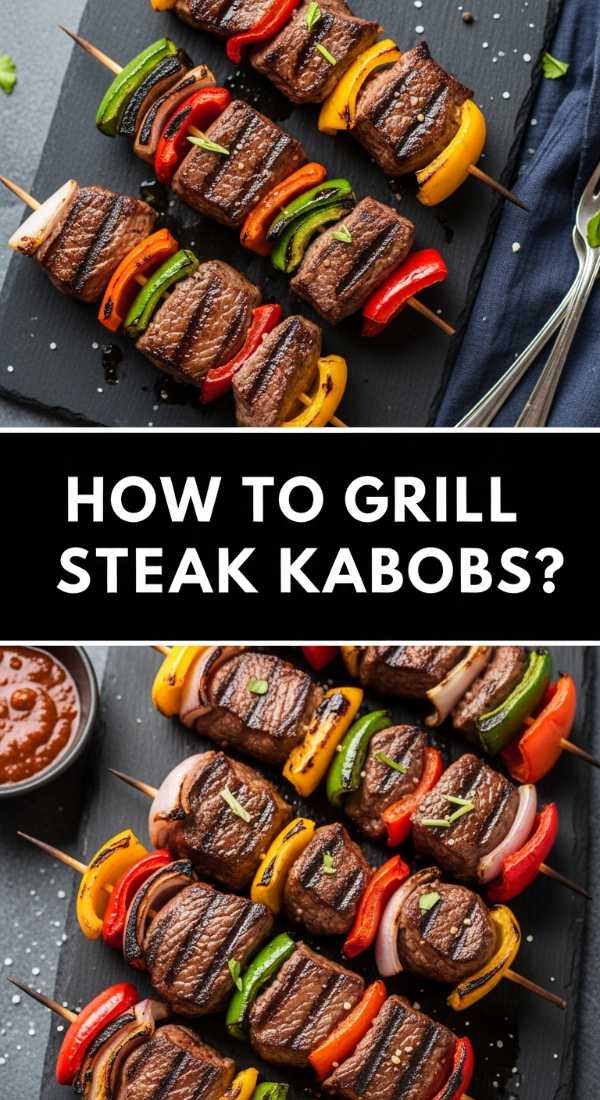
How to grill steak kabobs
Why we love this
Steak kabobs bring a sense of luxury and ‘wow’ factor to any food board, combining succulent, high-quality protein with the charred sweetness of fire-roasted vegetables. We love the way the fat from the steak renders down and bastes the peppers and onions, creating a cohesive, savory flavor profile that is deeply satisfying. The skewers themselves offer a structured, geometric beauty to the board, making them easy for guests to pick up and enjoy. The aroma of searing beef over an open flame is the quintessential scent of summer hosting, promising a meal that is both hearty and sophisticated.
Ingredients
- 1.5 lbs top sirloin or ribeye, cut into 1.25-inch cubes
- 2 bell peppers, cut into chunks
- 1 large red onion, cut into chunks
- 1/4 cup soy sauce
- 2 tablespoons olive oil
- 2 cloves garlic, minced
- Wooden or metal skewers
How to make it
- If using wooden skewers, soak them in water for at least 30 minutes prior to use to prevent them from catching fire on the grill.
- In a medium bowl, whisk together the soy sauce, olive oil, and minced garlic. Add the steak cubes and toss to coat. Let the meat marinate for at least 20 minutes (or up to 2 hours) to tenderize and infuse flavor.
- Preheat your grill to high heat. You want it hot enough to sear the meat quickly to lock in the juices.
- Thread the skewers, alternating between a piece of steak, a piece of pepper, and a piece of onion. Leave a small amount of space between items so the heat can circulate and cook everything evenly.
- Place the kabobs on the grill. Cook for about 8-10 minutes, turning every 2-3 minutes. For medium-rare, aim for an internal meat temperature of 135°F (57°C).
- Let the kabobs rest for 5 minutes after removing them from the grill. This allows the juices to redistribute, ensuring the steak is tender and moist when your guests take their first bite.
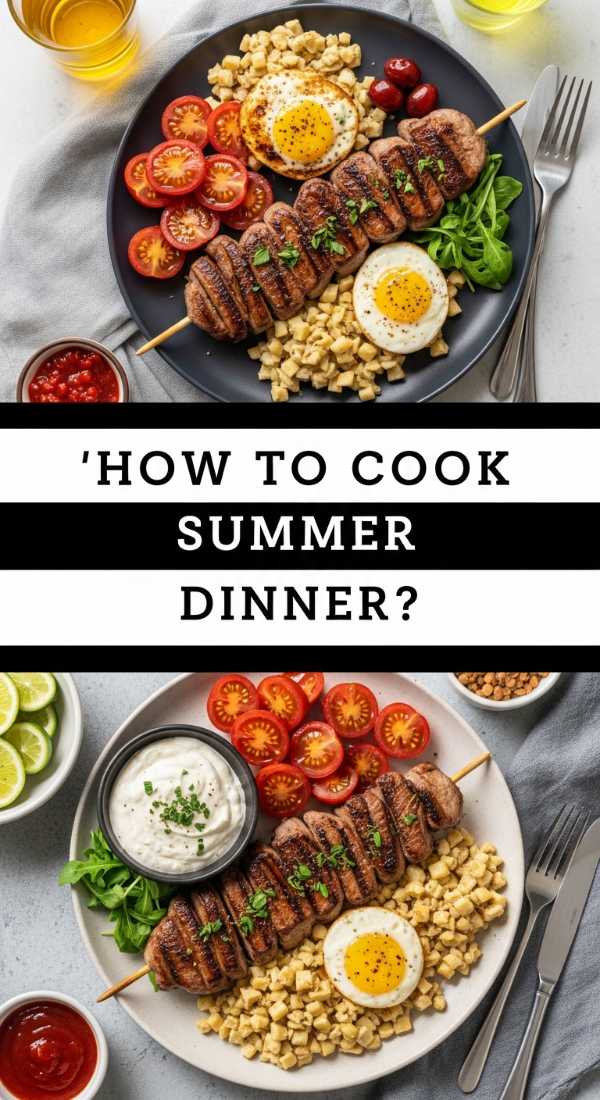
How to cook summer dinner

Why we love this
Cooking a complete summer dinner for a food board is all about the art of assembly and the balance of light, seasonal ingredients. We love the flexibility of this approach, where you can combine grilled proteins, fresh salads, and artisanal breads into one cohesive spread that feels abundant and generous. It’s a way of eating that encourages conversation and lingering at the table, as there is always something new to reach for. The sensory experience is a mix of warm and cold, crunchy and soft, salty and sweet—perfectly capturing the laid-back, sun-drenched essence of the best time of the year.
Ingredients
- Grilled chicken or steak
- A variety of fresh seasonal fruits (peaches, berries)
- Artisan baguette or sourdough slices
- Soft cheeses (brie or goat cheese)
- Mixed greens with a light vinaigrette
- Roasted nuts or seeds for crunch
How to make it
- Start by preparing your ‘main’ protein, such as grilled chicken or steak, and allow it to rest before slicing into thin, bite-sized strips. This makes it easier for guests to serve themselves onto small plates.
- Prepare your side components: toss a simple green salad with a lemon-tahini or balsamic dressing and slice your baguette into rounds.
- Select a large wooden board or several smaller platters. Place the larger items, like the salad bowl or the pile of meat, on the board first to act as anchors.
- Fill in the spaces with smaller elements. Place the cheese blocks near the bread, and scatter the fresh fruits around the protein to provide a sweet contrast to the savory meat.
- Add small bowls for dips or dressings to prevent liquid from running into the dry ingredients.
- The key to a ‘viral’ look is abundance. Fill every gap with nuts, herbs, or edible flowers until the board looks like a lush, edible garden.
How to make hummingbird food

Why we love this
While not for the guests, including hummingbird food as part of your garden-themed board setup or patio aesthetic is a wonderful way to bring nature into your gathering. We love the simple, clear liquid that sparkles in the sun, attracting tiny, iridescent visitors that add a sense of wonder to any outdoor meal. It’s a gesture of hospitality that extends beyond humans to the local wildlife, making your backyard feel like a sanctuary. The process is incredibly simple, but the reward—watching the high-speed grace of hummingbirds while you sip a summer drink—is an unmatched sensory delight that elevates the atmosphere of any party.
Ingredients
- 1 cup granulated white sugar
- 4 cups water
- Red hummingbird feeder (no dye needed!)
How to make it
- In a small saucepan, combine the sugar and water. It is vital to use only plain white granulated sugar; honey, brown sugar, or artificial sweeteners can be harmful to birds.
- Heat the mixture over medium-high heat, stirring constantly until the sugar is completely dissolved. You don’t need a full boil, but bringing it to a simmer helps ensure the solution is thoroughly mixed and kills any bacteria in the water.
- Once the sugar is dissolved, remove the pan from the heat and let it cool completely to room temperature. Never put hot liquid into a plastic feeder, as it can warp the plastic or harm the birds.
- Fill your clean hummingbird feeder with the cooled nectar. Do not add red food coloring; the red parts of the feeder itself are enough to attract the birds, and dyes can be unhealthy for them.
- Hang the feeder in a shaded area near your outdoor dining space. The shade helps the nectar stay fresh for longer.
- Remember to change the nectar every 3-5 days (more often in extreme heat) to prevent mold growth, ensuring your tiny guests stay healthy and happy.
How to make summer drinks
[IMAGE_10]
Why we love this
Summer drinks are the crowning jewel of a food board presentation, providing the much-needed hydration and fizz that balances out savory snacks. We love the clink of ice cubes against glass, the bright citrus garnishes that look like sunshine, and the refreshing tingle of carbonation on a hot afternoon. Whether it’s a spiked lemonade or a botanical mocktail, these drinks are an opportunity to play with flavors like elderflower, mint, and muddled berries. They are visually stunning when served in a large pitcher or individual mason jars, adding a final touch of curated elegance to your viral spread.
Ingredients
- 1 cup fresh lemon juice
- 3/4 cup simple syrup (equal parts sugar and water)
- 2 cups sparkling water or club soda
- Fresh mint leaves and lemon slices for garnish
- Ice cubes (extra points for freezing berries inside them!)
How to make it
- Start by making your simple syrup if you haven’t already: heat equal parts sugar and water until dissolved, then cool. This ensures your drink is perfectly sweetened without grainy sugar at the bottom.
- In a large glass pitcher, combine the fresh lemon juice and simple syrup. Stir well to create a concentrated base.
- Add a large handful of fresh mint leaves. Use a long spoon to gently ‘muddle’ or bruise the leaves against the side of the pitcher to release their aromatic oils.
- Just before serving, pour in the sparkling water. This preserves the carbonation, keeping the drink fizzy and lively for your guests.
- Fill individual glasses with ice—using large cubes or decorative ‘berry ice’ for a viral aesthetic.
- Pour the lemonade mixture over the ice and garnish each glass with a fresh lemon wheel and a sprig of mint. Serve immediately while the bubbles are at their peak.
Conclusion
Creating a viral food board in 2024 is about more than just food; it’s about creating an experience that is tactile, visual, and deeply delicious. From the smoky char of grilled steak kabobs to the sweet, flaky layers of a strawberry pie, these ideas allow you to curate a meal that fits your mood and your aesthetic. So, grab your largest wooden board, gather your favorite people, and start building your own edible masterpiece. Happy hosting!