

5 Easy Food Board Ideas for Stress-Free Entertaining
There is something truly magical about the moment your friends walk through the door and the air is filled with the scent of something delicious simmering on the stove. I used to spend hours stressed in the kitchen, missing out on all the laughter and stories, until I discovered the art of the ‘Viral Simple Food Board.’ It’s more than just a trend; it’s a lifestyle shift that prioritizes connection over complicated plating. These boards allow everyone to dig in, customize their bites, and linger over the table for hours.
In this guide, I’m sharing my favorite ways to build these interactive spreads. Whether you’re hosting a cozy winter gathering or a sunny backyard brunch, these components are designed to be prep-ahead friendly and visually stunning. We are moving away from the stiff three-course meal and toward a relaxed, communal way of eating that feels both elevated and incredibly warm. Let’s dive into the building blocks of your next favorite party spread!
How to roast sweet beets

Why we love this
Roasting beets transforms them from earthy roots into jewel-toned candies that anchor any food board with vibrant color. When they emerge from the oven, they possess a silky, tender texture and a concentrated sweetness that pairs beautifully with salty cheeses and crunchy nuts. The aroma is subtly sweet and grounded, filling your kitchen with a cozy, farmhouse feel that invites everyone to the table. It’s a sensory delight that feels sophisticated yet remains incredibly humble in its preparation.
Ingredients
- 4-5 medium-sized fresh beets (red or golden)
- 2 tablespoons extra virgin olive oil
- 1 teaspoon sea salt
- Freshly cracked black pepper
- 2 sprigs of fresh thyme
How to make it
- Preheat your oven to 400°F (200°C). This high heat is essential for caramelizing the natural sugars in the beets without drying them out.
- Scrub the beets thoroughly under cold water to remove any dirt, then trim the leafy tops, leaving about an inch of the stem to prevent the color from ‘bleeding’ too much during the roast.
- Place each beet on a large square of heavy-duty aluminum foil. Drizzle with olive oil and sprinkle generously with salt, pepper, and the thyme sprigs. Fold the foil up tightly to create a sealed packet, which allows the beets to steam in their own juices.
- Place the foil packets on a baking sheet and roast for 45 to 60 minutes. To check for doneness, pierce the largest beet through the foil with a paring knife; it should slide in with zero resistance, like room-temperature butter.
- Once finished, let them cool for 10 minutes. While still warm, use a paper towel to rub the skins off gently—they should slip right off. Slice them into wedges or rounds for your board.
How to make pot pasta

Why we love this
Pot pasta is the ultimate ‘lazy-girl’ hack that tastes like a five-star Italian comfort meal. By cooking the pasta directly in its sauce, the noodles release their natural starches, creating a velvety, glossy coating that clings to every bite. The result is a bowl of pure indulgence with a rich, savory aroma of garlic and toasted grains that makes your home feel instantly welcoming. It’s the kind of dish that encourages guests to help themselves to seconds, right out of the beautiful ceramic pot.
Ingredients
- 1 lb linguine or fettuccine
- 1 jar high-quality marinara or 4 cups chicken broth
- 4 cloves garlic, smashed
- 1 pint cherry tomatoes
- 1 bunch fresh basil
- 1/2 cup heavy cream (optional for richness)
- Grated parmesan cheese
How to make it
- Choose a large, wide-bottomed pot or a deep skillet. This provides enough surface area for the pasta to lay flat and cook evenly in the liquid.
- Add the dry pasta, garlic, cherry tomatoes, and half the basil to the pot. Pour in your liquid (broth or sauce) until the pasta is just barely submerged. If using water, ensure you add 2 teaspoons of salt for flavor.
- Bring the liquid to a rapid boil over medium-high heat. Once boiling, use tongs to frequently move the pasta around, preventing it from sticking to the bottom or to other noodles.
- Maintain a steady simmer for about 9-11 minutes. You want the liquid to reduce by about 75%, transforming into a thick, emulsified sauce. Look for the ‘al dente’ bite—the pasta should be tender but still have a slight firmness in the center.
- Stir in the heavy cream and a handful of parmesan in the last minute of cooking to create a luxurious finish. Garnish with fresh basil before serving.
How to cook juicy chicken
Why we love this
Nothing beats the satisfaction of chicken that is crisp and golden on the outside while remaining incredibly moist and succulent on the inside. The secret is all in the searing and resting process, which locks in those savory juices that burst with flavor at the first bite. The aroma of sizzling poultry and herbs is a classic crowd-pleaser that signals a hearty, well-prepared meal. It adds a necessary protein anchor to your food board, providing a satisfying weight to the lighter vegetable components.
Ingredients
- 2 lbs boneless, skinless chicken breasts or thighs
- 3 tablespoons unsalted butter
- 2 tablespoons avocado oil (high smoke point)
- 1 tablespoon smoked paprika
- Salt and garlic powder to taste
- Fresh rosemary sprigs
How to make it
- Pat the chicken completely dry with paper towels. Any moisture on the surface will create steam, preventing that beautiful golden-brown crust we are aiming for. Season both sides aggressively with salt, paprika, and garlic powder.
- Heat a heavy cast-iron skillet over medium-high heat for 3-4 minutes. Add the avocado oil and wait until it shimmers and just begins to smoke.
- Lay the chicken in the pan, moving away from you to avoid oil splashes. Do not overcrowd the pan; cook in batches if necessary. Let it sear undisturbed for 5-6 minutes until a deep golden crust forms.
- Flip the chicken and immediately add the butter and rosemary sprigs to the pan. As the butter melts and foams, use a large spoon to continuously baste the chicken with the flavored fat for another 4-5 minutes.
- Use a meat thermometer to ensure the internal temperature reaches 165°F (74°C). Remove from the pan and let it rest for at least 8 minutes before slicing. This resting period is crucial as it allows the juices to redistribute throughout the meat.
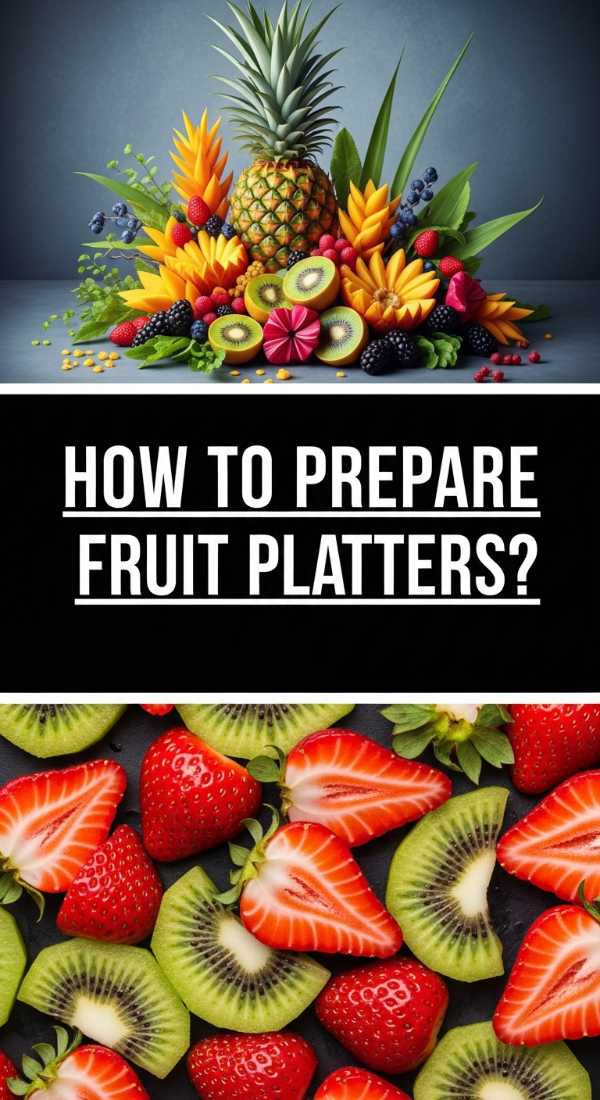
How to prepare fruit platters

Why we love this
A well-curated fruit platter is like a living piece of art for your table, bursting with the colors of the rainbow and the refreshing scents of citrus and berries. The crisp snap of a cold grape or the melting sweetness of a ripe melon provides a palate-cleansing contrast to heavier, savory dishes. It’s a sensory celebration of the seasons, offering a light and healthy way for guests to graze. The visual appeal alone makes it a viral-worthy centerpiece that feels both decadent and nourishing.
Ingredients
- 1 small watermelon or cantaloupe
- 2 cups fresh strawberries and blueberries
- 1 bunch green or red grapes
- 2 kiwis, sliced
- 1 pomegranate (for garnish seeds)
- Fresh mint leaves
- Honey for drizzling
How to make it
- Start by washing all fruit thoroughly and drying them to prevent the platter from becoming soggy. Choose a large wooden board or a flat marble slab as your base.
- Cut your larger fruits first. Slice the melon into uniform wedges or use a melon baller for fun, spherical shapes. Arrange these in a ‘snake’ or ‘S’ pattern across the board to create a visual flow.
- Nestle the bunches of grapes into the curves created by the melon. Keeping them on the vine adds a rustic, bountiful aesthetic that is very popular on social media.
- Fill in the remaining gaps with your smaller berries and kiwi slices. Group colors together or create a gradient effect for maximum visual impact.
- Sprinkle pomegranate seeds over the top for a pop of tartness and crunch. Just before serving, scatter fresh mint leaves over the board and add a very light drizzle of honey to make the fruit glisten under the dining room lights.
How to bake creamy potatoes
Why we love this
Creamy baked potatoes are the ultimate indulgence, offering a cloud-like texture that practically melts on the tongue. The scent of bubbling cream, melted cheese, and earthy potatoes creates an atmosphere of pure warmth and nostalgia. Each forkful is a blend of silky starch and savory richness, making it the most sought-after side dish on any entertaining board. It’s the kind of dish that feels like a warm hug, perfect for those long evenings spent with loved ones around the table.
Ingredients
- 3 lbs Yukon Gold potatoes (thinly sliced)
- 2 cups heavy cream
- 3 cloves garlic, minced
- 1.5 cups shredded Gruyère or sharp cheddar
- 1/2 teaspoon nutmeg
- Salt and white pepper
How to make it
- Preheat your oven to 375°F (190°C). Butter a deep baking dish thoroughly to prevent sticking and to add an extra layer of flavor to the crusty edges.
- In a small saucepan, combine the heavy cream, minced garlic, and nutmeg. Heat over low until just simmering, then remove from heat. This infuses the cream with aromatics before it even hits the potatoes.
- Layer one-third of the thinly sliced potatoes in the bottom of the dish, overlapping them slightly like shingles. Sprinkle with salt, pepper, and a generous handful of cheese. Repeat this process for two more layers.
- Pour the infused cream mixture over the top of the potatoes. The liquid should come about three-quarters of the way up the sides of the dish. Cover tightly with foil.
- Bake for 45 minutes covered, then remove the foil and top with the remaining cheese. Bake for another 20-25 minutes until the top is golden-brown and bubbling, and the potatoes are tender when pierced with a fork. Let it stand for 10 minutes before serving to set the sauce.
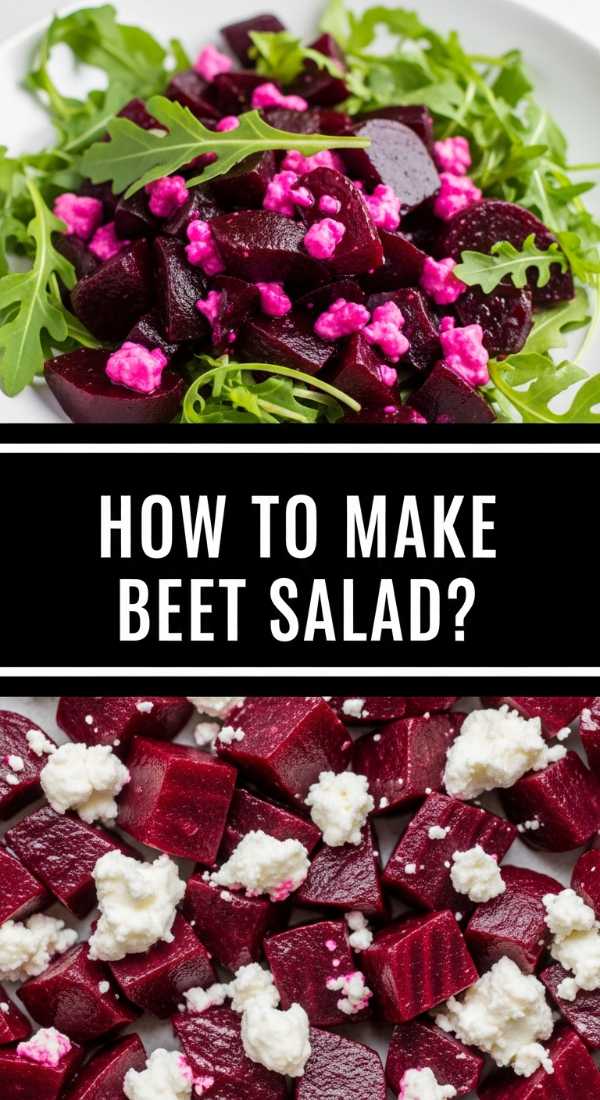
How to make beet salad

Why we love this
A fresh beet salad is a masterclass in balance, combining the earthy sweetness of the roots with the sharp tang of citrus and creamy cheese. The contrast of the crunchy greens against the soft, roasted beets creates a dynamic eating experience that never feels boring. It smells like a spring garden—crisp, clean, and full of life. It’s an essential addition to a food board because it cuts through richer fats and provides a sophisticated, light option that looks incredibly professional.
Ingredients
- 4 roasted beets (see section 1), sliced
- 4 cups baby arugula or mixed greens
- 1/2 cup crumbled goat cheese
- 1/4 cup toasted walnuts
- Balsamic glaze
- Zest of one orange
How to make it
- Begin by preparing your bed of greens. Arugula is a fantastic choice because its natural peppiness complements the sweetness of the beets. Place the greens in a large, shallow bowl.
- Arrange the sliced, roasted beets on top of the greens. For a more artistic look, alternate red and golden beet slices to create a vibrant pattern.
- Sprinkle the crumbled goat cheese evenly over the top. The warmth of the beets (if serving slightly warm) will just barely soften the cheese, making it extra creamy.
- Add the toasted walnuts for a necessary textural crunch. You can toast them in a dry pan for 3 minutes over medium heat until they become fragrant and slightly darker.
- Finish the salad by drizzling with a high-quality balsamic glaze and scattering the fresh orange zest over everything. The citrus oils in the zest provide a bright aroma that ties all the flavors together perfectly.
How to blend fruit smoothies
Why we love this
Fruit smoothies add a fun, drinkable element to a brunch board, offering a burst of vitamins and a refreshing chill. The texture should be thick and frosty, like a healthy sorbet, with the bright flavors of tropical fruits or forest berries taking center stage. The sight of colorful smoothie shooters on a board is an instant mood-lifter, promising a sweet and energizing treat. It’s a great way to incorporate a ‘beverage’ element directly into your food presentation for a cohesive look.
Ingredients
- 2 cups frozen mixed berries
- 1 frozen banana (for creaminess)
- 1 cup Greek yogurt
- 1.5 cups almond milk or coconut water
- 1 tablespoon chia seeds
- Fresh fruit for garnish
How to make it
- Layer your ingredients into the blender starting with the liquid (milk or coconut water). This helps the blades move freely and prevents the motor from stalling on frozen chunks.
- Add the yogurt and chia seeds, followed by the frozen fruit. Using frozen fruit instead of ice ensures your smoothie is concentrated in flavor and has a perfectly smooth, non-watery texture.
- Start the blender on the lowest speed to break up the large frozen pieces, then gradually increase to the highest setting. Blend for a full 60 seconds to ensure the chia seeds are broken down and the mixture is aerated and light.
- Check the consistency; if it is too thick to pour, add a splash more liquid. If too thin, add a few more frozen berries and blend again briefly.
- Pour the smoothies into small glass jars or shooters. Garnish each with a tiny skewer of fresh fruit or a sprig of mint and place them directly onto your serving board for a ‘grab-and-go’ vibe.
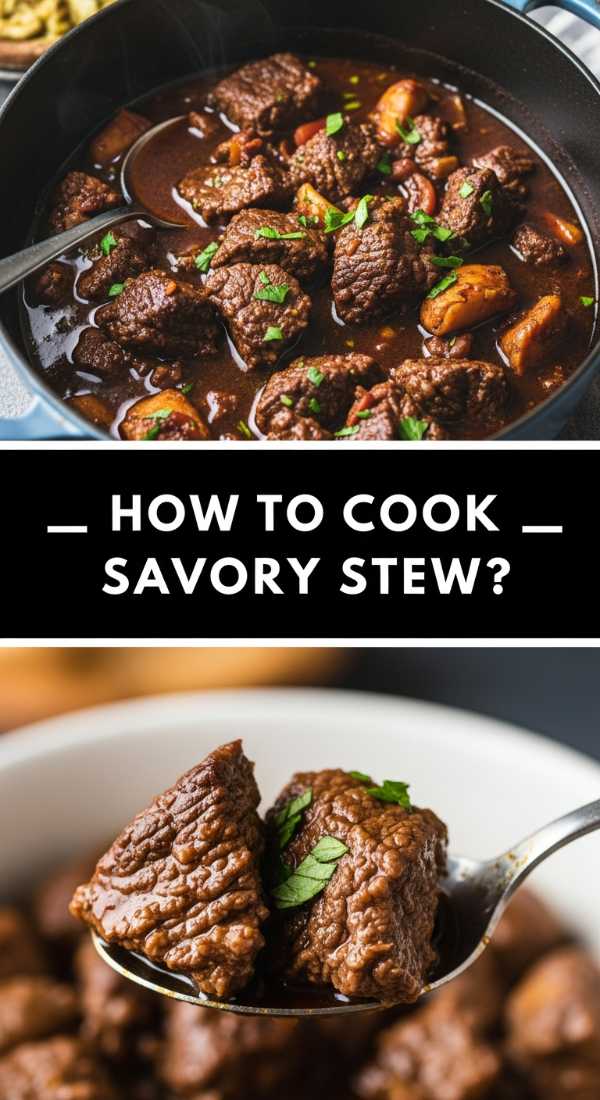
How to cook savory stew
Why we love this
A savory stew is the heart of winter entertaining, filling the entire house with an intoxicating aroma of slow-cooked beef, red wine, and aromatics. The texture is thick and hearty, with meat so tender it collapses at the touch of a spoon and vegetables that have soaked up every drop of flavor. It’s a deeply soul-satisfying dish that encourages slow eating and long conversations. Serving a small bowl of stew as part of a larger board spread adds a rustic, ‘mountain-lodge’ elegance to your evening.
Ingredients
- 2 lbs beef chuck, cut into 1-inch cubes
- 3 carrots, sliced into thick coins
- 2 stalks celery, chopped
- 1 large onion, diced
- 2 cups beef bone broth
- 1 cup dry red wine (like Cabernet)
- 3 tablespoons tomato paste
- 2 bay leaves
How to make it
- Pat the beef cubes dry and season with salt and pepper. In a heavy Dutch oven, sear the beef in batches over high heat until all sides are deeply browned. Remove the beef and set aside; do not wash the pot—those browned bits (fond) are flavor gold!
- Lower the heat to medium and add the onions, carrots, and celery. Sauté for 5-7 minutes until the onions are translucent. Stir in the tomato paste and cook for 2 minutes until it turns a dark brick-red.
- Pour in the red wine to deglaze the pan, using a wooden spoon to scrape up all the delicious bits from the bottom. Let the wine reduce by half.
- Return the beef to the pot and add the broth and bay leaves. The liquid should just cover the ingredients. Bring to a boil, then immediately reduce the heat to the lowest setting.
- Cover with a tight-fitting lid and simmer very gently for 2.5 to 3 hours. You know it’s ready when the beef is fork-tender and the sauce has thickened into a rich, dark gravy. Discard the bay leaves before serving in rustic crocks.
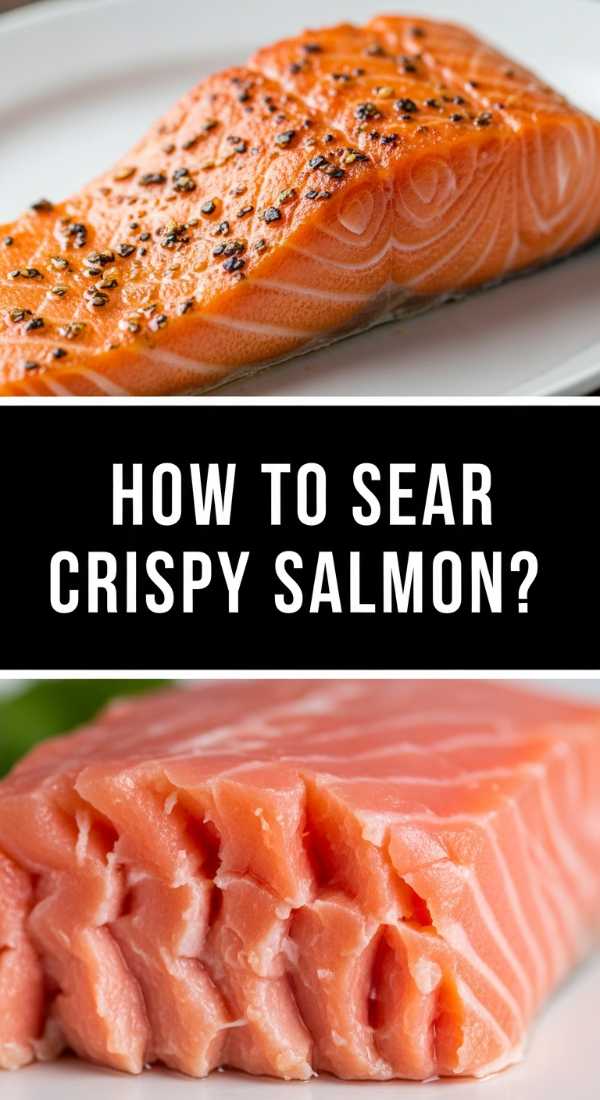
How to sear crispy salmon

Why we love this
Crispy salmon is a showstopper, offering a dramatic contrast between the crackling, salty skin and the buttery, flake-apart flesh inside. The aroma of searing fish combined with a squeeze of fresh lemon is clean and appetizing, making it a sophisticated protein choice for a modern board. It feels light and healthy while still providing a sense of luxury. When done correctly, the skin provides a satisfying ‘crunch’ that is often the highlight of the entire meal.
Ingredients
- 4 salmon fillets (center-cut, skin-on)
- 2 tablespoons high-smoke point oil (grapeseed or canola)
- 2 tablespoons unsalted butter
- 1 lemon, sliced
- Kosher salt and cracked black pepper
How to make it
- The most important step: Use a sharp knife or a paper towel to ensure the skin side of the salmon is bone-dry. Cold, damp skin will never get crispy. Season both sides with salt and pepper just before cooking.
- Heat a stainless steel or cast-iron skillet over medium-high heat until very hot. Add the oil and wait until it begins to shimmer intensely.
- Place the salmon fillets skin-side down in the pan. Use a flexible spatula to press down firmly on each fillet for about 15 seconds; this prevents the skin from curling and ensures even contact with the heat.
- Lower the heat to medium and let the salmon cook undisturbed for about 6-7 minutes. You will see the color of the flesh change from translucent to opaque starting from the bottom up. Once the cooked line reaches about 3/4 of the way up the fillet, it’s time to flip.
- Flip the fish and add the butter and lemon slices to the pan. Cook for only 1-2 more minutes for a perfect medium-rare. The skin should be glass-like and shattered easily with a fork.
How to make cheesy garlic bread
[IMAGE_10]
Why we love this
Cheesy garlic bread is the universal language of food boards—everyone wants a piece. The aroma of toasted garlic and melted butter is almost impossible to resist, drawing people to the kitchen from three rooms away. The texture is a perfect harmony of a crunchy, golden crust and a soft, pillowy center dripping with gooey, stretchy cheese. It’s the ultimate vessel for dipping into stews or pasta sauces, making it an essential ‘utility’ food that doubles as a decadent treat.
Ingredients
- 1 large loaf of French bread or sourdough
- 1/2 cup unsalted butter, softened
- 4 cloves garlic, finely minced
- 2 cups shredded mozzarella
- 1/2 cup grated parmesan
- 1 tablespoon fresh parsley, chopped
- A pinch of red pepper flakes
How to make it
- Preheat your oven to 400°F (200°C). Slice the loaf of bread in half lengthwise, placing both halves cut-side up on a parchment-lined baking sheet.
- In a small bowl, mash together the softened butter, minced garlic, parsley, and red pepper flakes until you have a smooth, fragrant paste. Spread this mixture generously and evenly over the cut surfaces of the bread, making sure to reach the very edges.
- Toast the bread in the oven for about 5 minutes before adding the cheese. This ensures the bread gets crispy and doesn’t become soggy under the weight of the dairy.
- Remove from the oven and pile the mozzarella and parmesan onto the bread. Return to the oven and bake for another 8-10 minutes. For the ultimate ‘viral’ look, turn the broiler on for the last 60 seconds to get those characteristic charred cheese bubbles.
- Let the bread cool for 2 minutes so the cheese sets slightly, then slice into thick strips. Arrange them in a fan shape on your board for easy grabbing.
Conclusion
Hosting doesn’t have to be a chore that leaves you exhausted. By focusing on these simple, high-impact components, you can create a food board that is as beautiful as it is delicious. Remember, the best part of any gathering is the people around the table, and these ‘Viral Simple Food Boards’ are designed to give you the time and space to enjoy them. So grab a board, pick a few of these recipes, and start creating your own stress-free entertaining traditions!