
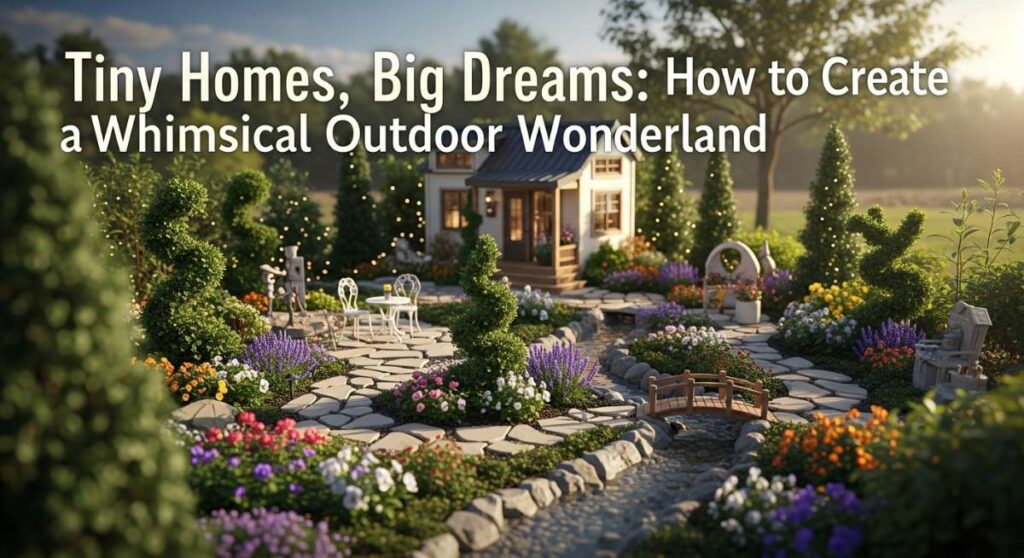
Tiny Homes, Big Dreams: How to Create a Whimsical Outdoor Wonderland
Hello, my sweet loves! Today, I want to take a moment to breathe with you. Do you remember being a child, crouching low in the tall grass, and imagining that every ladybug was a visitor and every flower petal a roof? There is something so healing about returning to that tiny, magical perspective. Our gardens shouldn’t just be about curb appeal; they should be sanctuaries for our souls and a home for the whimsy we often forget in our busy lives.
Creating a fairy garden is like writing a love letter to your inner child. It’s about slowing down, getting your hands a little dirty, and seeing the extraordinary in the ordinary. Whether you have a sprawling backyard or a cozy balcony, these little vignettes of magic bring a cloud-soft embrace to any outdoor space. Let’s build a world where dreams grow as easily as the moss beneath our feet.
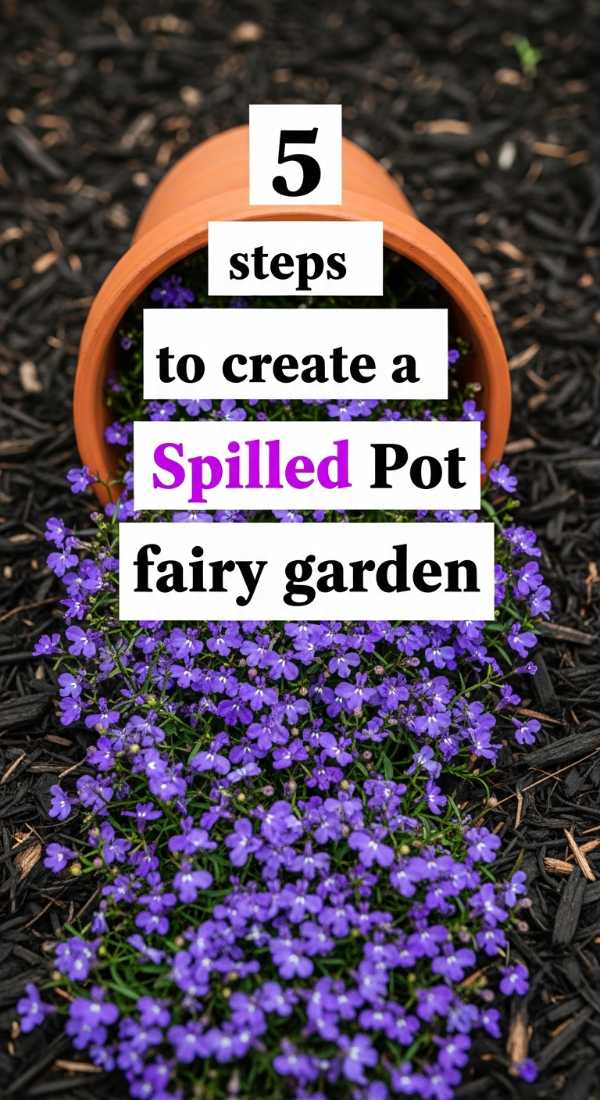
How to Create a Spilled Pot Fairy Garden
Why to love this Decor:
There is a poetic beauty in the ‘spilled’ look; it feels like a happy accident where nature decided to pour itself out of a vessel. It creates an instant sense of movement and flow, as if a tiny river of blossoms is tumbling onto your lawn. It’s a gentle reminder that even when things ‘break’ or spill over, they can become something breathtakingly beautiful.
Items needed:
- One large terracotta pot (or a cracked one!)
- Potting soil
- Low-creeping flowers (like Lobelia or Alyssum)
- Small pebbles
- A miniature fairy figurine
How to Prepare:
- Dig a shallow trench where you want your ‘spill’ to flow.
- Burry the bottom half of your pot at an angle so it looks like it’s tipped over.
- Fill the pot and the trench area with high-quality potting soil.
- Plant your creeping flowers inside the mouth of the pot and trailing out along the trench.
- Add a few pebbles and your fairy friend at the ‘shore’ of the flower river.
Budget Range
- Terracotta Pot: $5 – $15
- Flowering Annuals: $3 – $10
- Potting Mix: $8
Build 3 Tiered Planter Boxes for Miniatures

Why to love this Decor:
Oh, the heights we can reach! Tiers allow you to tell a story in chapters. Each level can be a different ‘neighborhood’ for your fairies, giving you plenty of vertical space without taking up too much of your patio. It’s perfect for those of us who want a grand display in a tiny footprint.
Items needed:
- Three wooden planter boxes of varying sizes (Small, Medium, Large)
- Cedar or pressure-treated wood
- Wood glue and nails
- Soil
- Miniature ladders
How to Prepare:
- Stack the boxes starting with the largest at the base, centering the smaller ones on top or offsetting them to one side.
- Secure the boxes together using wood glue and galvanized nails for stability.
- Fill each exposed tier with soil, ensuring proper drainage holes are present.
- Plant taller ‘trees’ (like mini conifers) on the top tier and creeping vines on the bottom.
- Connect the levels with tiny DIY ladders made from twigs.
Budget Range
- Wooden Boxes/Lumber: $20 – $45
- Miniature Ladders: $5 or DIY
- Wood Glue/Hardware: $10
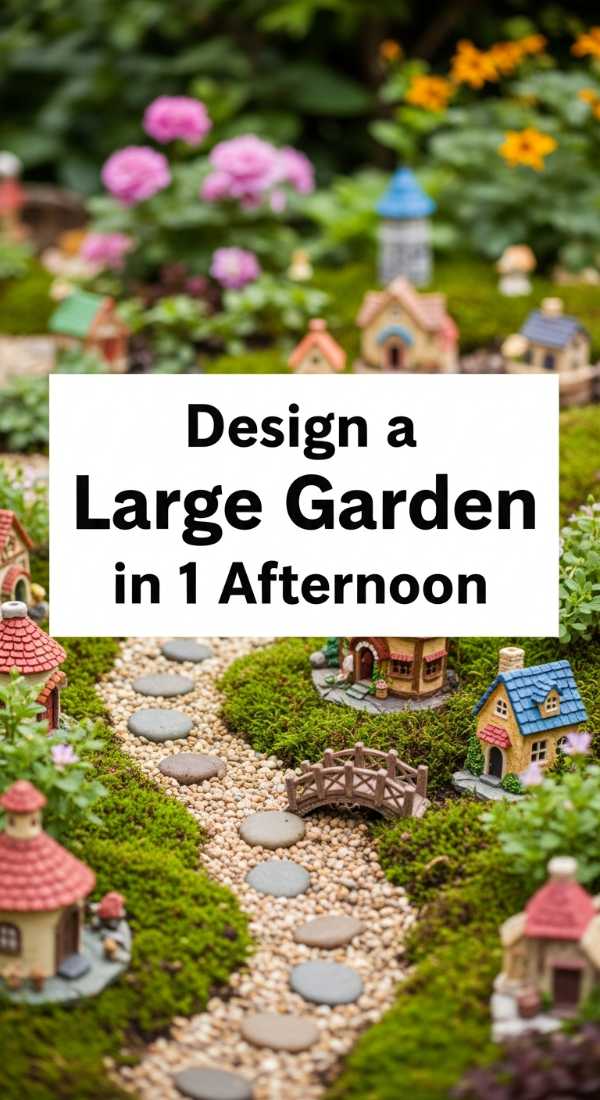
Design a Large Fairy Garden in One Afternoon
Why to love this Decor:
Sometimes, we just need to dive headfirst into a project and see immediate magic. Designing a larger zone allows you to incorporate paths, ponds, and multiple dwellings. It’s an immersive afternoon of creativity that transforms a dull corner of the yard into a destination for wonder.
Items needed:
- A cleared 3×3 foot garden plot
- Garden edging (stones or small fencing)
- Large ‘hero’ fairy house
- Assorted ground cover plants
- Bags of mulch or moss
How to Prepare:
- Clear the area of weeds and level the ground with a rake.
- Place your largest fairy house as the focal point toward the back.
- Create ‘zones’ using edging—perhaps a forest area, a meadow, and a residential square.
- Plant your ground covers to act as the grass for the fairies.
- Fill the gaps with moss or mulch to create a finished, lush look.
Budget Range
- Hero Fairy House: $25 – $50
- Ground Cover Plants: $15 – $30
- Garden Edging: $10 – $20
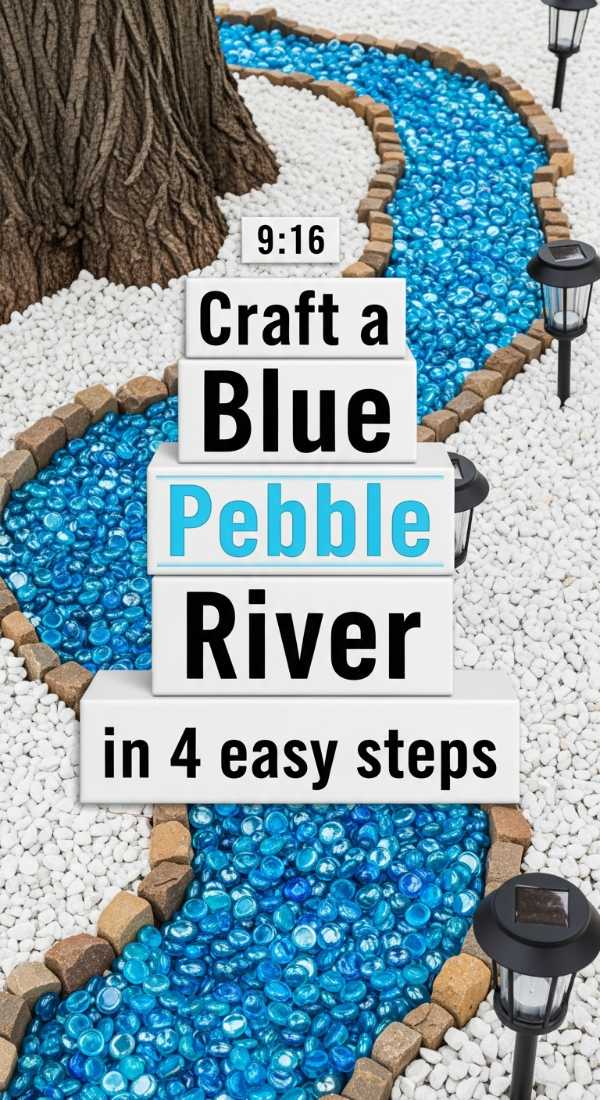
Craft a Blue Pebble River in 4 Easy Steps
Why to love this Decor:
Water features bring peace, but real pumps can be a hassle! This ‘dry’ river uses shimmering blue glass or pebbles to mimic the sparkling flow of a stream. It catches the sunlight so beautifully and gives your tiny residents a place to ‘cool off’ visually.
Items needed:
- Blue glass gems or blue-tinted pebbles
- Small grey river rocks
- Trowel
- Small wooden bridge accessory
How to Prepare:
- Carve a winding ‘S’ shape path through your soil with your trowel.
- Line the edges of the path with the natural grey river rocks to act as ‘banks’.
- Fill the center path with the blue glass gems, layering them for depth.
- Place your tiny wooden bridge over the widest part of the ‘river’.
Budget Range
- Blue Glass Gems: $5 – $12
- River Rocks: $0 (found) or $8 (bagged)
- Mini Bridge: $7
Make 1 Mini Garden Pergola with Twigs
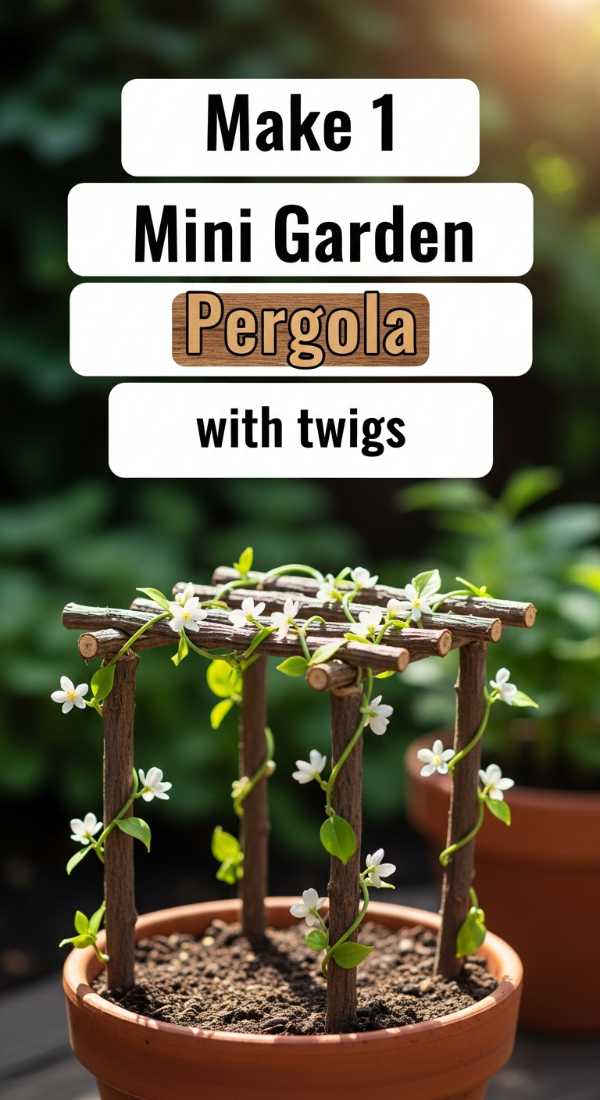
Why to love this Decor:
There is something so rustic and soulful about using materials found right in your own backyard. A twig pergola adds architectural interest and a touch of ‘secret garden’ elegance to your miniature world. It’s where the fairies go to have their afternoon tea, shaded by the sun.
Items needed:
- Straight, sturdy twigs
- Pruning shears
- Hot glue or thin twine
- Dried moss
How to Prepare:
- Cut four equal-length twigs for the vertical posts.
- Cut two horizontal beams and 4-5 smaller ‘rafters’.
- Push the posts into the soil to keep them upright, then glue or tie the beams across the tops.
- Layer the rafters across the beams and secure them.
- Add a touch of dried moss to the joints to hide any glue and give it an aged look.
Budget Range
- Twigs: Free!
- Twine/Glue: $5
- Pruning Shears: $12 (if not owned)
Prepare 1 Miniature Garden in a Vintage Tub
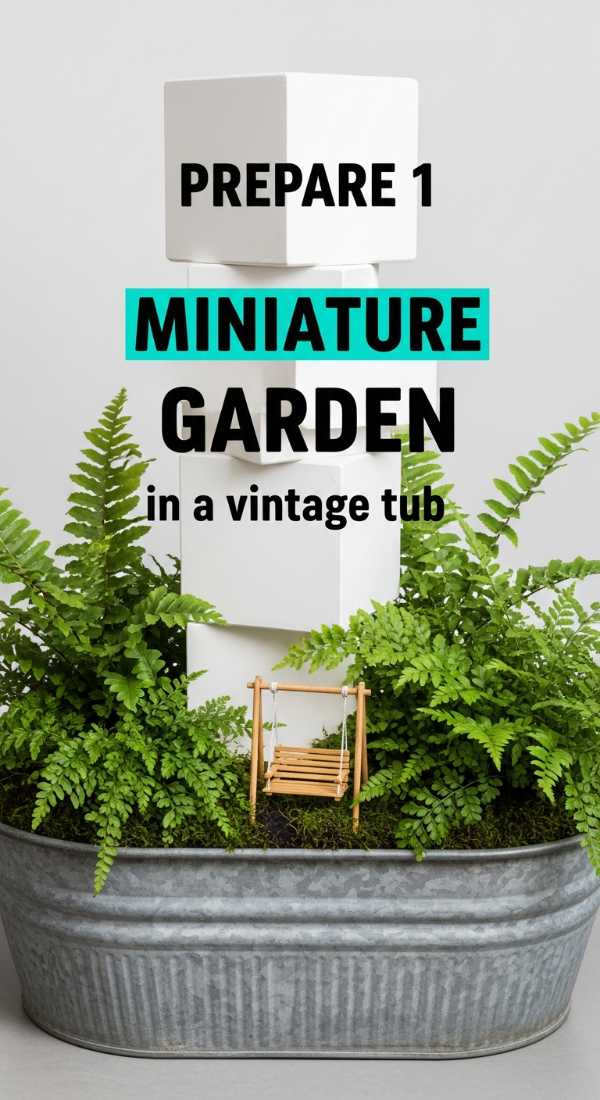
Why to love this Decor:
Reclaiming something old and giving it a new life is the ultimate act of love. A vintage galvanized tub or an old washbasin provides a contained, portable world that feels like an heirloom. It’s cozy, nostalgic, and keeps all your magic in one beautiful place.
Items needed:
- Vintage metal tub or wooden half-barrel
- Gravel for drainage
- Potting soil
- Miniature garden furniture
- Small flowering herbs (like Thyme)
How to Prepare:
- Drill drainage holes in the bottom of the tub if it doesn’t have them.
- Add a two-inch layer of gravel at the bottom to prevent root rot.
- Fill with potting soil up to two inches below the rim.
- Create a ‘patio’ area using flat stones and place your furniture there.
- Plant aromatic herbs around the furniture to act as ‘bushes’ that smell divine when brushed.
Budget Range
- Vintage Tub: $15 – $40 (Thrifted!)
- Drainage Gravel: $5
- Mini Furniture: $10 – $20
Add 7 Glowing Solar Lights to Your Garden
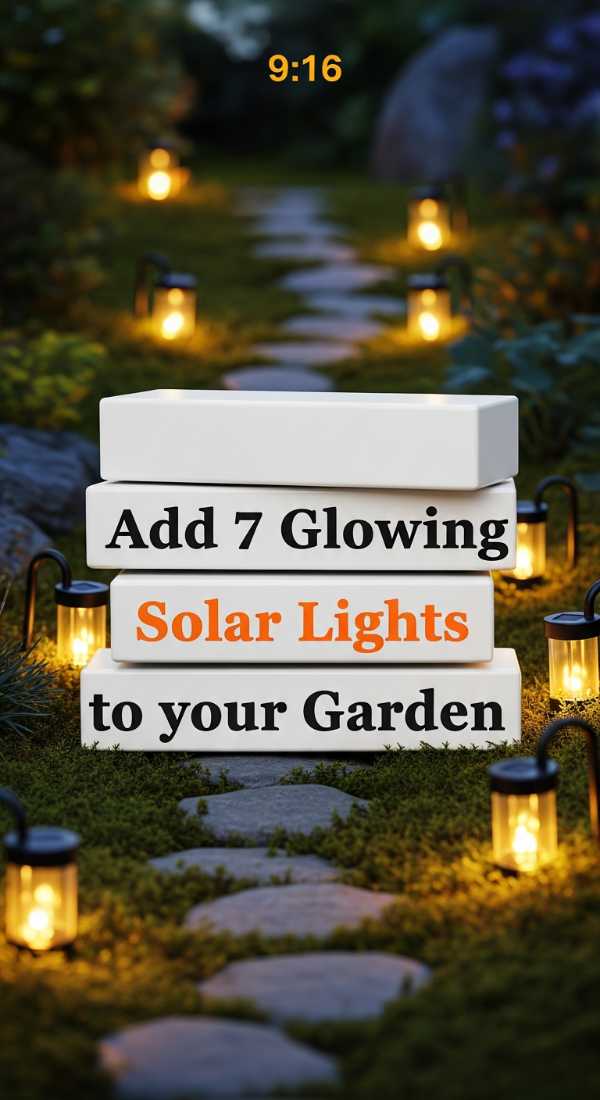
Why to love this Decor:
Magic shouldn’t end when the sun goes down, my loves! Adding tiny solar lights makes your garden look like it’s inhabited by fireflies at night. It creates a soft, ethereal glow that guides the fairies home and makes your evening garden strolls feel like a dream.
Items needed:
- 7 Mini solar stake lights or solar string ‘fairy’ lights
- Shepherd’s hooks (miniature size)
- Rechargeable batteries (usually included)
How to Prepare:
- Choose locations where the solar panels will receive direct sunlight during the day.
- Place three lights along your main path.
- Tuck two lights inside the ‘windows’ of your fairy houses.
- Hang the remaining two from mini shepherd’s hooks near the ‘river’.
- Wait for dusk and watch the magic flicker to life!
Budget Range
- Mini Solar Stakes: $10 – $25 (for a set)
- Mini Shepherd’s Hooks: $8
Create 6 DIY Fairy Garden Accessories Today
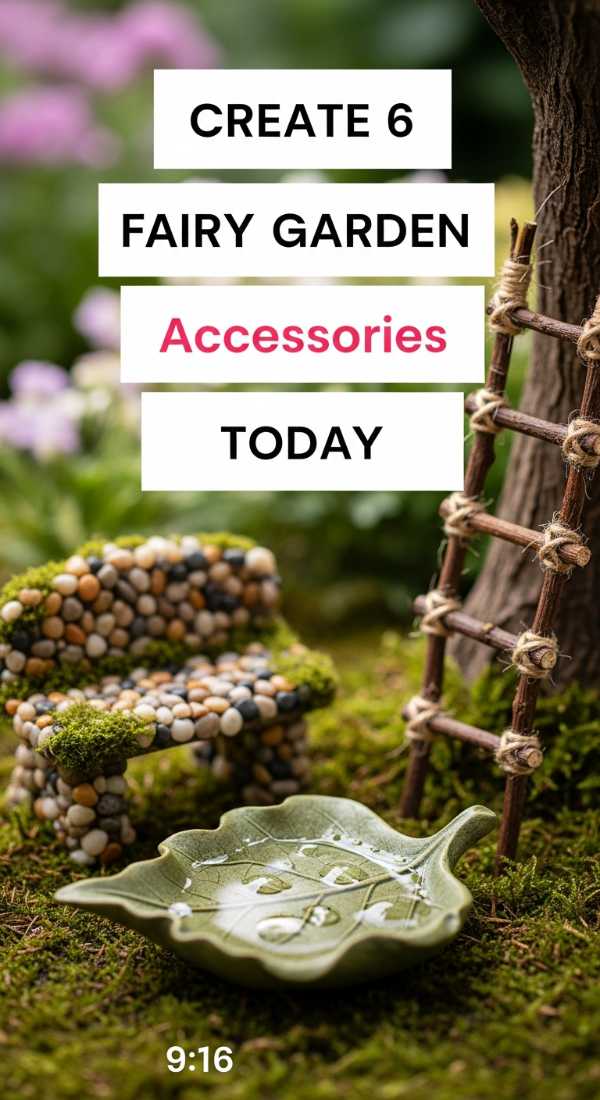
Why to love this Decor:
Personal touches are what make a house a home. Making your own accessories—like acorn-cap birdbaths or pebble benches—adds character that you just can’t buy in a store. It’s a meditative way to spend an hour, focusing on the tiny details that bring a smile.
Items needed:
- Acorn caps and flat pebbles
- Wine corks
- Bottle caps
- Acrylic paint
- Waterproof sealant
How to Prepare:
- Glue an acorn cap to a small upright twig to make a tiny birdbath.
- Paint a flat pebble to look like a ladybug or a welcome mat.
- Slice a wine cork into ’rounds’ to use as stepping stones.
- Turn a bottle cap upside down, fill with blue wax or resin to make a pond.
- Glue two upright stones and a flat one across them for a ‘prehistoric’ bench.
- Seal all painted items with a clear waterproof spray.
Budget Range
- Craft Paints/Sealant: $15
- Collected Items: Free!
Lay a Mini Stone Path in 3 Steps
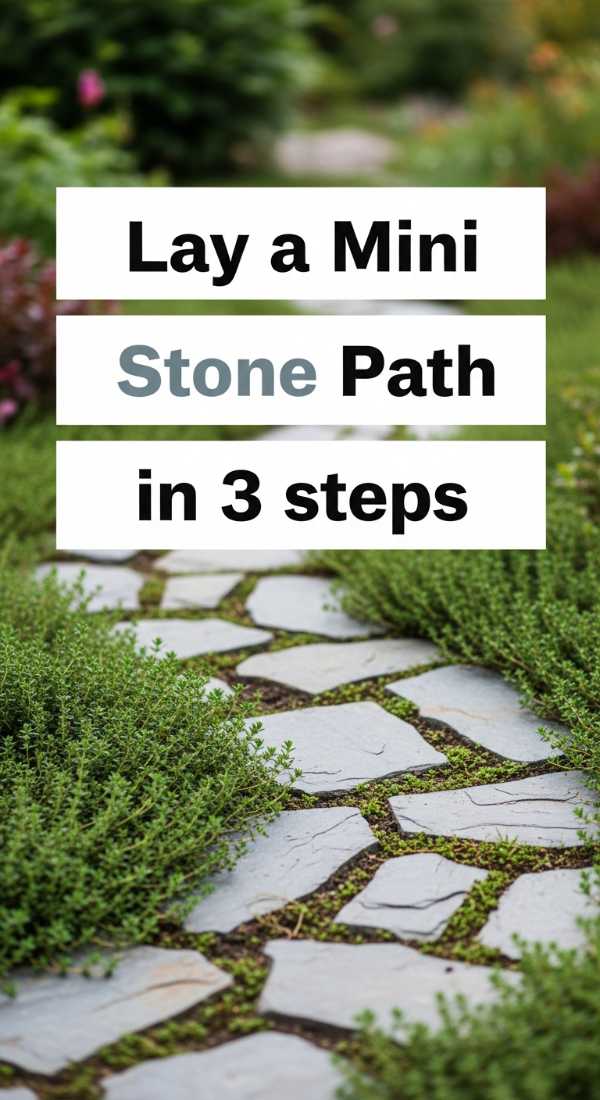
Why to love this Decor:
A path is an invitation to explore. Even in a miniature garden, a well-defined walkway gives the space structure and leads the eye through the story you’ve created. It’s the yellow brick road of your wonderland, leading to wherever the imagination wanders.
Items needed:
- Small, flat ‘pea’ gravel or slate chips
- Fine sand
- A small spoon
How to Prepare:
- Mark your path by clearing a small line in the dirt.
- Lay a thin base of fine sand to help level the ‘paving’ stones.
- Using a spoon, carefully drop your gravel or slate chips onto the sand, pressing them down firmly.
Budget Range
- Pea Gravel: $5
- Play Sand: $5
Plant 10 Tiny Succulents in Your Fairy DIY
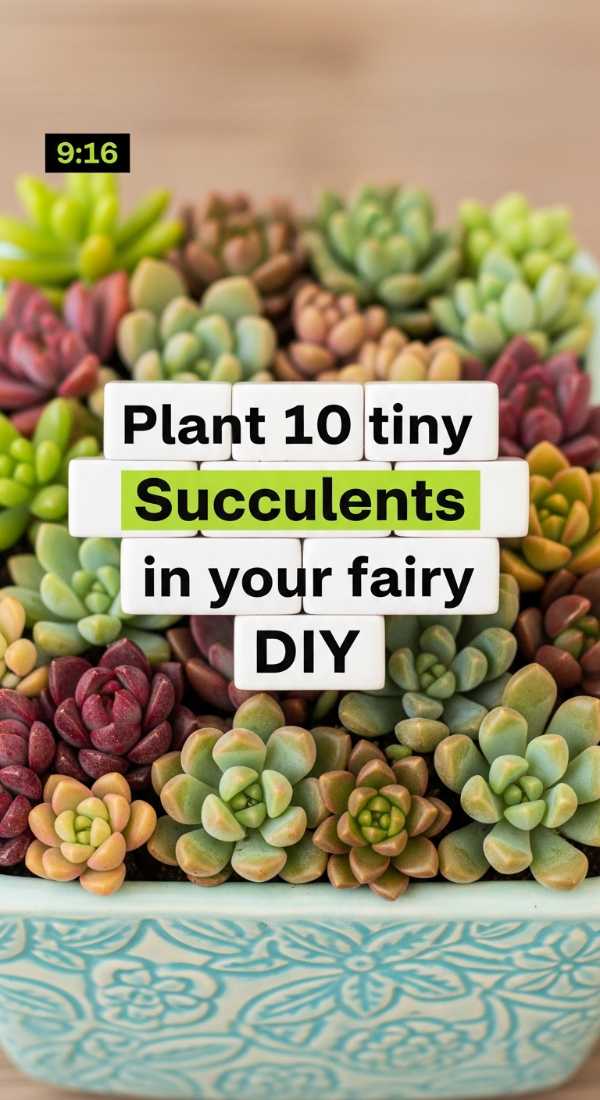
Why to love this Decor:
Succulents are nature’s little sculptures. They are hardy, slow-growing, and their fleshy leaves look like exotic plants from another realm. They are the perfect ‘low-maintenance’ greenery for busy fairies (and busy humans!), adding texture and a pop of green that lasts.
Items needed:
- 10 Assorted mini succulents (Hens and Chicks, Jade, Stonecrop)
- Cactus/Succulent soil mix
- Decorative sand
How to Prepare:
- Ensure your planting area has very well-draining soil.
- Space your 10 succulents throughout the garden—place taller ones like Jade at the back and ‘creepers’ like Stonecrop near the front.
- Gently firm the soil around each base.
- Top with a layer of decorative sand to keep the leaves off the damp soil.
Budget Range
- 10 Mini Succulents: $20 – $40
- Succulent Soil: $7
Closing the Gate on Our Tiny World
As we step back from our miniature creations, I hope you feel that same sense of wonder we talked about at the start. These tiny gardens are more than just decor; they are reminders that we have the power to create beauty, to nurture life, and to find magic in the smallest of places. May your outdoor wonderland be a place of rest, a place of dreams, and a place where you always feel at home. Until next time, keep dreaming big, my loves.