
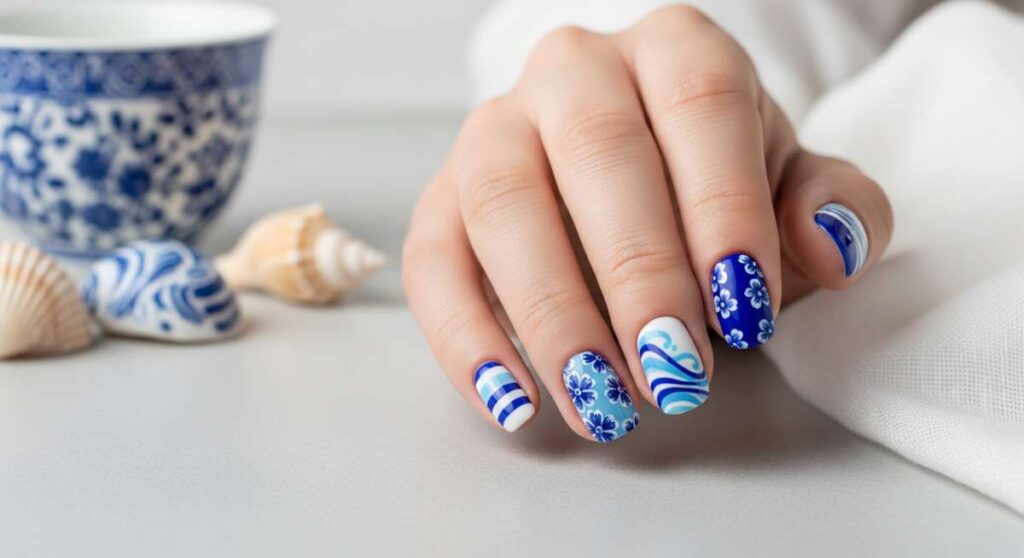
Ocean Breezes & Porcelain Patterns: Your Blue & White Nail Art Guide
Hello, my loves! Welcome back to our cozy little corner of the internet. Today, I want to talk about a color palette that feels like a warm, cloud-soft embrace for your soul. There is something so incredibly grounding about the combination of blue and white. It’s the rhythm of the waves meeting the shore, the delicate veins in a piece of heirloom porcelain, and the quiet stillness of a summer sky just before dusk.
I’ve spent the last few weeks curating what I truly believe is the ultimate blue and white nail art board. Whether you’re looking for something whimsical like tiny clouds or something bold like a royal blue galaxy, these designs are meant to be a form of self-care. So, grab your favorite mug of tea, tuck your feet up under you, and let’s dive into these dreamy designs together.
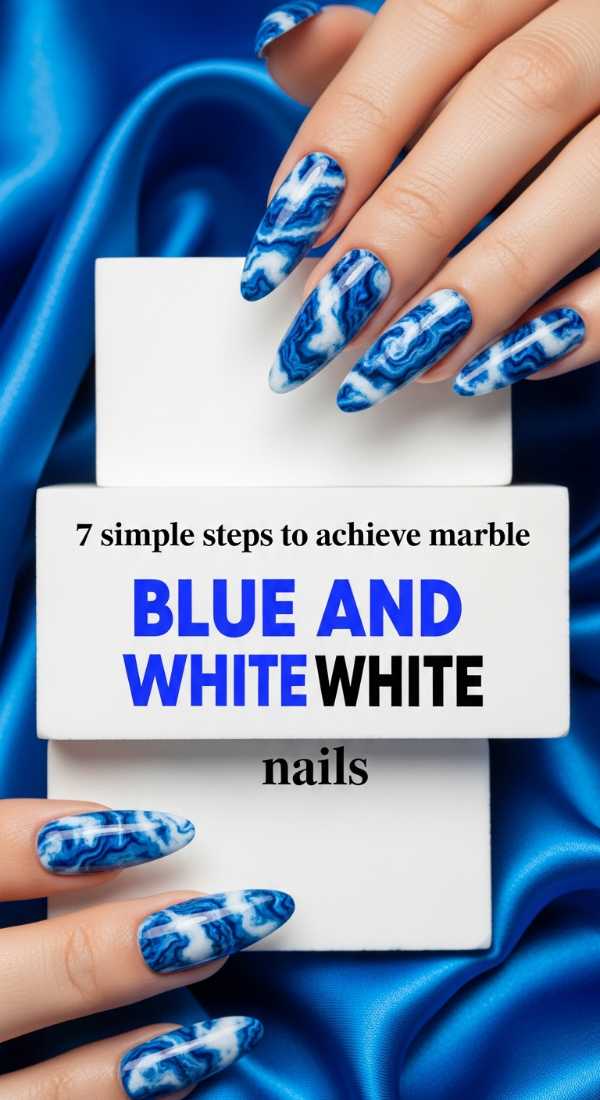
7 Simple Steps to Achieve Marble Blue and White Nails
Why to love this Design:
Marble nails are like tiny pieces of art you carry with you. There’s a beautiful unpredictability to the swirls, reminding us that life doesn’t have to be perfect to be breathtakingly beautiful. It’s sophisticated, chic, and surprisingly easy to do at home.
Essential Elements:
- Soft sky blue polish
- Opaque white polish
- A thin toothpick or detail brush
- Clear top coat
How to Prepare:
- Apply a clear base coat to protect your natural nails.
- Paint two thin layers of your white polish as the canvas.
- While the second coat is still slightly tacky, place three small dots of blue polish.
- Use a toothpick to gently swirl the colors in an ‘S’ motion.
- Lightly dab a tiny bit of white back over the blue to create depth.
- Clean up the edges with a cotton swab dipped in remover.
- Seal with a high-shine top coat for that polished stone look.
Budget Range
- OPI Alpine Snow: $11.49
- Essie Saltwater Happy: $9.00
- Detail Brush Set: $6.99
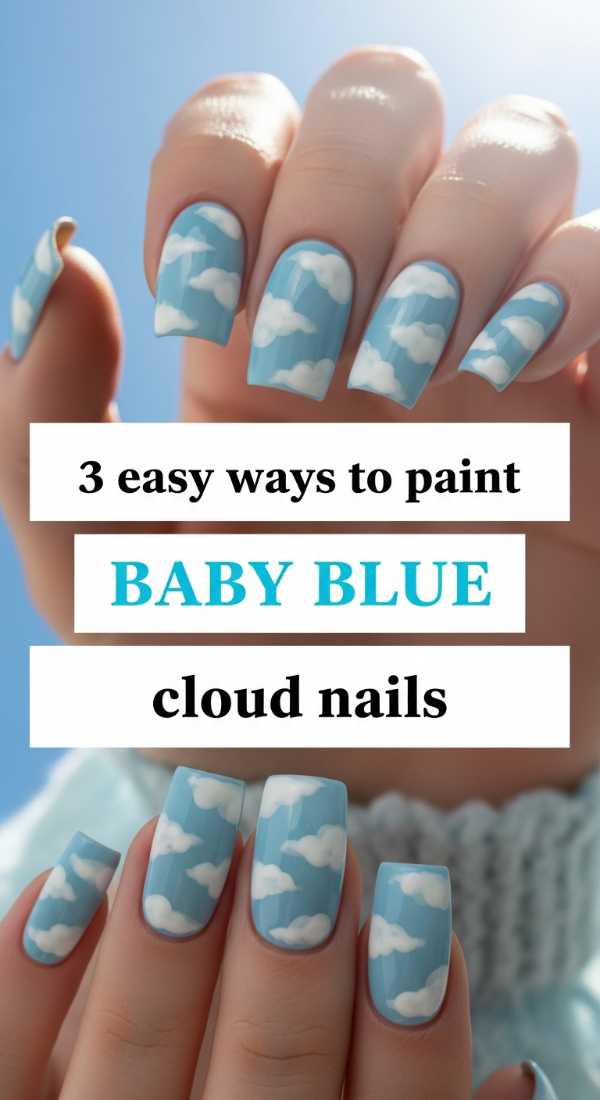
3 Easy Ways to Paint Baby Blue Cloud Nails
Why to love this Design:
This design is for the dreamers. Every time you look down at your hands, it’s like catching a glimpse of a perfect spring afternoon. It’s soft, youthful, and brings a sense of airy lightness to your day.
Essential Elements:
- Baby blue base polish
- White acrylic paint or polish
- Dotting tool or a makeup sponge
How to Prepare:
- Method 1 (The Dotting Way): Use a large dotting tool to place three overlapping white circles near the tip of the nail.
- Method 2 (The Sponging Way): Dab a tiny bit of white onto a makeup sponge and lightly press it onto a baby blue base for a wispy, ‘fair-weather’ cloud look.
- Method 3 (The Brush Way): Use a round brush to paint soft, scalloped edges, filling them in with white.
Budget Range
- Zoya Blu: $12.00
- Sally Hansen White On: $5.99
- Multi-size Dotting Tools: $4.50
5 Quick Tricks for Perfect Blue and White Striped Nails

Why to love this Design:
Stripes are the ultimate classic. They feel organized and intentional, like a crisp linen shirt or a well-loved notebook. They add an instant touch of preppy elegance to any outfit.
Essential Elements:
- Royal blue polish
- White striping tape
- Steady hand or tape guides
How to Prepare:
- Ensure your base color is 100% dry before applying tape.
- Use tweezers to place striping tape for razor-sharp lines.
- Apply the contrasting color quickly over the tape.
- Remove the tape immediately while the polish is still wet.
- Flash dry for 60 seconds before applying your top coat to prevent smearing.
Budget Range
- Nail Art Striping Tape: $3.99
- Hollo Taco Royal-Tea Blue: $13.00
- Seche Vite Fast Dry Top Coat: $9.50
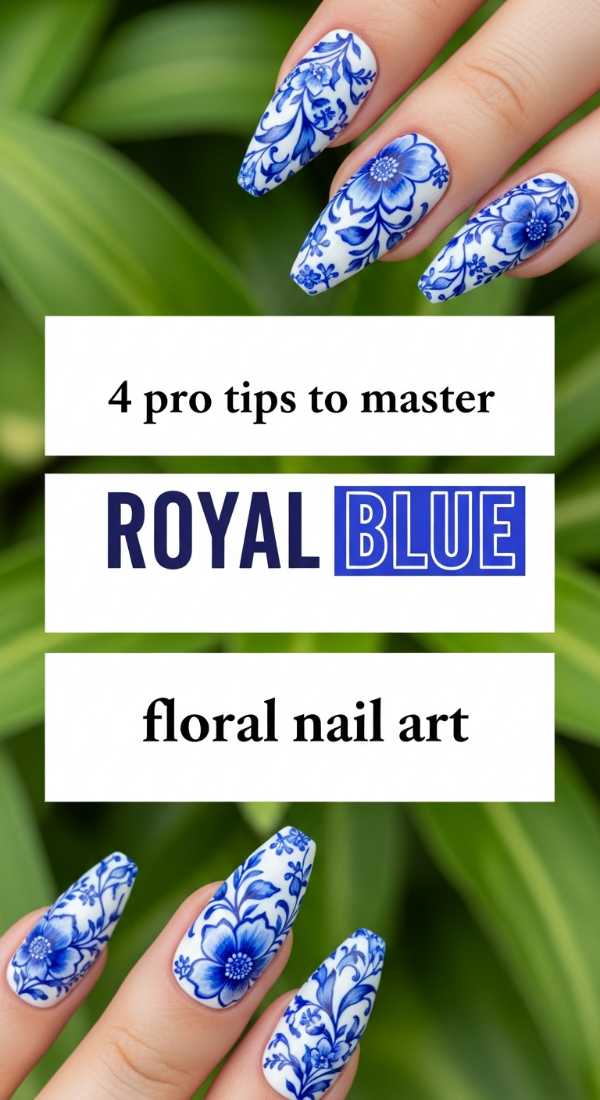
4 Pro Tips to Master Royal Blue Floral Nail Art
Why to love this Design:
This design reminds me of vintage Chinoiserie pottery. It’s romantic, detailed, and feels like something out of a secret garden. It’s perfect for when you want to feel a little more feminine and connected to nature.
Essential Elements:
- Deep royal blue polish
- Fine detail nail art brush
- Matte top coat (optional for a porcelain feel)
How to Prepare:
- Start with a clean white base to make the blue pop.
- Vary the pressure on your brush—press down for petals, lift for thin stems.
- Add tiny ‘C’ curves in the center of your flowers to give them life.
- Use a matte top coat to mimic the texture of antique ceramics.
Budget Range
- ILNP Midnight Kiss: $10.00
- Winstonia Fine Liner Brushes: $8.50
- OPI Matte Top Coat: $10.50
6 Easy Steps for Royal Blue Galaxy Nails with White Stars
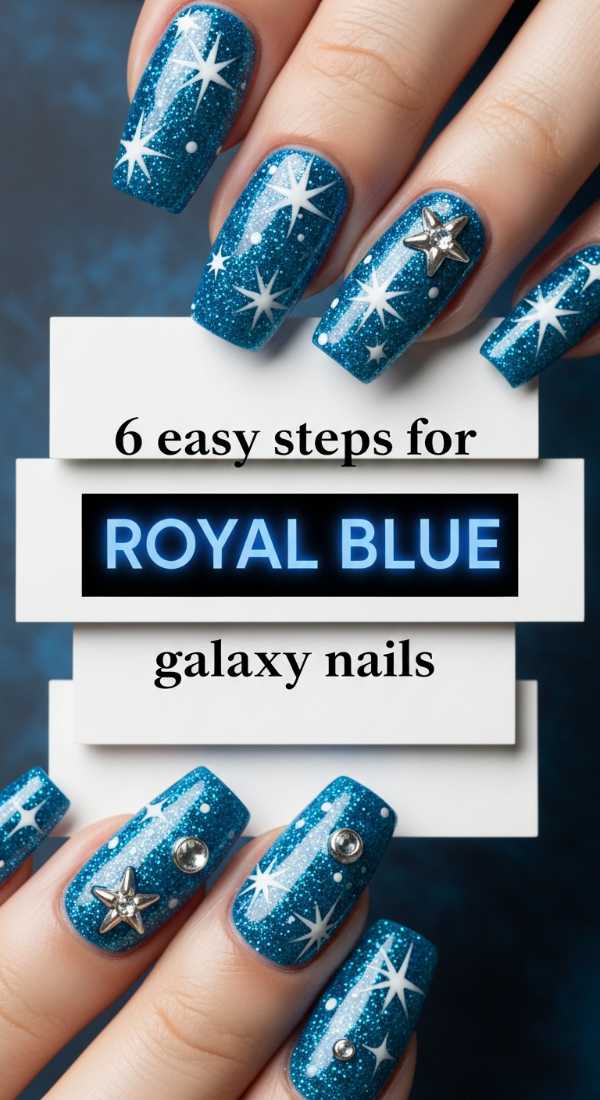
Why to love this Design:
Sometimes we just need a reminder that we are made of stardust. This galaxy design is mystical and deep, offering a little bit of magic every time you reach for something. It’s bold yet strangely calming.
Essential Elements:
- Midnight blue base
- White polish for ‘stars’
- Makeup sponge
- Glitter top coat (optional)
How to Prepare:
- Apply a dark royal blue or navy base.
- Sponge a lighter blue in the center for a ‘nebula’ effect.
- Lightly sponge a tiny bit of white over the lighter blue.
- Use a toothpick to ‘flick’ tiny white dots across the nail for distant stars.
- Paint one or two larger four-pointed stars with a thin brush.
- Finish with a glitter or glossy top coat to add depth.
Budget Range
- Orly Midnight Show: $12.00
- China Glaze White on White: $7.50
- Cosmetic Sponges: $2.00
8 Simple Steps to Create Baby Blue Ombre Nails
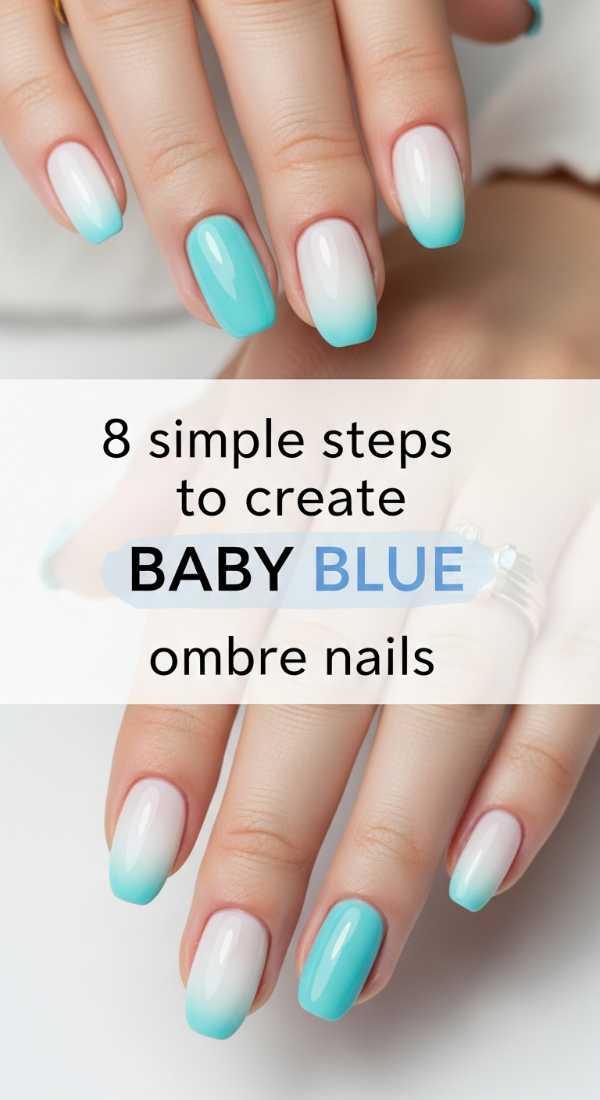
Why to love this Design:
Ombre is the visual equivalent of a deep breath. The way the white melts into the baby blue is so seamless and soothing. It’s a modern classic that looks beautiful on any nail shape.
Essential Elements:
- Baby blue polish
- White polish
- Latex barrier (or liquid tape)
- Wedge sponge
How to Prepare:
- Apply white polish as your base and let it dry.
- Apply a liquid latex barrier around your cuticles for easy cleanup.
- Paint a stripe of white and a stripe of blue onto your sponge.
- Dab the sponge onto the nail repeatedly to blend.
- Move the sponge slightly up and down to create the gradient.
- Repeat for a second layer once the first is dry.
- Peel off the latex barrier.
- Apply a top coat while the colors are still slightly wet to further blend.
Budget Range
- Maniology Liquid Latex: $9.00
- Essie Bikini So Teeny: $10.00
- Latex-free Wedge Sponges: $3.00
5 Fast Ways to Design Blue and White Tile Patterns
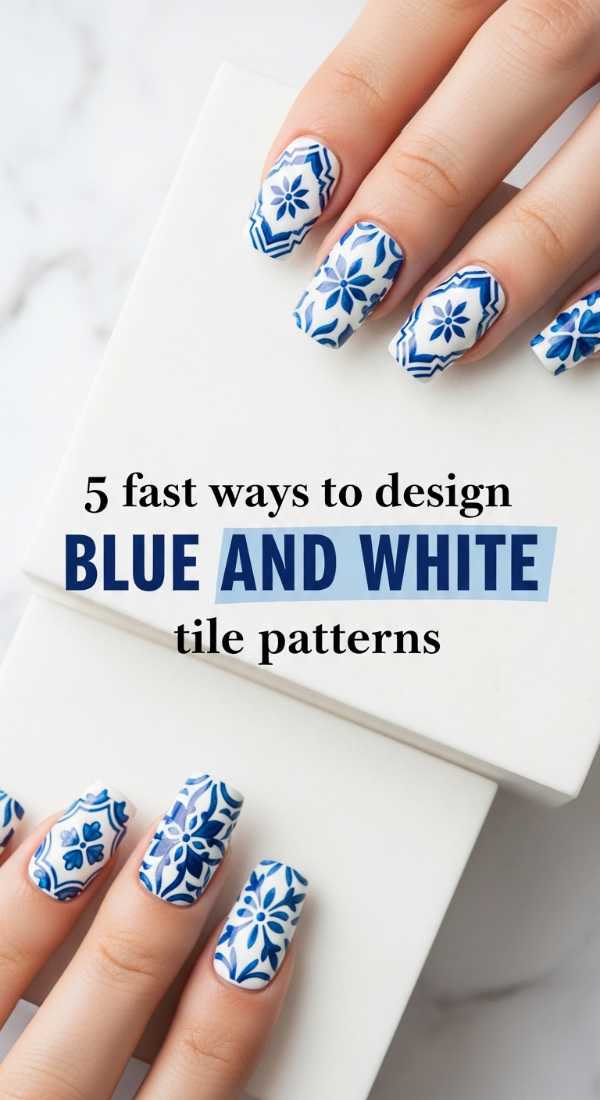
Why to love this Design:
Inspired by Mediterranean tiles, this look is for the traveler at heart. It’s intricate and geometric, making your nails look like they belong in a sun-drenched villa in Portugal or Greece.
Essential Elements:
- Cobalt blue polish
- Stamping plates or nail decals
- White base coat
How to Prepare:
- The quickest way is using water-slide decals for instant intricate patterns.
- Use a stamping plate with ‘Azulejo’ patterns for a professional look.
- Try nail stencils if you prefer a more geometric tile vibe.
- For a hand-painted look, focus on simple ‘X’ and ‘+’ patterns.
- Seal with a UV gel top coat for longevity.
Budget Range
- Maniology Stamping Plate (BM-S408): $8.00
- Born Pretty Blue Stamping Polish: $6.00
- Nail Water Decals: $5.00
4 Easy Methods for Nautical Blue and White Striped Nails
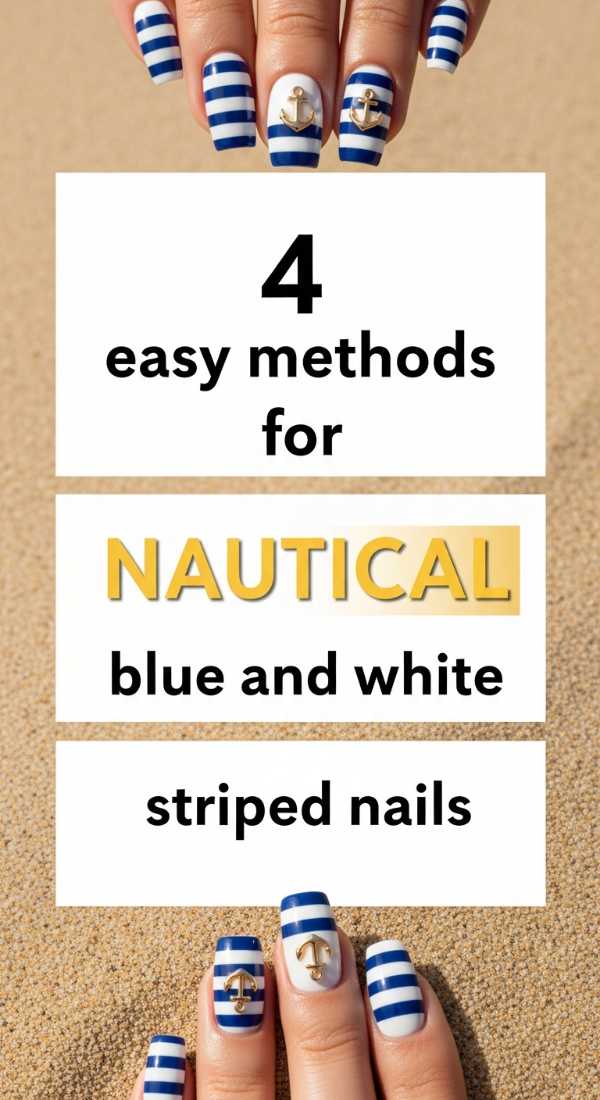
Why to love this Design:
Ahoy, loves! This is the ultimate summer look. It’s nautical, fresh, and reminds me of sailboat rides and salty air. It’s a timeless aesthetic that never goes out of style.
Essential Elements:
- Navy blue polish
- White polish
- Anchor charm or gold stud (optional)
How to Prepare:
- Method 1 (Freehand): Use a long-haired ‘striper’ brush for horizontal lines.
- Method 2 (Vinyls): Use pre-cut chevron or straight vinyls for consistency.
- Method 3 (Dotting): Use blue dots in a row over a white base to imply stripes.
- Method 4 (Stickers): Apply nautical-themed stickers over a solid blue base.
Budget Range
- Revlon ColorStay Navy: $6.99
- Nail Art Vinyls: $7.00
- Gold Nail Studs: $4.00
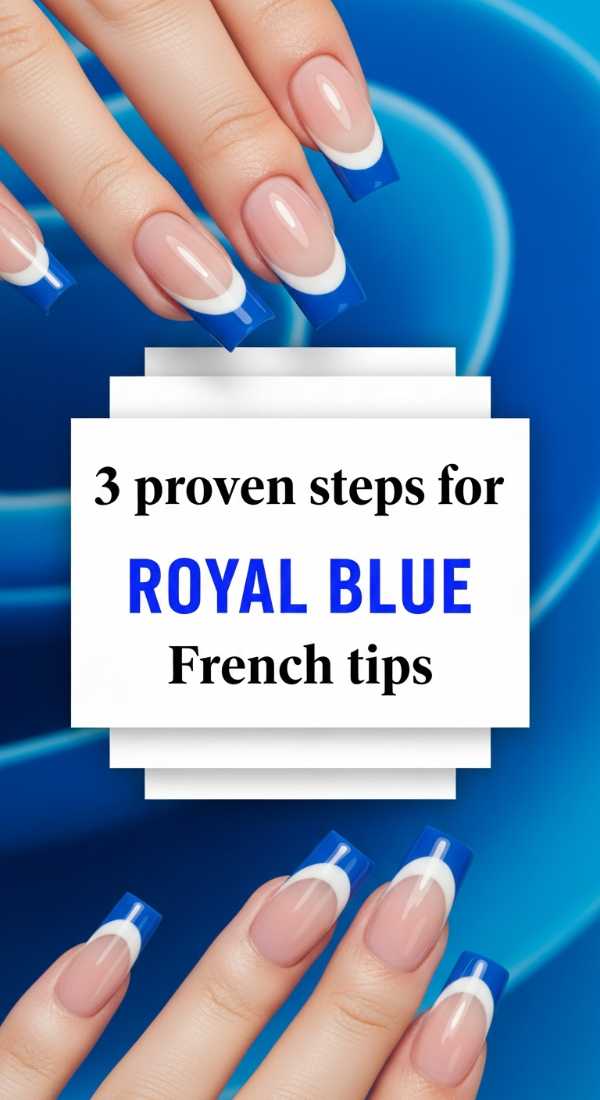
3 Proven Steps for Royal Blue French Tips with White Accents
Why to love this Design:
The French manicure gets a moody, modern upgrade here. It’s sophisticated and unexpected. The addition of white accents makes the royal blue feel even more vibrant and regal.
Essential Elements:
- Royal blue polish
- White liner polish
- French tip guides
How to Prepare:
- Apply tip guides to ensure a clean, curved ‘smile’ line.
- Paint the tips with royal blue and remove guides immediately.
- Once dry, use a thin brush to add two tiny white dots or a thin white line just below the blue.
Budget Range
- Zoya Indigo: $12.00
- French Manicure Guides: $3.50
- Kiss Nail Art Liner: $4.50
5 Smart Ways to Style Baby Blue Nails with White Pearls

Why to love this Design:
This is pure luxury. Adding pearls to a baby blue base feels incredibly soft and high-end. It’s the perfect look for a wedding, a brunch, or simply when you want to feel like royalty.
Essential Elements:
- Baby blue polish
- Flat-back nail pearls
- Nail glue or thick top coat
How to Prepare:
- Apply a single pearl at the base of each nail for a ‘minimalist chic’ look.
- Create a vertical line of three pearls down the center of an accent nail.
- Cluster various sizes of pearls near the cuticle.
- Scatter tiny pearls like bubbles across the entire nail.
- Use a ‘pearl’ colored polish to paint tiny dots if you don’t want the 3D texture.
Budget Range
- Essie Lapis of Luxury: $9.00
- Assorted Nail Pearls: $5.00
- Makartt Nail Glue: $7.00
Wrapping You in Blue & White
I hope these designs spark a little bit of joy in your heart today. Nail art is such a wonderful way to express yourself and take a moment of stillness in this busy world. Whether you choose the soft ombre or the bold galaxy stars, remember that your hands do so much for you—they deserve to be adorned with love. Until next time, stay cozy and keep dreaming in shades of blue!