
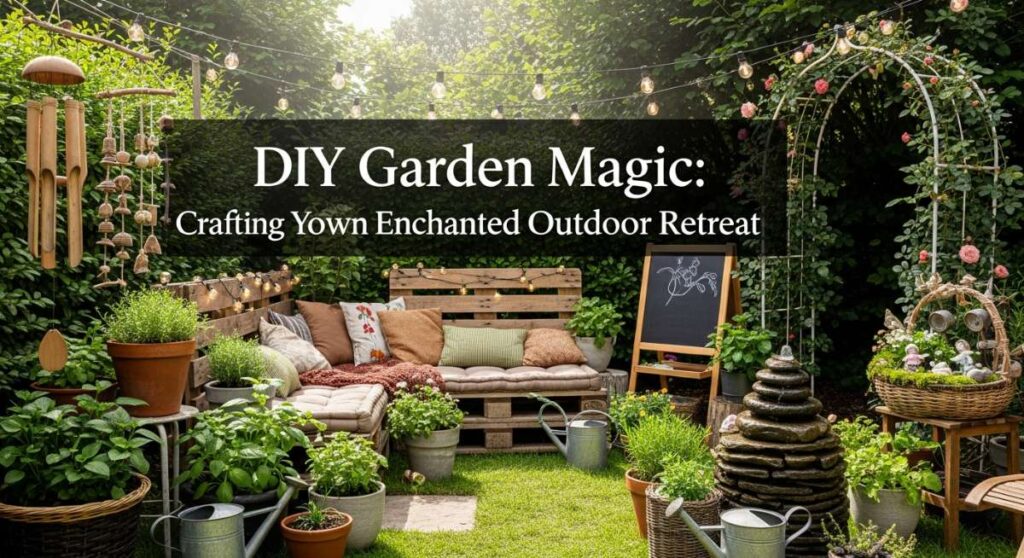
DIY Garden Magic: Crafting Your Own Enchanted Outdoor Retreat
Hello, my lovely souls! There is something so deeply restorative about stepping out into a space that feels like it was whispered into existence just for you. Lately, I’ve been spending my mornings with a warm mug of tea, watching the sunlight dance through the leaves, and it got me thinking—our gardens shouldn’t just be patches of grass; they should be sanctuaries. They should be places where the air feels a little lighter and the magic feels a bit closer to the surface.
I’ve spent the last few weeks getting my hands messy in the best way possible, pouring love into every corner of my backyard. I wanted to create a space that feels like a cloud-soft embrace, a little piece of enchantment right at home. Today, I’m so excited to share these little DIY projects with you all. Whether you have a sprawling meadow or a cozy balcony, let’s sprinkle a little stardust on your outdoor living space together.
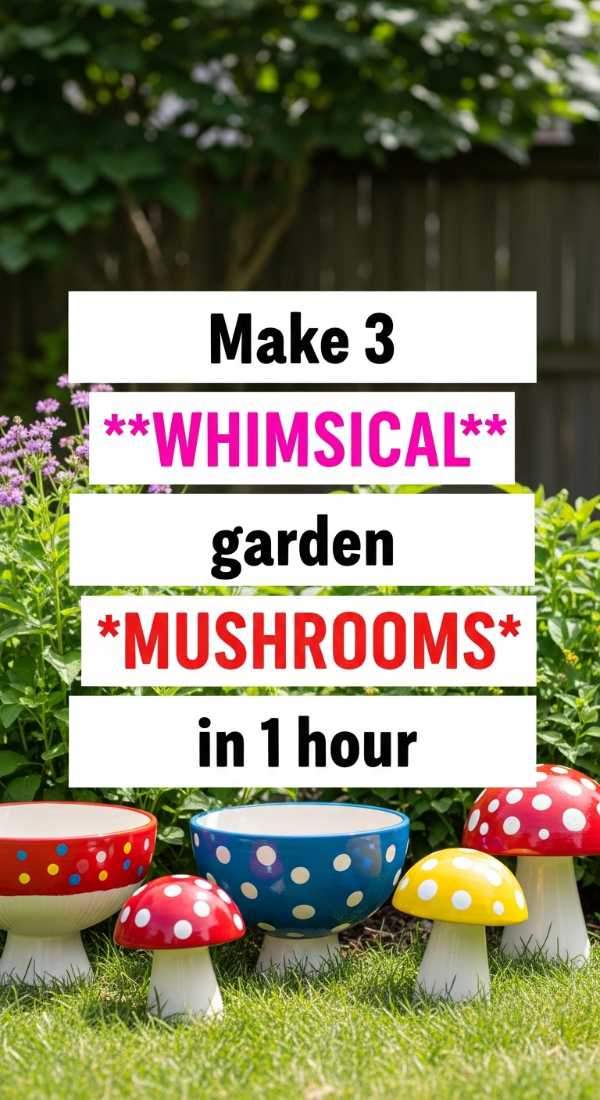
Make 3 whimsical garden mushrooms in 1 hour
Why to love this Decor:
These darling little mushrooms add an instant touch of Wonderland to any corner. They feel like a secret shared between you and the earth, popping up amongst the ferns to remind you that playfulness is always welcome in your sanctuary.
Items needed:
- 3 unfinished wooden bowls
- 3 small wooden birch logs or thick branches
- Outdoor acrylic paint (Red and White)
- Waterproof wood glue
- Clear sealant spray
How to Prepare:
- Paint the outside of your wooden bowls with a vibrant red and let them dry.
- Add various-sized white dots to the red surface for that classic toadstool look.
- Apply wood glue to the top of your birch logs and press the center of the bowl’s underside onto the log.
- Once dry, spray with a sealant to protect your new friends from the rain.
Budget Range
- Wooden Bowls: $10 – $15
- Acrylic Paint & Sealant: $8 – $12
- Birch Logs: Found for free or $5 at craft stores
Lay a country garden path in 5 simple steps

Why to love this Decor:
A path is more than just a walkway; it’s an invitation to wander. It guides your feet and your heart through the beauty you’ve grown, giving your garden a sense of history and quiet country charm that feels so grounded.
Items needed:
- Flat flagstones or stepping stones
- Leveling sand
- Small shovel or garden spade
- Rubber mallet
- Pea gravel (optional for filling gaps)
How to Prepare:
- Lay out your stones on the grass to find a natural, flowing rhythm.
- Trace around each stone with your spade and remove the sod underneath.
- Fill the hole with about an inch of leveling sand to create a stable base.
- Place the stone back in and tap it gently with a rubber mallet until it’s level with the ground.
- Fill any small gaps around the edges with pea gravel or soil for a finished look.
Budget Range
- Stepping Stones: $30 – $60
- Leveling Sand: $5 – $10
- Pea Gravel: $10 – $20
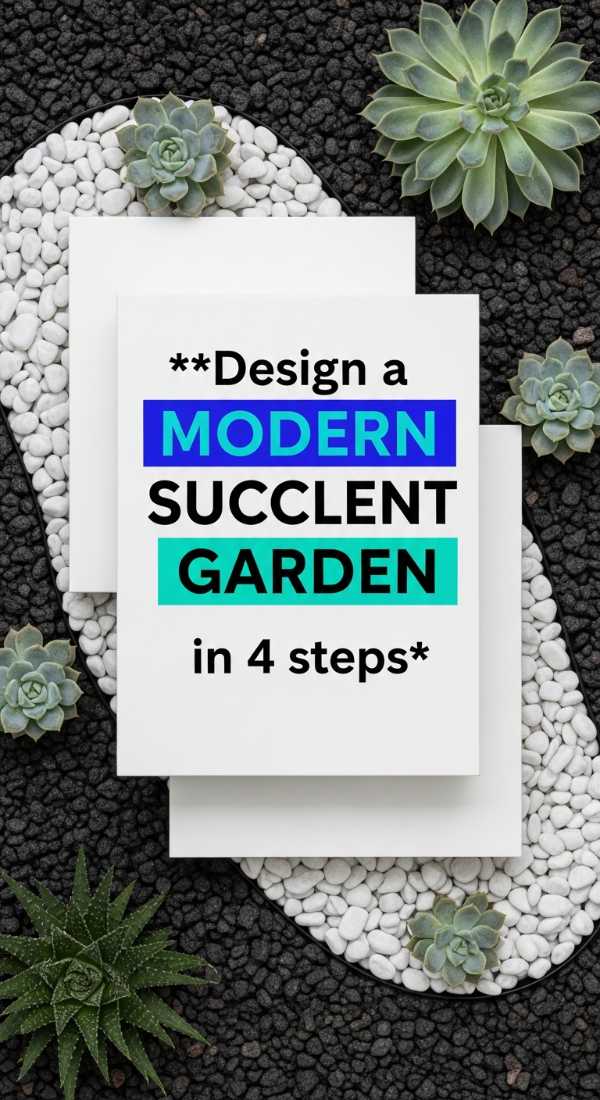
Design a modern succulent garden in 4 steps
Why to love this Decor:
There is such a quiet, geometric elegance to succulents. This project brings a modern, clean energy to your patio, proving that even the most resilient, hardy plants can look soft and sophisticated when grouped with intention.
Items needed:
- Large, shallow concrete or ceramic planter
- Succulent-specific potting mix
- Variety of succulents (Echeveria, Jade, String of Pearls)
- Decorative white river pebbles
How to Prepare:
- Fill your planter 3/4 full with the succulent potting mix, ensuring good drainage.
- Arrange your largest succulents in the center or slightly off-center for a focal point.
- Tuck the smaller succulents around the edges, leaving a little room for them to grow.
- Cover the exposed soil with a smooth layer of white pebbles for that chic, modern finish.
Budget Range
- Planter: $15 – $35
- Succulent Variety Pack: $20 – $40
- Pebbles & Soil: $10 – $15
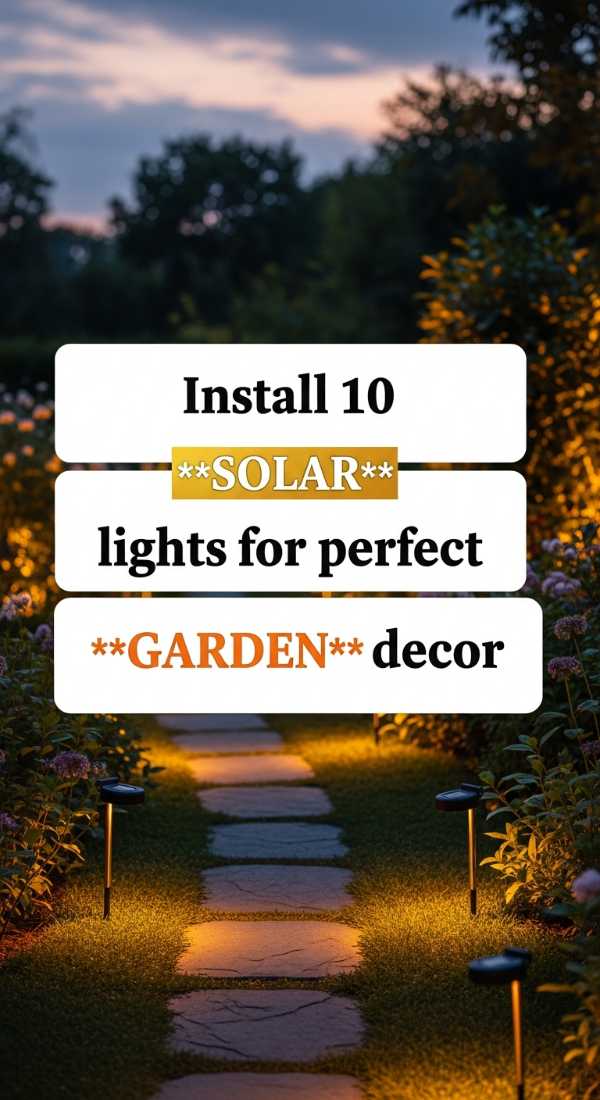
Install 10 solar lights for perfect garden decor
Why to love this Decor:
When the sun dips below the horizon, these lights wake up like tiny grounded stars. They create a soft, romantic glow that extends your garden time into the evening, turning your retreat into a moonlit dreamscape.
Items needed:
- 10 Solar path lights or hanging lanterns
- Shepherd hooks (if using lanterns)
- Measuring tape
How to Prepare:
- Determine the areas that need a soft glow—usually along paths or near favorite plants.
- Ensure the chosen spots receive at least 6 hours of direct sunlight during the day.
- For stake lights, simply press them firmly into the soft earth at even intervals.
- If using lanterns, drive the shepherd hooks into the ground first, then hang the solar light.
Budget Range
- 10-Pack Solar Lights: $25 – $50
- Shepherd Hooks: $20 – $40
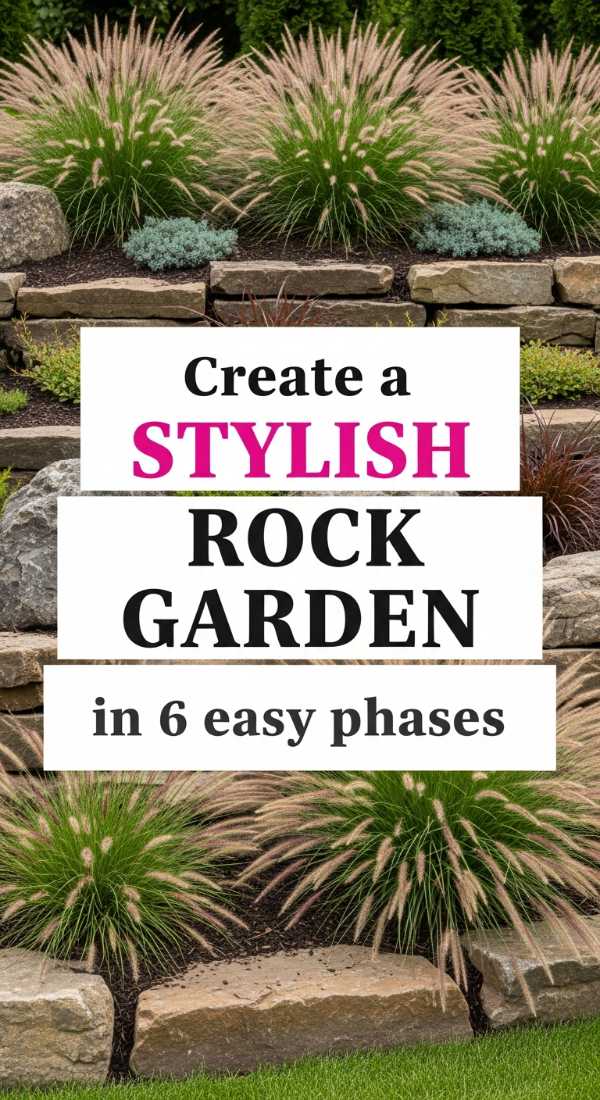
Create a stylish rock garden in 6 easy phases
Why to love this Decor:
Rock gardens bring a sense of permanence and zen-like peace. The contrast between the unyielding stone and the delicate alpine flowers creates a beautiful balance that feels both rugged and incredibly refined.
Items needed:
- Large landscape boulders (3-5)
- Assorted medium rocks and river stones
- Landscape fabric (weed barrier)
- Drought-tolerant plants (Sedum, Creeping Thyme)
- Topsoil
How to Prepare:
- Clear a small slope or corner of your yard and lay down landscape fabric.
- Place your largest boulders first to create the main structure of the garden.
- Add topsoil in the pockets between the large rocks.
- Plant your low-growing greenery into the soil pockets.
- Surround the plants with medium and small stones to cover the fabric completely.
- Water lightly to settle the soil around the roots.
Budget Range
- Boulders & Rocks: $40 – $100 (depending on source)
- Plants: $20 – $40
- Fabric & Soil: $15 – $20
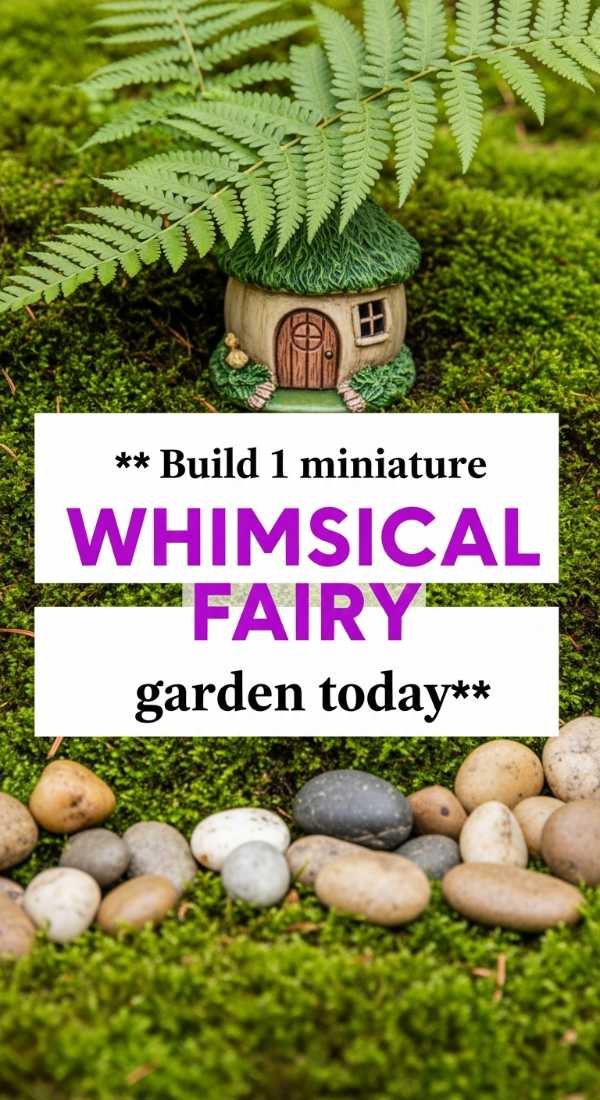
Build 1 miniature whimsical fairy garden today
Why to love this Decor:
This is pure soul-work. Creating a miniature world invites you to look closer and appreciate the tiny details. It’s a wonderful conversation piece that brings out the inner child in everyone who visits your garden.
Items needed:
- A wide, weathered terracotta pot or wooden crate
- Miniature fairy house
- Live moss or low-growing ‘Baby Tears’ plant
- Tiny pebbles and twigs
- Miniature garden furniture
How to Prepare:
- Fill your container with potting soil, leaving a slight mound in the center.
- Place the fairy house on the mound as the centerpiece of your little village.
- Press moss or small plants into the soil to act as the “grass” for your fairies.
- Use tiny pebbles to create a miniature pathway leading to the house’s front door.
- Add a tiny bench or a bridge made of twigs to complete the magic.
Budget Range
- Pot/Container: $5 – $20
- Fairy House & Miniatures: $15 – $30
- Plants/Moss: $5 – $15
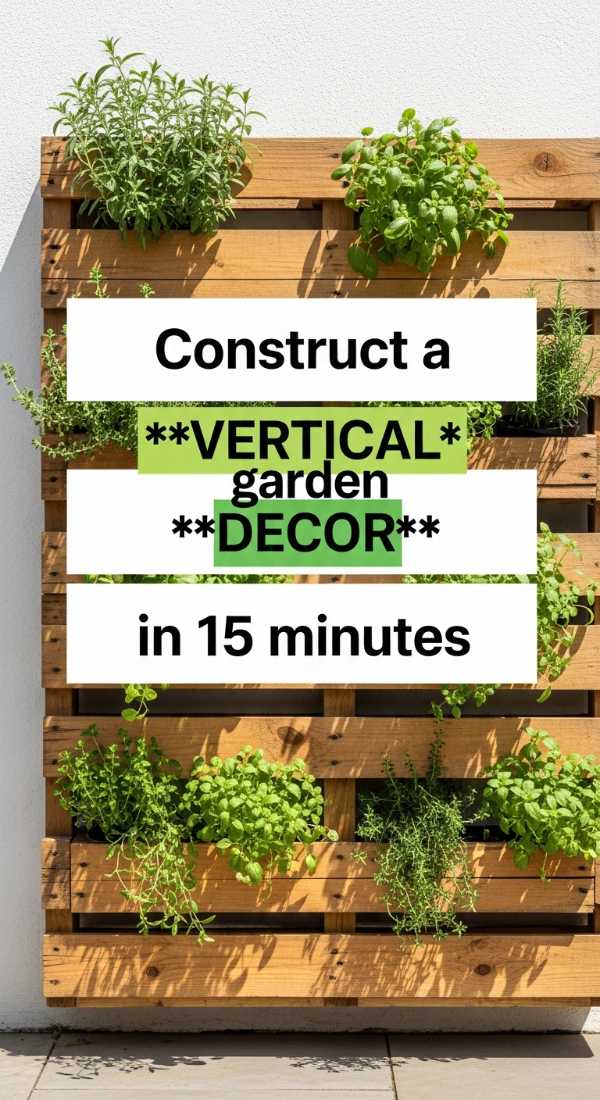
Construct a vertical garden decor in 15 minutes
Why to love this Decor:
Vertical gardens are a love letter to small spaces. They draw the eye upward, covering blank walls with lush, breathing life. It’s a quick way to feel completely surrounded by nature’s green embrace.
Items needed:
- A wooden lattice or pre-made wall planter
- 6-8 Small lightweight pots
- S-hooks or zip ties
- Fresh herbs or trailing ivy
How to Prepare:
- Mount your lattice or planter securely to your fence or wall.
- Pot your herbs or ivy into the small containers with fresh soil.
- Attach the pots to the lattice using S-hooks or ties at varying heights.
- Arrange them so the trailing plants have room to spill over the edges beautifully.
Budget Range
- Lattice/Wall Support: $15 – $30
- Small Pots: $10 – $20
- Plants: $15 – $25
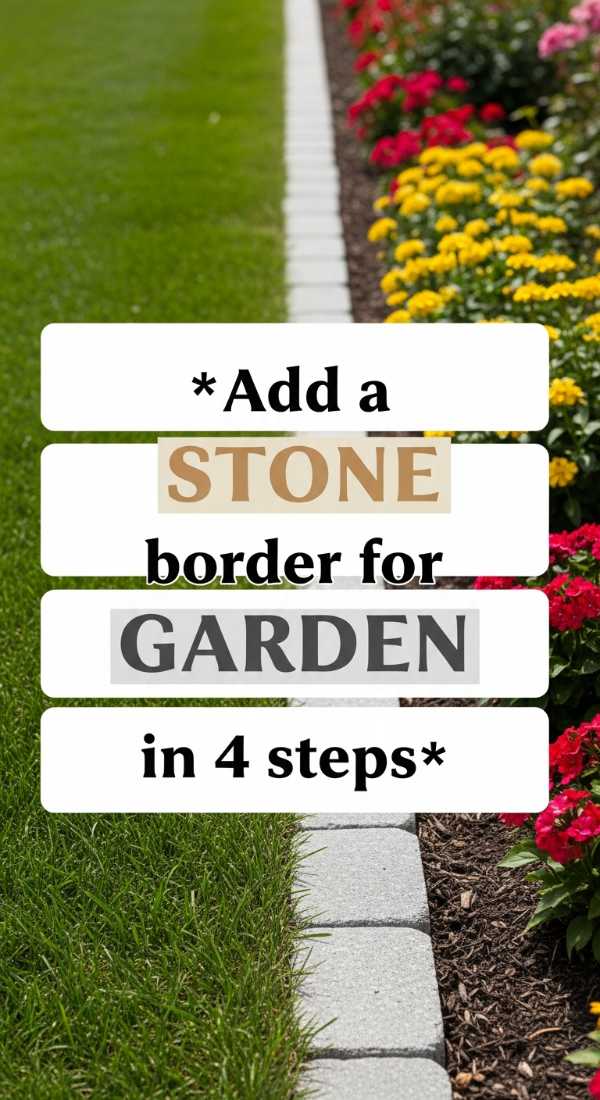
Add a stone border for garden decor in 4 steps
Why to love this Decor:
A stone border is like a frame for a beautiful painting. It gives your flower beds a crisp, finished look while keeping the mulch in place, making your garden feel professionally designed yet perfectly homey.
Items needed:
- Cobblestones or uniform river rocks
- Garden spade
- Levelling sand (optional)
- Mallet
How to Prepare:
- Use a garden hose or string to mark the curve of your border.
- Dig a shallow trench (about 2-3 inches deep) along your marked line.
- Place your stones snugly against each other in the trench.
- Tap them down with a mallet and fill any gaps with soil to lock them in.
Budget Range
- Border Stones: $40 – $80 (depending on length)
- Spade/Mallet: $15 – $30
Transform 3 old pots into country garden decor
![]()
Why to love this Decor:
There is such beauty in renewal. Taking something worn and giving it a new life with a bit of paint and love is the heart of the DIY spirit. These pots add a storied, vintage feel to your porch or patio.
Items needed:
- 3 old ceramic or terracotta pots
- Chalk paint in soft pastels or cream
- Sandpaper
- Clear wax or outdoor sealant
How to Prepare:
- Clean the pots thoroughly and let them dry completely.
- Apply a base coat of chalk paint and wait for it to dry.
- Use sandpaper to gently scuff the edges and raised details for a distressed, farmhouse look.
- Apply a thin layer of wax or sealant to protect the finish from the elements.
Budget Range
- Chalk Paint: $10 – $20
- Sandpaper & Wax: $5 – $10
- Old Pots: $0 (Check your garage or thrift stores!)
Set up a DIY garden water feature in 3 steps
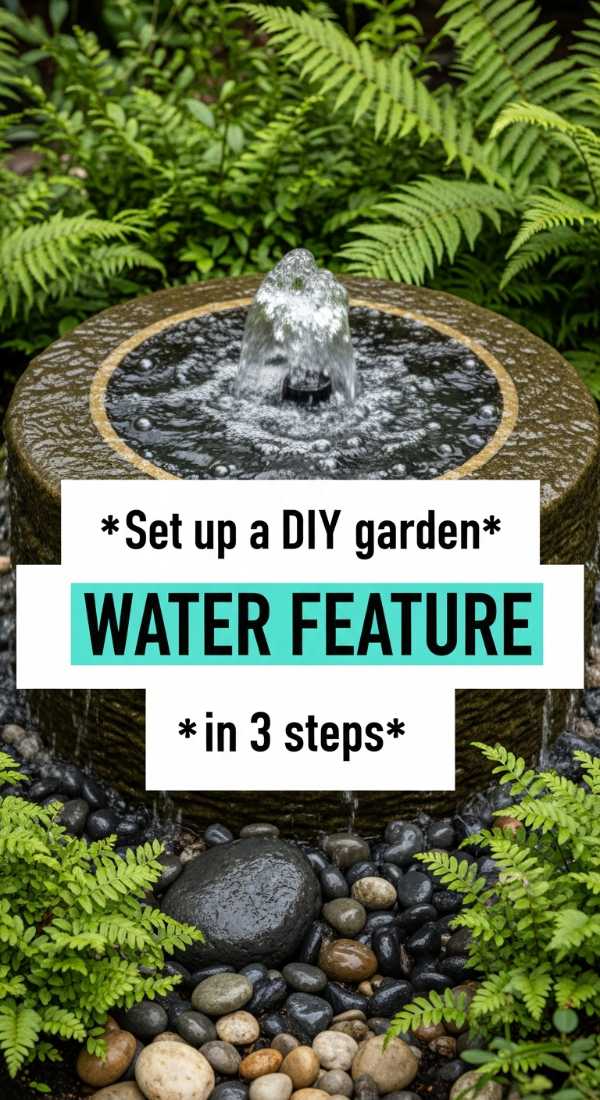
Why to love this Decor:
The sound of trickling water is the ultimate soul-soother. It masks neighborhood noise and creates a focal point of absolute tranquility, turning your garden into a private spa retreat.
Items needed:
- Large glazed ceramic pot (without a drainage hole)
- Solar-powered fountain pump kit
- Smooth river stones or glass beads
How to Prepare:
- Fill the ceramic pot with water, leaving a few inches at the top.
- Place the solar pump in the center, ensuring the solar panel is positioned to catch the sun.
- Add river stones around the base of the pump to hide the plastic and create a natural look.
Budget Range
- Ceramic Pot: $25 – $60
- Solar Pump Kit: $15 – $30
- Stones: $5 – $10
Conclusion: Your Sanctuary Awaits
Creating an enchanted garden doesn’t require a magic wand—just a little time, a bit of dirt under your fingernails, and a whole lot of love. I hope these projects inspire you to step outside and craft a space that feels like a warm hug for your soul. Remember, your garden is a living thing, and as you tend to it, it will surely tend to you. I can’t wait to hear which project you decide to start first! Happy gardening, my loves.