

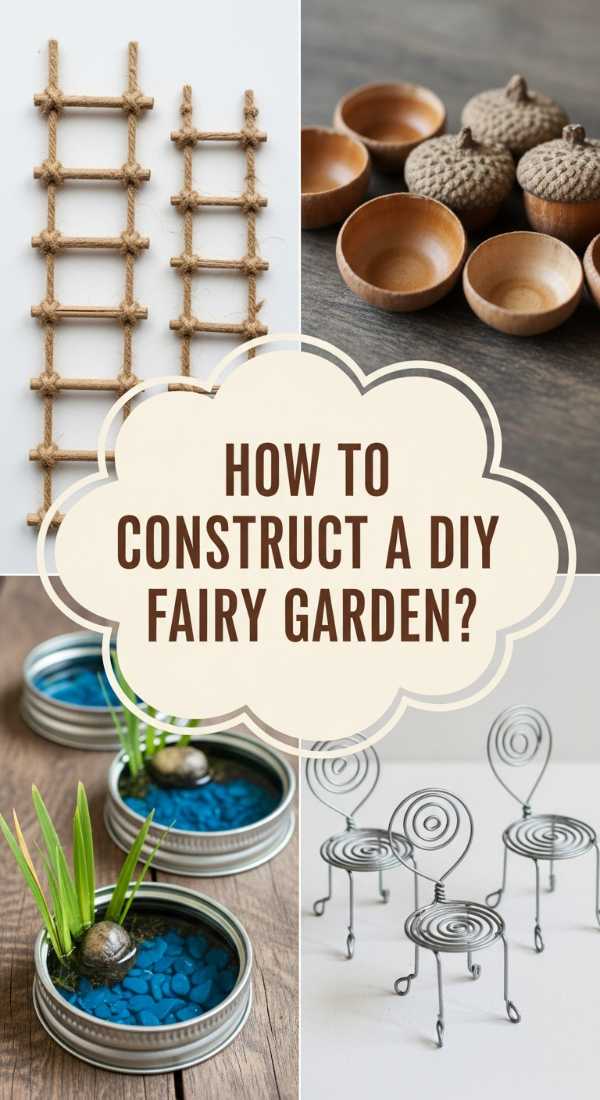
Do you remember the absolute wonder of being a child, crouching in the tall grass and searching for a glimpse of something magical hidden beneath a clover leaf? There’s a specific kind of nostalgia that comes with fairy gardens—a sense that the world is much bigger, or perhaps much smaller, than it seems. In our fast-paced lives, creating a miniature world offers a rare moment of stillness, allowing us to step away from screens and reconnect with the tactile joy of damp earth and delicate greenery.
Building a fairy garden is more than just a craft project; it’s an act of storytelling. It’s about choosing the perfect tiny bench for a weary traveler or finding a pebble that looks exactly like a stepping stone. Whether you have a sprawling backyard or just a small corner of your desk, these whimsical creations invite a sense of play back into your daily routine. Let’s dive into the secrets of creating your own miniature wonderland, where the only limit is your imagination and the size of your thumb.
How to Create a Magical Outdoor Fairy Garden for Enchanting Evenings
Why we love this
There is nothing quite like the soft, golden glow of a fairy garden at twilight, where the air smells of night-blooming jasmine and damp cedar mulch. As the sun dips below the horizon, tiny solar-powered lanterns flicker to life, casting long, dancing shadows against the velvet texture of emerald moss. It transforms a simple garden bed into a mystical realm that feels alive, offering a peaceful sanctuary where you can sit with a cup of tea and watch the lightning bugs mimic the twinkling LED strings woven through the miniature trees.
Essential Elements:
- Solar-powered fairy lights or micro-LED strings
- Hardy ground cover like Irish Moss or Blue Star Creeper
- Miniature stone lanterns or glowing pebbles
- Weather-resistant resin fairy house
- Night-blooming plants like Moonflowers (nearby)
How to make it
- Select a semi-shaded outdoor spot near a porch or patio where you can enjoy the evening view. Ensure the ground is level and clear of aggressive weeds.
- Prepare the soil by mixing organic compost with potting mix to a depth of 6 inches, ensuring a nutrient-rich base for your miniature plants.
- Install your primary structure, such as a stone fairy cottage, and bury its base slightly so it looks nestled into the landscape rather than sitting on top.
- Plant your ground covers in clusters, leaving narrow gaps for pathways. Press the plants firmly into the earth to eliminate air pockets around the roots.
- Lay down a winding path of glow-in-the-dark pebbles or flat slate pieces, leading from the edge of the garden to the front door of the fairy house.
- Carefully weave waterproof micro-LED lights through the branches of a dwarf conifer or over the roof of the house, securing them with thin florist wire.
- Position a small solar panel in a nearby sunny spot to power the lights, concealing the wire beneath a thin layer of decorative mulch or moss.
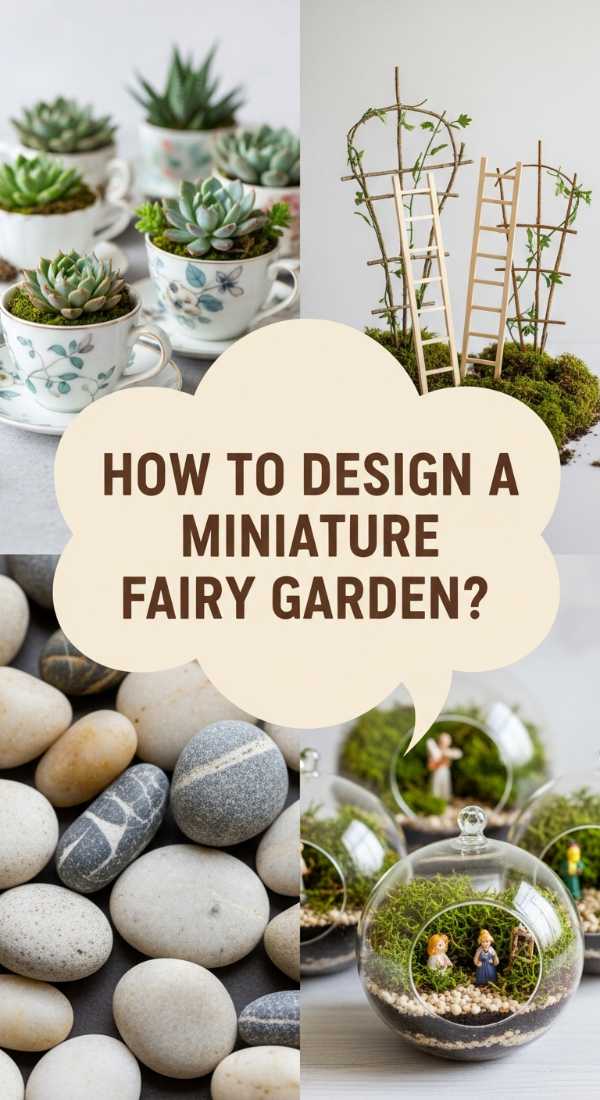
How to Design a Miniature Fairy Garden for Tiny Home Decor
Why we love this
For those living in compact spaces, a miniature fairy garden brings the lush vibrancy of the outdoors inside without requiring a yard. These tiny ecosystems, often housed in elegant glass terrariums or vintage bowls, offer a sophisticated touch of whimsy to a bookshelf or side table. The scent is fresh and earthy—a mix of damp charcoal and living ferns—and the visual detail of a tiny ceramic tea set sitting on a slice of wood provides a delightful focal point that sparks conversation with every guest.
Essential Elements:
- Glass bowl, geometric terrarium, or wide-mouthed jar
- Activated charcoal and pea gravel for drainage
- Miniature succulents or slow-growing ferns
- Tiny furniture (benches, tables, birdbaths)
- Decorative white sand or fine gravel
How to make it
- Clean your glass container thoroughly to remove any streaks. Place a 1-inch layer of pea gravel at the bottom to act as a drainage reservoir.
- Add a thin layer of activated charcoal over the gravel; this is critical for indoor gardens as it filters the water and prevents odors from stagnant moisture.
- Pour in high-quality indoor potting soil, creating a slight mound on one side to add depth and visual interest to the miniature landscape.
- Using long tweezers or a small spoon, create holes for your plants. Place small succulents in sunnier spots or ferns in more shaded, humid areas of the container.
- Tamp down the soil around each plant’s base, then cover the exposed dirt with a layer of decorative white sand or fine pebbles to create a clean aesthetic.
- Position your miniature furniture carefully, using the “rule of thirds” to place items off-center for a more natural and balanced look.
- Mist the garden lightly with a spray bottle, focusing on the soil rather than the leaves to prevent rot, and place in indirect sunlight.
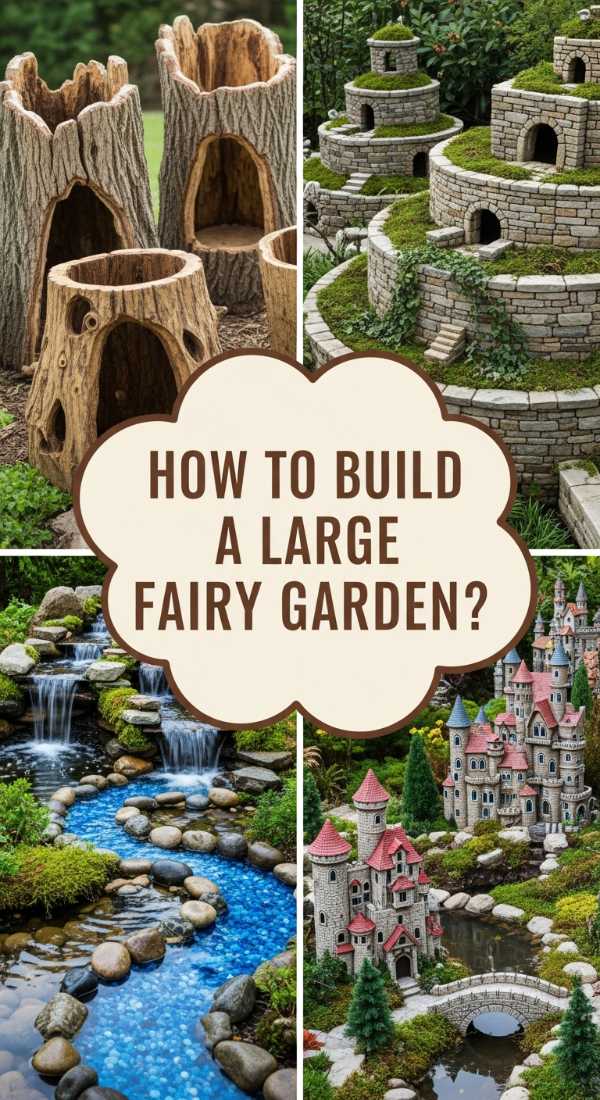
How to Build a Large Fairy Garden for Grand Garden Statements
Why we love this
When you scale up a fairy garden, it becomes an immersive landscape feature that commands attention and defines the character of your backyard. The texture here is rugged and grand, featuring gnarled tree stumps, large slate slabs, and sprawling carpets of thyme that release a spicy, herbaceous aroma when brushed. It feels like a miniature mountain range where every rock has a story, providing a sense of permanence and architectural depth that smaller containers simply cannot match.
Essential Elements:
- Large hollow log, old birdbath, or a dedicated garden bed
- Dwarf shrubs (like Boxwood or Sky Pencil Holly)
- Large river rocks and flat flagstones
- Multi-story fairy mansions or “castle” structures
- Solar-powered water feature or fountain
How to make it
- Identify a large focal point in your yard, such as the base of an old oak tree or a corner near a stone wall, to serve as the anchor for your grand display.
- Define the perimeter using large river rocks or a low wicker border to separate the fairy realm from the rest of the lawn.
- Layer your plants by height: place taller dwarf conifers in the back to act as “mountains” and low-growing Thyme or Sedum in the front.
- Construct a tiered landscape by stacking flat flagstones with soil in between, creating “cliffs” where tiny houses can sit at different elevations.
- Incorporate a small, self-circulating solar fountain to add the soothing sound of trickling water, which enhances the sensory magic of the space.
- Build wide pathways using crushed gravel or wood chips, ensuring they are wide enough to be visible from a distance while maintaining the correct scale.
- Install a larger “anchor” piece, like a 12-inch resin castle, at the highest point of your landscape to serve as the visual centerpiece.
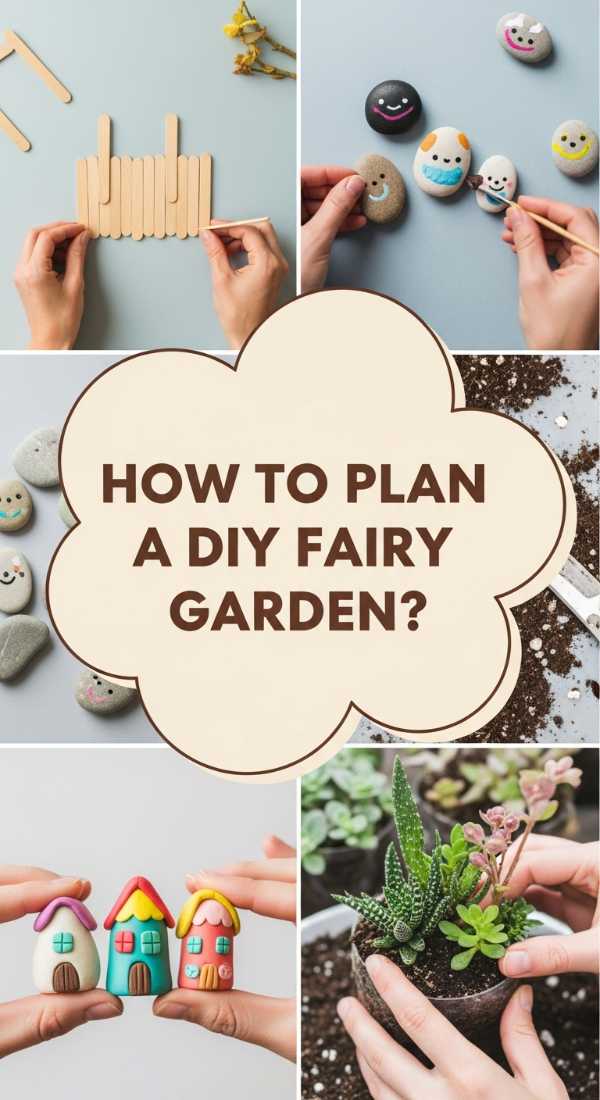
How to Plan a DIY Fairy Garden for Family Fun

Why we love this
This approach is all about messy hands, bright colors, and the infectious laughter of children as they build a world of their own. It smells like poster paint and pine needles, and the texture is a mix of smooth river stones and the fuzzy feel of pipe-cleaner flowers. It’s a wonderful way to teach kids about plant care and biology while letting their creativity run wild with glitter and repurposed household items, resulting in a garden that is as vibrant and eclectic as their imaginations.
Essential Elements:
- Plastic or wooden planter box at a child-friendly height
- Fast-growing seeds like grass or marigolds
- Non-toxic outdoor paints and brushes
- Popsicle sticks, bottle caps, and acorns
- Polymer clay for handmade figurines
How to make it
- Choose a sturdy, low-profile container that children can easily reach from all sides, ensuring it has ample drainage holes at the bottom.
- Fill the container with a lightweight potting mix and let the kids sprinkle “magic” grass seeds or plant hardy Marigolds for instant color.
- Spend an afternoon crafting: paint flat stones to look like ladybugs or use popsicle sticks and hot glue (with adult supervision) to build tiny fences.
- Create a “recycled” village by painting clean plastic bottles to look like toadstools or cottages, then nesting them into the soil.
- Designate a “construction zone” where kids can dig and move pebbles around without disturbing the permanent plants.
- Teach children how to water their garden using a small watering can with a rose attachment to ensure a gentle flow that won’t wash away the tiny decorations.
- Update the garden seasonally by adding tiny pumpkins in the fall or cotton-ball snowmen in the winter to keep the engagement alive year-round.
How to Style a Mini Fairy Garden for Desk Inspiration

Why we love this
A desk-side fairy garden is the ultimate stress-reliever during a long workday, offering a tiny window into a peaceful, green world right next to your keyboard. The aroma of damp succulents and air plants provides a subtle, grounding freshness that cuts through the sterile office air. Running your fingers over the smooth surface of a rose quartz crystal or adjusting a tiny copper chair offers a tactile “reset” for the brain, turning a high-pressure environment into a space of calm focus and whimsical inspiration.
Essential Elements:
- Shallow ceramic or metal tray
- Air plants (Tillandsia) or small Haworthia
- Healing crystals (Amethyst, Rose Quartz)
- Fine decorative sand or stabilized moss
- Minimalist wire furniture
How to make it
- Select a sleek, shallow tray that fits comfortably on your desk without crowding your workspace. If it doesn’t have drainage, use air plants or stabilized moss.
- Spread a layer of fine white or tan sand across the base of the tray, using a small rake or fork to create zen-like patterns.
- Place air plants strategically around the tray; since they don’t require soil, you can nestle them into small crevices or on top of decorative stones.
- Add a few small crystals or polished river stones to act as “boulders,” choosing colors that complement your office decor.
- Insert a single, delicate piece of wire furniture—like a tiny bistro chair—to create a sense of scale without cluttering the small space.
- Use a small spray mister to give the air plants a light soak once a week, ensuring you take the plants out of the tray first to keep the sand dry.
- Keep a small set of tweezers nearby to easily adjust the placement of elements as your plants grow or as you feel like changing the layout.
How to Craft an Outdoor Fairy Garden for Nature Lovers
Why we love this
For the true naturalist, this fairy garden is an homage to the forest floor, using only organic materials found during walks in the woods. The scent is deep and loamy, filled with the aroma of pine resin and dried bark, and the textures are wonderfully diverse—from the flaky shingles of a pinecone roof to the rough grain of an acorn cap. It’s a garden that feels as though it grew naturally out of the earth, inviting local wildlife like toads and butterflies to stop by for a visit in a miniature ecosystem that honors the beauty of the wild.
Essential Elements:
- Tree stump or natural hollow in a garden bed
- Native mosses and lichens
- Twigs, bark, acorn caps, and pinecones
- Flat river stones for flooring
- Dried flowers and seed pods
How to make it
- Go on a nature hike to collect materials like fallen bark, interesting twigs, and various sizes of pinecones, ensuring you only take what has already fallen.
- Find a natural nook in your yard, such as between the roots of a large tree, to serve as the foundation for your “wild” fairy house.
- Construct a house using sturdy twigs for the frame and large pieces of bark for the walls, securing them with biodegradable twine or mud.
- Use pinecone scales as shingles for the roof, layering them from bottom to top so that they shed rainwater naturally.
- Transplant small patches of native moss from your yard into the gaps between the roots, pressing them firmly into the moist soil to help them take hold.
- Create a path using the smallest pebbles you can find, lining the edges with acorn caps turned upside down to look like tiny planters.
- Avoid using plastic or bright colors; stick to a palette of browns, greens, and greys to ensure the garden blends seamlessly into the natural environment.
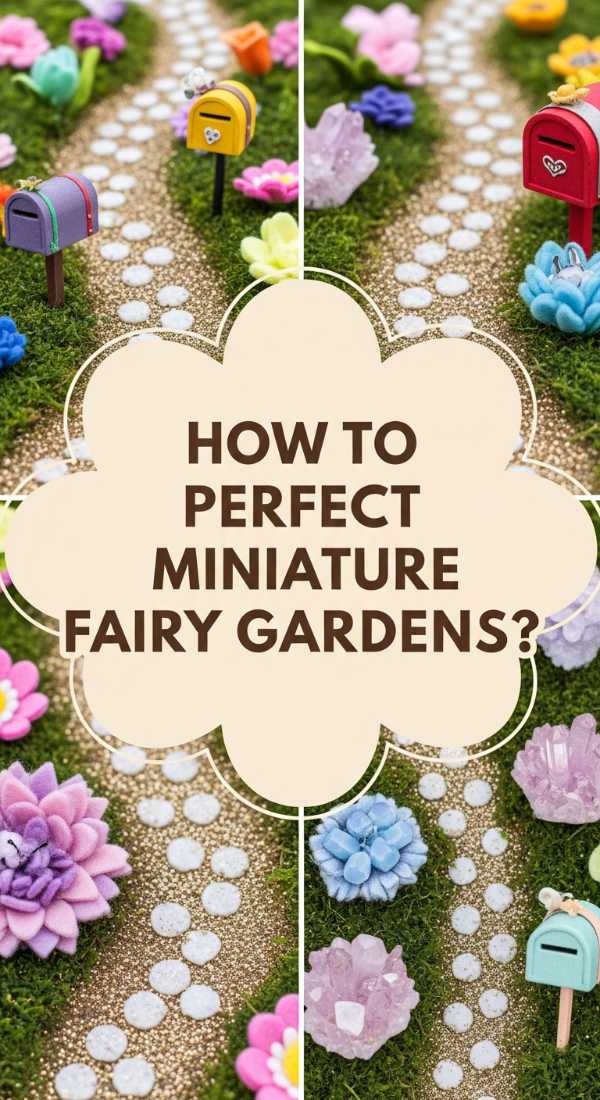
How to Perfect Miniature Fairy Gardens for Whimsical Vibes
Why we love this
This style is a celebration of the fantastical, where the rules of reality are replaced by glitter, bright pink mushrooms, and neon-colored foliage. It feels like stepping into a storybook, with the sweet scent of blooming Alyssum filling the air and the sparkling texture of iridescent glitter paths catching the light. It’s a joyful, unapologetically magical space that appeals to the inner child, where every corner holds a surprise like a tiny dragon egg or a door that leads to a world of pure imagination.
Essential Elements:
- Brightly colored ceramic mushrooms
- Plants with variegated or colorful leaves (like Coleus or Polka Dot Plant)
- Iridescent glitter or “fairy dust”
- Miniature bunting or tiny flags
- Hand-painted resin fairies or gnomes
How to make it
- Choose a vibrant container, like a glazed turquoise pot, to set the tone for your whimsical display. Ensure it has a wide surface area for storytelling.
- Mix a generous amount of “fairy dust” (biodegradable glitter) into the top layer of your potting soil to give the earth a subtle shimmer.
- Plant high-contrast greenery, such as lime-green sedum paired with deep purple heuchera, to create a visually striking backdrop.
- Place several oversized, brightly painted ceramic mushrooms in clusters, varying the heights to create a sense of whimsical scale.
- String miniature bunting made from colorful fabric scraps between two tall twigs to act as a party decoration for the resident fairies.
- Position your fairy figurines in active poses—peeking around a leaf or sitting on a mushroom—to give the garden a sense of life and motion.
- Add a “sparkling river” by using blue glass gems or crushed blue glass, bordered by white pebbles for a clean, magical finish.
How to Construct a DIY Fairy Garden for Creative Expression

Why we love this
Creative expression thrives when we repurpose the old into something new, and this fairy garden style turns flea market finds into enchanting dioramas. Imagine an old leather suitcase overflowing with ivy, or a rusted toolbox repurposed into a tiered village; the scent is a nostalgic mix of aged wood and fresh potting soil. The textures are a fascinating blend of man-made metals and soft, living greens, proving that with a little vision, even the most mundane household object can become a portal to a miniature wonderland.
Essential Elements:
- Unique containers (vintage teacups, drawers, old boots, or suitcases)
- Drill with masonry or wood bits for drainage
- Varying heights of plants to fill deep containers
- Miniature items that match the theme (e.g., tiny books for a suitcase garden)
- Protective sealant for wooden containers
How to make it
- Source a unique container from a thrift store, ensuring it has enough character to serve as a conversation piece.
- Carefully drill several drainage holes in the bottom of the container. If it’s metal or ceramic, use a bit specifically designed for that material to prevent cracking.
- Line wooden containers with a plastic liner (with holes) and apply a water-resistant sealant to the outside to prevent the wood from rotting over time.
- Fill the container with a soil mix suited to your chosen plants, using perlite to keep the weight down if you’re using a large suitcase or drawer.
- Incorporate items that tell a story: for a teacup garden, use a tiny spoon as a bench; for a toolbox, use old washers as stepping stones.
- Select plants that spill over the edges, like String of Pearls or Creeping Charlie, to soften the lines of the repurposed container.
- Group your creative containers together on a porch or shelf to create a “fairy village” that showcases your individual style and resourcefulness.
How to Grow a Lush Fairy Garden for Natural Serenity
Why we love this
Inspired by Zen gardens and the quiet of a deep forest, this approach focuses on monochromatic greens and the soothing symmetry of nature. The air is cool and moist, smelling of damp earth and fresh Fern fronds, and the texture is dominated by the cushiony softness of moss and the smoothness of raked sand. It’s a meditative space designed to calm the mind, where the simplicity of a single stone bridge over a mossy “stream” provides a visual anchor for deep breathing and quiet contemplation.
Essential Elements:
- Low, wide basin or tray
- Selection of different mosses (Sheet moss, Mood moss, Cushion moss)
- Miniature ferns or Bonsai-style trees
- Smooth river stones and a tiny wooden bridge
- White sand for water simulation
How to make it
- Choose a shallow, minimalist container in a neutral tone like slate grey or terra cotta to maintain a sense of calm.
- Create a landscape of rolling hills by mounding the soil and covering every inch with different varieties of moss, pressing them firmly into the dirt.
- Plant a single “hero” plant, such as a dwarf Juniper or a small fern, to act as a miniature tree that provides a sense of age and wisdom.
- Use a small wooden rake or a fork to create flowing water patterns in a section of fine white sand, representing a serene river or pond.
- Place a simple wooden or stone bridge across the sand feature, ensuring it is level and stable.
- Position a few larger, smooth river rocks around the garden to act as “meditation stones,” choosing shapes that feel balanced and natural.
- Mist the moss daily with distilled water to keep it vibrant and green, as moss is sensitive to the minerals in tap water.
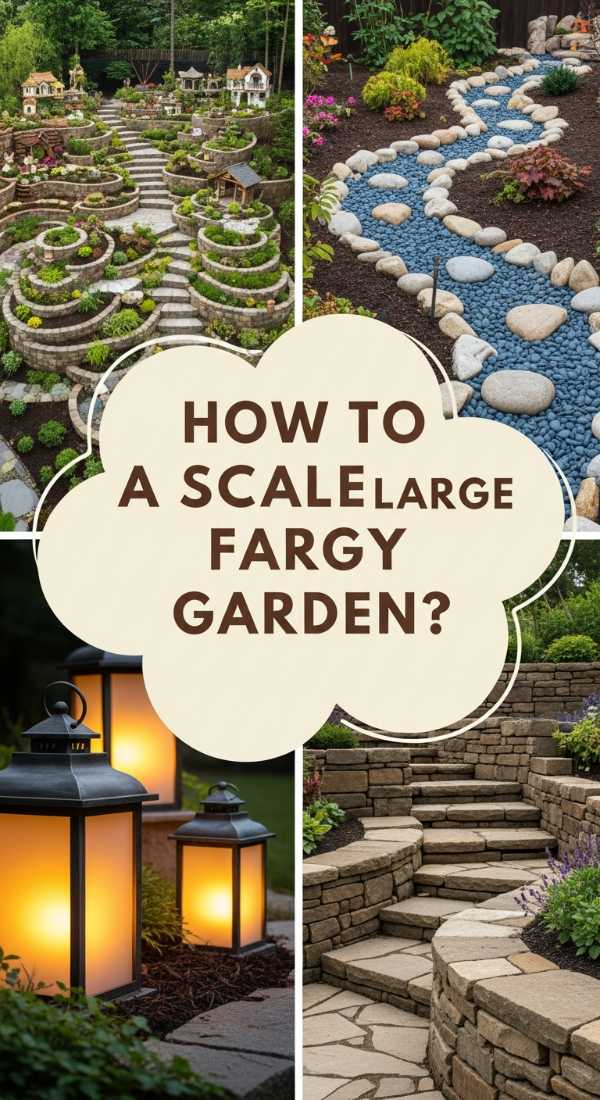
How to Scale a Large Fairy Garden for Landscaping Impact
[IMAGE_10]
Why we love this
Transforming a corner of your yard into a large-scale fairy landscape creates a permanent sense of enchantment that evolves with the seasons. This isn’t just a garden; it’s a miniature estate, complete with stone-lined driveways, sprawling estates of ground cover, and towering “forests” of perennial shrubs. The texture is varied and robust, with the crunch of gravel underfoot and the sturdy feel of real stone walls, offering a professional landscaping look that hides a delightful, whimsical secret for those who look closely enough.
Essential Elements:
- Dedicated garden plot (at least 4×4 feet)
- Large flat slate or flagstone for “pavements”
- Hardy perennials (Creeping Thyme, Sedum, Dwarf Spruce)
- Substantial resin or stone fairy houses (10-15 inches tall)
- Landscape edging to define the boundaries
How to make it
- Excavate the area to a depth of 4 inches and install a weed barrier to prevent grass from invading your miniature landscape.
- Lay down a base of leveling sand, then arrange large slate pieces to create “plazas” or “town squares” where the main fairy buildings will sit.
- Build retaining walls for different elevations using small pieces of flat stone and a bit of exterior construction adhesive to keep them secure.
- Plant hardy, low-maintenance perennials like Creeping Thyme in between the stones; these will spread over time and fill the gaps with fragrant greenery.
- Incorporate larger structures that are built to withstand the elements year-round, such as houses made of stone, resin, or treated cedar.
- Use larger-grade gravel for the main pathways, ensuring they are bordered by “hedges” made of trimmed boxwood or small upright sedums.
- Add solar spotlights at the base of your “trees” (the shrubs) to create dramatic uplighting that makes the garden pop at night.
Conclusion
Whether you’re building a tiny sanctuary for your desk or a grand estate in your backyard, the magic of a fairy garden lies in the details. It’s a hobby that grows with you, offering a unique blend of horticulture and storytelling. As you tuck that last piece of moss into place or set a tiny lantern aglow, remember that you aren’t just gardening—you’re creating a space where wonder can thrive. So, grab your trowel, find your favorite pebbles, and start building your own miniature wonderland today.