
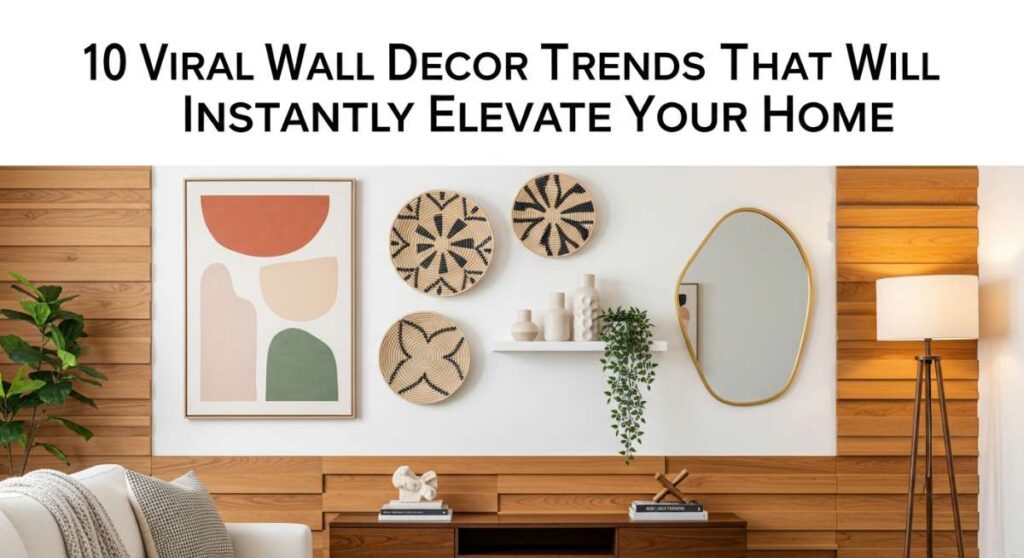
We’ve all had those moments where we look around our home and realize something is missing—that spark, that soulful energy that turns a house into a sanctuary. Your walls are more than just structural boundaries; they are the blank canvas of your life, waiting to tell a story of comfort, style, and personality. Whether you’re sipping a morning latte or unwinding after a long day, the environment you cultivate directly impacts your mood and creativity.
Lately, the digital world has been buzzing with innovative ways to reclaim these vertical spaces, moving far beyond simple framed photos. From the organic touch of living greenery to the sophisticated rhythm of architectural paneling, these viral trends are about creating an experience. I’ve curated a list of the most transformative wall decor trends that will not only elevate your aesthetic but also change how you feel in your home every single day.
How to Grow a Lush Vertical Garden for a Breath of Fresh Air

Why we love this
There is something profoundly soul-soothing about bringing the outdoors in, especially when it manifests as a vibrant, breathing wall of greenery. Imagine the gentle, earthy aroma of damp soil and the cool, velvety touch of Pothos leaves brushing against your skin as you walk by. It’s not just about the visual pop of emerald and lime; it’s about the oxygen-rich air and the way the natural textures soften the hard lines of modern architecture, creating a living tapestry that changes every day.
Essential Elements:
- Wall-mounted planter system or felt pocket irrigation bags
- Lightweight potting mix with perlite for drainage
- Selection of humidity-loving plants (Pothos, Philodendron, Ferns)
- Organic liquid fertilizer
- Moisture meter and a specialized spray mister
How to make it
- Select a wall that receives consistent indirect sunlight; too much direct sun will scorch delicate leaves, while too little will cause leggy growth.
- Install your mounting bracket or felt system using heavy-duty wall anchors, ensuring it is perfectly level to prevent water from pooling on one side.
- Prepare your plants by gently removing them from their nursery pots and loosening the root balls; look for firm, white roots as a sign of health.
- Pack the planters with the lightweight mix, leaving enough room for the root ball, and tuck the plants in snugly to ensure direct contact with the soil.
- Water the system slowly from the top, watching for the visual cue of water beginning to saturate the bottom-most layer, then mist the foliage to increase localized humidity.
How to Build a Chic Privacy Screen for Your Backyard Sanctuary
Why we love this
A backyard should feel like a secret escape, a place where the world falls away and the only thing that matters is the warmth of the sun and the whisper of the breeze. These chic privacy screens offer more than just seclusion; they create a stunning play of light and shadow, casting intricate patterns across your patio as the sun sets. The scent of cedar or redwood under the afternoon heat adds a sensory depth that makes your outdoor lounge feel like a high-end spa retreat.
Essential Elements:
- Pressure-treated 4×4 posts and 1×2 cedar slats
- Exterior-grade wood stain or sealant
- Galvanized deck screws (rust-resistant)
- Post-hole digger and quick-set concrete
- Spacer blocks (1/2 inch) for uniform gaps
How to make it
- Mark your post locations with stakes, ensuring they are spaced no more than 6 feet apart to prevent the slats from sagging over time.
- Dig holes at least 24 inches deep, fill with 2 inches of gravel for drainage, then set your posts in concrete, using a spirit level to ensure they are perfectly vertical.
- Once the concrete has cured for 24-48 hours, apply your first coat of weather-resistant stain to all sides of the wood to protect against rot.
- Starting from the top, screw your first slat into the posts, then use your spacer blocks to maintain a consistent gap as you work your way down.
- Finish by applying a final clear sealant, paying extra attention to the end-grain of the wood where moisture is most likely to penetrate.
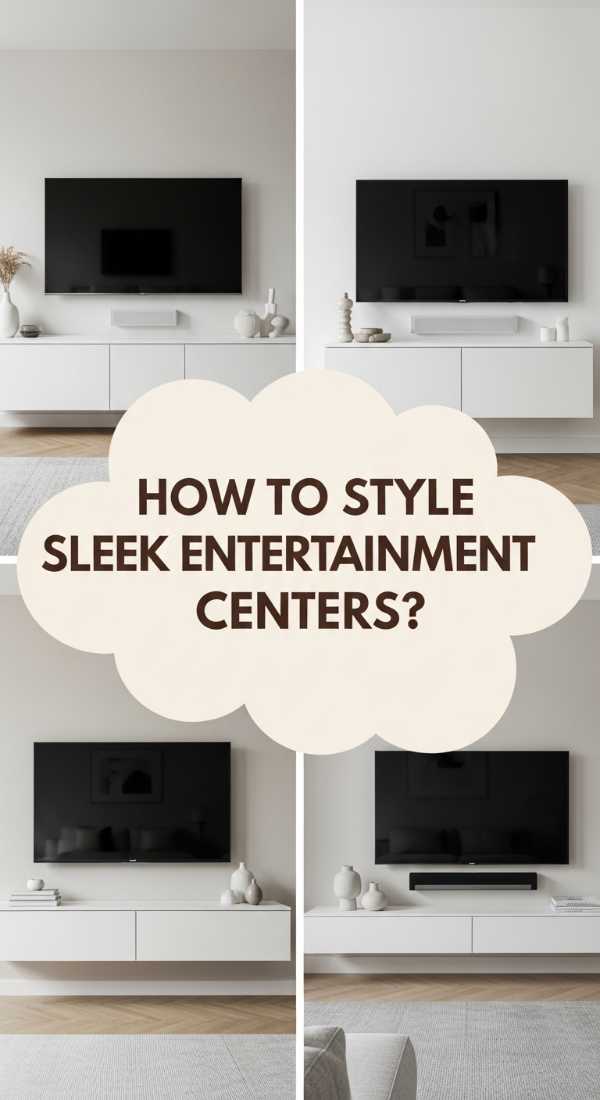
How to Style a Sleek Entertainment Center for a Minimalist Home
Why we love this
The modern entertainment center is no longer a bulky eyesore; it’s a masterclass in balance and hidden functionality. We love the crisp, clean lines that allow the eye to rest, and the satisfying way smart technology integrates seamlessly into the decor. There’s a tactile joy in matte finishes and the absence of clutter, creating a serene environment where you can truly focus on the cinematic experience without the distraction of tangled wires or dusty shelves.
Essential Elements:
- Floating media console in a neutral tone (white, oak, or charcoal)
- In-wall cable management kit
- Minimalist ceramic vases and textured sculptures
- Dimmable LED backlighting strips
- A few curated coffee table books
How to make it
- Measure your television and choose a console that is at least 20% wider than the screen to maintain visual weight and proportion.
- Install the floating console at a height that allows the TV to be at eye level when seated; typically, this is 24-30 inches from the floor.
- Use a hole saw bit to create access points behind the TV and console, feeding all HDMI and power cables through the wall for a “wireless” look.
- Apply the LED strips to the back of the TV, ensuring they are inset by 2 inches so the light diffuses softly against the wall rather than creating hot spots.
- Style the top with an asymmetrical arrangement: place a tall vase on one side and a low stack of books on the other to create a dynamic, balanced composition.
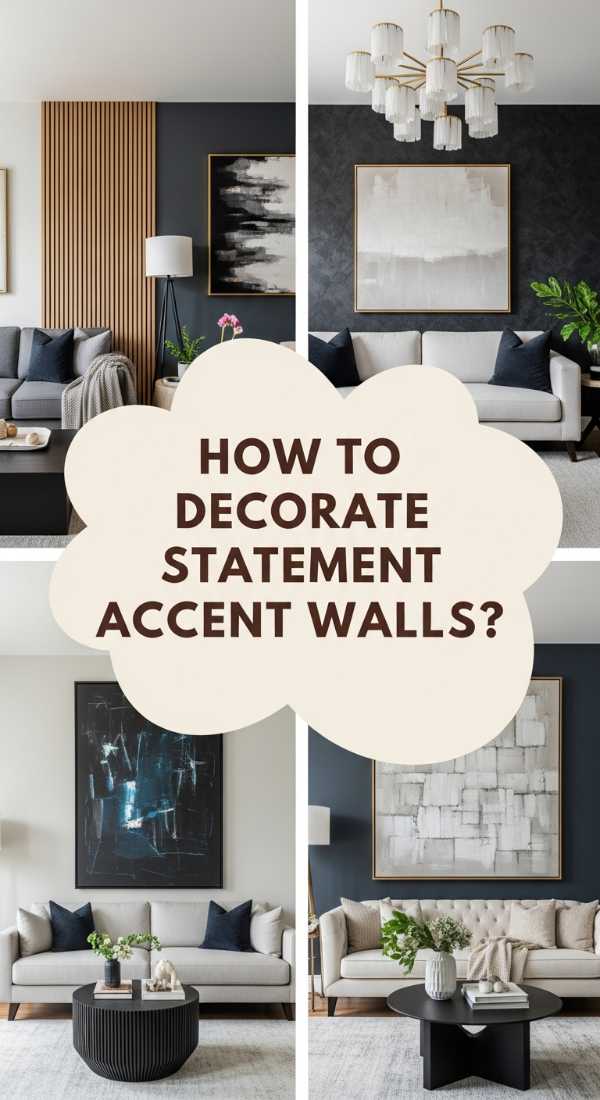
How to Decorate Statement Accent Walls for a Cozy Gathering Space
Why we love this
An accent wall is the heartbeat of a room, providing an anchor that pulls all other design elements together into a cohesive story. Whether it’s the rugged, cool touch of slate stone or the soft, suede-like finish of Roman clay, these walls invite you to reach out and touch them. They create a cozy, cocooning effect that makes guests feel instantly welcome, turning a standard living room into a sophisticated space for deep conversations and laughter.
Essential Elements:
- Textured wallpaper, Venetian plaster, or reclaimed wood planks
- High-quality painter’s tape and drop cloths
- Wide-angle picture light or directional spotlights
- Coordinating trim paint
- Joint compound or adhesive (depending on material)
How to make it
- Clean the wall thoroughly with TSP (trisodium phosphate) to remove any oils or dust that could prevent the adhesive or paint from bonding correctly.
- If using Roman clay or plaster, apply a thin “scratch coat” with a trowel, using random, sweeping motions to create the initial texture.
- Wait for the first layer to become matte and slightly lighter in color—a visual cue it’s dry—before applying a second, more decorative layer to build depth.
- For wood or stone, use a construction adhesive in a zigzag pattern on the back of each piece, then secure with a brad nailer into the wall studs.
- Install a picture light at the top center of the wall to graze the texture with light, emphasizing the highs and lows of the material for a dramatic effect.
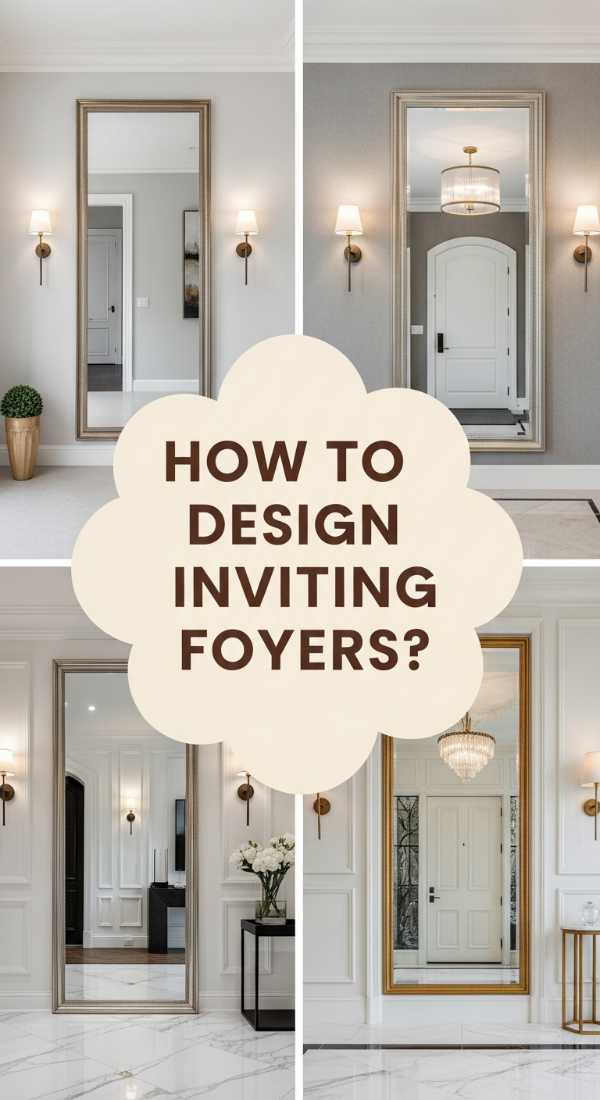
How to Design an Inviting Foyer for a Memorable First Impression
Why we love this
The foyer is the “handshake” of your home—it sets the tone for everything that lies beyond the front door. We love a space that feels curated yet functional, where the scent of a signature candle meets the elegance of a perfectly placed mirror. It’s about that immediate transition from the chaos of the outside world to the peace of your private domain, characterized by warm lighting, organized surfaces, and a touch of architectural grandeur.
Essential Elements:
- Large-scale statement mirror (round or arched)
- Narrow console table with a stone or wood top
- Scent diffuser or high-quality soy candle
- Catch-all tray for keys and mail
- An oversized piece of abstract art or a gallery wall
How to make it
- Center your console table on the longest wall, ensuring there is at least 36 inches of clearance for the walkway to maintain flow.
- Hang your mirror 6-10 inches above the console; the center of the mirror should be roughly 57-60 inches from the floor (standard eye level).
- Layer your decor: place a tall lamp on one end of the table to provide soft, ambient light that makes the space feel warm and inviting at night.
- Incorporate a “living” element, such as a vase of fresh eucalyptus, which provides a clean, spa-like aroma the moment guests walk in.
- Check the “swing” of your front door to ensure no furniture pieces obstruct the entry, and place a heavy, textured rug to define the zone.
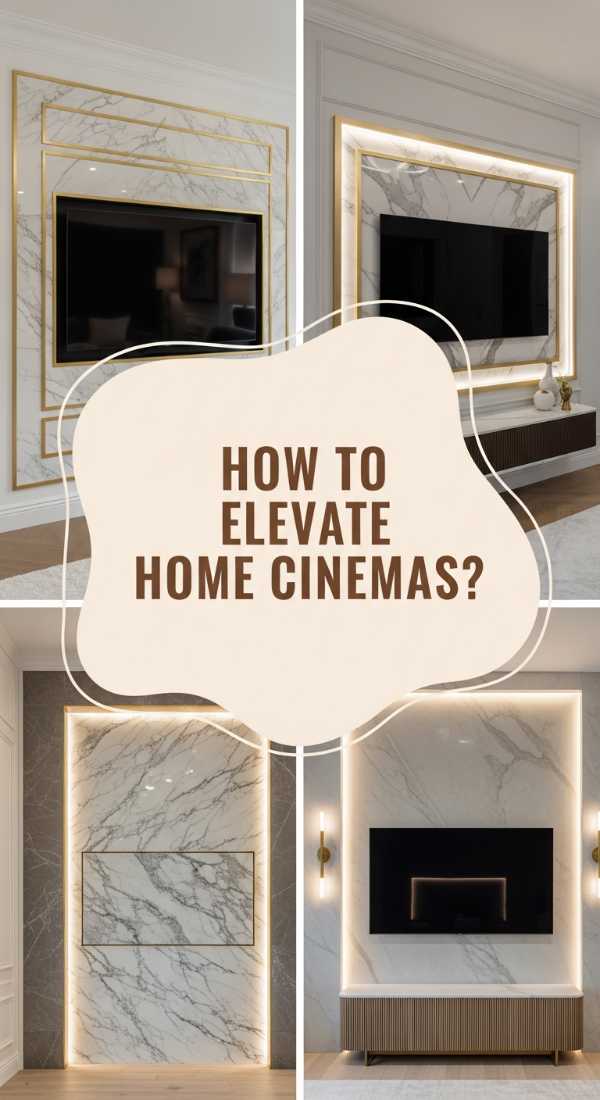
How to Elevate Your Home Cinema for a High End Cinematic Experience

Why we love this
There is nothing quite like the immersive silence of a dedicated home cinema, where the walls themselves are engineered for sound. We love the moody, dark aesthetics—think deep indigos and charcoals—that make the screen’s colors pop with incredible intensity. The soft, sound-dampening panels feel luxurious to the touch and eliminate echoes, wrapping you in a cocoon of high-fidelity audio that makes every movie night feel like a world premiere.
Essential Elements:
- Acoustic foam or fabric-wrapped sound panels
- Ultra-short throw projector or 85″+ LED screen
- Motorized blackout curtains
- Deep, plush velvet wall coverings or dark matte paint
- Step lighting for safety and ambiance
How to make it
- Paint the entire room, including the ceiling, in a non-reflective matte finish to prevent light bounce-back from the screen.
- Identify “first reflection points” on your side walls—where sound hits first—and install acoustic panels at ear level when seated.
- Mount your screen or calibrate your projector so the bottom third of the image is at eye level to prevent neck strain during long viewings.
- Install LED channel lighting along the baseboards, connected to a smart dimmer, to mimic the aesthetic of a professional theater.
- Ensure all equipment (receivers, consoles) is stored in a ventilated cabinet to prevent overheating, using infrared repeaters for remote control access.
How to Maintain Living Art Walls for a Vibrant Natural Vibe

Why we love this
Living art is a conversation starter that bridges the gap between traditional decor and horticulture. These framed botanical masterpieces offer a tactile, three-dimensional beauty that no flat painting can replicate. We love the way the succulents’ plump, geometric shapes catch the light and the fresh, clean scent of a newly misted frame. It’s a dynamic piece of decor that literally grows and evolves with you, providing a constant connection to nature’s rhythms.
Essential Elements:
- Shadow box frame with internal waterproof lining
- Chicken wire or plastic mesh to hold plants in place
- Sphagnum moss and specialized succulent soil
- Assorted colorful succulents (Echeveria, Sedum, Rosettes)
- Long-nosed watering can or syringe
How to make it
- Fill your lined shadow box with a mixture of damp sphagnum moss and soil, packing it tightly so it doesn’t shift when the frame is hung.
- Secure the mesh over the soil, stapling it to the inside of the frame to create a supportive grid for the plants.
- Poke small holes through the mesh and insert succulent cuttings, ensuring the stems are buried deep enough to establish roots.
- Keep the frame horizontal for 4-6 weeks—this is the critical “rooting phase” where you look for the visual cue of new growth before hanging.
- Once hung, water by laying the frame flat every 2 weeks and saturating the moss, allowing it to drain completely before re-mounting.
How to Upgrade Your Garden Perimeter for Better Outdoor Living

Why we love this
The perimeter of your garden is the frame of your outdoor portrait, and upgrading it can turn a basic yard into a designer landscape. We love the blend of hardscaping and softscaping—think sleek black horizontal fences softened by climbing jasmine or ivy. The scent of blooming flowers drifting over the fence on a warm evening, combined with the structural beauty of well-defined borders, creates a sense of order and luxury that makes outdoor dining feel like an event.
Essential Elements:
- Horizontal slat fencing or decorative metal screens
- Solar-powered post cap lights
- Climbing vines (Clematis, Honeysuckle, or Star Jasmine)
- Steel or stone garden edging
- Mulch or decorative river stones
How to make it
- Install horizontal slats with minimal spacing to create a modern, sleek backdrop that makes the green of your plants look more vivid.
- Place garden edging 12 inches away from the fence to create a dedicated planting bed, preventing grass from encroaching on your perimeter decor.
- Install trellis wires or small eye-hooks into the fence to give climbing plants a path to follow as they grow upward.
- Add solar cap lights to every other post; this creates a rhythmic light pattern that defines the boundary of your property at night.
- Layer the planting bed with dark hardwood mulch to retain moisture and provide a high-contrast visual floor for your flowers.
How to Integrate Smart Tech Into Your Decor for a Seamless Look

Why we love this
The most impressive homes today are those where technology feels invisible, serving the inhabitant without cluttering the aesthetic. We love the magic of a wall that looks like a curated art gallery but transforms into a high-def screen at the touch of a button. It’s about the harmony of form and function—where smart thermostats, hidden speakers, and motorized shades respond to your presence while maintaining the sleek, uninterrupted lines of your interior design.
Essential Elements:
- Samsung Frame TV or similar art-mode television
- In-wall or “invisible” speakers that can be painted over
- Smart lighting hubs with customizable scenes
- Recessed smart outlets and hidden charging stations
- Custom-fitted deco frames for tech devices
How to make it
- When installing a TV that doubles as art, use a recessed “One Connect” box so the screen sits perfectly flush against the drywall with no gap.
- Choose a frame for your tech that matches your room’s wood tones or metallic accents, effectively “disguising” the hardware as decor.
- Install in-wall speakers between the studs and apply a thin layer of acoustic-transparent compound or paint to make them vanish.
- Program “scenes” in your smart home app so that lighting, temperature, and music adjust simultaneously to your preferred “relaxation” or “hosting” modes.
- Use cable raceways painted the exact color of your walls if you cannot go behind the drywall, ensuring they follow the baseboard or crown molding lines.
How to Master Foyer Wall Paneling for a Classic Architectural Feel
[IMAGE_10]
Why we love this
Wall paneling, or wainscoting, adds a level of architectural gravitas that instantly makes a home feel more expensive and established. There is a beautiful rhythm to the repeating boxes and the way they catch the morning light, creating deep, elegant shadows. The smooth, satin-finish paint over the molding feels incredible to the touch, and the classic structure provides the perfect backdrop for modern art, creating a sophisticated “old meets new” vibe.
Essential Elements:
- Pre-cut MDF molding or primed wood trim
- Laser level for perfect alignment
- Construction adhesive and a pneumatic brad nailer
- Paintable wood filler and caulk
- Satin or semi-gloss paint for the molding
How to make it
- Map out your boxes using painter’s tape first; a common rule is to keep the boxes 3-4 inches apart and 4 inches from the baseboard and chair rail.
- Use a laser level to project a straight line across the wall, ensuring that every piece of molding is installed with mathematical precision.
- Apply a small bead of adhesive to the back of the trim, press it to the wall, and secure it with 1.25-inch brad nails every 6 inches.
- This is the professional secret: fill every nail hole and every mitered corner with wood filler, then sand perfectly smooth until the joint disappears.
- Caulk the inner and outer edges where the molding meets the wall to eliminate any gaps, then apply two coats of paint for a seamless, built-in look.
Final Thoughts on Transforming Your Space
Your home is a reflection of your journey, and these wall decor trends are the tools to help you tell that story more vividly. Whether you choose the lush life of a vertical garden or the refined structure of foyer paneling, the key is to create a space that resonates with your personal sense of peace and joy. Don’t be afraid to mix and match these viral ideas to find the combination that makes you breathe a sigh of relief every time you walk through the door.