
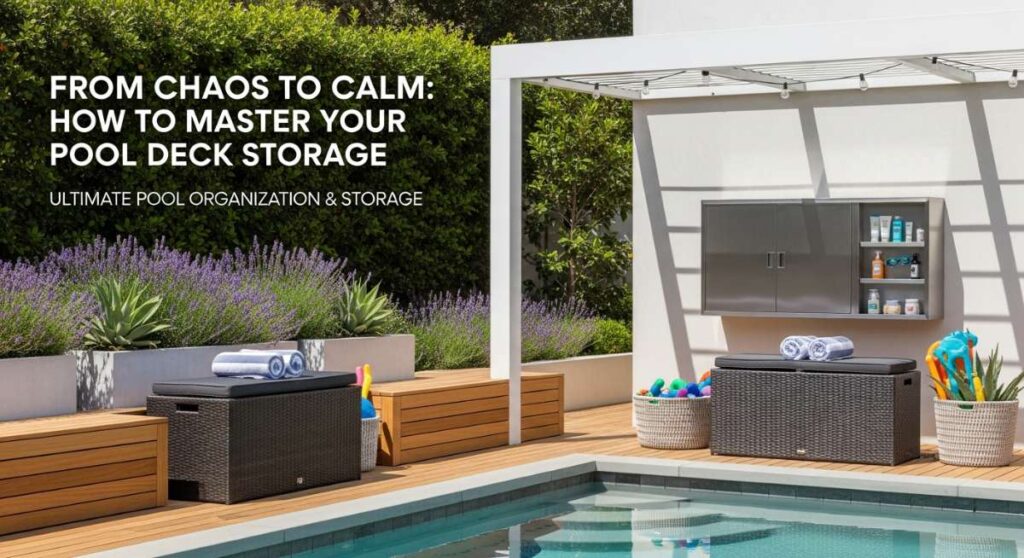
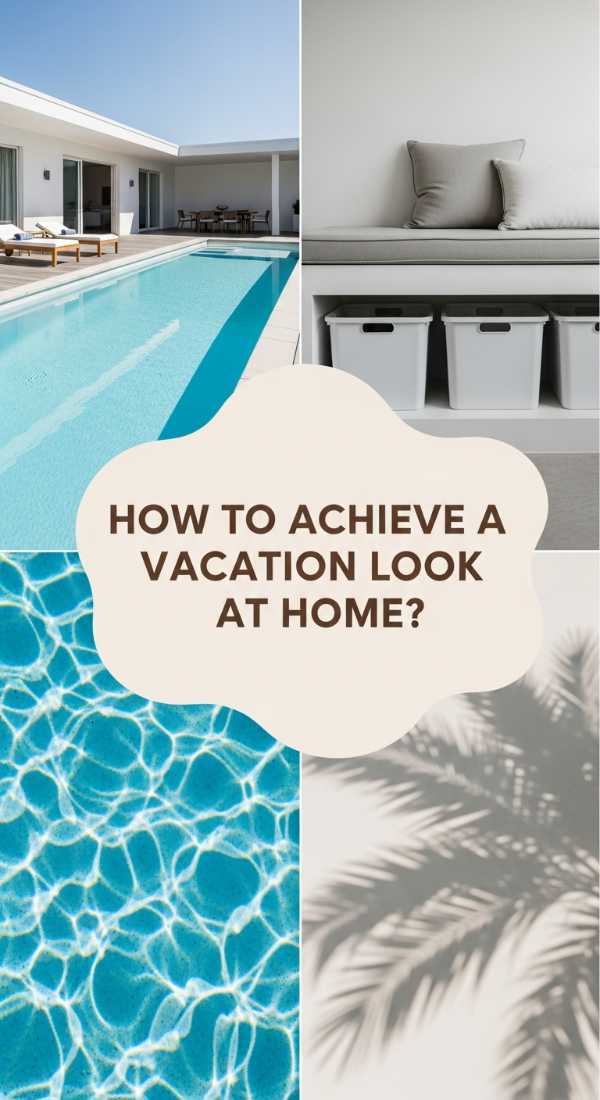
From Chaos to Calm: How to Master Your Pool Deck Storage
There is nothing quite like the shimmering blue of a freshly uncovered pool on a Saturday morning, but that magic quickly fades when you’re tripping over a sun-bleached unicorn floatie or hunting for a dry towel buried under a pile of wet ones. We’ve all been there: the ‘backyard oasis’ that feels more like a chaotic storage locker. Your outdoor space should be a sanctuary where the only thing on your mind is the temperature of the water and the crispness of your iced tea.
Transforming your poolside from a cluttered mess into a serene retreat isn’t just about cleaning up; it’s about creating a lifestyle system that works for you. By mastering pool deck storage, you aren’t just hiding the mess—you’re reclaiming your peace of mind. Imagine walking barefoot across a clear, sun-warmed deck, the scent of lavender-infused towels wafting through the air, and every accessory having its perfect, hidden home. Let’s dive into how you can elevate your summer experience.
How to Organize Pool Floats for a Clutter Free Backyard
Why we love this
There is a profound sense of lightness that comes when those oversized, neon-colored vinyl floats are finally off the floor and tucked into their proper places. We love the tactile smoothness of a clean float and the way a clear deck allows the natural beauty of your landscaping to shine through. The air feels fresher, and the visual weight of the backyard drops instantly, leaving you with a space that feels expansive and ready for a professional photoshoot. It’s the difference between a cramped water park and a high-end private estate.
Essential Elements:
- Bungee cords or specialized float straps
- Outdoor-rated mesh storage bins
- Wall-mounted utility hooks
- Microfiber cleaning cloths
- UV-protectant vinyl spray
How to make it
- Begin by gathering every float and inspecting them for the ‘visual cues’ of wear; if the vinyl is sticky or cracked from heat exposure, it’s time to retire it.
- Rinse each float with fresh water to remove chlorine residue, then dry them thoroughly with a microfiber cloth to prevent the damp, musty aroma of stagnant water.
- Install heavy-duty wall hooks on a fence or the side of the house, ensuring they are leveled perfectly to support the weight of larger rafts.
- Group your floats by size—placing large loungers in the back and smaller rings in the front—to create a layered, organized look that is easy to navigate.
- For seasonal ‘doneness,’ spray a light coat of UV protectant over the vinyl to ensure they stay vibrant and supple through the peak heat of August.
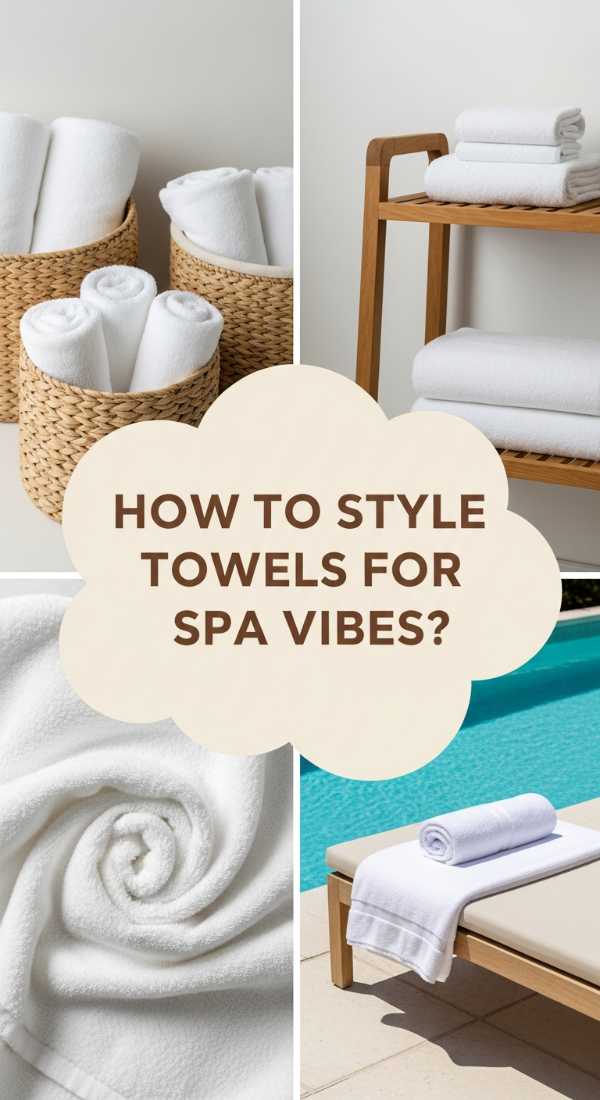
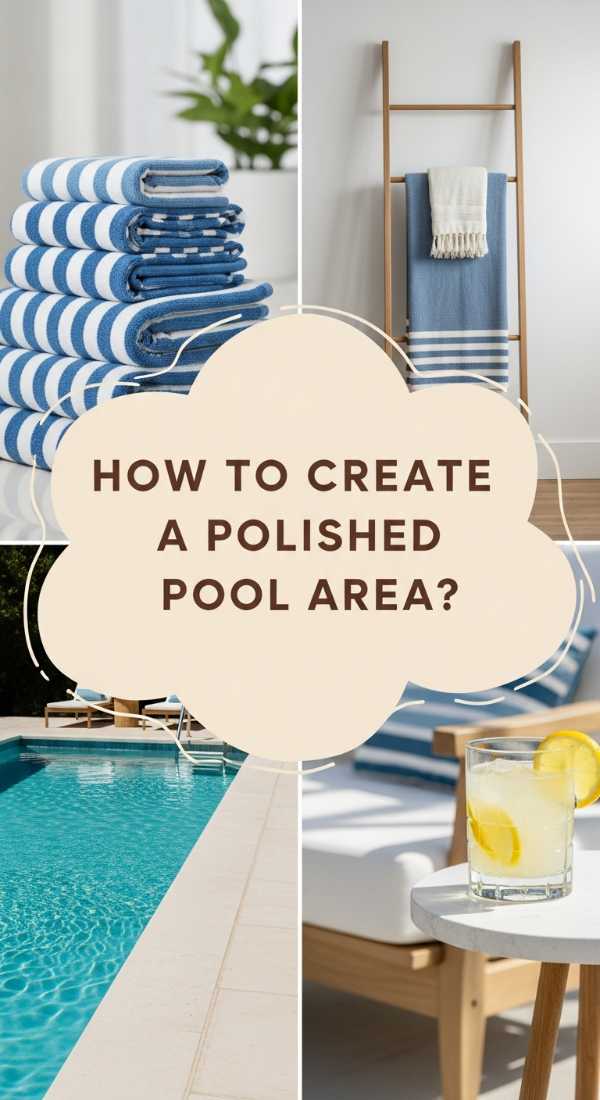
How to Store Pool Towels for a Spa Like Experience
Why we love this
Nothing beats the sensory delight of reaching for a towel that feels like a warm cloud against your skin after a refreshing dip. We love the aesthetic of perfectly rolled, plush cotton stacked in neat rows, reminiscent of a five-star Mediterranean resort. The subtle scent of fresh linen mixed with a hint of poolside jasmine creates an olfactory experience that signals total relaxation. It turns a basic necessity into a luxurious ritual that your guests will talk about all summer long.
Essential Elements:
- Weather-proof wicker or resin baskets
- Plush, high-GSM Turkish cotton towels
- Cedar blocks or dried lavender sachets
- A dedicated ‘wet’ hamper with a breathable liner
- Rolling cart for mobility
How to make it
- Select a high-quality basket that matches your patio furniture; look for a weave that allows for airflow to prevent any damp odors.
- Use the ‘spa roll’ technique: fold the towel in half lengthwise, then roll tightly from one end to the other until it forms a firm, symmetrical cylinder.
- Arrange the rolls vertically in the basket so that the edges face downward, creating a uniform and inviting surface texture.
- Tuck a cedar block or a small sachet of dried lavender at the bottom of the basket to infuse the fabric with a natural, calming aroma.
- Monitor the ‘doneness’ of your supply; when the stack hits the halfway mark, it’s your visual cue to start a fresh laundry load to maintain the spa-like abundance.
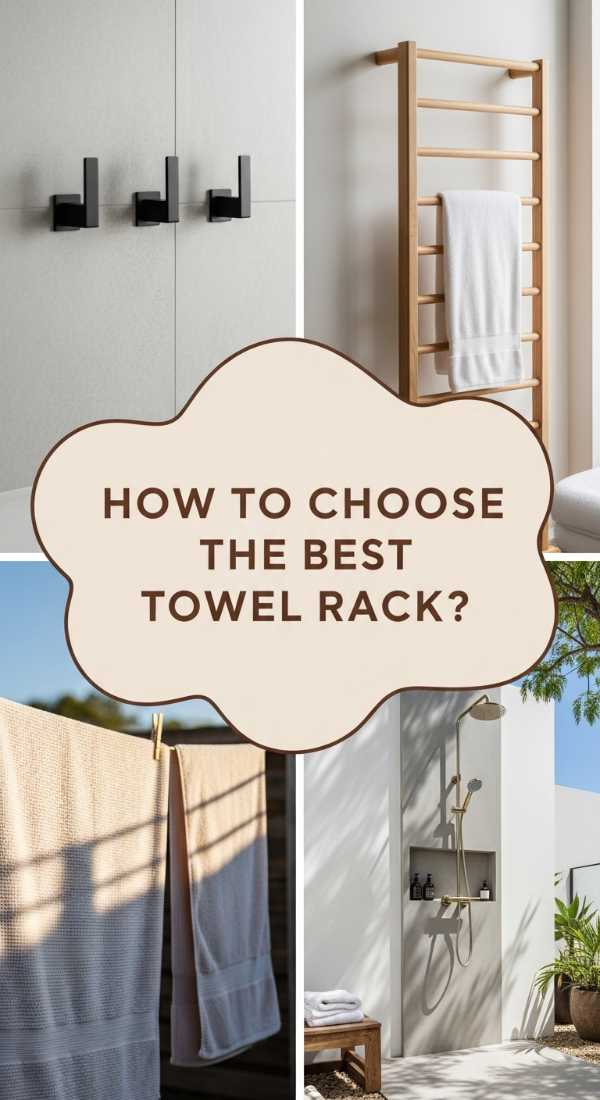
How to Install Towel Racks for Ultimate Poolside Convenience
Why we love this
The convenience of having a dedicated spot for your damp towel cannot be overstated—it’s the ultimate way to prevent ‘deck puddles’ and heavy, soggy piles. We love the architectural lines of a well-placed rack, which adds a touch of functional elegance to a bare wall or fence. There is a satisfying rhythm to hanging a towel and watching it catch the afternoon breeze, drying naturally in the sun. It keeps the fabric crisp and the deck clear, maintaining that seamless vacation vibe we all crave.
Essential Elements:
- Rust-proof stainless steel or brass hooks
- Power drill with masonry or wood bits
- Outdoor-grade wall anchors
- Leveling tool
- Pencil for marking
How to make it
- Choose a location that receives ample sunlight and wind flow to ensure towels dry quickly after use; heat levels are your best friend here.
- Measure the height of your tallest guest to ensure the hooks are mounted high enough that towels won’t drag on the ground.
- Use your leveling tool to mark a perfectly straight line, then drill pilot holes at even intervals—usually 12 to 18 inches apart for optimal airflow.
- Secure the anchors firmly into the wall; the visual cue for a perfect fit is when the anchor sits flush against the surface without any wiggling.
- Screw the hooks into place and give them a firm tug to test for stability, ensuring they can handle the weight of heavy, water-logged beach towels.
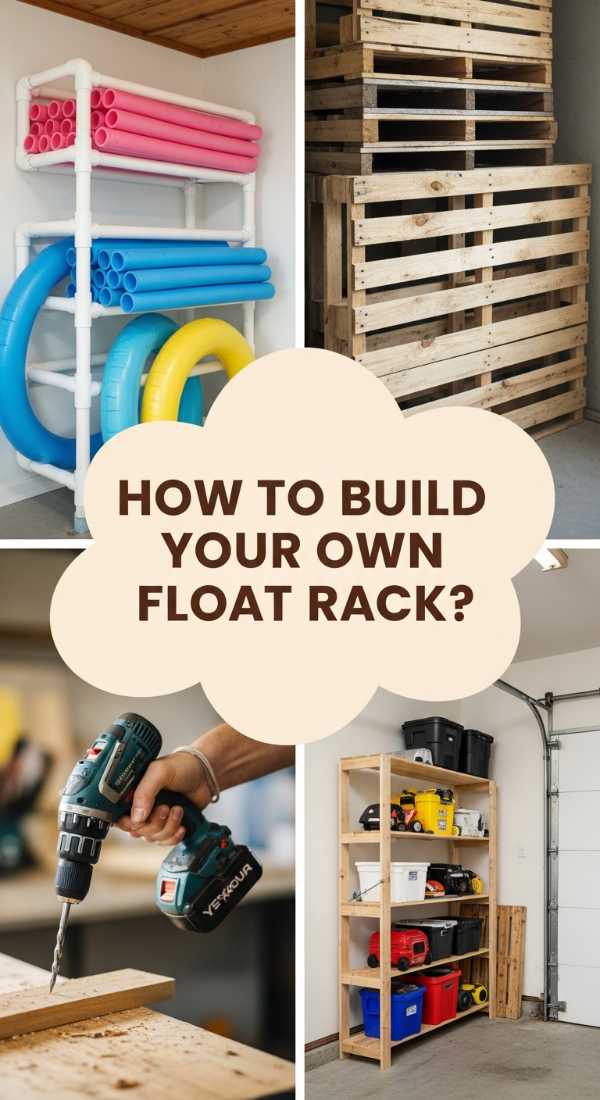
How to Build DIY Float Storage for a Custom Backyard Look
Why we love this
There is a unique pride in building something with your own hands that perfectly fits the dimensions of your space. We love the raw, organic texture of cedar wood or the clean, industrial vibe of PVC when used to create a custom float rack. It smells of fresh-cut lumber and sawdust, a stark contrast to the plastic-heavy world of pool gear. This solution isn’t just functional; it’s a piece of backyard furniture that shows off your creativity and commitment to a beautiful home.
Essential Elements:
- Pressure-treated wood or PVC piping
- Exterior-grade wood screws or PVC cement
- Heavy-duty casters (optional for mobility)
- Sandpaper (medium and fine grit)
- Outdoor sealant or paint
How to make it
- Draft a simple box frame or ‘vertical comb’ design that allows floats to stand upright like books on a shelf.
- Cut your materials to length, ensuring the base is wide enough to prevent the rack from tipping over during a summer thunderstorm.
- Sand all edges until they are buttery smooth to the touch; this prevents any snags or punctures in your expensive vinyl floats.
- Assemble the frame using exterior-grade screws, pre-drilling holes to avoid splitting the wood, and checking for squareness at every corner.
- Apply a high-quality outdoor sealant; the ‘visual cue’ for doneness is a consistent, slight sheen that repels water droplets instantly.
How to Manage Pool Accessories for a Serene Summer Retreat
Why we love this
It’s the little things that usually cause the most clutter: goggles, sunscreen, diving rings, and speakers. We love the feeling of opening a drawer or bin and seeing everything categorized and visible. It creates a mental ‘reset,’ allowing you to find what you need without the frantic searching that ruins a peaceful afternoon. The organization of small items brings a sense of professional curation to your pool deck, making every swim feel like a planned, effortless event.
Essential Elements:
- Clear, stackable outdoor bins
- Label maker with waterproof tape
- Divided drawer inserts
- Small mesh bags for sets
- Over-the-door organizer for the pool house
How to make it
- Sort your accessories into categories: ‘sun protection,’ ‘swim gear,’ and ‘entertainment’ to create a logical flow.
- Clean each item to remove sand and salt; small goggles should be rinsed in fresh water to prevent the ‘clouding’ of lenses over time.
- Place items into clear bins so you can identify contents at a glance, using waterproof labels for a crisp, professional finish.
- Group ‘sets’ (like a mask and snorkel) into individual mesh bags so they don’t become tangled with other gear.
- Store the bins in a shaded, cool area; the heat levels under direct sun can degrade plastics and sunscreens, so timing your storage placement is key.
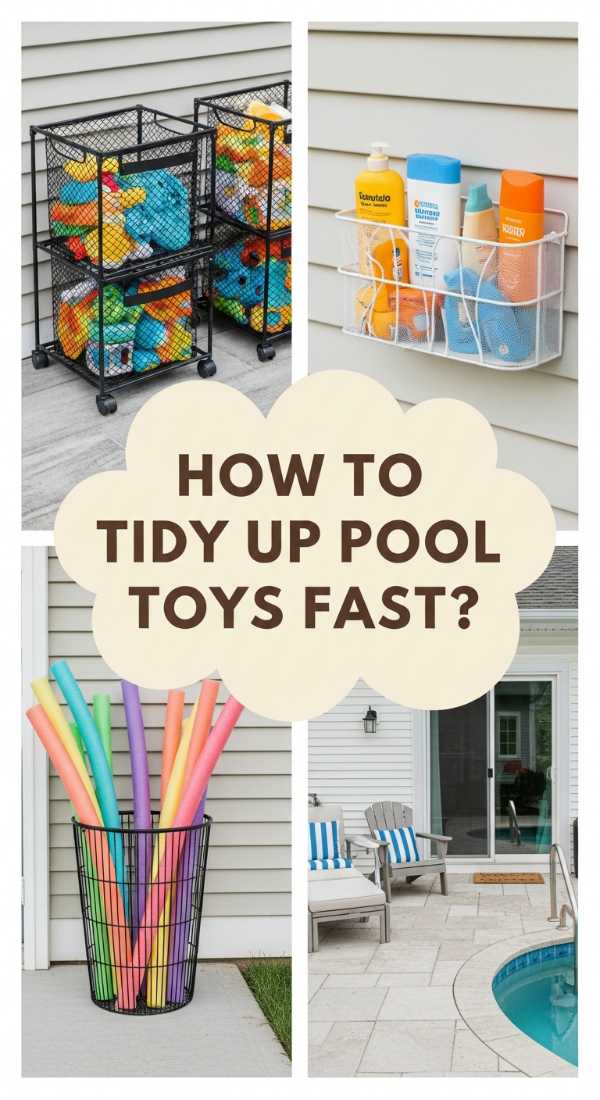
How to Organize Pool Toys for Stress Free Family Fun
Why we love this
Family time is precious, and we love how a dedicated toy system removes the friction of clean-up time. There is a playful energy to seeing colorful noodles and water guns neatly arranged in a rolling cart, ready for action. It teaches kids the value of their space and ensures that the fun doesn’t end in a ‘yard-sale’ mess across the grass. The sight of a tidy toy station at sunset is the ultimate visual cue that a successful day of play has concluded.
Essential Elements:
- Rolling mesh cart
- Lidded deck box for small toys
- Noodle organizer (vertical rack)
- Mild dish soap for cleaning
- Designated ‘toy zone’ marker
How to make it
- Set a ‘clean-up timer’ toward the end of the day—this is your operational ‘timing’ for transitioning from play to rest.
- Rinse all toys in a large bucket of mild soapy water to remove sunscreen oils and bacteria, then spread them in the sun to dry.
- Place long items like noodles into a vertical rack to save floor space and prevent them from bending or warping.
- Use a rolling mesh cart for smaller balls and water blasters; the mesh allows for 360-degree airflow, ensuring no mold grows overnight.
- Park the cart in its designated ‘zone’—a specific corner of the deck—to maintain the visual symmetry of your outdoor space.
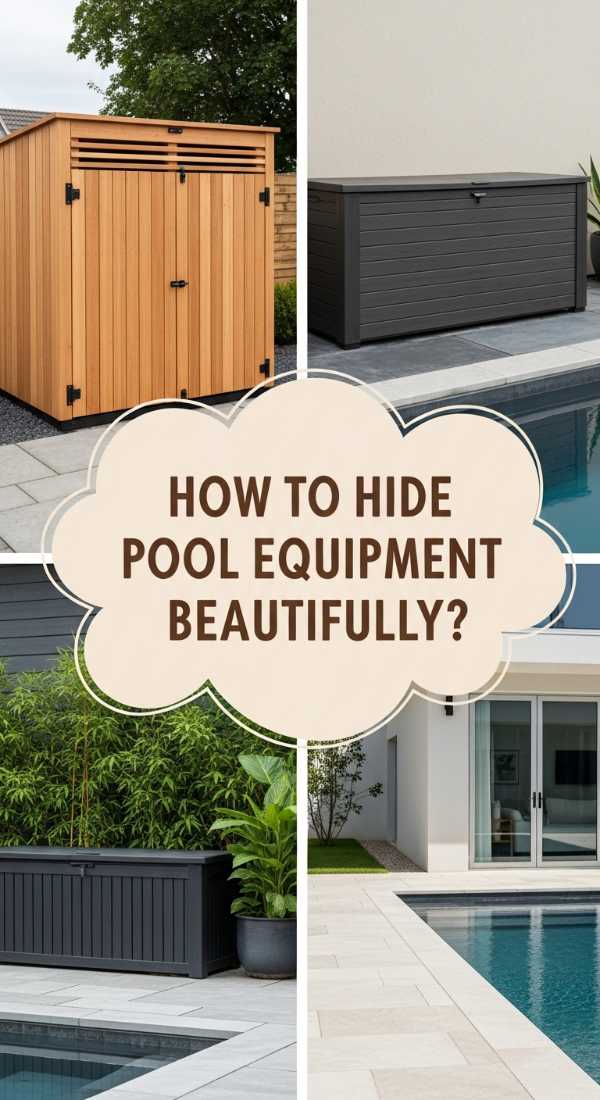
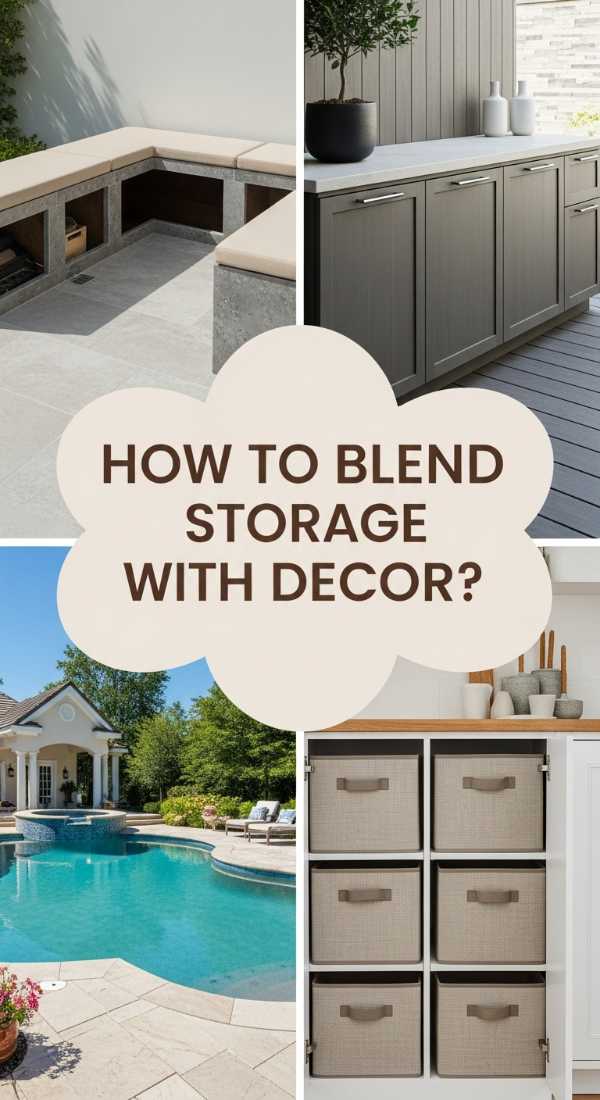
How to Design Poolside Storage for an Elevated Aesthetic
Why we love this
When storage looks like decor, you’ve hit the peak of outdoor design. We love the use of teak wood benches that hide bulky pumps or large deck boxes that double as chic coffee tables. This approach creates a seamless visual flow where the ‘work’ of the pool is completely hidden behind high-end textures and sophisticated silhouettes. It’s about creating a polished, grown-up atmosphere that feels expensive, curated, and intentionally designed for relaxation.
Essential Elements:
- Multi-functional furniture (storage benches)
- Teak or eucalyptus wood finishes
- Matching outdoor cushions
- Concealed hinge hardware
- Decorative lanterns or trays
How to make it
- Select storage pieces that match the existing architecture of your home and the finish of your patio furniture for a cohesive look.
- Opt for ‘hidden’ storage solutions, such as a bench with a lift-top seat, to maximize the utility of every square foot.
- Ensure the interior of the storage is ventilated; even for ‘hidden’ items, airflow is the visual cue for a healthy, mold-free environment.
- Style the top of your storage units with decorative elements like oversized lanterns or a tray of succulents to anchor the piece into the decor.
- Treat wood surfaces once a season with oil; you’ll know it’s done when the wood glows with a deep, rich luster and feels smooth to the touch.
How to Arrange Outdoor Gear for a Polished Patio Atmosphere
Why we love this
There is a professional, staged quality to a patio where every piece of gear is perfectly aligned. We love the rhythm of tiered shelving units that hold gardening tools, pool chemicals, and extra cushions in a structured way. It feels like walking through a luxury garden center where everything is pristine and purposeful. This level of organization reduces visual noise, allowing the sound of splashing water and rustling leaves to take center stage in your sensory experience.
Essential Elements:
- Tiered metal shelving (powder-coated)
- Uniform storage containers
- Heavy-duty floor mats
- Symmetry-based layout plan
- Weatherproofing spray
How to make it
- Map out your patio layout using symmetry; placing two identical storage units on either side of a feature creates an instant sense of order.
- Use uniform bins for everything—consistency in color and shape is the professional secret to a ‘polished’ look.
- Place heavier items on the bottom shelves to lower the center of gravity and provide a visual ‘base’ for the arrangement.
- Apply a weatherproofing spray to any metal or fabric elements to prevent rust and fading; check for ‘doneness’ by seeing if water beads off the surface.
- Keep a clear ‘walkway’ of at least three feet around all gear to ensure the patio feels spacious and easy to navigate.
How to Tidy Poolside Areas for a Seamless Vacation Vibe
Why we love this
A tidy poolside is the foundation of a ‘staycation.’ We love the feeling of a freshly swept deck, the lack of debris, and the way the furniture is angled perfectly toward the sun. It creates a ‘seamless’ transition from the indoors to the outdoors, making your backyard feel like an extra room in your house. The lack of clutter allows your mind to wander and your body to fully relax, mimicking the carefree vibe of an island getaway.
Essential Elements:
- High-quality deck broom or leaf blower
- All-weather furniture covers
- Small ‘quick-hide’ baskets
- Outdoor clock or timer
- Fresh potted greenery
How to make it
- Perform a ‘five-minute sweep’ at the end of every pool session—this quick timing prevents debris from accumulating and staining the deck.
- Arrange lounge chairs in pairs with a small table in between, creating ‘vignettes’ that suggest a professional resort layout.
- Use ‘quick-hide’ baskets for those few items that don’t have a home yet, keeping the surface areas clear for drinks and books.
- Cover furniture during the ‘off-hours’ or before a storm; the visual cue for a well-prepared deck is a series of taut, clean covers.
- Add fresh, potted palms or ferns to soften the edges of your storage areas and enhance the tropical, vacation atmosphere.
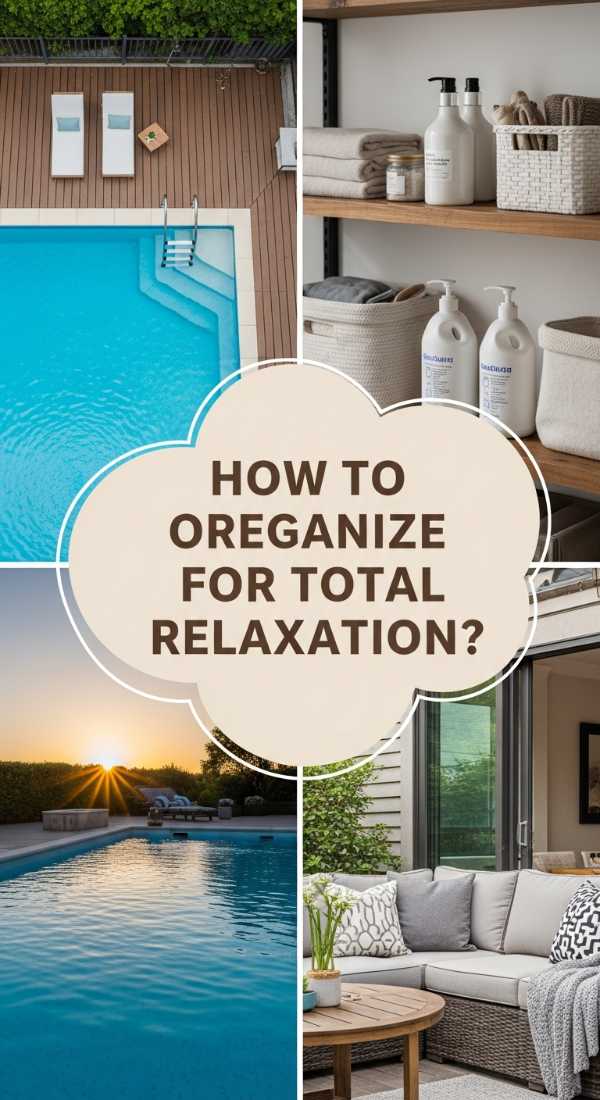
How to Curate a Pool Organization System for Maximum Relaxation
[IMAGE_10]
Why we love this
Curating a system is about more than just bins—it’s about a lifestyle. We love the ease of a master plan where every family member knows exactly where things go. It removes the ‘labor’ from the leisure, ensuring that you spend more time in the water and less time managing the environment around it. A curated system feels effortless, high-end, and deeply personal, providing the ultimate foundation for a summer filled with nothing but joy and rest.
Essential Elements:
- Master inventory list
- Seasonal rotation schedule
- Color-coded zones
- Maintenance checklist
- A ‘can-do’ mindset
How to make it
- Conduct a ‘pool audit’ at the start of the season, discarding anything that doesn’t serve your vision of a serene retreat.
- Establish ‘zones’ for different activities—dining, sunbathing, and playing—and keep the storage for each activity within its respective zone.
- Create a seasonal rotation: move deep-cleaning supplies to the back during the peak of summer and bring the ‘daily use’ items to the front.
- Implement a ‘one-in, one-out’ rule for toys and floats to prevent the slow creep of clutter throughout the months.
- Review the system once a month; the ‘visual cue’ of success is a deck that looks just as good on a Tuesday afternoon as it did on opening day.
Conclusion: Your Oasis Awaits
Mastering your pool deck storage is the ultimate gift you can give to yourself and your family. By moving from the chaos of scattered gear to the calm of a curated system, you transform your backyard into the sanctuary it was always meant to be. Every roll of a towel, every neatly tucked-away float, and every polished surface contributes to a feeling of luxury and peace. So, take a deep breath, grab your label maker, and start creating the poolside paradise you deserve. Summer is short—make sure you spend it in style.