
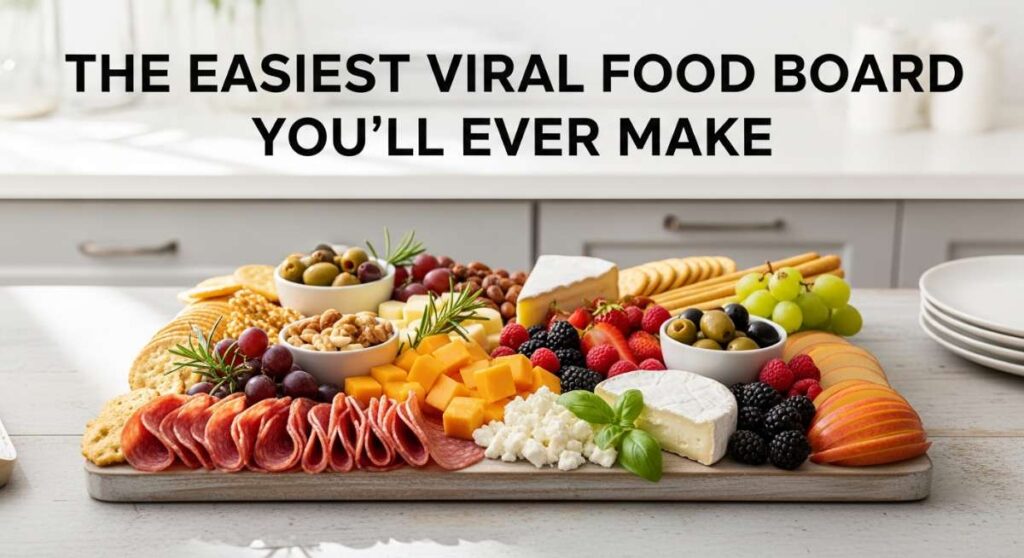
There is something truly magical about a table laden with handmade treats, a sight that instantly sparks conversation and brings people together in the warmest of ways. As a blogger who lives for those ‘pinch-me’ moments in the kitchen, I have discovered that the secret to a truly viral food board isn’t just about the aesthetics; it’s about the soul-soothing aromas and the tactile joy of sharing something crafted by hand. Whether you are hosting a breezy summer brunch or a cozy evening gathering, a curated board of baked delights is the ultimate way to say ‘I love you’ without saying a word.
Today, I am peeling back the curtain on my most requested recipes and tips to help you build the food board of your dreams. From the golden, flaky layers of artisan pastries to the delicate, cloud-like crunch of a perfect macaron, we are diving deep into the art of baking. These aren’t just recipes; they are invitations to slow down, flour your hands, and create something beautiful that your friends and family will be talking about for years to come. Let’s get baking!
HOW TO BAKE SUMMER TARTS?

Why we love this
There is nothing quite like the snap of a cold, buttery shortcrust pastry giving way to a velvety custard and the explosion of sun-ripened berries. We love these summer tarts because they capture the very essence of a July afternoon—vibrant, refreshing, and kissed by the sun. The aroma of baking butter mingling with the sweet scent of glazed apricots or macerated strawberries creates a sensory experience that feels both sophisticated and deeply nostalgic. Each bite is a balance of textures, from the sandy crumble of the base to the silky smooth filling and the juicy pop of fresh fruit on top.
Ingredients
- 2 1/2 cups all-purpose flour
- 1 cup cold unsalted butter, cubed
- 1/4 cup granulated sugar
- 1 large egg yolk
- 2-3 tbsp ice water
- 1 cup vanilla pastry cream
- Assorted summer fruits (raspberries, blueberries, peaches)
- Apricot jam for glazing
How to make it
- Begin by pulsing the flour, sugar, and cold cubed butter in a food processor until the mixture resembles coarse breadcrumbs with some pea-sized chunks of butter remaining. This ensures a flaky texture.
- Add the egg yolk and ice water one tablespoon at a time, pulsing briefly after each addition until the dough just begins to clump together; do not overwork it or the crust will be tough.
- Turn the dough onto a floured surface, form it into a disk, wrap in plastic, and chill in the refrigerator for at least 1 hour to relax the gluten.
- Preheat your oven to 375°F (190°C). Roll out the dough to 1/8 inch thickness and press it into tartlet tins, trimming the edges cleanly.
- Prick the bottoms with a fork, line with parchment paper and pie weights, and blind bake for 15 minutes until the edges are light golden. Remove weights and bake for another 5-7 minutes until the base is dry and sandy.
- Once the shells are completely cooled, fill them with a generous dollop of chilled pastry cream, smoothing it to the edges.
- Arrange your fruit in concentric circles or a rustic pile, then brush with warmed apricot jam for that signature professional shine and a touch of extra sweetness.
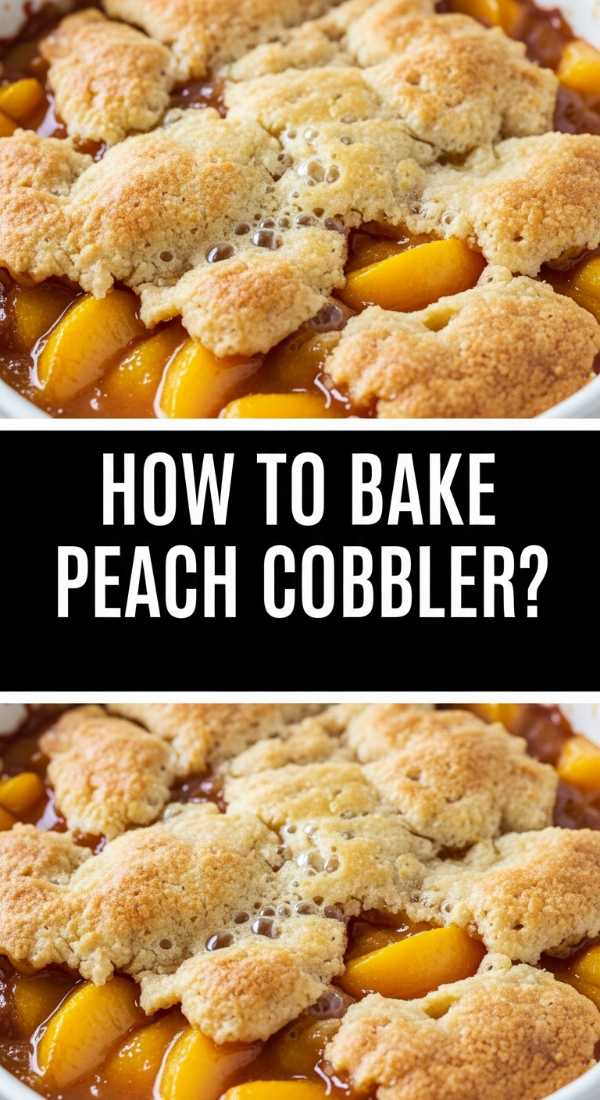
HOW TO BAKE PEACH COBBLER?
Why we love this
A warm peach cobbler is like a hug in a bowl, evoking memories of backyard picnics and golden hour sunsets. We love it for the way the peaches transform into a bubbling, ruby-hued syrup that seeps into the underside of a biscuit-like topping, creating a delightful contrast between soft and crunchy. The aroma of cinnamon and nutmeg wafting through the house is enough to bring anyone running to the kitchen. When served warm with a scoop of melting vanilla bean ice cream, it becomes a masterclass in comfort food—sticky, sweet, and utterly irresistible.
Ingredients
- 6 cups fresh peaches, sliced
- 1 cup granulated sugar (divided)
- 1/2 cup brown sugar
- 1 tsp cinnamon
- 1/4 tsp nutmeg
- 1 1/2 cups all-purpose flour
- 2 tsp baking powder
- 1/2 cup cold butter, grated
- 1/2 cup boiling water
How to make it
- Preheat your oven to 400°F (200°C) and lightly grease a 9×13 inch baking dish.
- In a large bowl, toss the sliced peaches with 1/4 cup granulated sugar, brown sugar, cinnamon, and nutmeg until the fruit is well coated and starting to release its juices.
- Pour the peach mixture into the prepared dish and bake for 10 minutes to start the softening process and concentrate the flavors.
- While the peaches bake, combine the flour, remaining 3/4 cup sugar, and baking powder in a bowl. Work in the grated cold butter using your fingers until the mixture is crumbly.
- Stir in the boiling water until just combined into a thick, sticky dough. Do not overmix, or the topping will lose its fluffy, biscuit-like quality.
- Remove the peaches from the oven and drop spoonfuls of the dough over the hot fruit, leaving some gaps for steam to escape and juices to bubble through.
- Bake for another 25-30 minutes until the topping is a deep golden brown and the fruit juices are thick and bubbling vigorously around the edges.
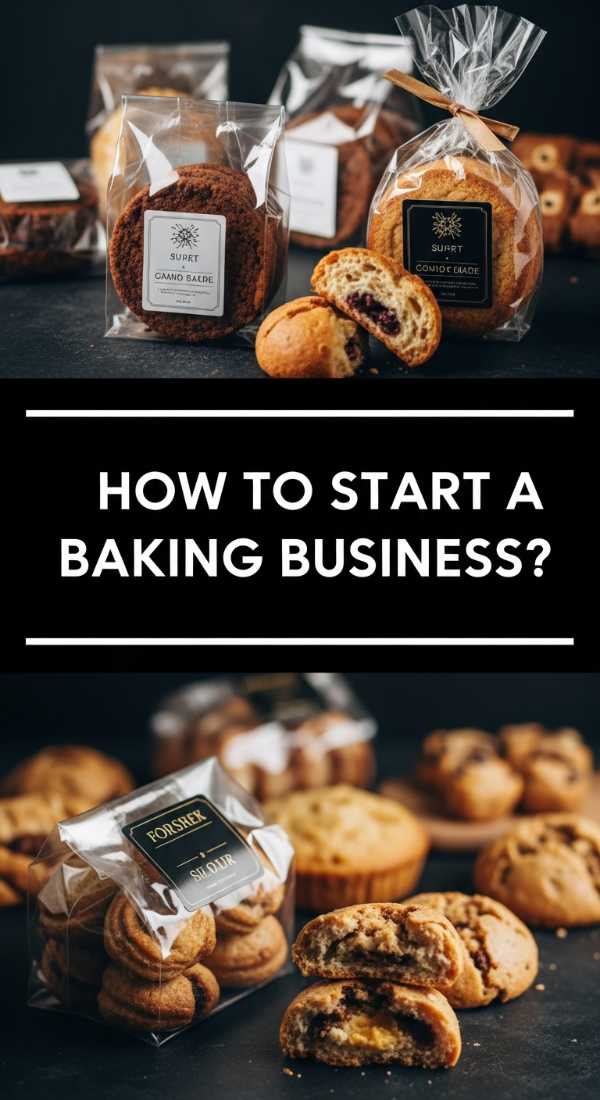
HOW TO START BAKING BUSINESS?
Why we love this
Starting a baking business is the ultimate dream for many because it transforms a personal passion into a community connection. We love the idea of turning your kitchen into a hub of creativity where your signature flavors become a staple at local celebrations and morning coffee runs. There is a profound sense of accomplishment in building a brand from scratch, from the first logo design to the moment a customer smiles after tasting your secret-recipe sourdough or decadent brownies. It is about more than just profit; it is about sharing your craft and building a legacy of sweetness.
Ingredients
- A signature recipe portfolio
- Business license and local health permits
- Standardized equipment (commercial mixer, oven)
- High-quality packaging materials
- A dedicated brand identity and website
- Financial plan and pricing strategy
How to make it
- First, research your local ‘Cottage Food Laws’ to understand what you can legally bake and sell from your home kitchen; this is the critical legal foundation of your venture.
- Develop a niche or ‘hero product’—something you do better than anyone else, whether it is gluten-free treats or hyper-realistic floral cakes—to stand out in a crowded market.
- Create a detailed cost analysis for every ingredient and packaging item to ensure your pricing covers overhead and provides a healthy profit margin; never guess your prices.
- Invest in high-quality food photography. Since customers eat with their eyes first, having professional-looking images for social media and your website is non-negotiable for viral growth.
- Start small by selling at local farmers’ markets or through pop-up events to test your products, gather direct feedback, and build a loyal local following before scaling up.
- Set up a streamlined ordering system, whether through a simple website or a dedicated social media workflow, to ensure a professional and easy experience for your customers.
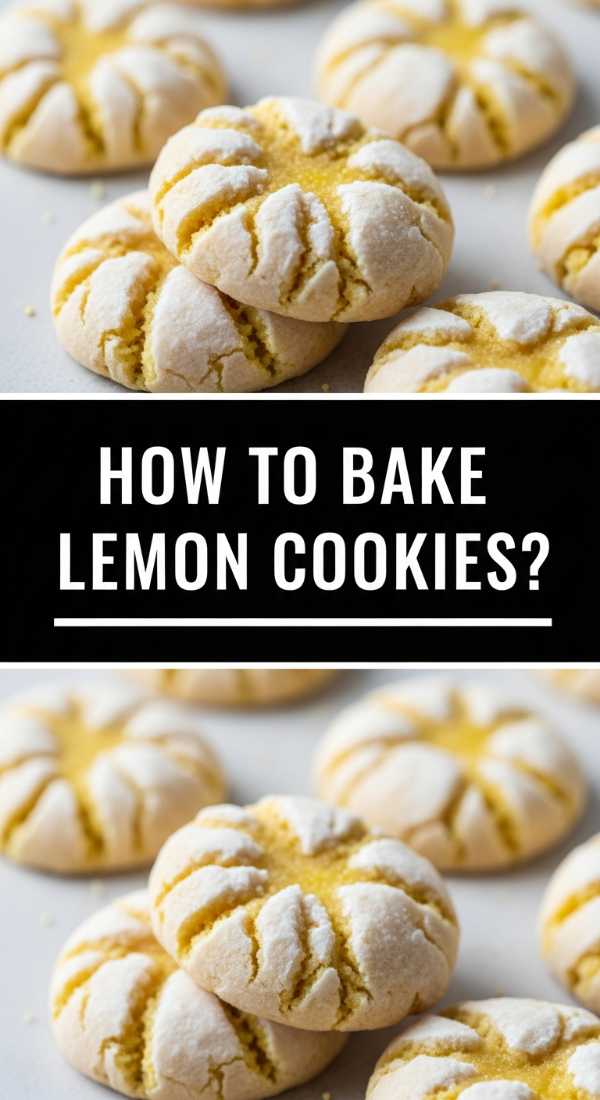
HOW TO BAKE LEMON COOKIES?
Why we love this
These lemon cookies are like a burst of sunshine in every bite, offering a bright, zesty profile that cleanses the palette and lifts the spirits. We love the dual texture of a crisp, sugar-dusted exterior that gives way to a soft, melt-in-your-mouth center reminiscent of shortbread but with more moisture. The scent of freshly grated lemon zest being creamed into butter is incredibly refreshing, making the entire kitchen feel clean and energized. They are the perfect accompaniment to a cup of Earl Grey tea or a cold glass of lemonade on a patio.
Ingredients
- 2 cups all-purpose flour
- 1/2 tsp baking soda
- 1/4 tsp salt
- 3/4 cup unsalted butter, softened
- 1 cup granulated sugar
- 1 large egg
- 2 tbsp fresh lemon juice
- 1 tbsp lemon zest
- Powdered sugar for rolling
How to make it
- Whisk together the flour, baking soda, and salt in a medium bowl to ensure even distribution of the leavening agents.
- In a large stand mixer, cream the softened butter and granulated sugar for at least 3-5 minutes until the mixture is pale, fluffy, and significantly increased in volume.
- Add the egg, lemon juice, and lemon zest, beating well after each addition. The lemon zest should be finely grated to release the maximum amount of essential oils into the fat.
- Gradually fold in the dry ingredients by hand or on low speed just until no streaks of flour remain; overmixing will lead to a tough, cakey cookie.
- Chill the dough for at least 30 minutes. This prevents the cookies from spreading too much and helps the lemon flavor deepen.
- Preheat oven to 350°F (175°C). Scoop rounded tablespoons of dough, roll into balls, and coat heavily in powdered sugar.
- Place on a parchment-lined sheet and bake for 10-12 minutes. The cookies should look set on the edges but still slightly soft and ‘cracked’ in the middle for that perfect texture.
HOW TO BAKE PERFECT MACARONS?

Why we love this
Macarons are the crown jewels of the baking world, celebrated for their delicate almond meringue shells and their iconic ‘feet.’ We love them because they represent the pinnacle of baking precision—a successful batch feels like a true victory. The texture is a sophisticated play between a paper-thin, crunchy outer shell and a chewy, marshmallow-like interior, all held together by a rich ganache or buttercream. They are infinitely customizable in color and flavor, making them the most visually stunning addition to any viral food board.
Ingredients
- 100g egg whites (aged 24 hours)
- 100g granulated sugar
- 110g almond flour (super-fine)
- 200g powdered sugar
- 1/4 tsp cream of tartar
- Gel food coloring (optional)
How to make it
- Sift the almond flour and powdered sugar together twice through a fine-mesh sieve. Discard any large almond bits to ensure your shells are perfectly smooth.
- In a clean, grease-free bowl, whisk egg whites and cream of tartar on medium speed until soft peaks form. Slowly add granulated sugar one tablespoon at a time until stiff, glossy peaks develop.
- Fold the dry ingredients into the meringue using the ‘macaronage’ technique—folding and scraping the batter against the side of the bowl until it reaches a ‘lava’ consistency that flows off the spatula in a ribbon.
- Pipe 1.5-inch circles onto a silicone mat. Tap the tray firmly on the counter several times to pop air bubbles, then let them sit for 30-60 minutes until a ‘skin’ forms and they are no longer tacky to the touch.
- Bake at 300°F (150°C) for 15-18 minutes. The macaron is done when it doesn’t wiggle on its ‘feet’ when touched.
- Allow them to cool completely before peeling them off the mat, then fill with your choice of filling and refrigerate for 24 hours to ‘mature’ for the best flavor and texture.
HOW TO BAKE STRAWBERRY CAKE?
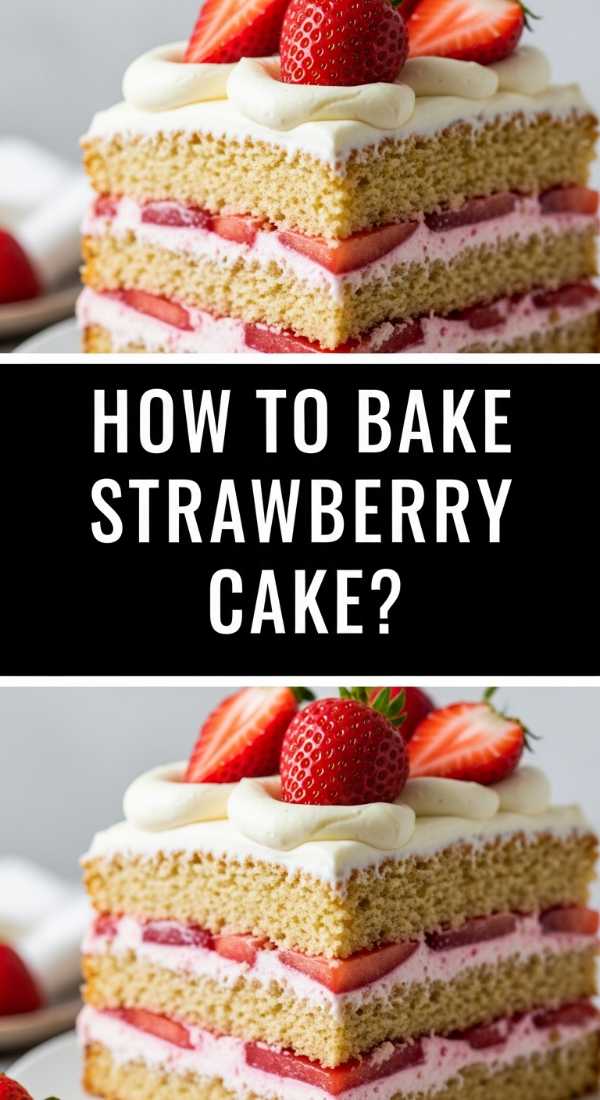
Why we love this
A true strawberry cake is a celebration of spring, boasting a naturally pink crumb and the unmistakable, sweet-tart aroma of real fruit. We love this cake because it shuns artificial extracts in favor of a concentrated strawberry reduction that infuses every bite with intense flavor. The texture is tender and moist, with tiny flecks of fruit visible throughout. Topped with a swirl of cream cheese frosting, it is a visual and culinary masterpiece that feels both elegant and homey, perfect for birthdays or a sophisticated garden party.
Ingredients
- 2 cups fresh strawberries (pureed and reduced)
- 2 1/2 cups cake flour
- 1 1/2 tsp baking powder
- 1/2 tsp baking soda
- 1/2 cup unsalted butter, softened
- 1 1/2 cups granulated sugar
- 2 large eggs
- 1/2 cup buttermilk
How to make it
- Place 2 cups of strawberry puree in a small saucepan over medium-low heat and simmer until it reduces to 1/2 cup. This step is vital to concentrate the flavor without adding too much liquid to the batter.
- Preheat your oven to 350°F (175°C) and grease two 8-inch round cake pans.
- Whisk the cake flour, baking powder, baking soda, and salt. Cake flour is essential here for a fine, tight crumb that remains light and airy.
- Cream the butter and sugar until pale and fluffy, then add eggs one at a time. Mix in the cooled strawberry reduction and vanilla.
- Alternate adding the dry ingredients and the buttermilk, beginning and ending with the dry ingredients. Stir just until combined to prevent gluten development.
- Divide the batter evenly between the pans and bake for 25-30 minutes, or until a toothpick inserted in the center comes out clean.
- Cool in the pans for 10 minutes before transferring to wire racks. Once cold, frost with strawberry cream cheese frosting for a double-hit of fruit flavor.
HOW TO SELL BAKED GOODS?

Why we love this
Selling your baked goods is the bridge between a private joy and public recognition. We love the hustle of preparing for a market day—the rows of perfectly packaged cookies, the smell of fresh bread, and the vibrant interaction with customers who appreciate your hard work. It is an opportunity to tell your story through your food, creating a brand that people associate with quality and care. Seeing someone take that first bite and light up with delight is the ultimate reward for any baker and the fuel that keeps the ovens running.
Ingredients
- Commercial-grade packaging (boxes, bags, labels)
- Point of Sale (POS) system (like Square)
- Ingredient labels with allergen warnings
- Visual display props (risers, baskets)
- Business cards and social media handles
How to make it
- Start by mastering your packaging; it must not only look beautiful but also protect the integrity of the bake during transport. Use grease-proof liners and sturdy boxes.
- Legally, you must include a full list of ingredients and highlight common allergens (nuts, dairy, gluten) on every package to comply with food safety regulations and protect your customers.
- Invest in a mobile card reader to accept digital payments, as many modern customers do not carry cash. Ensure your checkout process is fast and efficient.
- Create a ‘curated look’ for your stall or pickup point. Use heights and textures—like wooden crates or linen cloths—to make your baked goods look like a high-end display rather than a hobbyist’s table.
- Implement a ‘limited quantity’ strategy. Often, having fewer items that sell out quickly creates a sense of urgency and prestige around your brand, driving future demand.
- Collect email addresses or social media follows at the point of sale so you can notify customers of your next ‘drop’ or market appearance, building a sustainable customer base.
HOW TO BAKE GOURMET CUPCAKES?
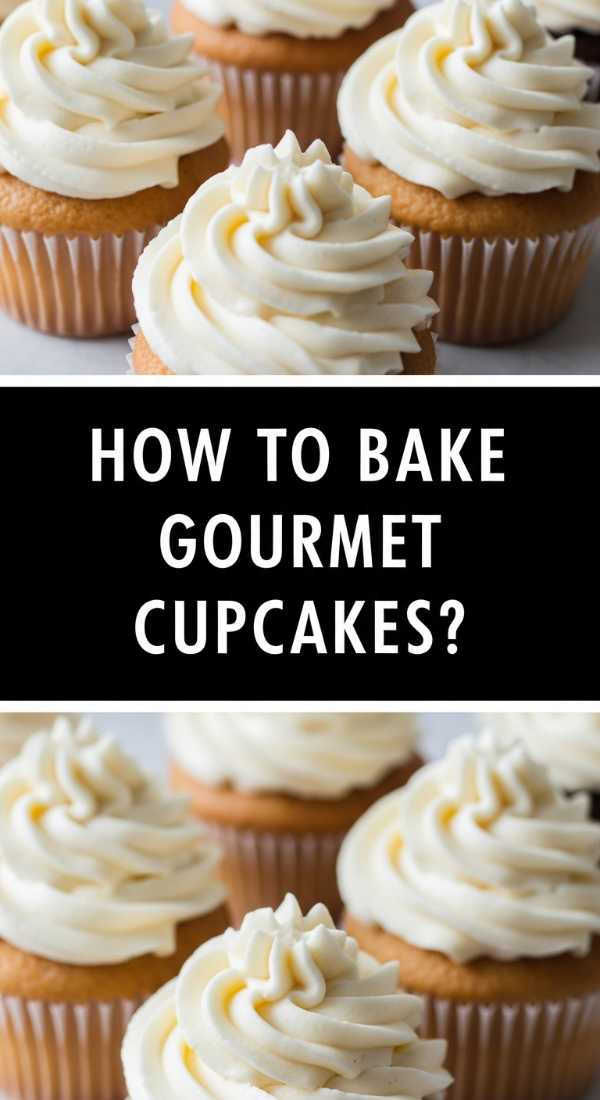
Why we love this
Gourmet cupcakes are all about the ‘wow’ factor—they are mini-canvases for flavor and decoration. We love them because they offer a complete dessert experience in a single, portable serving. A gourmet cupcake goes beyond the basics, often featuring hidden fillings like salted caramel or lemon curd and topped with elaborate piping. The contrast between a moist, flavorful cake base and a silky, high-quality Swiss meringue buttercream is pure decadence. They add height and drama to any food board, making it look like it was styled by a professional pastry chef.
Ingredients
- 1 1/2 cups all-purpose flour
- 1 cup granulated sugar
- 1 1/2 tsp baking powder
- 1/2 cup whole milk
- 1/2 cup unsalted butter, melted
- 1 egg + 1 egg white
- Filling (ganache, curd, or jam)
- High-quality butter for frosting
How to make it
- Preheat your oven to 350°F (175°C) and line a cupcake tin with high-quality parchment liners.
- In one bowl, whisk together the dry ingredients. In another, combine the melted butter, milk, egg, and egg white. Using an extra egg white keeps the crumb tender and light.
- Slowly incorporate the wet ingredients into the dry, whisking by hand until just smooth. Over-whisking at this stage will cause the cupcakes to peak and crack rather than stay flat for frosting.
- Fill liners only 2/3 full to ensure they rise to just the right height without overflowing. Bake for 18-20 minutes.
- Once cooled, use a small knife or a cupcake corer to remove the center of the cake. Fill the cavity with your chosen filling—this ‘surprise’ element is what makes them gourmet.
- Prepare a Swiss Meringue Buttercream by heating egg whites and sugar over a double boiler until dissolved, whisking to stiff peaks, and then adding butter. It is far smoother and less sweet than American buttercream.
- Use a large piping tip (like a 1M) to create a tall, professional swirl, finishing with a garnish like a gold leaf, a fresh berry, or a drizzle of chocolate.
HOW TO BAKE FLAKY PASTRIES?
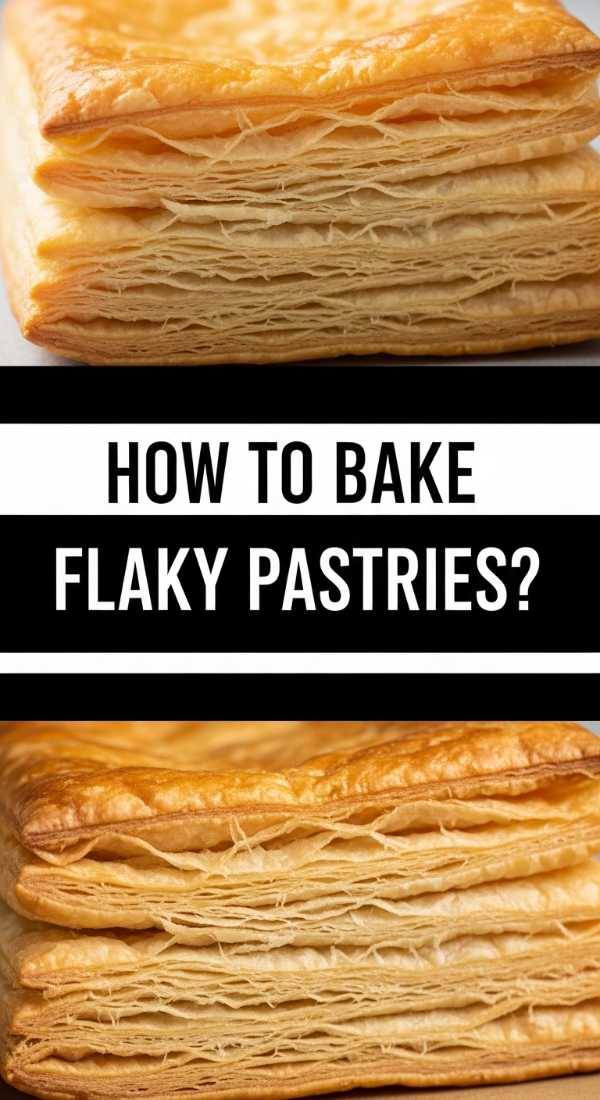
Why we love this
There is a rhythmic, almost meditative quality to laminating dough that makes flaky pastries so rewarding to bake. We love the sound of the ‘crunch’ as you bite into hundreds of paper-thin layers of buttery dough. The aroma is intoxicating—pure, toasted butter and caramelized flour. Whether it is a croissant or a simple ‘palmier,’ these pastries are a testament to the baker’s patience and skill. They bring a touch of Parisian elegance to your board, looking effortlessly chic and tasting like a luxury experience.
Ingredients
- 4 cups all-purpose flour
- 1/4 cup granulated sugar
- 2 tsp salt
- 1 1/2 cups high-fat European butter (cold)
- 1 cup cold water
- 1 egg (for egg wash)
How to make it
- The key to flakiness is the ‘butter block.’ Take cold, high-fat butter and pound it between parchment paper into a flat 7-inch square. Keep it chilled but pliable.
- Mix the flour, sugar, salt, and water into a rough dough (detrempe). Knead briefly, then chill for 1 hour.
- Roll the dough into a 10-inch square, place the butter block diagonally in the center, and fold the corners of the dough over the butter like an envelope, sealing it completely.
- Roll the dough out into a long rectangle and perform a ‘letter fold’ (folding into thirds). This is your first ‘turn.’ Repeat this process for a total of 6 turns, chilling the dough for 30 minutes between every two turns to keep the butter from melting.
- After the final chill, roll the dough to 1/4 inch thickness and cut into your desired shapes (triangles for croissants or rectangles for danishes).
- Proof the shaped pastries in a cool, draft-free spot until they have doubled in size and look ‘puffy.’
- Brush with a beaten egg wash and bake at 400°F (200°C) for 10 minutes, then lower to 375°F (190°C) for another 10-15 minutes until deep mahogany brown and incredibly light.
HOW TO BAKE ARTISAN BREAD?
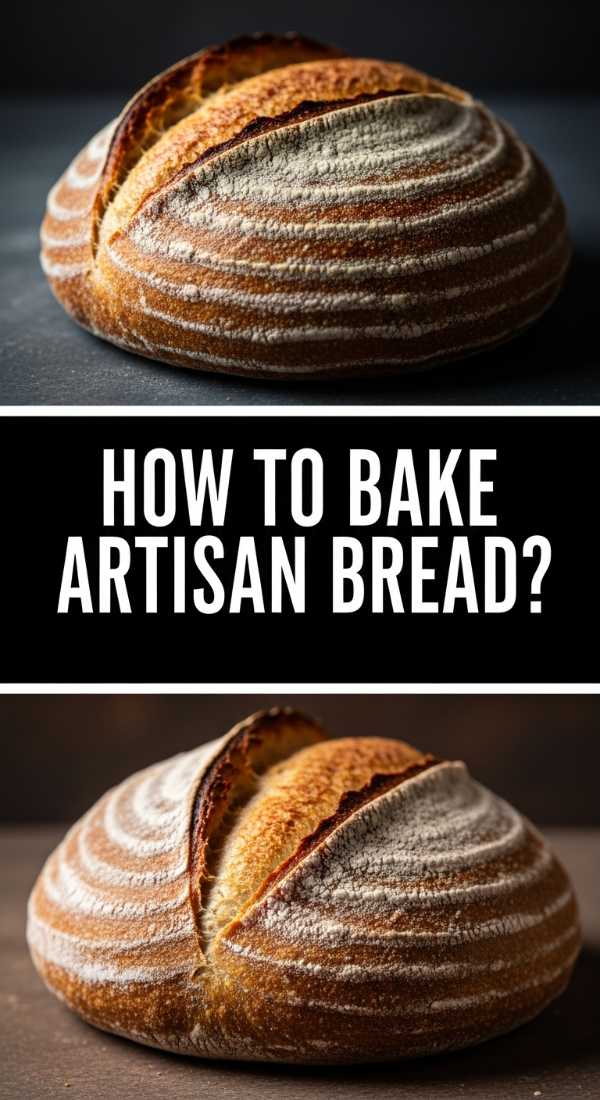
Why we love this
Artisan bread is the soul of the kitchen, a return to the basics of flour, water, and salt. We love the tactile process of stretching the dough and the anticipation of hearing the ‘crackle’ or ‘singing’ of the crust as it cools. An artisan loaf, with its charred, crispy exterior and its airy, open-crumb interior, is the perfect vessel for salted butter or gourmet cheeses. It brings a rustic, grounded feel to a food board, acting as the savory anchor that balances out the sweeter treats.
Ingredients
- 3 cups all-purpose or bread flour
- 1 1/2 tsp salt
- 1/2 tsp instant yeast
- 1 1/2 cups warm water
How to make it
- In a large bowl, whisk the flour, salt, and yeast. Pour in the warm water and stir with a wooden spoon until a shaggy, sticky ball forms.
- Cover the bowl with plastic wrap and let it sit at room temperature for 12 to 18 hours. This slow fermentation is what creates the complex, sourdough-like flavor and the beautiful air bubbles.
- Preheat a heavy Dutch oven (with the lid on) in a 450°F (230°C) oven for at least 30 minutes. The intense heat of the pot is what creates the steam needed for a crispy crust.
- Turn the dough onto a well-floured surface. It will be soft; fold it over itself a few times to form a round loaf. Let it rest for 30 minutes while the pot finishes heating.
- Carefully drop the dough into the scorching hot Dutch oven. Score the top with a sharp knife to control the rise.
- Bake with the lid on for 30 minutes. This traps the steam. Then, remove the lid and bake for another 15 minutes until the crust is a dark, blistered gold.
- Let the bread cool on a wire rack for at least 1 hour before slicing. Slicing too early will let the steam escape and make the inside gummy.
Conclusion
Creating a viral food board is about more than just following a recipe; it is about the passion you pour into every fold of dough and every sprinkle of sugar. By combining these varied textures—from the crunch of artisan bread to the delicate melt of a macaron—you create a landscape of flavor that is as beautiful as it is delicious. Remember, the best boards are the ones shared with laughter and good company. So, grab your apron, preheat that oven, and start building your own edible masterpiece today!