
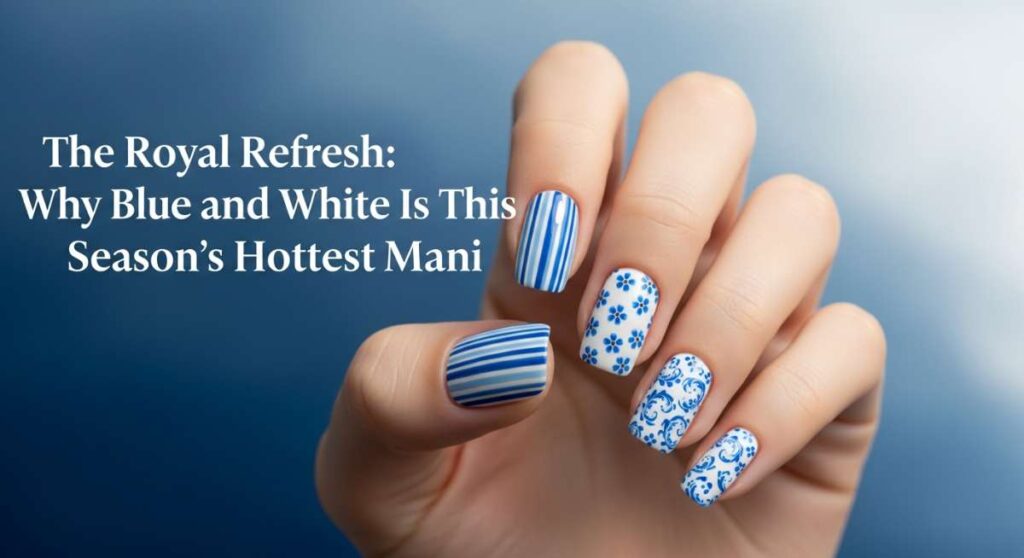
The Royal Refresh: Why Blue and White Is This Season’s Hottest Mani
Hello, my beautiful loves! There is something so profoundly calming about looking down at your hands and seeing the colors of a clear sky meeting a soft, fluffy cloud. As we transition through the seasons of our lives, our self-care rituals often shift, and right now, I am feeling a total pull toward the crisp, regal, and refreshing combination of blue and white. It’s like a deep breath for your fingertips—a little moment of peace in a busy world.
I’ve always believed that our nails are the tiny canvases of our souls. This season, we’re stepping away from the chaotic neon and heavy darks to embrace a ‘Royal Refresh.’ Whether you’re sipping a latte at a cozy café or heading to a high-stakes meeting, these shades provide that perfect touch of ‘quiet luxury’ that we all adore. Let’s dive into this ultimate guide together, shall we?
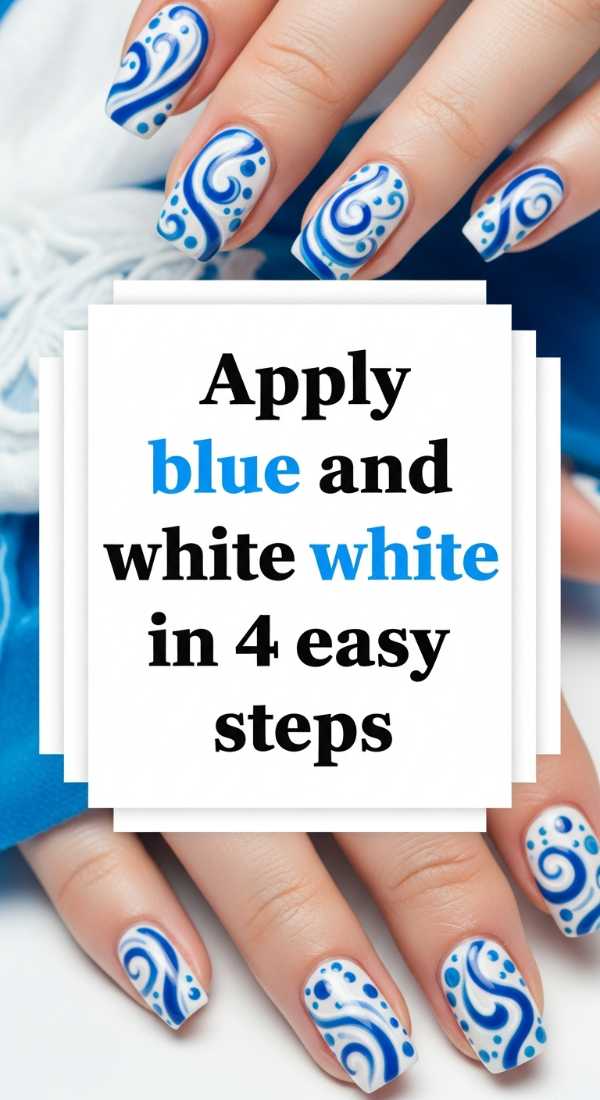
Classic Elegance: Applying Your Blue and White Duo
Why to love this Design:
This classic approach is the foundation of the royal look. It’s clean, sophisticated, and incredibly versatile, making it the perfect ‘first step’ for anyone dipping their toes (or fingers!) into nail art. It feels like a crisp linen shirt for your hands.
Essential Elements:
- Cobalt blue polish
- Opaque white polish
- Glossy top coat
- Buffer block
How to Prepare:
- Cleanse nails with alcohol to remove oils.
- Apply a thin base coat to prevent staining from the blue pigment.
- Paint two thin layers of your chosen blue on three fingers and white on the other two.
- Seal with a high-shine top coat for that professional finish.
Budget Range
- Essie ‘Butler Please’ (Blue) – $10
- OPI ‘Alpine Snow’ (White) – $11
- Sally Hansen Hard as Nails Base Coat – $4
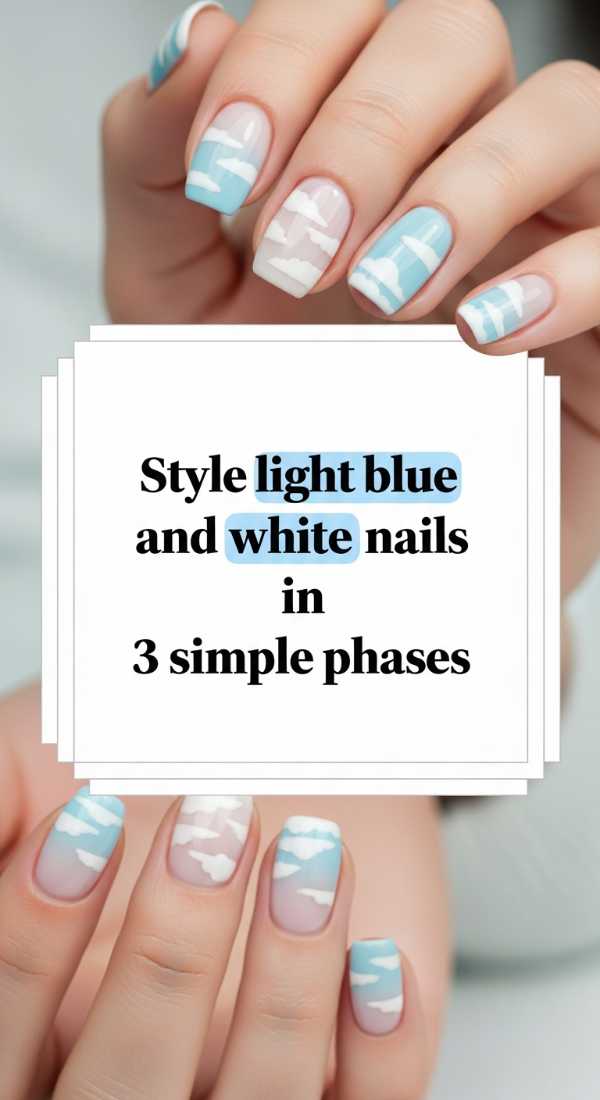
Sky-High Dreams: Styling Light Blue and White
Why to love this Design:
Light blue and white is the ultimate ‘cloud-soft’ aesthetic. It’s dreamy, ethereal, and makes your hands look incredibly delicate. It’s the mani equivalent of a silk slip dress.
Essential Elements:
- Powder blue polish
- Milky white polish
- Makeup sponge (for ombre)
How to Prepare:
- Phase 1: Apply your light blue base and let it dry completely.
- Phase 2: Dab the milky white onto a sponge and light press onto the tips.
- Phase 3: Blend upward and seal with a top coat to smooth the gradient.
Budget Range
- Olive & June ‘Honest & True’ – $9
- Zoya ‘Bela’ – $12
- Disposable makeup sponges – $2
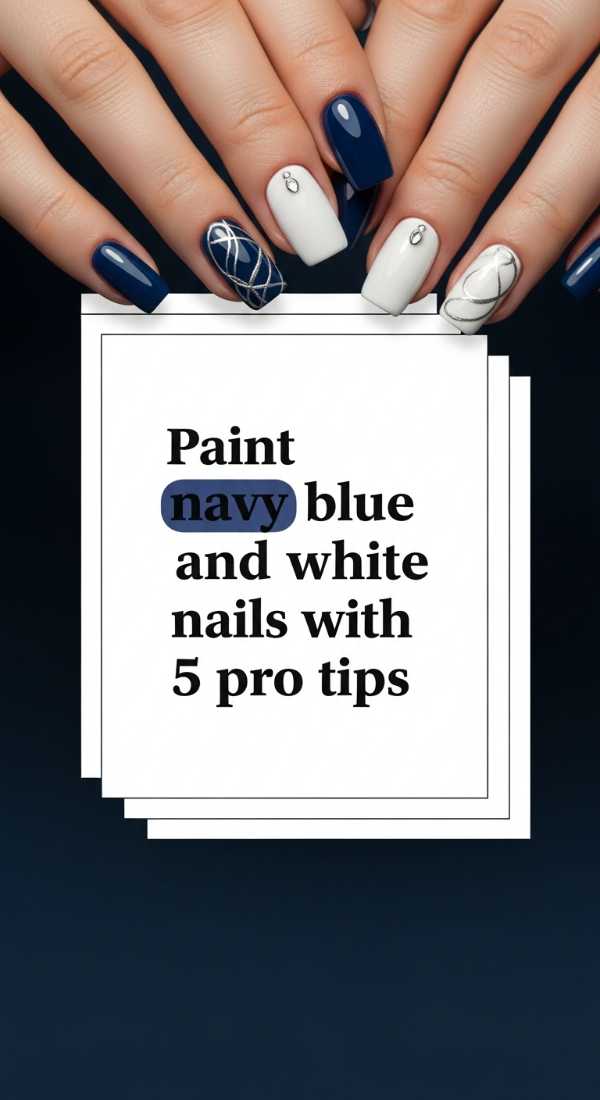
Midnight Magic: Pro Tips for Navy and White
Why to love this Design:
Navy and white offers a striking contrast that feels expensive and timeless. It’s the ‘power suit’ of the nail world—commanding yet graceful.
Essential Elements:
- Deep navy lacquer
- Crisp white detailing polish
- Fine-line brush
How to Prepare:
- Tip 1: Use high-pigment navy to avoid bulkiness.
- Tip 2: Keep a cleanup brush dipped in acetone for perfect edges.
- Tip 3: Apply white accents only after the navy is ‘touch-dry’.
- Tip 4: Use a matte top coat for a modern, velvet look.
- Tip 5: Hydrate cuticles with oil after painting to make the dark colors pop.
Budget Range
- Holo Taco ‘Shady Navy’ – $13
- Beetles White Liner Gel – $7
- Cuccio Revitalize Cuticle Oil – $6
The Modern French: Tips and Tools
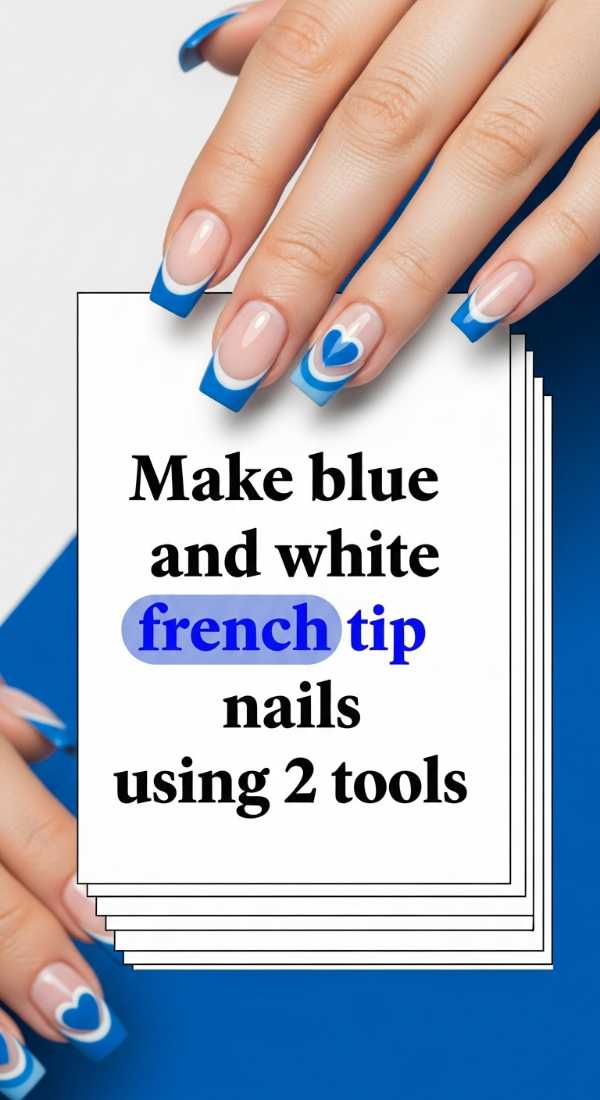
Why to love this Design:
We are taking the traditional French and giving it a royal twist. Replacing the beige with a soft blue base or a bold blue tip makes the look feel fresh and intentional.
Essential Elements:
- Sheer blue base coat
- White gel paint
- Silicone stamper
How to Prepare:
- Apply the sheer blue base and cure/dry.
- Press your nail tip into a white-polished silicone stamper for a perfect, easy smile line.
Budget Range
- Orly ‘Blue Iris’ – $15
- Maniology Silicone Stamper – $8
- Wet n Wild White Polish – $2
Artistic Flair: Creating Custom Designs
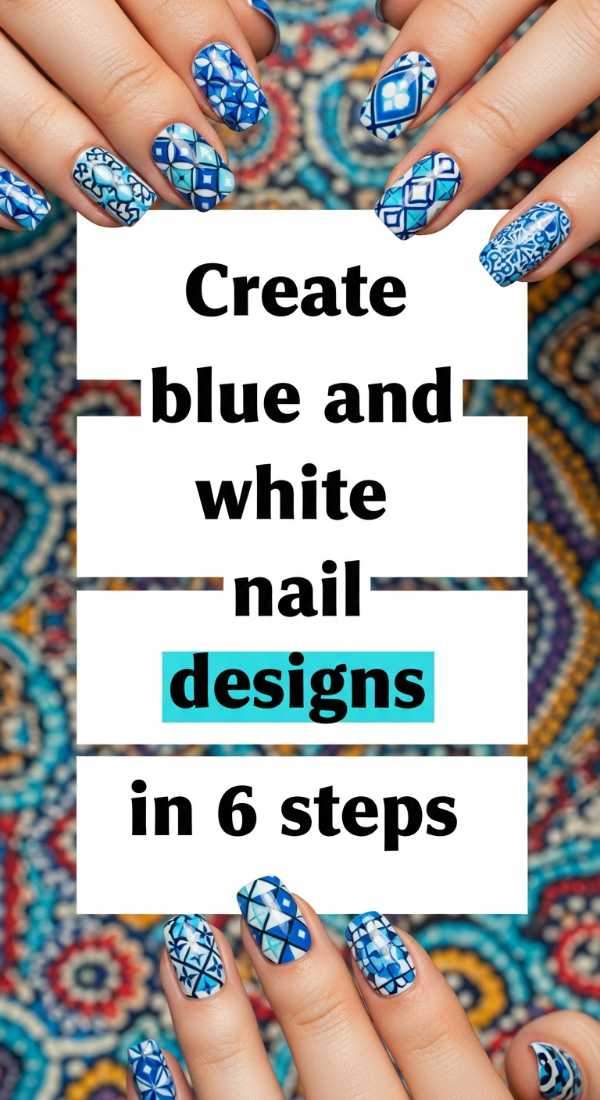
Why to love this Design:
This is where your personality shines! Mixing patterns like marble, swirls, and negative space makes your mani a true conversation starter. It’s artistic expression at its finest.
Essential Elements:
- Blue and white polish
- Toothpick or dotting tool
- Gold foil flakes (optional)
How to Prepare:
- Prep the nail surface.
- Apply base color.
- Drop dots of the contrasting color while wet.
- Swirl with a toothpick to create marble.
- Add a touch of foil for luxury.
- Finish with a leveling top coat.
Budget Range
- Nail Art Dotting Tool Set – $5
- Modelones Gel Polish Set – $15
- Gold Foil Flakes (Craft store) – $3
Deep Sea Glam: Finishing Your Dark Blue Look
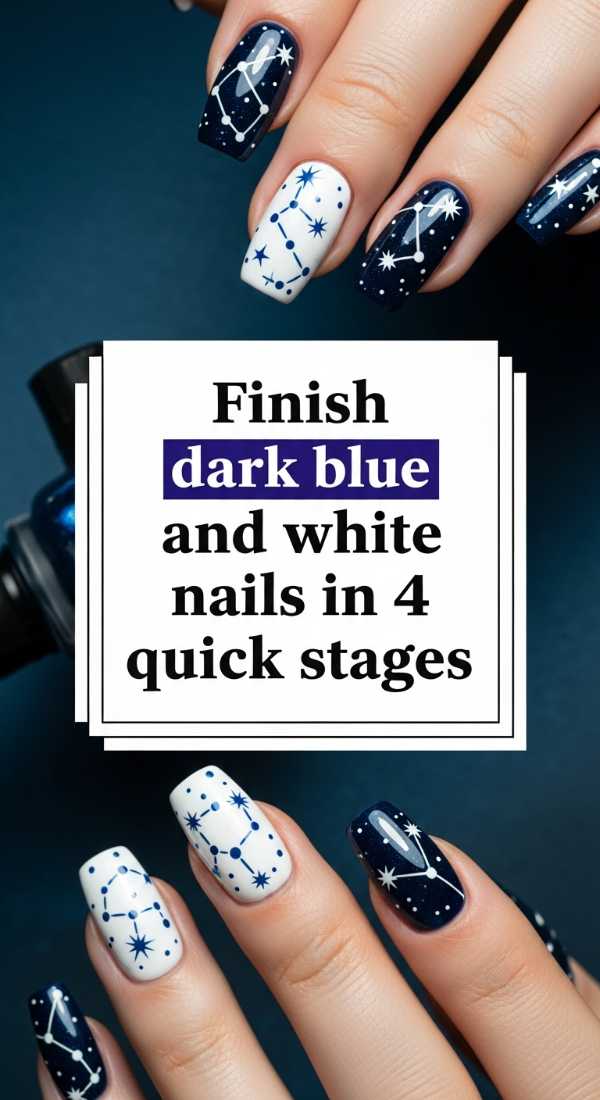
Why to love this Design:
Dark blue and white designs often need that extra ‘oomph’ to keep them from looking too heavy. This stage-based approach ensures a balanced, glamorous result.
Essential Elements:
- Midnight blue polish
- White stamping plate
- High-gloss sealant
How to Prepare:
- Stage 1: Apply the deep blue base.
- Stage 2: Choose one accent nail for a white intricate design.
- Stage 3: Detail the other nails with tiny white dots near the cuticle.
- Stage 4: Apply a thick ‘plumping’ top coat.
Budget Range
- Revlon ‘Cielo Blue’ – $6
- MoYou London Stamping Plate – $10
- Seche Vite Dry Fast Top Coat – $9
Event Ready: Soft Baby Blue Preparation
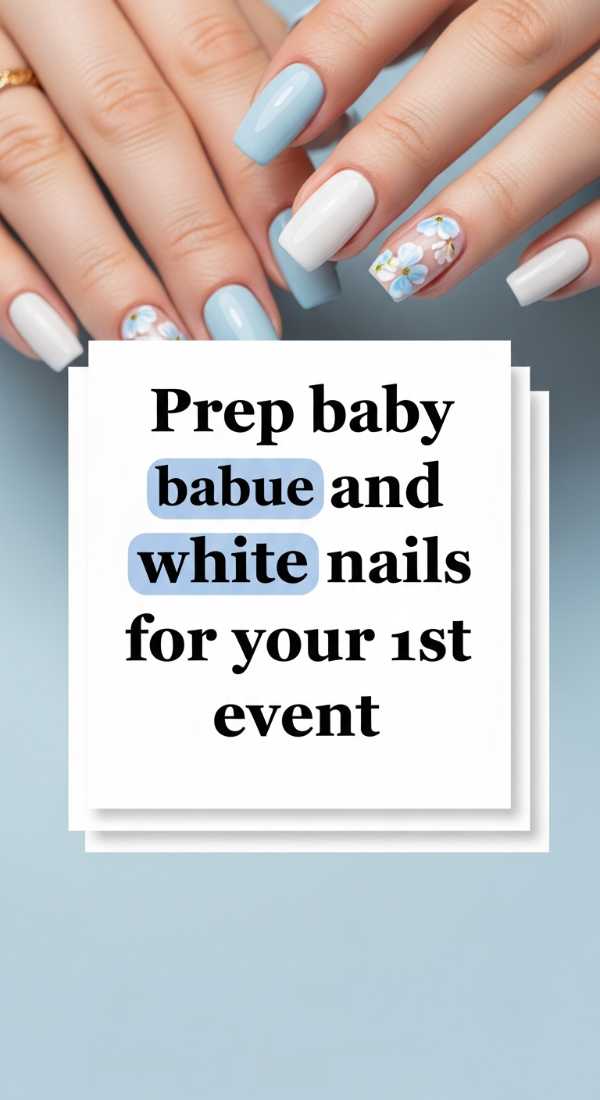
Why to love this Design:
If you have a wedding, brunch, or shower coming up, baby blue and white is your best friend. It’s sweet, photogenic, and doesn’t clash with your outfit.
Essential Elements:
- Pastel blue polish
- White shimmer polish
- Nail file (coffin or almond shape)
How to Prepare:
- Shape nails into a soft almond to elongate the fingers.
- Push back cuticles gently for more ‘nail estate’.
- Apply the pastel blue carefully.
- Add a white shimmer ‘glazed donut’ layer on top.
Budget Range
- Essie ‘Saltwater Happy’ – $10
- Pear Nova Shimmer Polish – $13
- Glass Nail File – $10
Nautical Chic: Striped Nails in Minutes
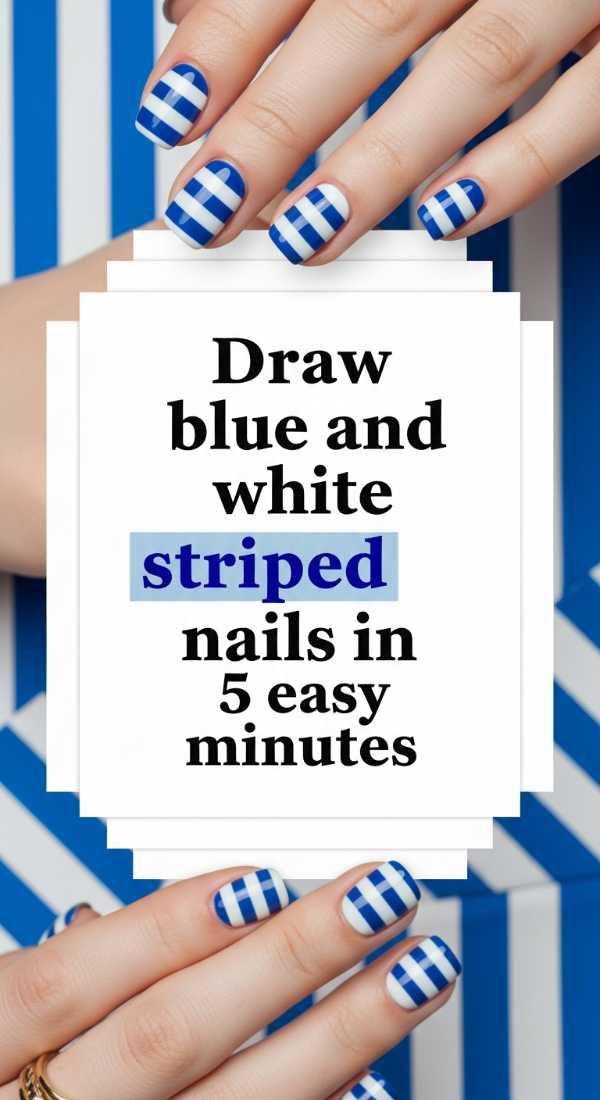
Why to love this Design:
Stripes are the ultimate summer-to-fall bridge. They feel nautical and preppy, giving off a ‘vacationing in the Hamptons’ vibe that we all deserve.
Essential Elements:
- White base polish
- Blue striping tape or liner brush
- Steady hand
How to Prepare:
- Paint nails solid white and let dry for 2 minutes.
- Draw three thin blue horizontal lines.
- Wait 1 minute.
- Correct any wobbles with a clean brush.
- Seal with top coat immediately to prevent bleeding.
Budget Range
- Sally Hansen Xtreme Wear ‘White On’ – $4
- Artistic Nail Design Blue Liner – $12
- Nail Striping Tape (Multi-pack) – $4
Regal Layers: Royal Blue Techniques
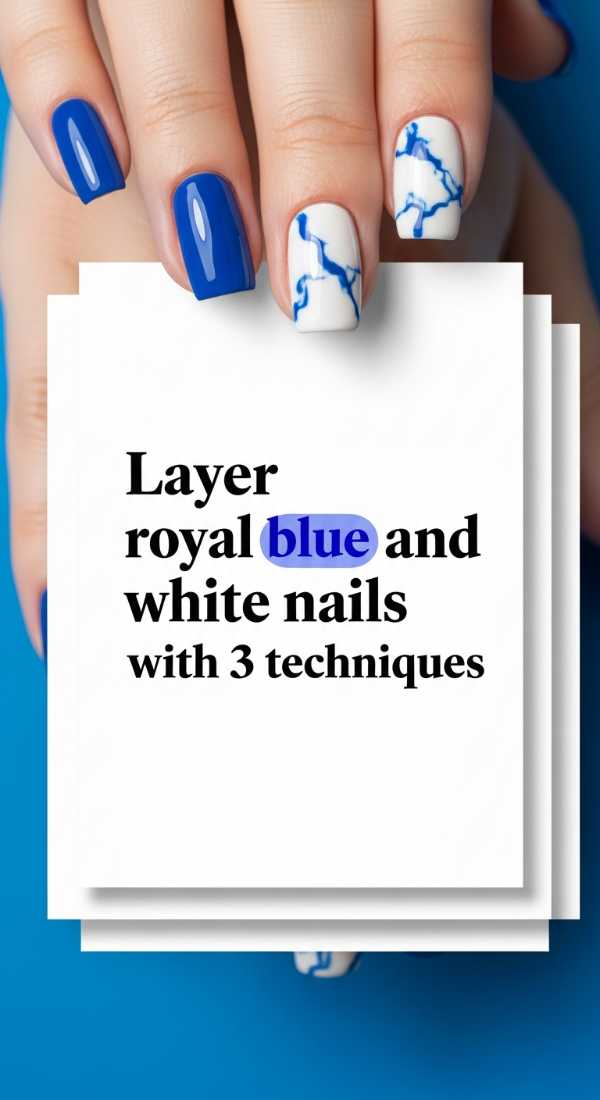
Why to love this Design:
Layering adds depth that a flat color simply can’t match. It creates a 3D effect that looks like precious porcelain or fine china. It’s truly regal.
Essential Elements:
- Vivid Royal Blue
- Sheer White (‘Milk’ shade)
- Fan brush
How to Prepare:
- Technique 1: Sponging for a soft cloud-like transition.
- Technique 2: Using sheer white over blue for a ‘milky blue’ effect.
- Technique 3: Fan brushing white streaks for a texture look.
Budget Range
- OPI ‘Euro So Euro’ – $11
- DND Sheer White Gel – $8
- Professional Fan Brush – $6
The Strategy of Style: Planning Your Next Set

Why to love this Design:
Planning is half the fun! Visualizing your set ensures you get exactly the mood you’re after. This is how the pros ensure their mani matches their lifestyle.
Essential Elements:
- Pinterest board
- Color swatches
- Nail glue (if using press-ons)
How to Prepare:
- Way 1: Moodboard your favorite blue/white patterns.
- Way 2: Test the blue shade against your skin tone (cool vs warm).
- Way 3: Choose a shape that fits your daily activities.
- Way 4: Check your wardrobe to ensure color harmony.
- Way 5: Set a ‘mani-date’ in your calendar for self-care!
Budget Range
- Static Nails Press-On Kit – $16
- Pinterest App – Free
- Nail Color Swatch Sticks – $5
Embrace Your Inner Royalty
My loves, I hope this guide inspires you to take a moment for yourself this week. Whether you go for a bold navy stripe or a soft baby blue cloud, remember that these small acts of beauty are really about how they make you *feel*. You deserve to feel regal, refreshed, and completely at peace. Tag me in your ‘Royal Refresh’ photos—I can’t wait to see your beautiful hands!
Frequently Asked Questions
Q: Will dark blue polish stain my natural nails?
A: It can! Always use a high-quality base coat (or even two layers) to create a barrier between your nail and the blue pigment.
Q: How do I keep the white polish from looking streaky?
A: Look for ‘one-coat’ white formulas or apply three very thin layers rather than one thick one. Using a ridge-filling base coat also helps immensely.
Q: Can I do these designs with regular polish, or do I need gel?
A: You can absolutely use regular polish! Just be sure to allow more drying time between layers, especially for designs like stripes or marble.