
The Blue and White Nail Bible: Professional Techniques for Beginners
Hello, my beautiful souls! I am so incredibly happy you’ve found your way into my cozy little corner of the internet today. Grab a mug of lavender tea, wrap yourself in your favorite knit blanket, and let’s talk about something that feels like a soft breath of fresh air: the timeless magic of blue and white nail art. There is something so restorative about these colors together, like the peaceful meeting of the ocean waves and seafoam, or those fluffy summer clouds against a crystal-clear sky.
I know how intimidating it can feel to look at those intricate designs on social media and think, ‘I could never do that.’ But my loves, I promise you can. Nail art isn’t about being perfect; it’s about taking a little moment for yourself to create something beautiful. Today, I’m holding your hand and walking you through my ‘Blue and White Nail Bible.’ We are going to turn your fingertips into tiny canvases of calm, one easy step at a time.
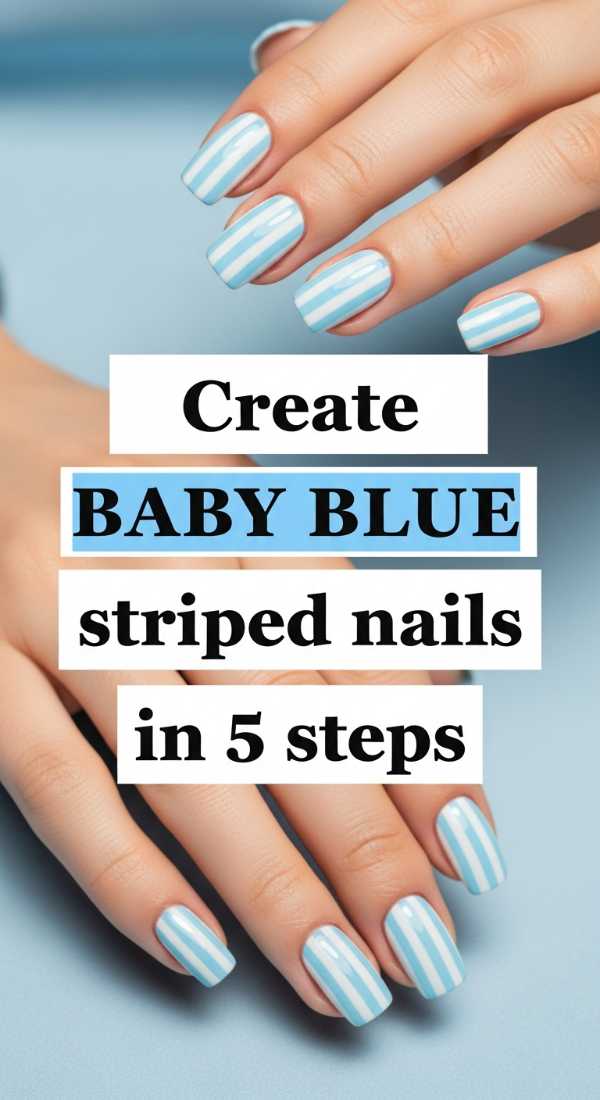
Baby Blue Striped Nails [ID:0]
Why to love this Design:
These stripes are like wearing a cozy, oversized pinstriped button-down shirt. They are clean, sophisticated, but have a gentle softness that makes them perfect for a morning at the flower market or a quiet coffee date. It’s a design that says you’re polished without trying too hard.
Essential Elements:
- Soft Baby Blue Polish
- Crisp White Striping Brush or Nail Tape
- Glossy Top Coat
How to Prepare:
- Apply a nourishing base coat to protect your natural nails.
- Paint two thin coats of baby blue and let them dry completely.
- Using a long-haired striping brush dipped in white, draw a vertical line down the center.
- Add two parallel lines on either side for a balanced look.
- Seal with a thick top coat to level out the texture.
Budget Range
- Essie ‘Saltwater Happy’ ($10)
- Beetles Nail Art Liners ($8)
- Sally Hansen Insta-Dri Top Coat ($6)
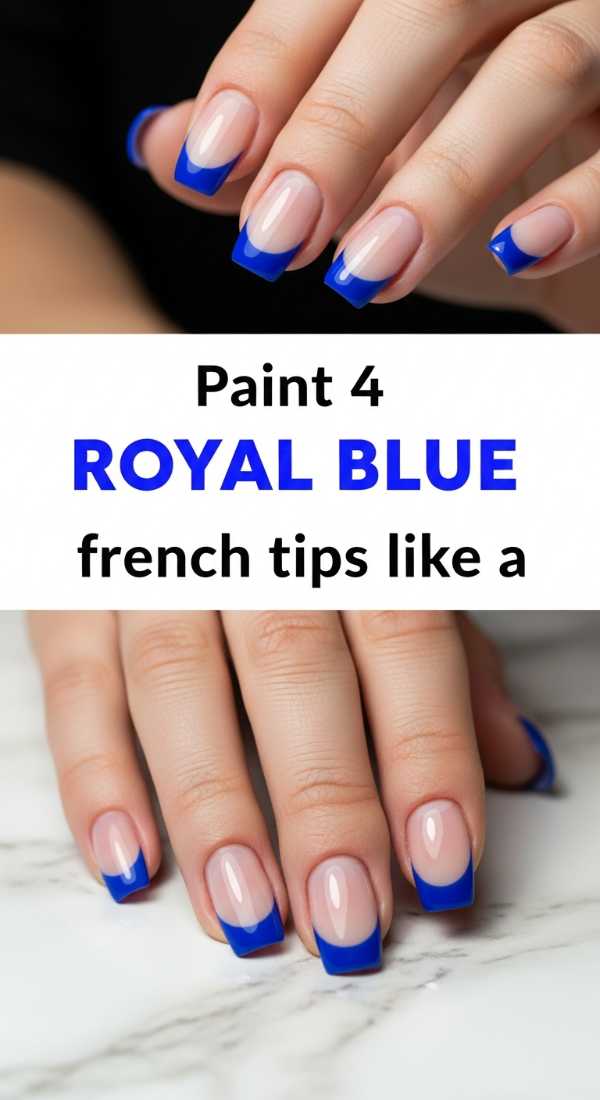
Royal Blue French Tips like a Pro [ID:1]
Why to love this Design:
Oh, the royal blue French tip! It is the bold, confident cousin of the classic French manicure. It brings a pop of regal energy to your hands, making every gesture feel a little more intentional and powerful. It’s for those days when you need to feel like the queen you are.
Essential Elements:
- Deep Royal Blue Polish
- French Tip Guides or a Silcone Stamper
- Nude Base Color
How to Prepare:
- Apply a sheer nude or pale pink base to even out your nail bed.
- Place your tip guide just below the free edge of your nail.
- Swipe the royal blue across the tip with a steady hand.
- Carefully peel the guide away while the polish is still slightly tacky.
Budget Range
- OPI ‘Mi Casa Es Blue Casa’ ($11)
- Orly Nail Tip Guides ($5)
- Zoya Anchor Base Coat ($12)
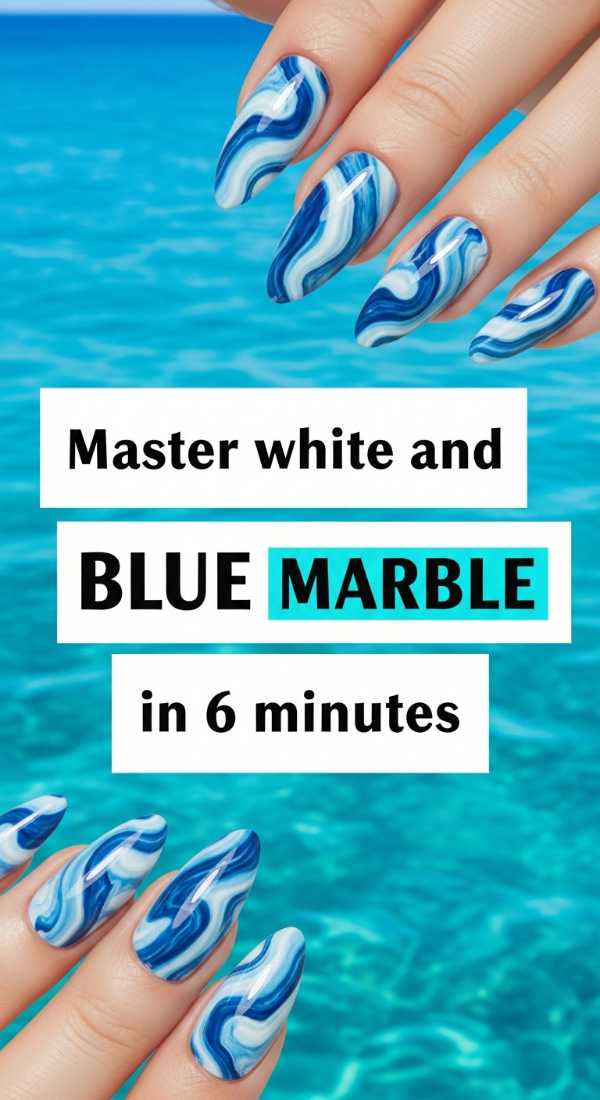
Master White and Blue Marble in 6 Minutes [ID:2]
Why to love this Design:
Marble nails are pure alchemy. No two nails ever look the same, which is exactly like us—perfectly unique. This design looks incredibly expensive and high-end, like a piece of fine Carrara stone or a Mediterranean villa, yet it’s so surprisingly simple to achieve at home.
Essential Elements:
- Bright White Polish
- Cobalt Blue Polish
- Clear Top Coat (for blending)
- A thin toothpick or detail brush
How to Prepare:
- Paint a solid white base and let it dry.
- Apply a ‘wet’ layer of clear top coat over the white.
- Drop three tiny dots of cobalt blue onto the wet surface.
- Use your toothpick to gently swirl the blue into the white in a figure-eight motion.
- Stop swirling before the colors get muddy to keep those crisp ‘veins.’
- Let it settle for a minute, then add a final protective top coat.
Budget Range
- Holo Taco ‘Not Milky White’ ($13)
- Ella + Mila ‘Daily Vitamin’ Blue ($11)
- Standard Toothpicks ($1)
Baby Blue Heart Decals [ID:3]
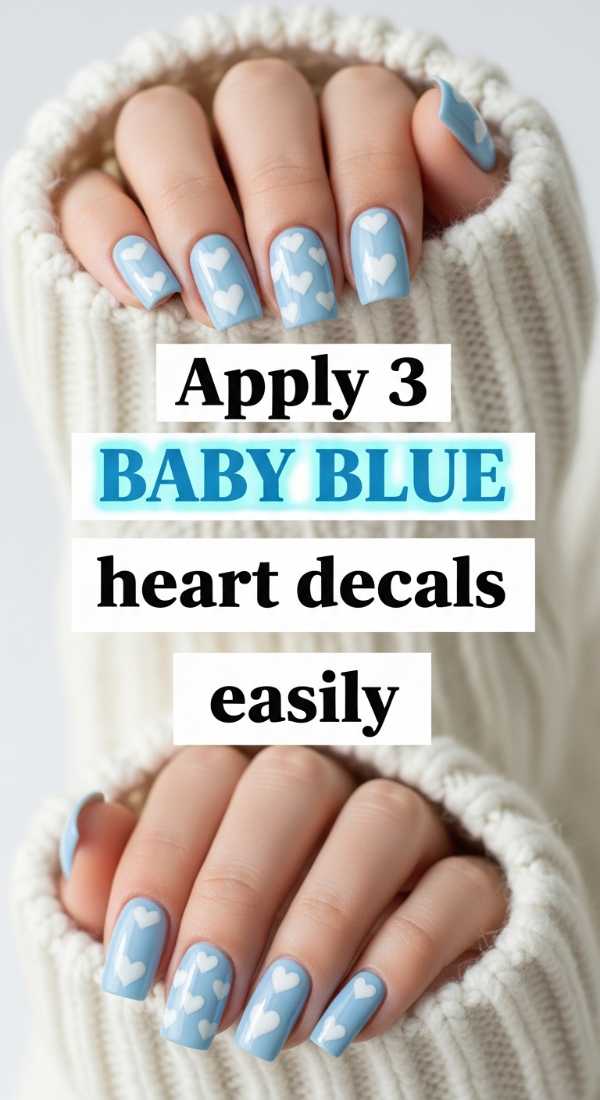
Why to love this Design:
This is for the romantics! Adding tiny hearts is such a sweet, subtle way to spread a little love throughout your day. Every time you look down at your keyboard or your phone, these little blue hearts will be there to give you a tiny emotional hug.
Essential Elements:
- Baby Blue Heart Decals or Stickers
- Tweezers
- Sheer White Base
How to Prepare:
- Paint your nails with a sheer, milky white polish.
- Wait for the base to be 90% dry—just a tiny bit of ‘grab’ left.
- Use tweezers to carefully place three tiny hearts on each accent nail.
Budget Range
- Amazon Nail Decal Variety Pack ($7)
- Revlon ‘Pure Pearl’ ($6)
- Stainless Steel Tweezers ($4)
Navy and White Striped Nails [ID:4]
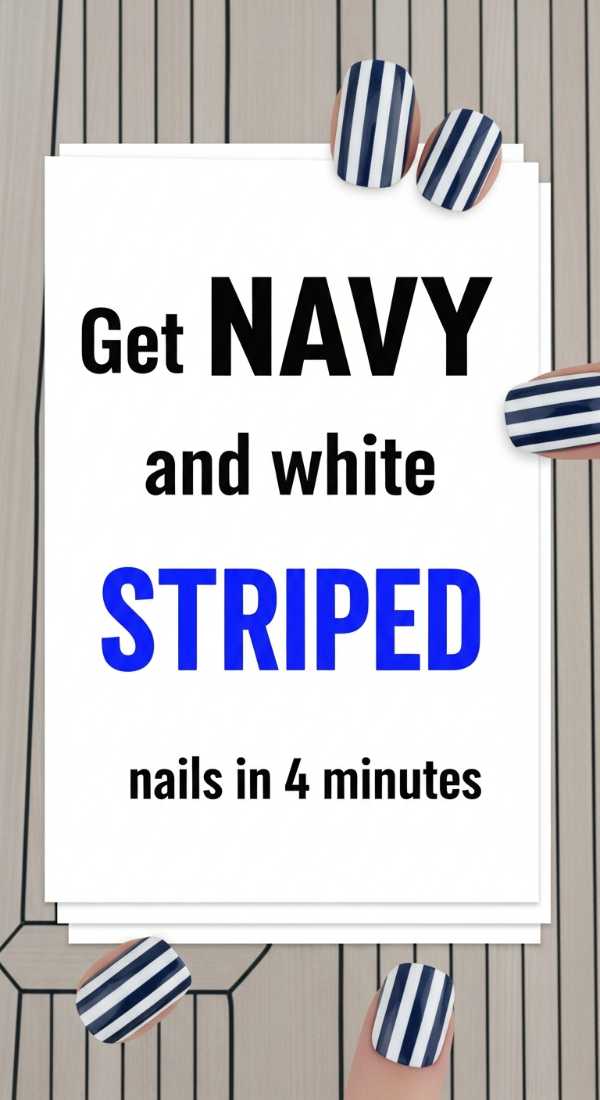
Why to love this Design:
This is the ultimate nautical chic! It reminds me of sailing trips and salty air. The high contrast between the deep navy and the bright white is so striking and clean. It’s a classic look that never goes out of style, making you look instantly put-together.
Essential Elements:
- Midnight Navy Polish
- White Polish
- Steady hand or striping tape
How to Prepare:
- Apply your white base coat first (it’s easier to paint navy over white).
- Apply thin strips of nail tape horizontally across the nail.
- Paint the navy polish over the entire nail, including the tape.
- Remove the tape immediately to reveal the white stripes underneath.
Budget Range
- Essie ‘After School Boy Blazer’ ($10)
- OPI ‘Alpine Snow’ ($11)
- Lineup Nail Art Tape ($5)
Blend Royal Blue and White [ID:5]
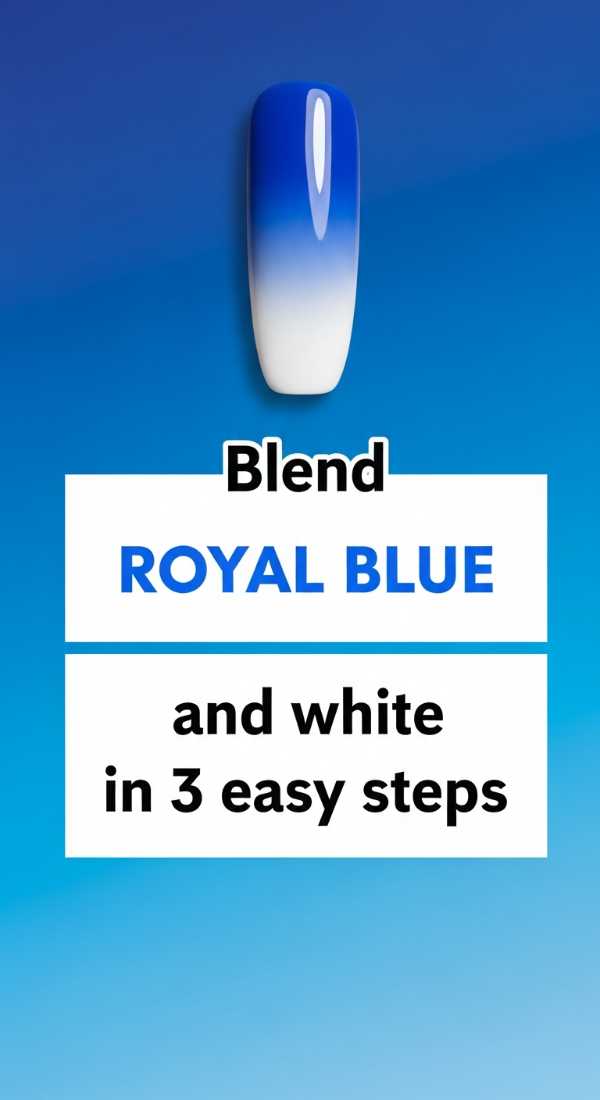
Why to love this Design:
This gradient blend is like a sunset turning into night. It’s seamless, ethereal, and so incredibly soft on the eyes. It softens the transition between the colors, making your nails look elongated and elegant.
Essential Elements:
- Royal Blue Polish
- White Polish
- Latex Makeup Sponge
How to Prepare:
- Paint a white base and let it dry.
- Apply a stripe of white and a stripe of royal blue directly onto the makeup sponge.
- Dab the sponge onto the nail repeatedly until the colors blur together.
Budget Range
- Wet n Wild ‘Blue Moon’ ($3)
- Wedge Makeup Sponges ($4)
- Seche Vite Fast Dry Top Coat ($9)
Blue and White Polka Dots [ID:6]
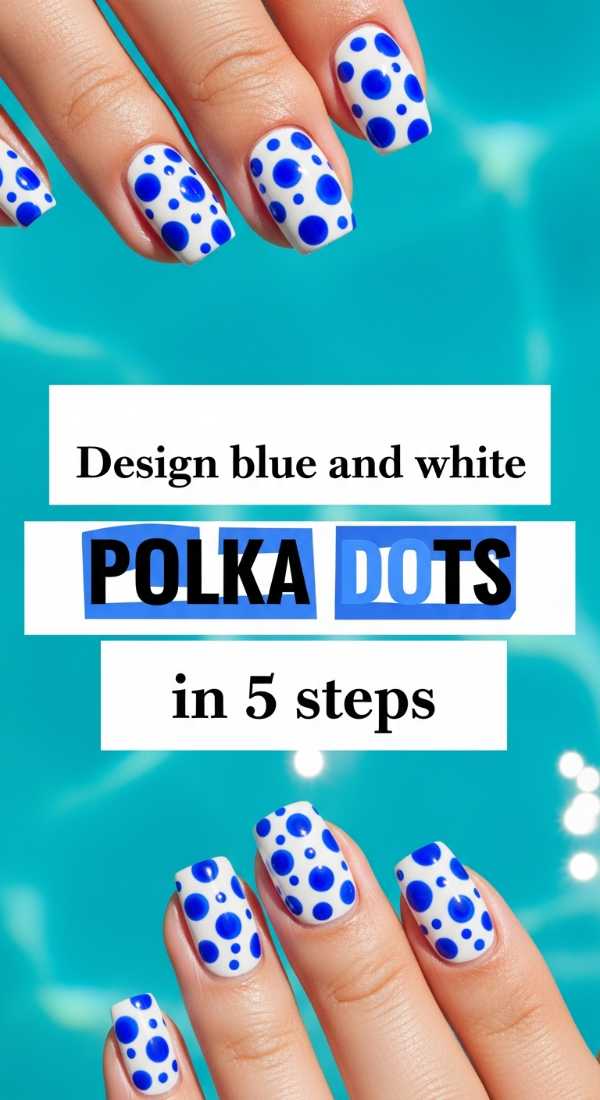
Why to love this Design:
Polka dots are pure joy! They are whimsical, fun, and have a vintage charm that I just adore. If you’re feeling a bit playful or need a mood boost, this is the design for you. It’s impossible not to smile when you see these little dots dancing on your nails.
Essential Elements:
- Blue Polish
- White Polish
- Dotting Tool (or a bobby pin!)
How to Prepare:
- Apply your blue base coat and let dry.
- Pour a small drop of white polish onto a piece of foil.
- Dip the large end of your dotting tool into the white.
- Press firmly onto the nail to create a large center dot.
- Repeat with smaller dots around the edge to create a pattern.
Budget Range
- Sinful Colors ‘Endless Blue’ ($3)
- Nail Art Dotting Tool Set ($6)
- Aluminum Foil (Kitchen Staple)
6 Blue and White Floral Patterns [ID:7]
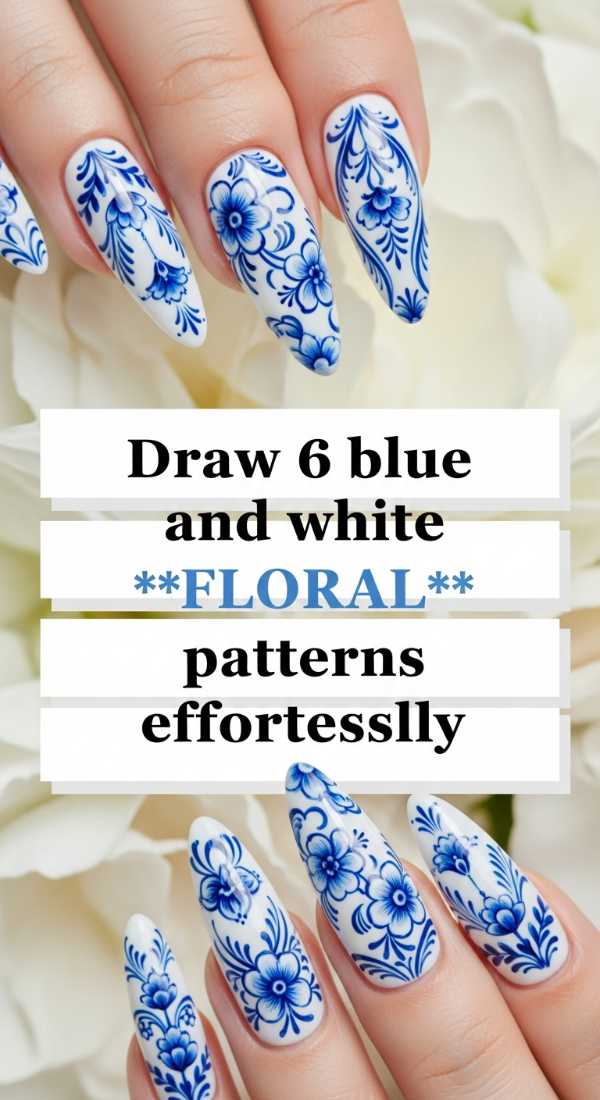
Why to love this Design:
Is there anything more feminine than florals? This design feels like a delicate china tea set or a garden in full bloom. It’s dainty and artistic, giving your hands a refined, ‘cottage-core’ aesthetic that is just so dreamy.
Essential Elements:
- Light Blue Polish
- White Detail Paint
- Ultra-fine Detail Brush
How to Prepare:
- Start with a light blue base.
- Dot five small white circles in a ring to form flower petals.
- Add a tiny blue dot in the center of the petals.
- Draw thin white ‘vines’ connecting the flowers.
- Add tiny white leaves along the vines.
- Seal with a matte top coat for an antique look.
Budget Range
- Modelones Liner Gel Set ($15)
- Zoya ‘Bela’ Base ($12)
- Matte Top Coat by OPI ($11)
5 Geometric Blue and White Designs [ID:8]
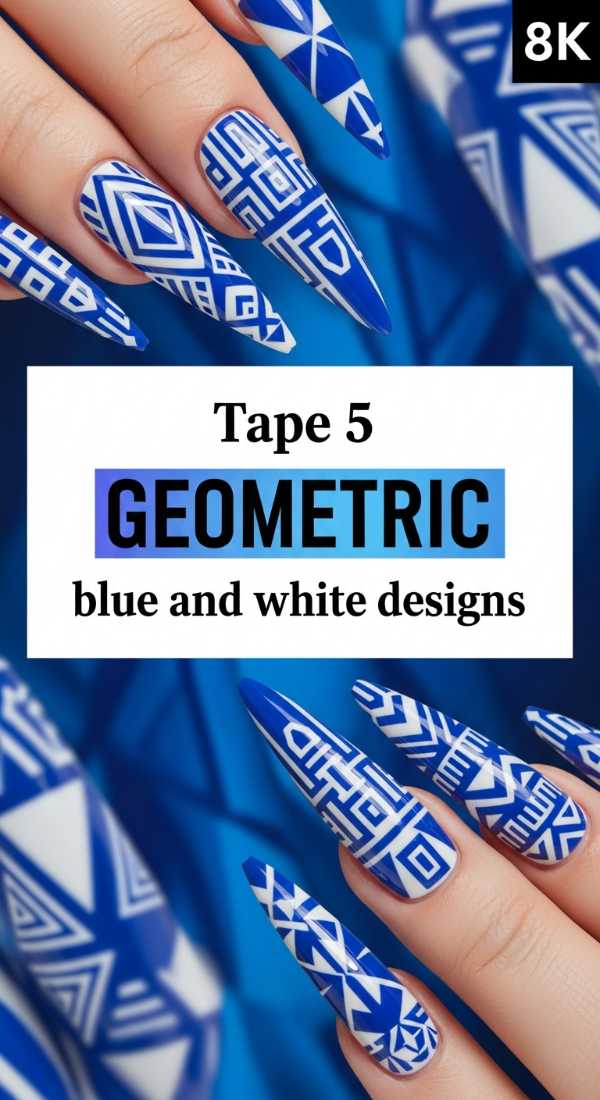
Why to love this Design:
For my loves who crave structure and modern vibes, geometric designs are the way to go. They are sharp, trendy, and look like professional salon work. They add an architectural edge to your style that is both cool and sophisticated.
Essential Elements:
- Electric Blue Polish
- Stark White Polish
- Triangle Guides or Washi Tape
How to Prepare:
- Paint half the nail white and half blue vertically.
- Once dry, place a triangle of tape across the center line.
- Paint the opposite color over the triangle.
- Remove tape to see a geometric ‘clash’ effect.
- Repeat with different angles on each finger for variety.
Budget Range
- Essie ‘Butler Please’ ($10)
- Scotch Washi Tape ($4)
- Pacific ‘White Heron’ ($12)
Royal Blue and White Glitter in 2 Steps [ID:9]
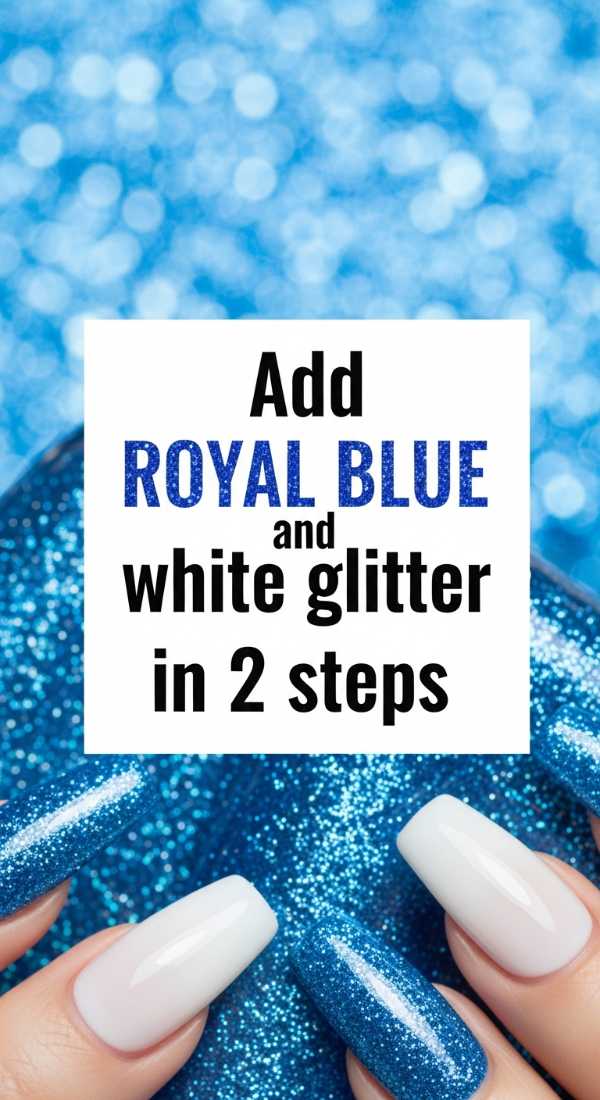
Why to love this Design:
Sometimes, we just need a little sparkle! This design is for the festive moments or just when you want to feel a bit extra. It’s like the twinkling of stars on a clear winter night—magical, bright, and full of wonder.
Essential Elements:
- Blue and White Glitter Topper
- Clear Base
How to Prepare:
- Apply a single coat of royal blue polish.
- While wet, sweep a heavy layer of blue/white chunky glitter from the cuticle to the mid-nail.
Budget Range
- Holo Taco ‘Blue Flakie’ ($13)
- China Glaze ‘White Cap’ ($8)
- Orly Bonder Base ($12)
Your Journey to Beautiful Nails
My loves, I hope this masterclass has inspired you to try something new. Remember, your nails are an extension of your beautiful spirit. Whether you choose the soft baby blue stripes or the bold royal French tips, do it with love and patience for yourself. You deserve these moments of creativity. I can’t wait to see the stunning masterpieces you create!