
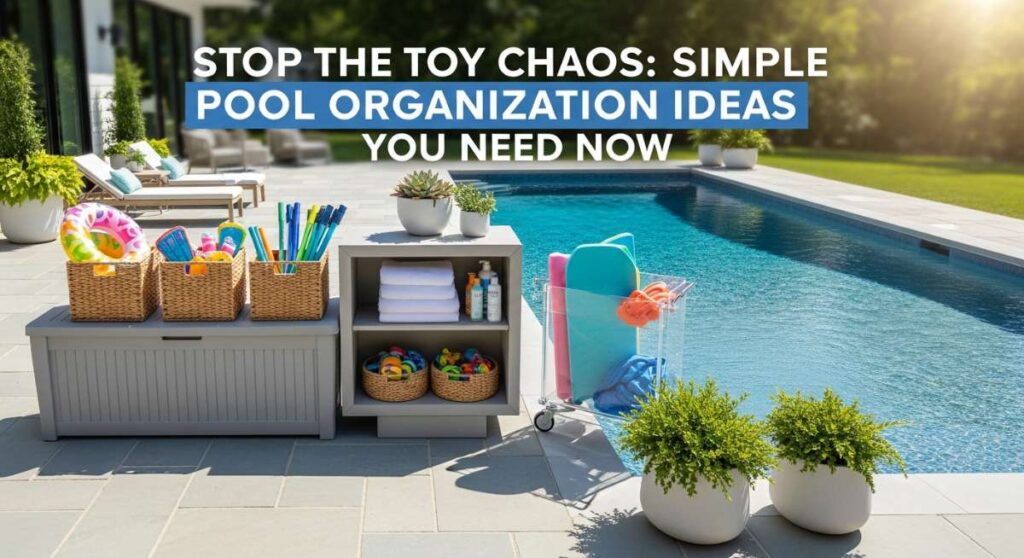
Stop the Toy Chaos: Simple Pool Organization Ideas You Need Now
We’ve all been there: you step out onto the patio with your morning coffee, ready to soak in the serene view of the crystal-clear water, only to trip over a giant neon flamingo and a pile of soggy goggles. The summer sun is supposed to bring relaxation, but often our pool decks turn into a graveyard of abandoned inflatables and tangled towels. It’s hard to find your zen when the backyard feels more like a chaotic toy store than a private oasis.
But what if I told you that your pool deck could look like those high-end Pinterest boards without a massive renovation? By shifting just a few habits and implementing some clever storage solutions, you can reclaim your space. We are going to transform that clutter into a curated, spa-like experience where everything has its place, and the only thing you have to focus on is which cocktail to sip next.
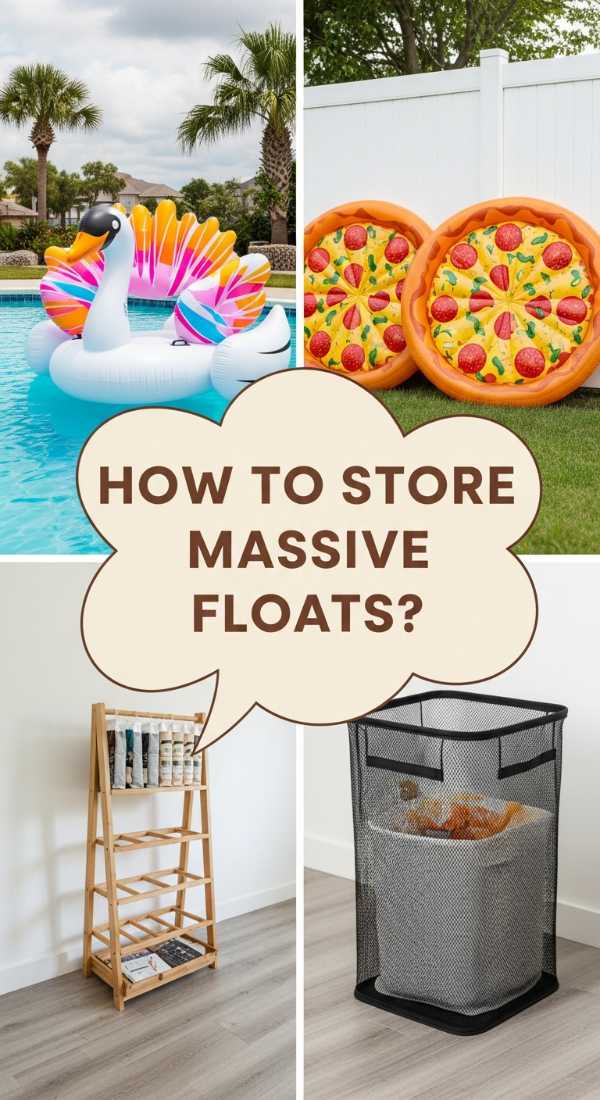
How to Store Massive Floats for a Clutter-Free Pool Deck
Why we love this
There is nothing quite as satisfying as seeing those oversized, colorful floats neatly tucked away rather than drifting across the yard like giant plastic tumbleweeds. Imagine the crisp, clean lines of your deck restored, where the only aroma is the sweet scent of jasmine and salt air rather than the smell of damp vinyl heating up on the concrete. This storage solution feels like a breath of fresh air, giving your backyard a structured, professional look that highlights the architectural beauty of your pool rather than masking it with neon clutter.
Essential Elements:
- PVC pipes and 3-way connectors
- PVC cement for permanent bonding
- Bungee cords with hooks
- Heavy-duty casters for mobility
- Weather-resistant spray paint (optional for a custom look)
How to make it
- Measure the height and width of your largest floats to determine the dimensions of your ‘float garage’ frame.
- Cut your PVC pipes into four vertical pillars and eight horizontal rails using a hacksaw for a clean, straight edge.
- Dry-fit the pipes into the 3-way connectors to ensure the structure is square and stable before applying any adhesive.
- Apply a generous layer of PVC cement to the inside of each connector and the end of the pipe, sliding them together with a slight twist to lock them into place.
- Drill small holes into the vertical pillars and thread your bungee cords through them; these will act as the ‘ribs’ that hold the floats upright without them falling over.
- Attach heavy-duty casters to the four bottom corners by drilling pilot holes and securing them with stainless steel screws to prevent rust.
- Allow the cement to cure for at least two hours before loading your floats into their new, organized home.
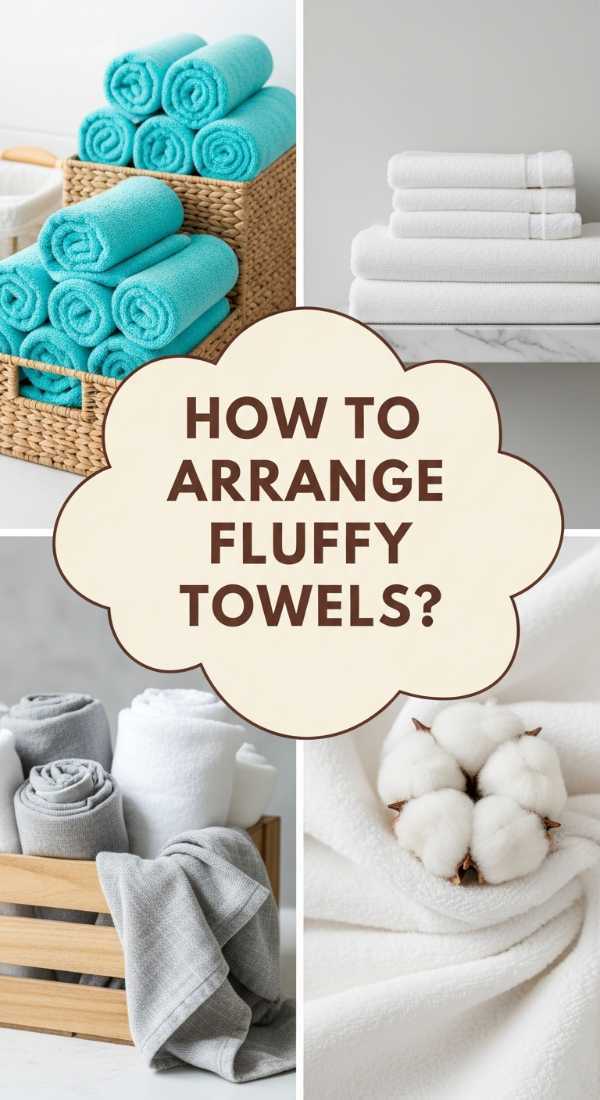
How to Arrange Fluffy Towels for a Spa-Like Poolside Experience
Why we love this
Stepping out of the water and being greeted by a stack of perfectly rolled, plush towels feels like checking into a five-star Mediterranean resort. The tactile sensation of soft cotton against sun-warmed skin, combined with the visual order of a neatly arranged basket, elevates the entire swimming experience. It’s about more than just drying off; it’s about that moment of transition where you feel pampered, cared for, and completely at peace in your own personal sanctuary.
Essential Elements:
- High-GSM oversized cotton towels
- Large wicker or seagrass baskets
- Essential oil mist (lavender or eucalyptus)
- Small wooden tray for presentation
How to make it
- Start with freshly laundered towels, ensuring they are completely dry to maintain that signature fluffiness and ‘new towel’ scent.
- Lay the towel flat on a clean surface and fold it in half lengthwise, smoothing out any wrinkles with your palms to ensure a crisp finish.
- Fold the towel in half lengthwise once more so you have a long, narrow strip of fabric about six inches wide.
- Starting from one end, roll the towel tightly and evenly toward the other end, applying consistent pressure to keep the roll firm and uniform.
- Lightly mist the rolled towel with a mixture of distilled water and two drops of eucalyptus essential oil for a refreshing, spa-like aroma.
- Place the rolls vertically or horizontally inside a large seagrass basket, ensuring the ‘seams’ of the rolls are facing downward or inward for a seamless look.
- Position the basket in a shaded area near the pool entrance to keep towels cool and dry for your guests.
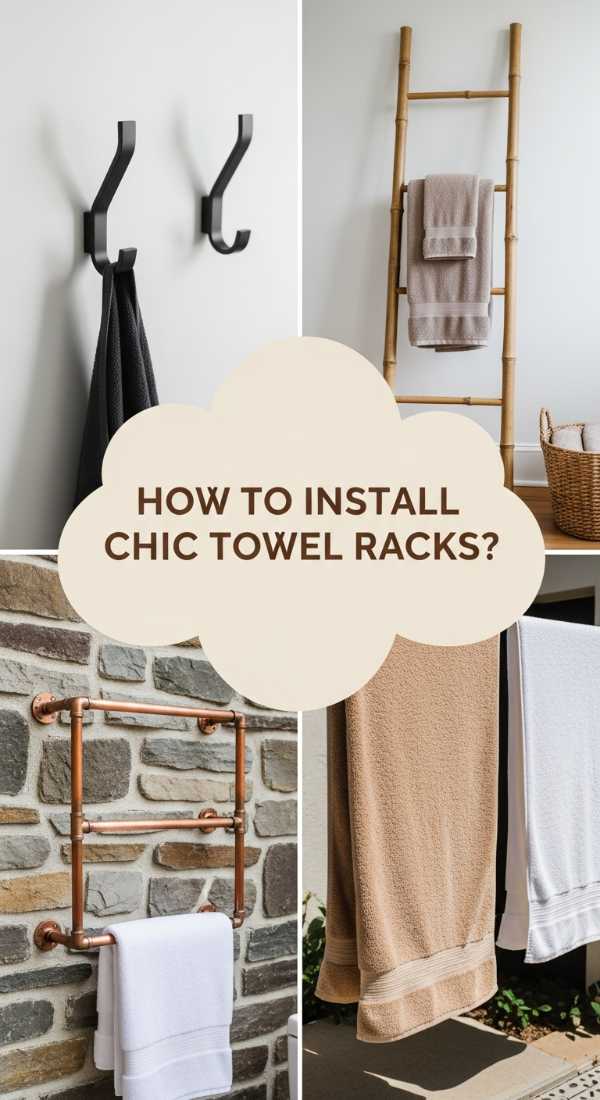
How to Install Chic Towel Racks for Quick Post-Swim Drying
Why we love this
There is a rugged, industrial beauty in a well-placed towel rack that keeps wet gear off the floor and in the breeze. We love the way the sunlight catches the metallic or wooden finish of a chic rack, turning a functional necessity into a design statement. The sound of the wind catching the hanging fabric and the sight of drying towels fluttering gently creates a lived-in, coastal vibe that suggests a day well-spent under the summer sun.
Essential Elements:
- Copper or matte black pipes
- Wall flanges and elbows
- Heavy-duty mounting screws
- Level and power drill
- Outdoor sealant
How to make it
- Select a sun-drenched wall or fence section that receives good airflow to maximize the drying efficiency of your new rack.
- Mark the positions for your wall flanges using a level to ensure the horizontal bar will be perfectly straight; spacing should be at least 3 feet apart.
- Drill pilot holes into the masonry or wood, ensuring you use the appropriate wall anchors if you are mounting onto a brick or stone surface.
- Assemble the rack by screwing the pipes into the elbows and flanges, using a pipe wrench to ensure the joints are tight and won’t sag under the weight of wet towels.
- Coat the entire assembly with a clear outdoor sealant to prevent the copper from tarnishing or the black matte from chipping in the heat.
- Mount the flanges to the wall using stainless steel screws, checking the level one last time before the final tightening.
- Test the rack by hanging several heavy, wet towels to ensure there is no flexing or movement in the mountings.
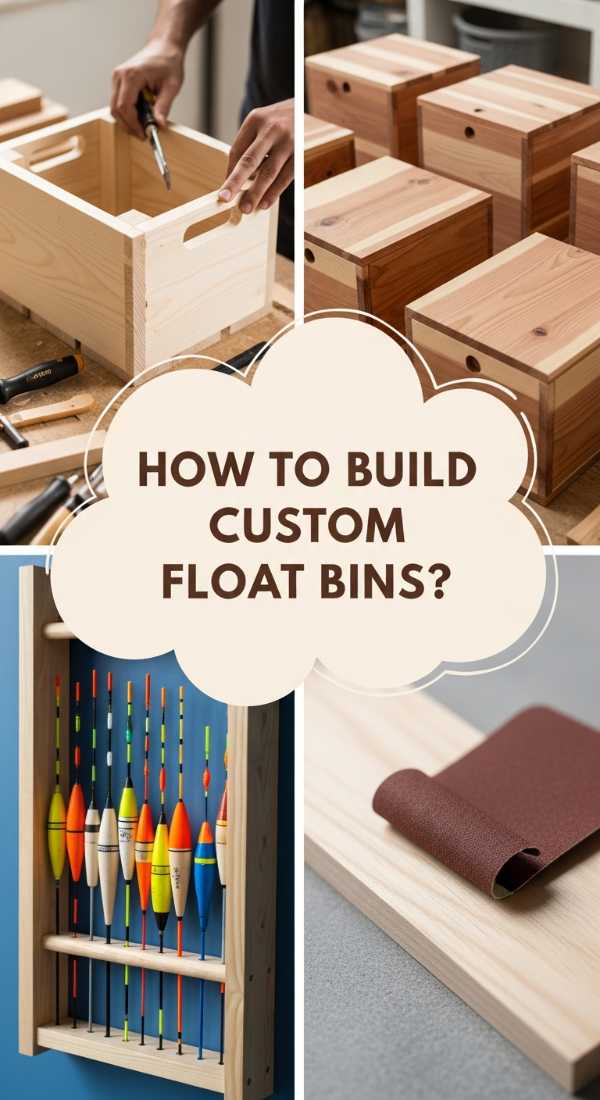
How to Build Custom Float Bins for an Organized Summer Oasis
Why we love this
Custom bins provide a cohesive, ‘built-in’ look that makes your backyard feel intentionally designed rather than just decorated. We love the earthy, grounded feel of natural wood slats and the way they allow air to circulate, preventing that dreaded mildew smell. Touching the smooth, sanded wood and seeing the organized rows of noodles and boards brings a sense of accomplishment and visual tranquility that makes the whole deck feel wider and more inviting.
Essential Elements:
- Cedar or Teak 2x4s and slats
- Exterior-grade wood glue
- Stainless steel pocket hole screws
- Breathable mesh fabric for the bottom
- UV-resistant wood stain
How to make it
- Build a rectangular base frame using your 2x4s, securing the corners with pocket hole screws for a hidden, professional-looking join.
- Attach vertical support posts to the four corners of the base, ensuring they are perfectly square and at least 30 inches tall.
- Install the horizontal slats along the sides, leaving a 1-inch gap between each slat to facilitate airflow and drainage.
- Staple a layer of heavy-duty breathable mesh fabric to the bottom of the frame; this allows water to drip through while keeping small items from falling out.
- Sand all edges thoroughly with 120-grit sandpaper to prevent splinters when little hands reach in to grab a float.
- Apply two coats of UV-resistant stain or teak oil to protect the wood from the bleaching effects of the sun and the moisture from the pool.
- Add a set of locking wheels to the bottom so you can easily move the bin for cleaning the deck or during winter storage.
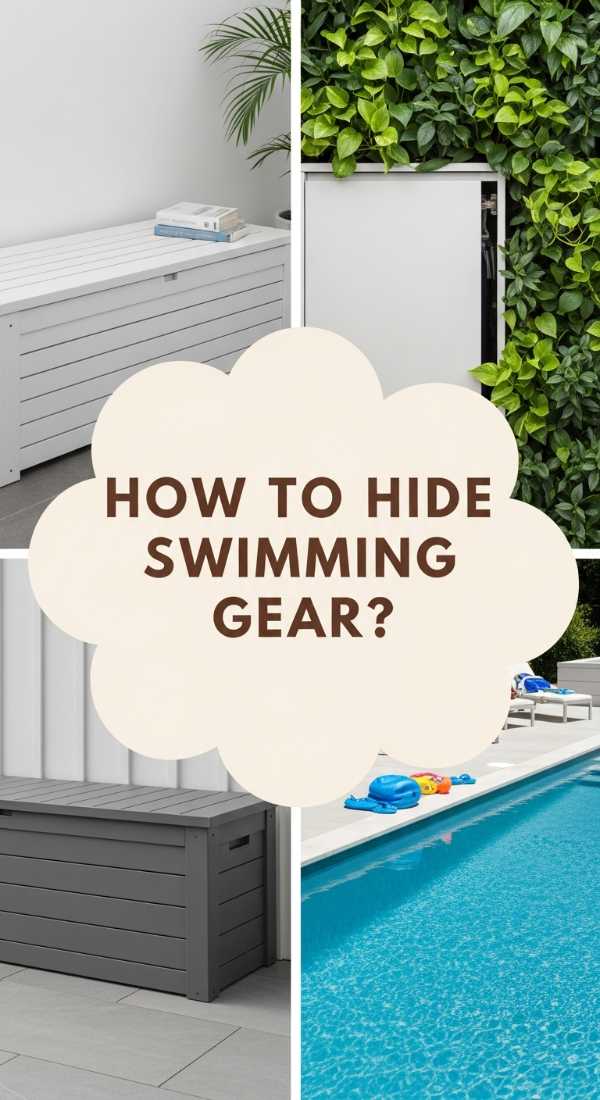
How to Hide Swimming Gear for a Sophisticated Backyard Aesthetic
Why we love this
The secret to a truly sophisticated space is the art of the ‘hide.’ We love this approach because it tucks away the bulky pumps, cleaning hoses, and chemical kits that usually disrupt the visual flow of a garden. When these items are out of sight, the focus shifts to your beautiful landscaping and the sparkling water. It creates a sense of mystery and luxury, where the ‘work’ of the pool happens behind the scenes, leaving only the pleasure for you and your guests.
Essential Elements:
- Louvered privacy screen panels
- Hinged storage bench
- Artificial ivy or boxwood panels (optional)
- Weatherproof trunk liners
- Magnetic catches
How to make it
- Identify the ‘utility zone’ of your pool area where the pump and hoses usually reside; measure this area to ensure your screening will be tall enough.
- Install louvered panels around the equipment, ensuring there is at least 12 inches of clearance for ventilation and easy maintenance access.
- For smaller gear like goggles and fins, choose a weather-resistant storage bench that doubles as extra seating for guests.
- Line the interior of the bench with a waterproof trunk liner to catch any drips and prevent the build-up of moisture inside the furniture.
- Attach magnetic catches to the bench lid or screen doors to ensure they stay closed during windy summer storms.
- If using artificial ivy, zip-tie the panels to the exterior of your screen to blend the storage seamlessly into your garden’s greenery.
- Organize the interior with stackable bins so that even the hidden space remains tidy and functional.
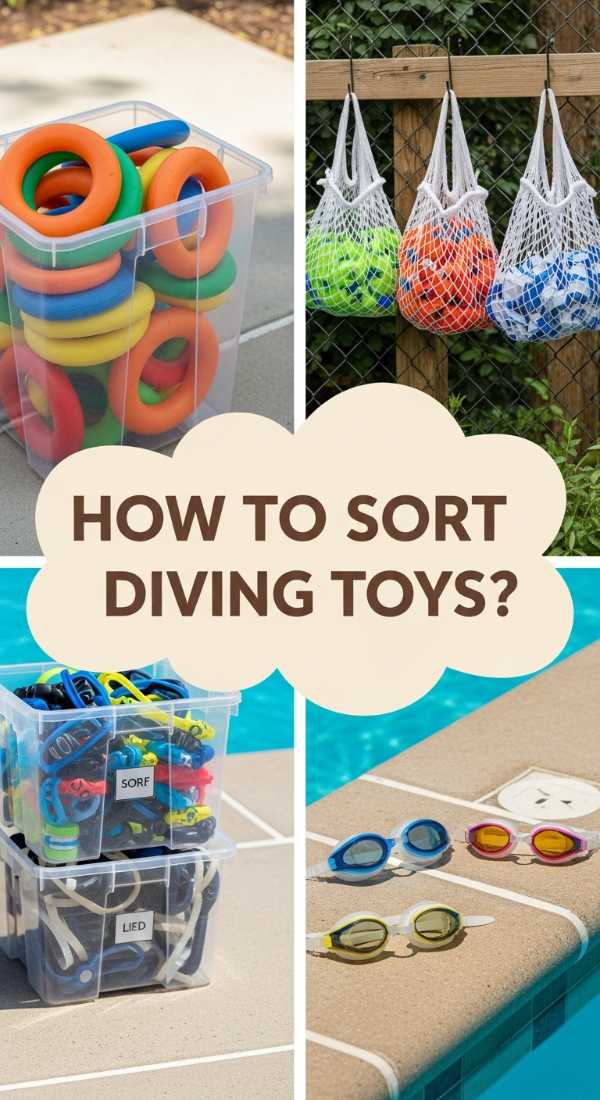
How to Sort Small Diving Toys for Easy Access and Cleanup
Why we love this
There is a specific joy in seeing a collection of colorful diving rings, sinkers, and goggles neatly sorted into accessible bins. No more digging through a damp pile at the bottom of a large chest! We love the tactile pop of the plastic and the way a well-sorted bin makes cleanup feel like a game for the kids. It keeps the deck safe from tripping hazards and ensures that the ‘fun stuff’ is always ready for the next underwater adventure.
Essential Elements:
- Open-weave wire baskets
- Color-coded carabiners
- Hanging rail or wall grid
- Silica gel packets (for off-season storage)
How to make it
- Group all small toys into categories: diving rings, goggles, sinking ‘treasures’, and snorkel masks.
- Select open-weave wire baskets that allow for maximum drainage; this prevents the growth of mold on the toys.
- Mount a sturdy metal rail or a wire grid system to a shaded wall or the side of a storage shed.
- Use carabiners to clip the baskets onto the rail, keeping them at a height where children can easily reach and return their own toys.
- Label each basket with a small plastic tag so everyone knows exactly where the goggles belong at the end of the day.
- Rinse the toys in fresh water before placing them in the baskets to remove chlorine and salt, which can degrade the materials over time.
- Check the baskets once a week to shake out any debris or leaves that may have collected inside.
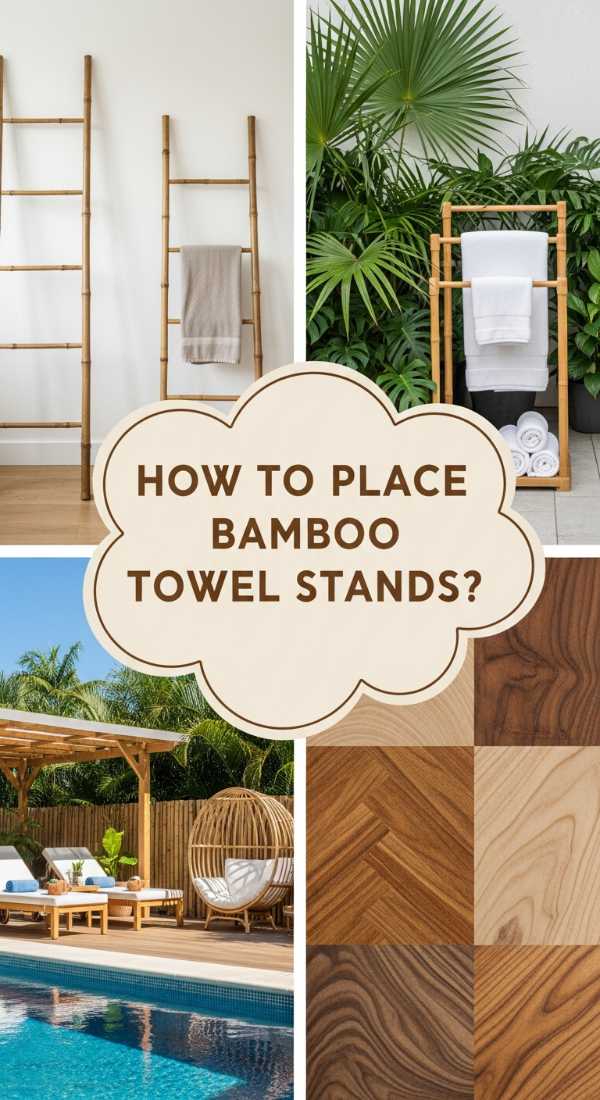
How to Place Bamboo Towel Stands for Natural Tropical Vibes
Why we love this
Bamboo brings an instant warmth and organic texture that plastic and metal simply can’t match. We love the way the light filters through the bamboo stalks, casting soft shadows that make you feel like you’ve been transported to a lush tropical island. The smooth, cool touch of the wood and the way it complements the vibrant greens of poolside palms creates a harmonious, relaxing environment that smells of sun and tropical blooms.
Essential Elements:
- Free-standing bamboo ladder or rack
- Clear outdoor polyurethane finish
- Rubber feet or floor protectors
- Decorative sisal rope
How to make it
- Purchase a high-quality bamboo ladder and sand down any rough nodes or joints to ensure towels don’t snag on the fibers.
- Apply a thin layer of clear outdoor polyurethane to protect the bamboo from the constant cycle of getting wet and drying in the sun.
- Wrap the joints of the ladder with sisal rope, securing the ends with hot glue, to add a decorative nautical touch and extra stability.
- Attach rubber feet to the bottom of the ladder legs; this prevents the bamboo from wicking up water from the deck and sliding on wet tiles.
- Lean the ladder against a sturdy wall or fence, or use a free-standing model placed near the shallow end for easy access.
- Drape towels over the rungs, alternating colors or patterns to create a visually appealing display that doubles as garden art.
- Rotate the stand occasionally to ensure even sun exposure and prevent uneven fading of the bamboo’s natural color.
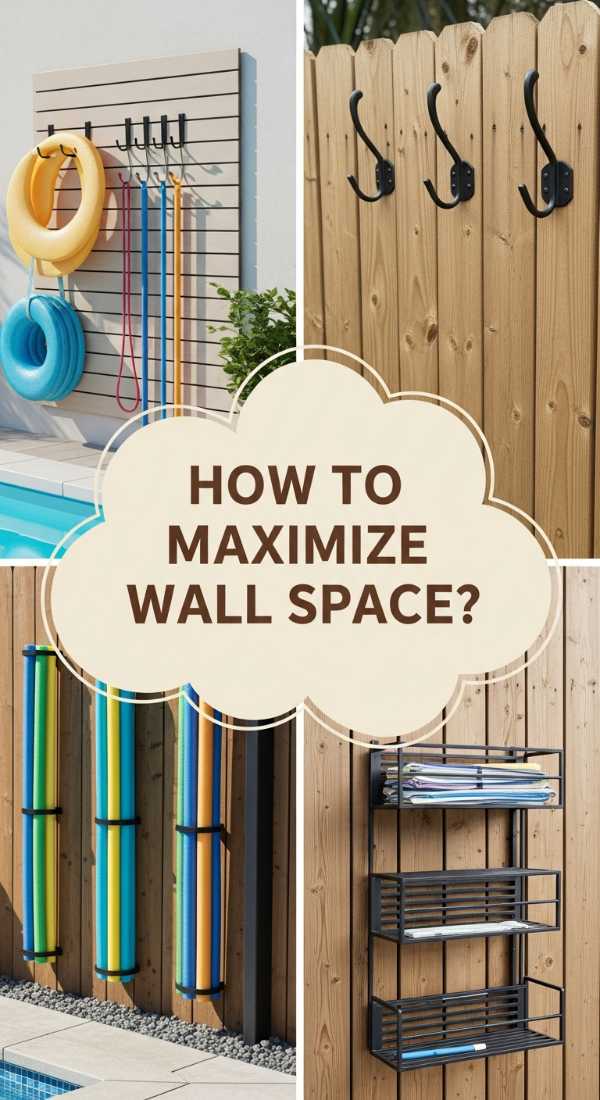
How to Maximize Vertical Wall Space for Seamless Deck Storage
Why we love this
When you look up, you find a world of storage potential that keeps the ground clear and the energy flowing. We love vertical storage because it creates a ‘gallery wall’ of your summer life—fins, nets, and life jackets hung like art pieces. It feels incredibly efficient and modern, providing a sense of order that makes even the smallest pool deck feel expansive and professionally organized. The sight of everything neatly elevated is pure visual bliss.
Essential Elements:
- External-grade slatwall or pegboard
- Assorted heavy-duty hooks and brackets
- Level and masonry drill bits
- Weather-resistant mounting hardware
How to make it
- Choose a large, flat wall surface that is structurally sound and not in the direct path of heavy splash zones.
- Install the slatwall panels using stainless steel screws, ensuring you hit the studs or use heavy-duty masonry anchors for a secure fit.
- Map out your layout by laying the items you want to hang on the ground in front of the wall first to determine the best spacing.
- Use long, rubber-coated hooks for heavy items like pool hoses and leaf skimmers to prevent scratching the equipment.
- Install wire baskets onto the slatwall for awkward items like pool shoes, sunscreen bottles, and speakers.
- Group similar items together vertically—place heavy equipment at the bottom and lighter, decorative items toward the top.
- Regularly check the hooks for any signs of loosening, especially after a period of heavy use during the peak of summer.
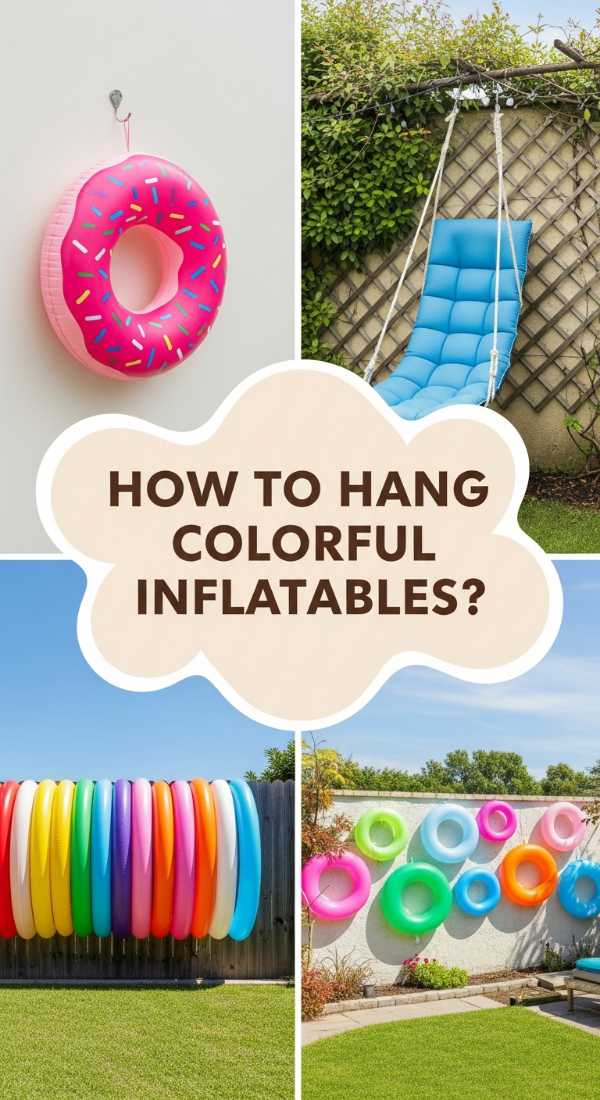
How to Hang Colorful Inflatables for a Functional Garden Wall
Why we love this
Why hide your beautiful, whimsical inflatables when they can become a vibrant part of your decor? We love the pop of color and the playful energy that hanging floats bring to a plain fence or wall. It’s a functional art installation that celebrates the joy of summer. The sight of a giant unicorn or a bright pineapple hanging against a dark wood fence is a visual delight that makes every day feel like a pool party.
Essential Elements:
- Heavy-duty suction hooks (for glass/tile) or vinyl fence hooks
- Bungee cords or nylon mesh netting
- Outdoor Command hooks (for light items)
- UV-protective spray
How to make it
- Clean the surface of the fence or wall thoroughly to remove any dust or cobwebs that might prevent hooks from adhering properly.
- Apply a UV-protective spray to your inflatables to prevent the colors from fading while they are displayed in the sun.
- Install large, sturdy hooks at varying heights to create a dynamic and interesting visual arrangement.
- For larger, round floats, use a length of bungee cord stretched between two hooks to create a ‘nest’ that holds the float flat against the wall.
- Use nylon mesh netting pockets hung from hooks to store smaller beach balls or arm-floaties together.
- Ensure that the floats are dry before hanging them to prevent water from dripping down the wall and causing stains or mold.
- Arrange the floats by color or size to create a curated look that feels like an intentional design choice rather than accidental storage.
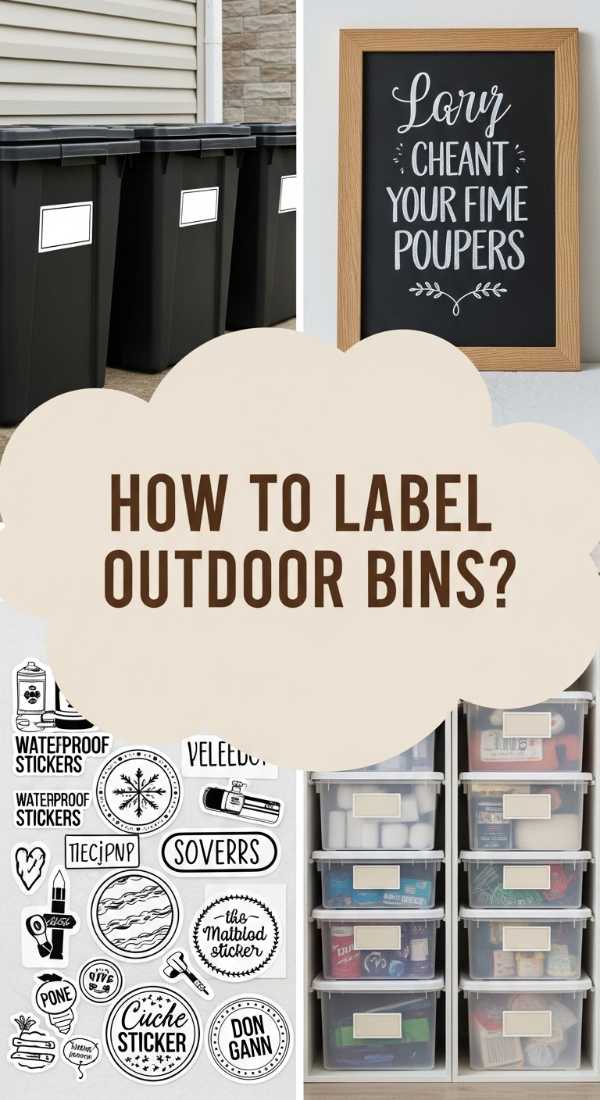
How to Label Outdoor Bins for Stress-Free Family Swim Days
Why we love this
There is a profound sense of calm that comes with knowing exactly where everything goes. Labeling is the final touch that turns a good organization system into a great one. We love the crisp, clean look of uniform labels and the way they empower everyone—from toddlers to guests—to help keep the space tidy. It removes the guesswork and the ‘mom, where does this go?’ questions, allowing you to actually relax and enjoy the water.
Essential Elements:
- Weatherproof vinyl labels or a label maker
- Opaque or transparent plastic bins
- Permanent markers (for DIY labels)
- Rubbing alcohol (for surface prep)
How to make it
- Decide on your categories: ‘Sunscreen,’ ‘Goggles,’ ‘Diving Toys,’ ‘Dry Clothes,’ and ‘Pool Chemicals’ (stored safely away).
- Clean the area on the bin where the label will be placed with rubbing alcohol to remove any oils or residues that might interfere with the adhesive.
- Print your labels using a font that is large and easy to read from a distance; bold, sans-serif fonts work best for outdoor visibility.
- Apply the vinyl labels carefully, smoothing them out from the center to the edges to remove any air bubbles.
- If using DIY wooden tags, paint them with chalkboard paint and use a chalk marker for a rustic, changeable labeling system.
- Place the labeled bins on shelves or inside your storage benches, ensuring the labels are facing outward and are clearly visible.
- Teach the family the new system by doing a ‘mock cleanup’ together, making it fun and showing them how easy it is to keep the oasis beautiful.
Creating Your Summer Sanctuary
Organizing your pool area isn’t just about cleaning up—it’s about creating a space where memories can be made without the stress of clutter. When every towel is rolled and every float has its home, you open up the physical and mental space to truly enjoy the season. Start with one project this weekend, and before you know it, you’ll have the most enviable backyard on the block. Happy swimming!