

Verdant Vibes: How to Decorate Every Room with Living Greenery
There is something inherently transformative about bringing the outdoors in. Have you ever walked into a room and felt an immediate sense of calm wash over you, only to realize the space was breathing with life? That’s the magic of botanical living. It’s more than just a decor trend; it’s a lifestyle choice that nurtures your soul, purifies your air, and connects you to the rhythmic cycles of nature even when you’re stuck in a high-rise apartment. My own journey into plant parenthood started with a single, struggling pothos, but as I learned to listen to its needs, my home evolved into a vibrant sanctuary that feels like a warm hug every time I step through the door.
We live in a world that is increasingly digital and fast-paced, which makes the presence of living greenery even more vital. Watching a new leaf unfurl or feeling the damp earth beneath your fingernails is a grounding ritual that reminds us to slow down and appreciate the slow, steady growth happening right before our eyes. In this guide, I’m sharing my favorite ways to integrate plants into every corner of your home, from dramatic living walls to tiny, aromatic kitchen galleries. Whether you have a green thumb or are just starting out, there’s a verdant solution waiting to breathe new life into your space.
How to Create a Lush Plant Mural Wall for a Botanical Sanctuary
Why we love this
A lush plant mural wall serves as the ultimate living masterpiece, turning a standard wall into a deep, textural landscape of emerald, jade, and forest green. Walking past this wall feels like stepping into a private conservatory, where the faint, sweet scent of damp moss and fresh oxygen fills the air. The visual depth created by overlapping leaves—from the heart-shaped philodendron to the delicate fronds of a fern—provides a sensory richness that paint or wallpaper simply cannot replicate. It creates a profound sense of enclosure and protection, making any room feel like a hidden garden retreat where the stress of the day simply melts away.
Essential Elements:
- Customized wall-mounted planter pockets or a vertical felt system.
- Selection of trailing plants (Pothos, Heartleaf Philodendron).
- Texture-rich plants (Bird’s Nest Fern, Rabbit’s Foot Fern).
- High-quality, moisture-wicking potting mix.
- Hidden drip irrigation system or a long-spout watering can.
- Waterproof membrane to protect the drywall.
How to make it
- Begin by installing a waterproof barrier, such as a thick plastic sheet or specialized pond liner, over the area where your plant wall will hang to prevent moisture damage to your home’s structure.
- Secure your vertical planting system (felt pockets or modular trays) directly into the wall studs using heavy-duty screws to ensure it can handle the significant weight of wet soil and growing plants.
- Fill each pocket or tray about two-thirds full with a lightweight, well-draining potting soil specifically formulated for indoor use to prevent compaction and root rot.
- Arrange your plants on the floor first to visualize the mural; place larger, bushier plants at the bottom for stability and trailing varieties at the top to create a cascading ‘waterfall’ effect.
- Gently remove each plant from its nursery pot, loosen the roots, and tuck them firmly into the wall pockets, ensuring the root ball is fully covered by soil.
- Establish a regular hydration schedule—use a moisture meter to check the lower pockets, which tend to stay wetter, and mist the foliage weekly to maintain the humidity these tropical species crave.
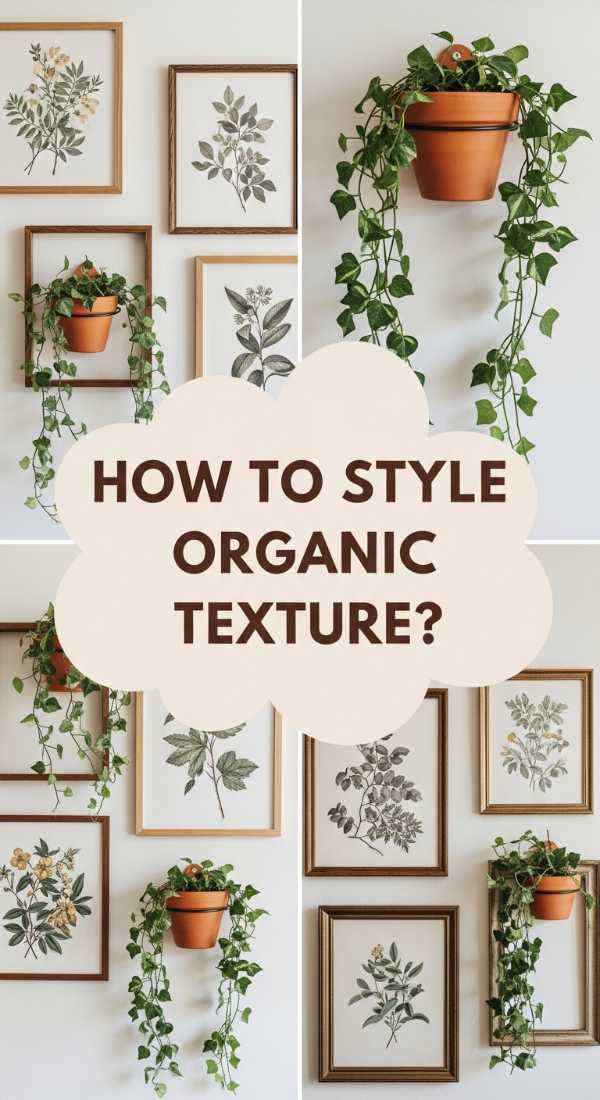
How to Style a Gallery Wall with Plants for Organic Texture
Why we love this
The beauty of a plant-focused gallery wall lies in the dynamic interplay between the rigid lines of frames and the wild, unpredictable growth of living things. It adds a layer of organic texture that breaks up the monotony of flat art, bringing a three-dimensional vitality to your living space. There is a delightful tactile quality to seeing soft, velvet-leafed plants perched next to glossy ceramic pots and matte-finished prints. As the plants grow and change their orientation toward the light, the ‘artwork’ evolves daily, ensuring your wall never feels static or stale.
Essential Elements:
- Sturdy wall-mounted shelving or floating ledges.
- Assorted pots in various finishes (terracotta, glazed ceramic, matte metal).
- Specimen plants with interesting foliage (Swiss Cheese Plant, Rattlesnake Plant).
- Framed botanical prints or pressed leaves.
- Decorative brackets for a cohesive look.
How to make it
- Start by sketching a layout on paper, alternating between framed art pieces and the locations where your plants will sit to ensure a balanced distribution of ‘visual weight’.
- Install floating shelves or wall hooks at varying heights; use a level to ensure everything is straight, as the organic shapes of the plants will highlight any crooked lines.
- Choose a variety of plant heights—pair a tall, upright Snake Plant with a low, bushy Peperomia to create a sense of movement across the wall.
- Select pots that complement your decor style but ensure they all have drainage holes or use a ‘cachepot’ system (a nursery pot inside a decorative pot) to prevent water from sitting at the bottom.
- Place the heaviest plants on the lowest or most secure shelves to maintain structural integrity and prevent the wall from looking ‘top-heavy’.
- Rotate the plants 90 degrees every two weeks to ensure all sides receive equal light exposure, keeping the growth symmetrical and lush.
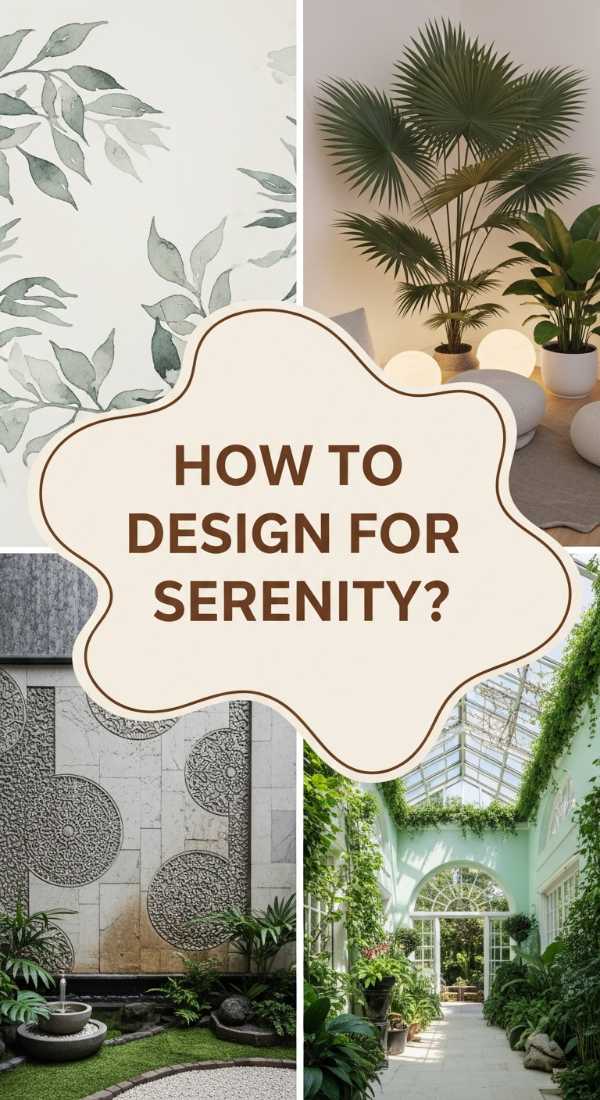
How to Design an Indoor Jungle for Maximum Serenity
Why we love this
An indoor jungle is the ultimate expression of botanical maximalism, designed to envelop you in a dense canopy of foliage that deadens sound and filters the air. The atmosphere is one of profound serenity; the humidity rises slightly, creating a microclimate that feels like a permanent tropical vacation. There’s a rhythmic quality to the space, with shadows of palm fronds dancing on the floor and the bright, waxy sheen of large-leafed plants reflecting the morning sun. It’s a space designed for deep breathing and quiet contemplation, where the boundaries between the indoors and the wild world outside become beautifully blurred.
Essential Elements:
- Statement floor plants (Fiddle Leaf Fig, Monstera Deliciosa, Strelitzia).
- Varying levels of plant stands and stools.
- Hanging macrame planters.
- Humidifier (optional but recommended).
- Natural fiber rugs (jute or sisal) to ground the space.
How to make it
- Identify the ‘anchor’ of your jungle—usually a large, floor-standing plant like a Bird of Paradise—and place it in the corner with the most consistent indirect sunlight.
- Create ‘clusters’ of plants rather than spacing them evenly; grouping plants together helps them create their own humidity through transpiration, which keeps them healthier.
- Utilize vertical space by hanging trailing plants like Spider Plants or English Ivy from the ceiling at different heights using ceiling hooks rated for at least 10 pounds.
- Incorporate different leaf shapes and colors; mix the dark, glossy green of a Rubber Tree with the neon chartreuse of a Golden Pothos to create visual ‘pop’.
- Add plant stands of varying heights to the clusters to ensure that even the smaller plants receive light and are visible behind the larger ones.
- Monitor the light levels throughout the day; if you notice leaves reaching aggressively in one direction, move the plant closer to the light source or add a full-spectrum grow light to supplement.
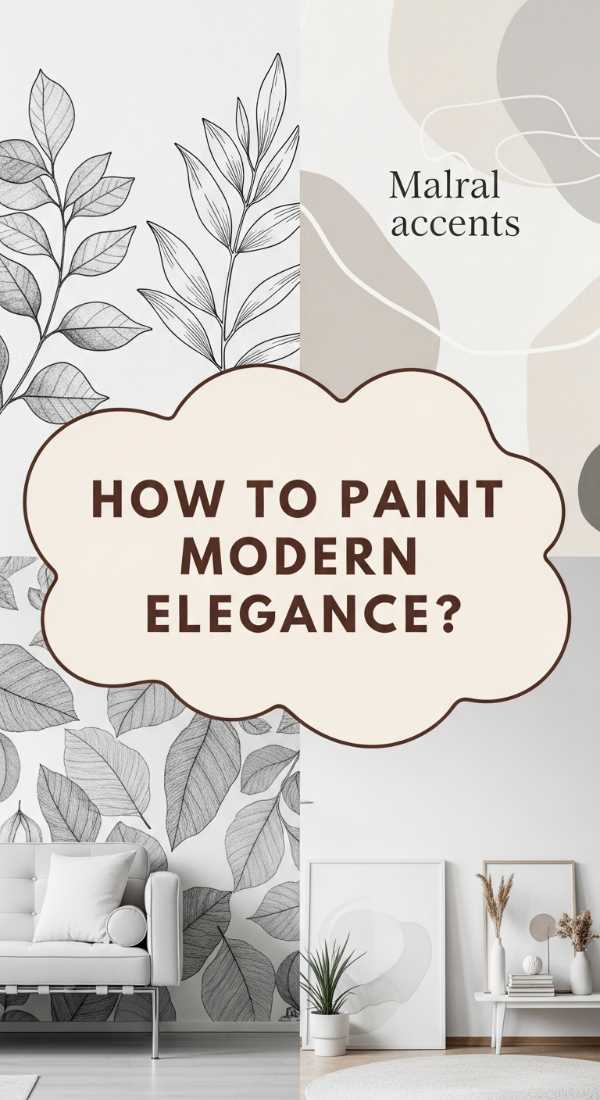
How to Paint a Minimalist Plant Mural Wall for Modern Elegance
Why we love this
For those who prefer a clean, architectural aesthetic, the minimalist plant mural wall offers a sophisticated take on botanical living. This style focuses on a few high-impact plants set against a backdrop of clean lines and negative space, emphasizing the sculptural beauty of the plants themselves. The feeling is one of curated elegance—not a leaf is out of place, and the focus is on the silhouette and form of the foliage. It brings a sense of order and calm to modern interiors, providing just enough ‘life’ to warm up a minimalist room without overwhelming the design.
Essential Elements:
- White or neutral-colored wall backdrop.
- Uniform, minimalist planters (white porcelain or concrete).
- Architectural plants (Zamioculcas Zamiifolia, Sansevieria, Dracaena).
- Floating hidden brackets.
- Strict color palette for both foliage and hardware.
How to make it
- Prepare your wall by painting it a crisp, neutral shade like eggshell white or soft grey to act as a high-contrast canvas for the green foliage.
- Select a single species of plant for the entire wall or choose 2-3 species with very similar shapes to maintain a unified, rhythmic appearance.
- Install minimalist, ‘invisible’ floating shelves in a strict grid pattern or a single horizontal line to emphasize linear geometry.
- Repot all selected plants into identical containers—cylindrical matte white pots are a classic choice for this look—using a high-quality potting mix.
- Space the plants exactly 12-18 inches apart on the shelves, ensuring the negative space between the plants is equal to the width of the pots themselves.
- Prune the plants regularly to maintain their specific silhouette; remove any yellowing leaves or wild runners immediately to keep the look pristine and intentional.
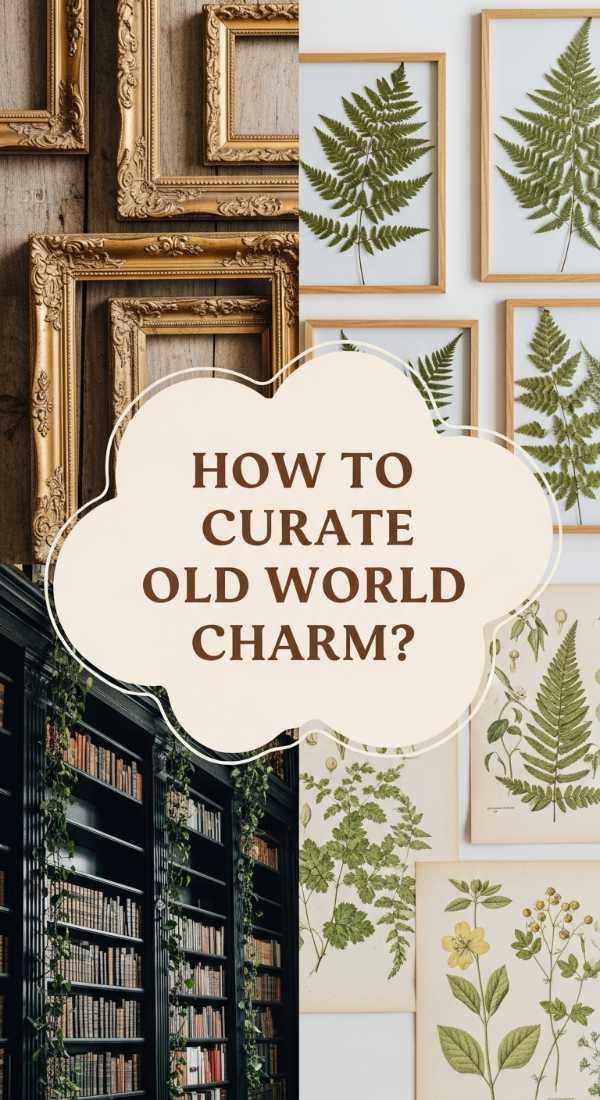
How to Curate a Vintage Gallery Wall with Plants for Old World Charm
Why we love this
A vintage-inspired plant wall feels like walking into the study of a 19th-century naturalist. It’s warm, lived-in, and filled with stories, combining the charm of aged wood and tarnished brass with the timeless beauty of classic houseplant varieties. The sensory experience is rich with the smell of old paper and the soft, dusty green of silver-hued foliage. This approach celebrates the ‘slow life,’ encouraging you to display your plants alongside heirlooms and antique finds, creating a space that feels deeply personal and historically grounded.
Essential Elements:
- Antique wooden crates or ornate brass shelves.
- Terracotta pots with a natural ‘aged’ patina or verdigris finish.
- Victorian-era favorites (Maidenhair Ferns, Rex Begonias, African Violets).
- Vintage botanical illustrations and gold-leaf frames.
- Old apothecary jars for water propagation.
How to make it
- Source vintage elements from flea markets or thrift stores, such as old wooden ladders or brass wall sconces that can be repurposed as plant holders.
- Treat new terracotta pots with a mixture of yogurt or lime to accelerate the growth of moss and minerals, giving them an ‘aged’ look within weeks.
- Mount heavy ornate frames around small wall-mounted pots to turn individual plants into ‘living portraits’.
- Incorporate delicate, fine-textured plants like Maidenhair Ferns, but place them in areas with high humidity or use a pebble tray to maintain their moisture needs.
- Mix in non-plant elements like vintage clocks, old books, or magnifying glasses to enhance the ‘collector’s cabinet’ aesthetic of the gallery.
- Use amber glass bottles for propagating cuttings; the dark glass protects the roots from light and adds to the old-world apothecary vibe of the display.
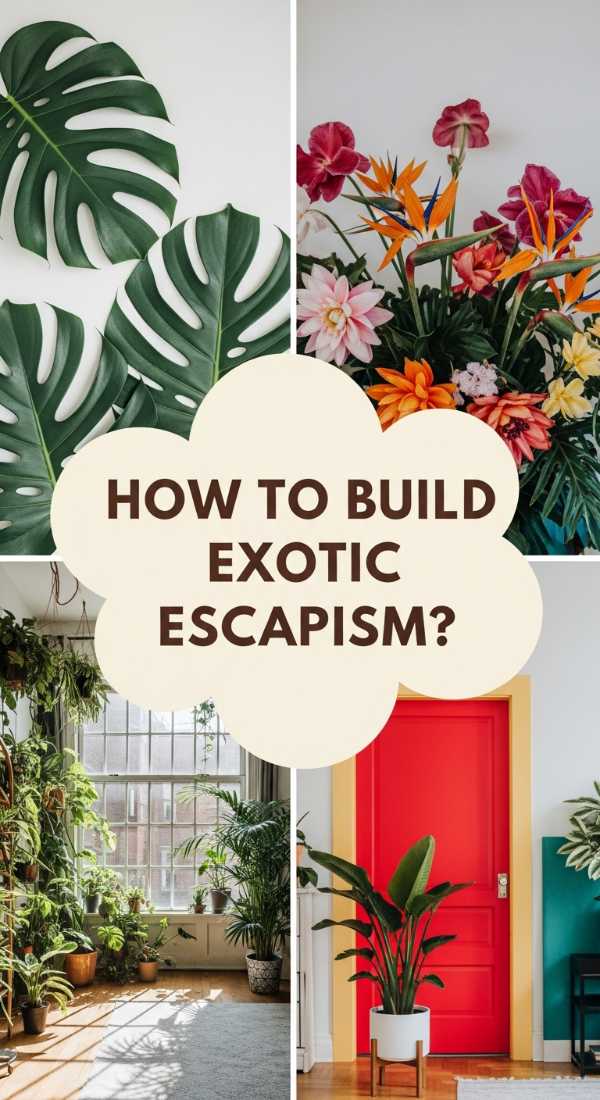
How to Build a Tropical Plant Mural Wall for Exotic Escapism
Why we love this
The tropical plant mural is your passport to an exotic paradise, filled with oversized leaves, vibrant variegation, and a sense of untamed energy. It’s bold and unapologetic, perfect for creating a focal point that demands attention. The humidity and the lushness of the ‘big leaf’ energy evoke memories of rainforest treks and sun-drenched islands. Looking at these plants—like the dramatic Calathea or the towering Alocasia—instantly boosts the mood, injecting a dose of sunshine and vitality into even the gloomiest of winter days. It’s pure escapism in the best way possible.
Essential Elements:
- Oversized leaf plants (Monstera, Alocasia, Calathea).
- Self-watering vertical planters (to manage high water needs).
- Full-spectrum LED grow lights for deep-set leaves.
- Misting system or frequent manual misting.
- Tropical-themed accessories like bamboo or rattan.
How to make it
- Choose a wall that receives bright, indirect light; direct afternoon sun can scorch the thin leaves of many tropical species.
- Install a modular vertical garden system that includes large reservoirs, as tropical plants are thirsty and require consistent moisture to maintain their large leaf surface area.
- Layer your plants by size: place Alocasia and large Monsteras at the base where they can grow upward, and fill the middle sections with colorful Calatheas or Crotons.
- Install grow lights above the wall if the room is dim; tropical plants require significant energy to maintain their vibrant colors and large sizes.
- Wipe the leaves weekly with a damp, soft cloth to remove dust; this ensures the plant can ‘breathe’ and photosynthesize efficiently, keeping those huge leaves glossy.
- Maintain a room temperature between 65-80°F, as these plants are sensitive to cold drafts and will show signs of stress if the temperature drops significantly.
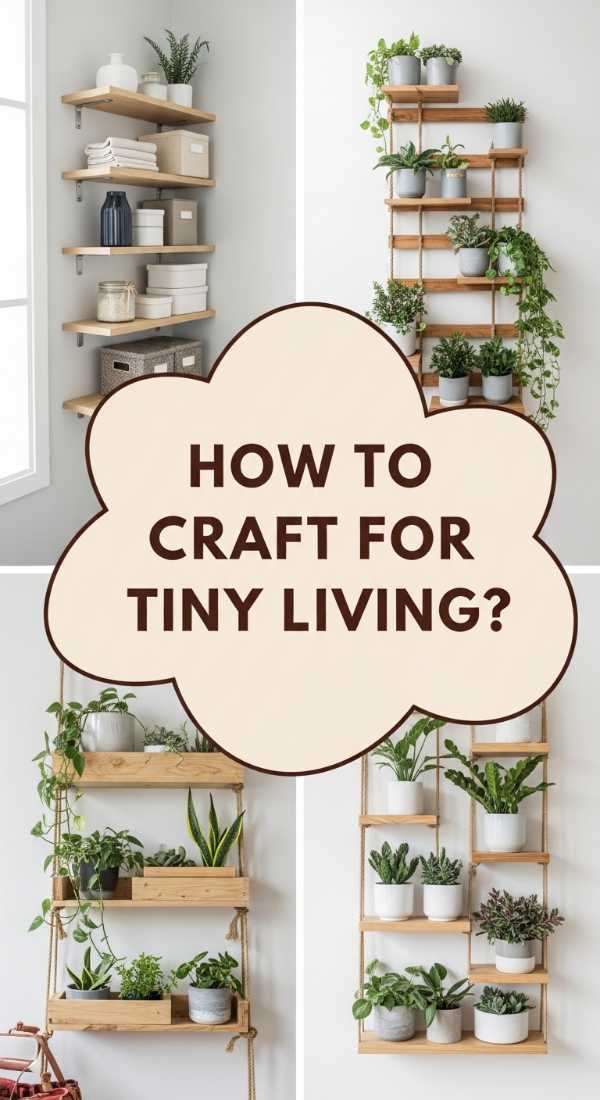
How to Craft a Vertical Gallery Wall with Plants for Tiny Living

Why we love this
In a small apartment, floor space is the most valuable currency, which is why the vertical gallery wall is a game-changer for urban dwellers. It allows you to indulge your love for nature without sacrificing a single square inch of walking space. There’s something incredibly clever and satisfying about a ‘sky-high’ garden that draws the eye upward, making ceilings feel higher and rooms feel more expansive. It’s a functional piece of art that brings a breath of fresh air to tight quarters, proving that you don’t need a backyard to be a gardener.
Essential Elements:
- Pegboards or grid-style wall organizers.
- Small, lightweight plastic or silicone pots.
- Trailing and compact plants (String of Pearls, Air Plants, Hoya).
- S-hooks and specialized pegboard clips.
- Command hooks for damage-free installation.
How to make it
- Mount a large pegboard or metal grid to your wall using heavy-duty wall anchors to ensure it can support the collective weight of multiple pots.
- Use S-hooks to hang small pots with ‘lips’ or attach specialized plant clips directly to the grid system.
- Choose ‘slow-growing’ or ‘miniature’ plant varieties like String of Hearts or small Succulents so the wall doesn’t become overgrown and messy too quickly.
- Incorporate Air Plants (Tillandsia) into the gaps; since they don’t require soil, they can be rested directly on the grid or tucked into wire holders without adding weight.
- Group plants with similar watering needs together on the grid to make maintenance easier—put all the succulents on one side and the thirstier vines on the other.
- Use a spray bottle for watering to avoid drips on the floor, or easily unhook the individual pots to water them in the sink before returning them to the wall.
How to Arrange a Dreamy Gallery Wall with Plants for Restful Sleep
Why we love this
Transforming your bedroom into a botanical dreamscape is one of the best gifts you can give your mental health. A bedroom plant wall focuses on air-purifying species and soft, rounded leaf shapes that promote a sense of rest and restoration. The sight of gentle green fronds swaying in the breeze of a bedside fan is incredibly hypnotic, helping to lower the heart rate and prepare the mind for sleep. The air feels cleaner, the light feels softer, and the overall vibe is one of a cozy, living nest that protects you from the noise of the outside world.
Essential Elements:
- Air-purifying plants (Peace Lily, Sansevieria, Aloe Vera).
- Soft-textured foliage (Asparagus Fern, Blue Star Fern).
- Wall-mounted ceramic sconce planters.
- Lavender or Jasmine (for natural aromatherapy).
- Muted, earth-toned pots.
How to make it
- Position your plant gallery on the wall opposite your bed so it is the first thing you see when you wake up and the last thing you see at night.
- Select plants known for oxygen production at night, such as Snake Plants or Aloe Vera, to optimize the air quality while you sleep.
- Use wall-mounted sconces that hide the pots entirely, creating a seamless look where the plants appear to be growing directly out of the wall.
- Avoid ‘spiky’ or aggressive-looking plants like cacti; instead, opt for soft, flowing varieties that evoke a feeling of gentleness and comfort.
- Incorporate a small shelf for a pot of Jasmine or Lavender; the natural scent from these living plants can act as a gentle, non-toxic sleep aid.
- Keep the arrangement asymmetrical and loose; a rigid, formal layout can feel too ‘active’ for a space meant for relaxation and dreaming.
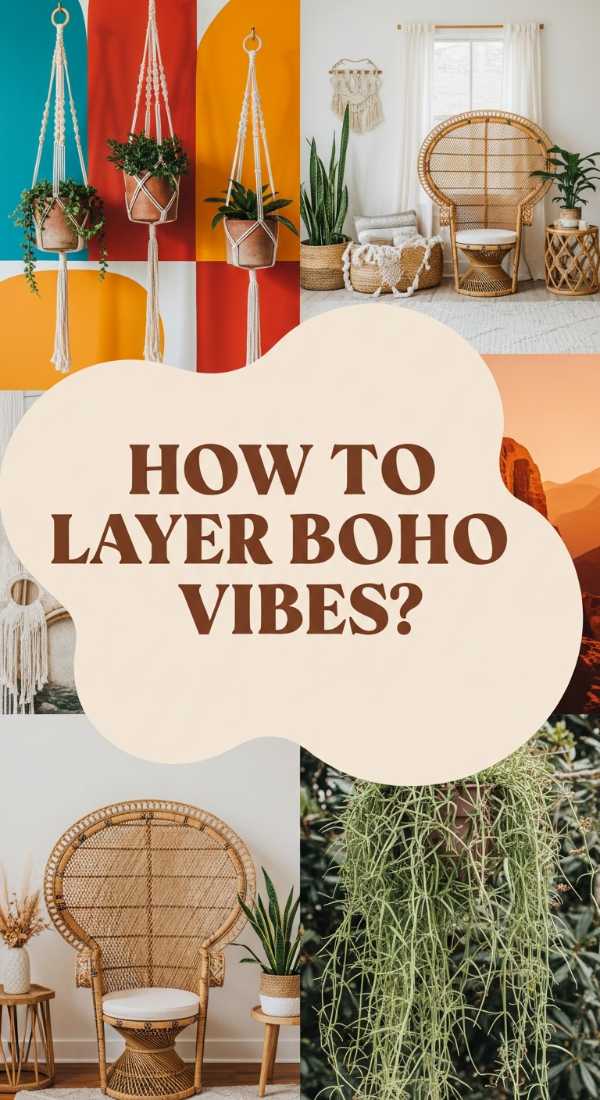
How to Layer a Boho Plant Mural Wall for Free Spirited Living
Why we love this
The boho plant wall is all about soul, texture, and a ‘more is more’ philosophy. It’s a riot of color, pattern, and life, where macrame tassels mingle with trailing ivy and hand-painted pots. This style is incredibly forgiving and celebrates the imperfection of nature. The sensory experience is warm and tactile—think fuzzy leaves, rough jute, and the earthy smell of terracotta. It’s a space that feels deeply personal and creatively energized, perfect for the free spirit who wants their home to reflect their wild heart and love for all things natural.
Essential Elements:
- Macrame plant hangers in various lengths.
- Woven baskets used as pot covers.
- Eclectic mix of colorful and patterned pots.
- Trailing ‘vibe’ plants (Pothos, Micans, Tradescantia Zebrina).
- Wall tapestries or mirrors to layer behind the plants.
How to make it
- Start by hanging a large textile or woven tapestry as a backdrop to add immediate warmth and color to the wall area.
- Install a variety of wall hooks at staggered intervals; don’t worry about perfect symmetry—the goal is a layered, ‘collected over time’ appearance.
- Use macrame hangers to suspend plants at different levels in front of the tapestry, creating a three-dimensional effect with the foliage.
- Mix and match your pots—use thrifted bowls, woven baskets, and brightly glazed ceramics to create a vibrant, eclectic visual palette.
- Focus on plants with interesting colors or patterns, like the purple-tinged Wandering Dude or the velvety Philodendron Micans, to add ‘pops’ of non-green color.
- Tuck small treasures, like crystals, feathers, or postcards, into the plant hangers or onto the shelves to infuse the wall with your personal story.
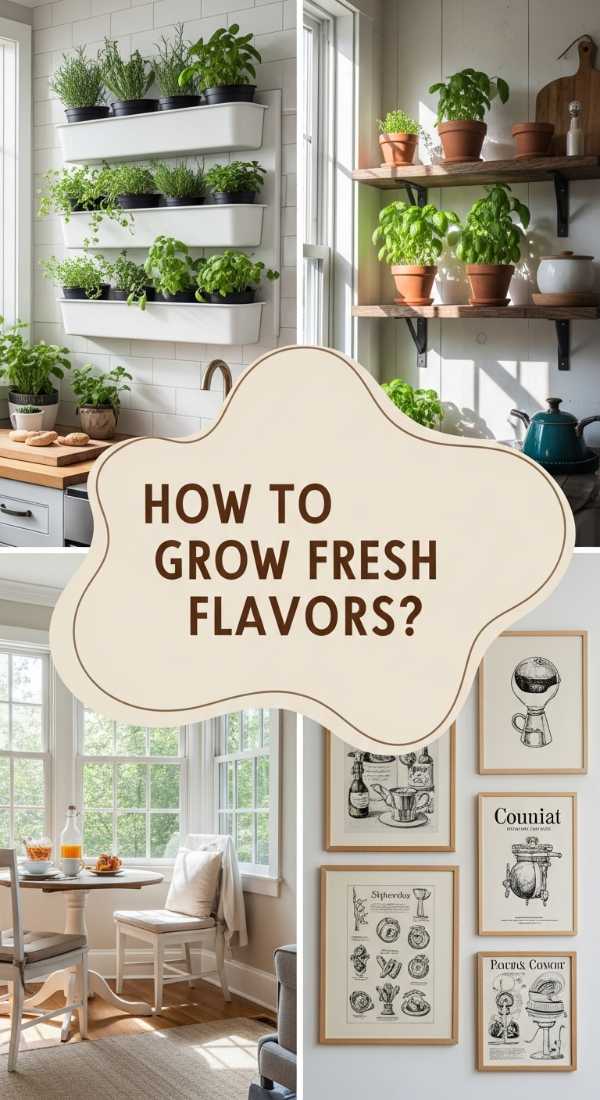
How to Grow a Culinary Gallery Wall with Plants for Fresh Flavors
[IMAGE_10]
Why we love this
A culinary plant wall is the height of functional beauty, bringing the ‘farm to table’ experience directly into your kitchen. There is nothing quite like the sensory delight of brushing against a wall of fresh basil and rosemary while you cook, releasing a cloud of herbal fragrance. It’s a living pantry that provides a constant supply of garnishes and ingredients, making every meal feel like a special occasion. The vibrant greens of edible herbs add a fresh, clean look to the kitchen, turning a utilitarian space into a chef’s paradise that smells as good as it looks.
Essential Elements:
- Wall-mounted herb pots or a rail system (like the IKEA Sunnersta).
- Standard culinary herbs (Basil, Mint, Rosemary, Thyme, Chives).
- Chalkboard labels or wooden markers.
- Dedicated LED grow bar (essential for most kitchens).
- Well-draining organic potting soil (safe for edibles).
How to make it
- Choose a wall in your kitchen that is at least 3 feet away from the stove to prevent heat damage, but close enough to be accessible while prepping food.
- Install a rail system or modular herb planters; ensure they are easy to remove so you can take the entire pot to the sink for a thorough soaking.
- Purchase established herb starts rather than seeds for immediate impact; transplant them into your wall pots using organic soil to ensure your harvest is chemical-free.
- Install a high-output LED grow light directly above the herbs; most culinary plants require at least 6-8 hours of intense light to produce the essential oils that give them flavor.
- Label each herb clearly with chalkboard paint or cute markers so you don’t confuse your Thai Basil with your Italian Oregano in the heat of cooking.
- Prune your herbs frequently by ‘pinching’ the tops off; this encourages the plant to grow bushier rather than leggy, ensuring a more productive and attractive wall.
Conclusion
Decorating with living greenery is a journey of discovery that transforms not only your home but your daily rhythm. Whether you choose the sleek lines of a minimalist display or the wild embrace of an indoor jungle, you are creating a space that breathes, grows, and evolves alongside you. Remember, there’s no such thing as a ‘black thumb’—only the learning process of figuring out what each unique plant needs. Start small, be patient, and watch as your home turns into the verdant sanctuary you’ve always dreamed of. Happy planting!