

Have you ever walked into a room and felt an immediate sense of relief, as if the walls themselves were breathing? There’s something almost primal about our connection to greenery. In the hustle of our digital lives, we often find ourselves tucked away in concrete boxes, longing for the rustle of leaves and the earthy scent of damp soil. I remember the first time I brought a simple Monstera into my studio apartment; it wasn’t just a plant—it was a companion that turned a cold space into a living sanctuary.
Bringing the outdoors in is more than just a design trend; it’s a lifestyle shift toward wellness and intentionality. Botanical decor allows us to curate our own private Eden, blending the soft, organic shapes of nature with the structure of our homes. Whether you’re a seasoned plant parent or a self-proclaimed ‘black thumb,’ there is a way to weave the magic of the forest into your everyday environment. Let’s explore how we can transform your space into a botanical masterpiece.
How to Create a Serene Plant Mural Wall for Total Inner Peace
Why we love this
There is a profound, meditative quality to a hand-painted mural that mimics the soft, undulating lines of a willow tree or the gentle sway of ferns in a breeze. When you step into a room adorned with soft, watercolor-style botanicals, your heart rate seems to slow down and the mental noise of the day fades into a whisper. The combination of muted sage greens and misty greys creates a visual ‘forest bath’ that refreshes the soul, offering a tactile sense of calm that wallpaper simply can’t replicate. It feels like waking up in a fog-covered meadow every single morning.
Essential Elements:
- Water-based acrylic paints in sage, olive, and eucalyptus tones.
- Natural sea sponges for texture.
- Long-handled rigger brushes for delicate vine work.
- A large mixing tray for gradient blending.
- Matte sealant to protect the finish without adding glare.
How to make it
- Begin by prepping your wall with a high-quality white or cream primer; this acts as your canvas and ensures the botanical colors pop without being muddied by previous wall tints.
- Mix your ‘base leaf’ color with a glazing medium to achieve a translucent, watercolor effect; apply this with a sea sponge in large, sweeping motions to create the ‘ghost’ of the forest in the background.
- Using a medium-sized round brush, map out your primary branches, keeping the ‘heat’ of your focus—the densest part of the design—at eye level to ground the room.
- Incorporate ‘professional tips’ on drying: Use a hair dryer on a cool setting to set the first layer of translucent leaves before painting the sharper, darker foreground foliage over the top.
- Fine-tune the details by adding highlights with a pale mint green; visual cues for doneness include a balanced distribution of light and dark that leads the eye across the wall in a fluid, rhythmic motion.
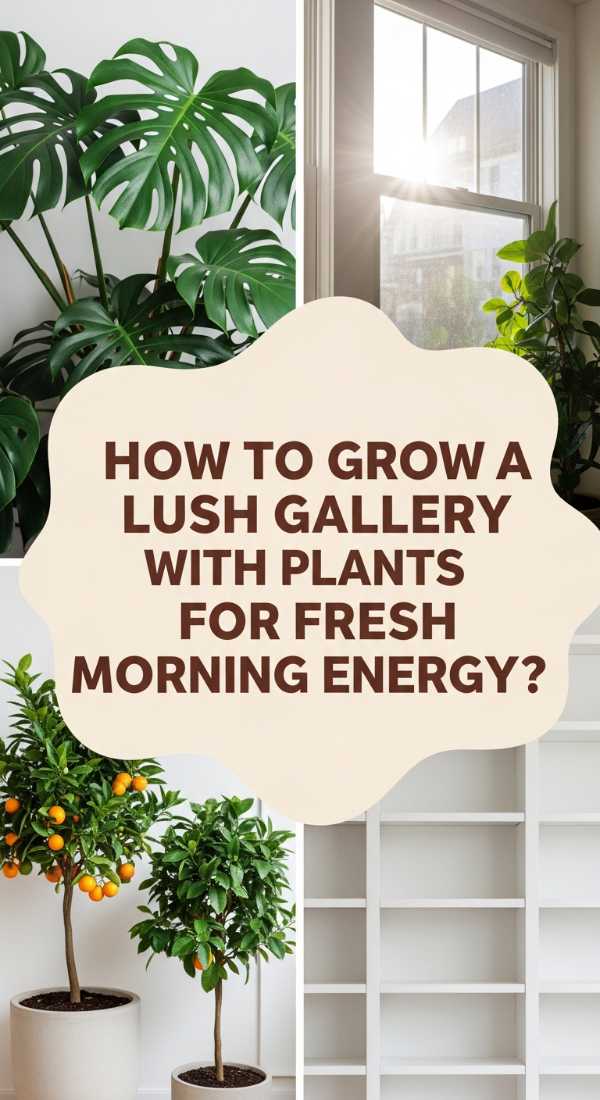
How to Grow a Lush Gallery Wall with Plants for Fresh Morning Energy
Why we love this
Imagine waking up to a living tapestry of vibrant greens that literally purifies the air while you sip your morning coffee. This approach uses the physical texture of waxy leaves and trailing vines to create a three-dimensional masterpiece that changes every single day as the plants grow and reach for the light. The aroma is purely organic—that fresh, oxygenated scent that reminds you of a botanical garden after a light rain. It’s an energizing, tactile experience that bridges the gap between your living room and the wild world outside.
Essential Elements:
- Wall-mounted ceramic planters with drainage plugs.
- Trailing plants like Pothos, Philodendron, and String of Hearts.
- Upright plants like Snake Plants or Birds of Paradise for height.
- Hidden wall anchors and a heavy-duty drill.
- A moisture meter to monitor soil health.
How to make it
- Select your layout by laying the empty planters on the floor first; ensure you have a mix of ‘spillers’ (trailing plants) and ‘thrillers’ (bold, upright plants) to create a dynamic visual ‘prep’ phase.
- Install heavy-duty wall anchors, as wet soil is significantly heavier than dry; ensure the ‘heat’ of the installation is centered around your primary light source, like a large window.
- Pot your plants into the wall containers using a high-drainage indoor potting mix; visual cues for a healthy pot include soil that is firm but not packed, allowing oxygen to reach the roots.
- Arrange the planters on the wall starting from the top down; this prevents you from accidentally bumping and damaging the trailing vines of lower plants as you work.
- Mist the entire wall once installed to settle the dust and give the leaves a professional, glossy shine; timing is key—do this in the morning so the moisture can evaporate before the cool of the evening.
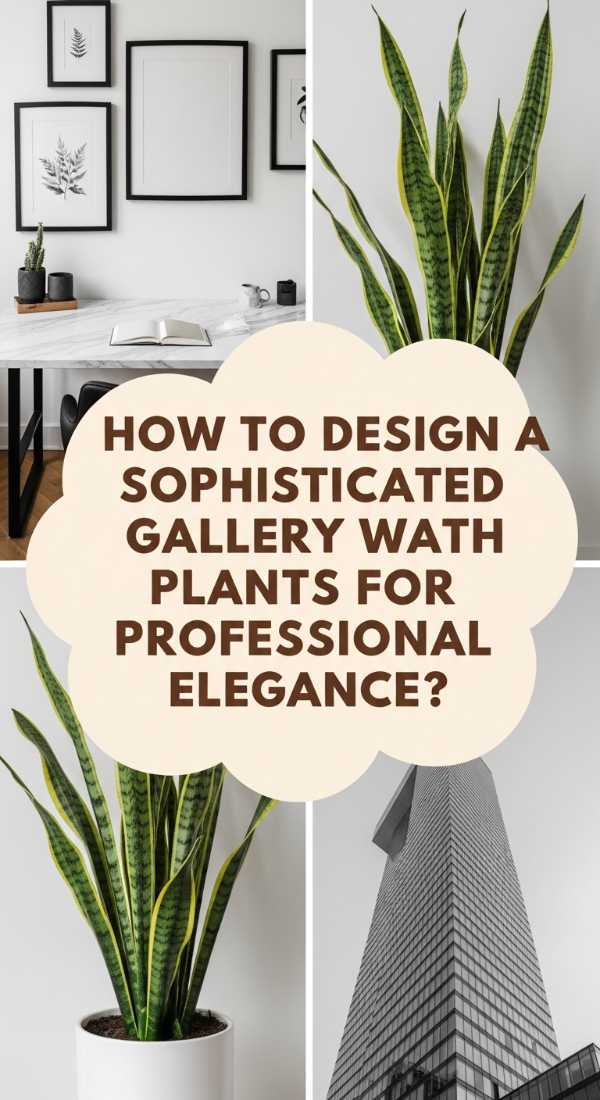
How to Design a Sophisticated Gallery Wall with Plants for Professional Elegance

Why we love this
For those who crave the serenity of nature but live in a world of high-gloss finishes and sharp lines, the sophisticated botanical gallery is the ultimate compromise. By using uniform, minimalist frames and architectural plants like the ZZ plant or air plants, you create a look that is curated, intentional, and deeply polished. The texture is controlled and sleek, offering a sensory experience that feels like a high-end spa or a modern art gallery where every leaf is a deliberate stroke of genius. It brings a sense of refined order to the chaotic beauty of the natural world.
Essential Elements:
- Matching black or metallic frames with wide white matting.
- Architectural air plants (Tillandsia).
- Pressed botanical specimens or high-quality line art prints.
- Sleek, wall-mounted glass terrariums.
- Level and measuring tape for precise alignment.
How to make it
- Measure your wall space meticulously; the technique here requires absolute symmetry, so use a laser level to ensure your horizontal and vertical lines are perfectly square.
- Prepare your botanical specimens by pressing fresh leaves between heavy books for two weeks; a professional tip is to use acid-free paper to prevent the leaves from browning during the ‘curing’ process.
- Mount the pressed leaves behind glass in your matching frames; ensure the ‘heat’—the most visually complex specimen—is placed in the center-left frame to follow standard eye-tracking paths.
- Install the glass terrariums between the frames; fill these with Tillandsia, which require no soil, maintaining the clean, professional aesthetic of the display.
- Check for visual cues of doneness: The wall should look like a cohesive grid where the organic shapes of the plants soften the rigid geometry of the frames without overwhelming them.
How to Style a Boho Plant Mural Wall for Creative Inspiration
Why we love this
The boho plant mural is a celebration of the wild, the untamed, and the deeply personal. It’s a riot of textures—think macramé hangers against a backdrop of hand-painted terracotta suns and oversized tropical leaves. This style encourages a tactile, hands-on relationship with your space, where the aroma of dried lavender and rich soil fills the air. It’s the kind of environment that sparks creativity, making you want to pick up a paintbrush or a guitar and lose yourself in the vibrant, earthy energy of a sun-drenched jungle bungalow.
Essential Elements:
- Macramé plant hangers in various lengths.
- Warm-toned paints like burnt orange, mustard, and ochre.
- Terracotta pots in multiple sizes and shapes.
- Command hooks or sturdy ceiling hooks.
- A variety of textured plants like Calathea and Spider Plants.
How to make it
- Start by painting a large, offset semi-circle in a warm ochre tone to represent a rising sun; this acts as the ‘heart’ of the mural and dictates the flow of the rest of the elements.
- Once the paint is dry to the touch—test by lightly pressing a finger in an inconspicuous corner—begin layering your hanging elements using the macramé holders.
- Prep your plants by wiping the leaves with a damp cloth; this ensures they are free of dust and can photosynthesize efficiently in the ‘creative heat’ of your sun-drenched room.
- Stagger the heights of the hanging plants to create depth; a professional tip is to use ‘spilling’ plants at the highest points so they trail down over the painted mural elements.
- Finalize the look by placing larger terracotta pots on the floor at the base of the wall; visual cues for completion involve a ‘full’ look where every layer of the wall is occupied by either color, texture, or foliage.
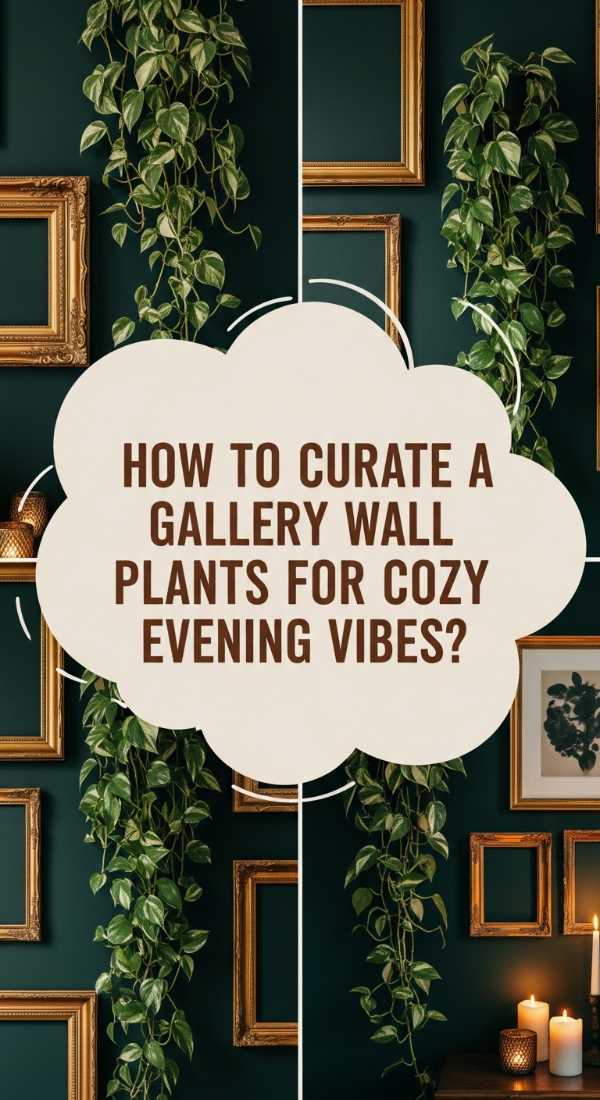
How to Curate a Moody Gallery Wall with Plants for Cozy Evening Vibes
Why we love this
As the sun sets and the lamps are lit, a moody botanical wall becomes a sanctuary of shadows and deep, velvety greens. This style utilizes dark backdrops—think charcoal, navy, or forest green—to make the emerald hues of your plants glow with an almost ethereal intensity. The sensory experience is one of pure coziness; the air feels heavier and more fragrant, and the soft rustle of leaves against a dark wall provides a soothing soundtrack for an evening of reading by candlelight. It’s sophisticated, intimate, and deeply comforting.
Essential Elements:
- Deep, dark matte wall paint (charcoal or navy).
- Brass or copper wall-mounted planters for high contrast.
- Plants with dark foliage, such as ‘Raven’ ZZ plants or Burgundy Rubber Trees.
- Warm-toned LED grow lights or soft accent lighting.
- Velvet-lined frames for botanical prints.
How to make it
- Apply two coats of your chosen dark paint; the technique here is to use a high-quality nap roller to ensure a velvety, non-reflective finish that absorbs light beautifully.
- Allow the paint to ‘cure’ for at least 48 hours; if the wall feels cool or tacky to the touch, it is not ready for the heavy weight of the planters.
- Install your brass or copper hardware; the ‘heat’ of this design comes from the metallic reflection against the dark background, so position these where they will catch the evening lamp light.
- Place your dark-foliaged plants in the metallic containers; a professional tip is to use black pebbles as a top-dressing for the soil to maintain the ‘moody’ color palette.
- Adjust your accent lighting so it grazes the leaves from the side; visual cues for success are long, dramatic shadows and a ‘glow’ from the green leaves that creates a focal point in the dim room.
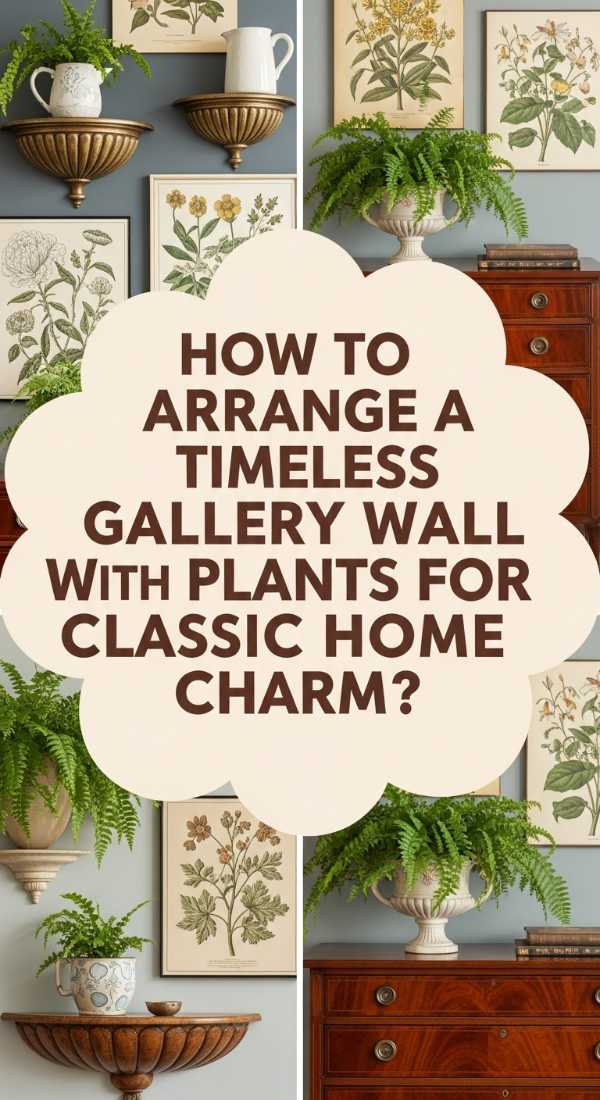
How to Arrange a Timeless Gallery Wall with Plants for Classic Home Charm

Why we love this
There is a quiet dignity in the classic botanical aesthetic that never goes out of style. It’s the feeling of an old-world library or a traditional sunroom, where every element feels grounded and permanent. The textures are natural—wood, clay, and linen—and the plants are the stalwarts of the indoor world, like the graceful Fiddle Leaf Fig or the sturdy English Ivy. It’s a sensory journey into the past, offering a feeling of stability and heritage that makes any house feel like a home that has been loved for generations.
Essential Elements:
- Distressed wood frames.
- Classic clay or stone wall-planters.
- Traditional plants: Ivy, Ferns, and Peace Lilies.
- Linen-textured matting for prints.
- Symmetry-focused layout plan.
- A vintage-style watering can for display.
How to make it
- Plan a symmetrical grid layout; the ‘prep’ phase involves measuring a central axis on your wall and building outward to ensure a balanced, ‘classic’ feel.
- Source or create vintage-style botanical illustrations; for a professional tip, lightly stain new paper with tea to give it an aged, ‘timeless’ patina before framing.
- Mount the frames using traditional picture wire; this allows for slight adjustments to ensure every frame is perfectly level.
- Integrate wall-mounted clay pots at the corners of your grid; the ‘heat’ of the arrangement should be the largest, most established plant at the bottom center to ground the display.
- Visual cues for doneness include a sense of ‘ordered abundance’—the plants should look well-groomed, and the frames should be spaced exactly 2 to 3 inches apart for a clean, traditional look.
How to Paint a Dreamy Plant Mural Wall for a Relaxing Bedroom Retreat
Why we love this
The bedroom should be a place of soft edges and quiet dreams, and a botanical mural here acts as a permanent lullaby. By using a palette of soft lavenders, dusty pinks, and sage, you create a floral landscape that feels like it’s being viewed through a soft-focus lens. The texture is light and airy, avoiding heavy saturations in favor of a dreamy, ethereal glow. When you lie back at the end of a long day, these painted vines seem to offer a protective canopy, enveloping you in a sense of safety and natural beauty that promotes deep, restorative sleep.
Essential Elements:
- Pastel acrylic paints (lavender, soft rose, mint).
- Blending brushes with soft natural bristles.
- A projector (optional) for tracing complex leaf shapes.
- Chalk for sketching the initial design.
- A comfortable ladder for high-wall reach.
How to make it
- Sketch your design lightly with white chalk; the technique here is to use long, flowing arcs that mimic the natural growth of wisteria or climbing roses.
- Apply your base colors in thin, diluted layers; the ‘heat’ or intensity of the color should be at the bottom of the wall, fading into almost-white as you move toward the ceiling.
- Use a blending technique called ‘wet-on-wet’ to soften the edges of your leaves; a professional tip is to keep a spray bottle of water handy to keep the paint workable as you blend.
- Add delicate highlights with a fine-tipped brush in a soft cream color; visual cues include leaves that look like they are catching a soft, moonlight-like glow.
- Step back frequently to check the ‘weight’ of the mural; it is done when the wall feels like a soft, integrated part of the room rather than a bold, distracting feature.
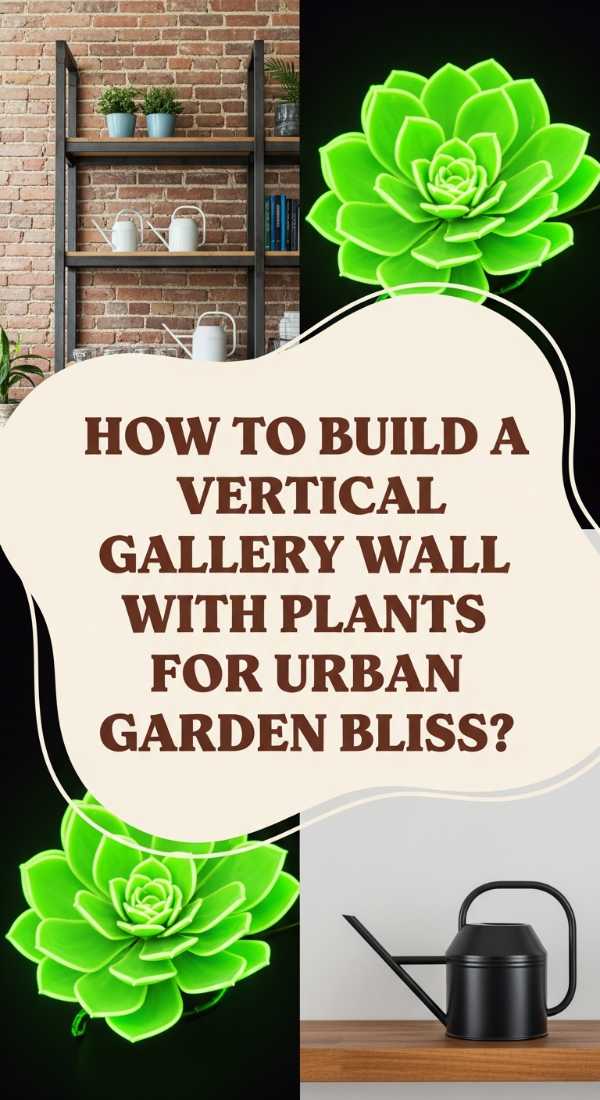
How to Build a Vertical Gallery Wall with Plants for Urban Garden Bliss

Why we love this
In a cramped city apartment, floor space is a luxury, but the walls offer a vertical frontier for garden bliss. This style is all about density and life—a true ‘living wall’ that feels like a slice of the rainforest has been transplanted into your urban dwelling. The sensory experience is intense: the humidity slightly rises, the air feels noticeably crisper, and the wall becomes a vibrant, humming ecosystem. It’s a bold statement that says you don’t need a backyard to be a gardener; you just need a vision and a vertical surface.
Essential Elements:
- A modular vertical garden system (felt pockets or plastic trays).
- An integrated drip irrigation system (optional) or a long-neck watering can.
- High-density planting: Ferns, Pothos, and Dracaena.
- Waterproof backing to protect the wall.
- Moisture-wicking growing medium.
How to make it
- Install a waterproof membrane or plywood backing to your wall; this is the most critical ‘prep’ step to prevent mold or water damage to your home’s structure.
- Secure the vertical gardening modules; use a drill and heavy-duty screws, ensuring the ‘heat’—the weight-bearing center—is fastened directly into wall studs.
- Transfer your plants into the pockets using a lightweight, soil-less mix like coco coir; a professional tip is to pack the plants tightly so no part of the mounting system is visible.
- Establish a watering schedule; visual cues for ‘doneness’ or success include lush, turgid leaves and a lack of brown, crispy edges, which indicate the irrigation is reaching all levels.
- Prune the wall every two weeks; this phase is like ‘shaping’ your masterpiece, ensuring the faster-growing species don’t overshadow the smaller, more delicate ferns.
How to Craft a Whimsical Plant Mural Wall for a Magical Study Space
Why we love this
A study space should be a place where the imagination can take flight, and a whimsical botanical mural provides the perfect backdrop for big ideas. Think oversized, ‘Alice in Wonderland’ style mushrooms, spiraling vines that turn into abstract shapes, and hidden tiny details like a painted ladybug or a golden leaf. The texture is playful and bold, using high-contrast colors and imaginative forms. It turns a boring workspace into a portal to another world, making every hour spent at the desk feel like an adventure in a magical, hidden woodland.
Essential Elements:
- Vibrant acrylic paints (cobalt blue, bright violet, emerald).
- Gold leaf or metallic paint for magical accents.
- Fine-detail brushes for small ‘hidden’ elements.
- Stencil kits for intricate patterns.
- Varnish with a slight shimmer or satin finish.
How to make it
- Choose a theme that sparks joy; ‘prep’ your wall by sketching large, exaggerated organic shapes that defy standard botany, like heart-shaped leaves or glowing vines.
- Apply the boldest colors first using the ‘blocking’ technique; keep the ‘heat’—the most vibrant colors—near your desk area to stimulate focus and energy.
- Once the base is dry, apply gold leaf to the veins of the leaves; a professional tip is to use a dedicated ‘sizing’ adhesive and wait for it to become tacky before pressing the leaf on.
- Incorporate stenciled patterns like mandalas or stars within the foliage to enhance the ‘whimsical’ feel of the mural.
- Finalize by adding ‘hidden’ details like a tiny door at the baseboard; visual cues for completion are a sense of wonder and a design that invites the viewer to look closer and find something new each time.
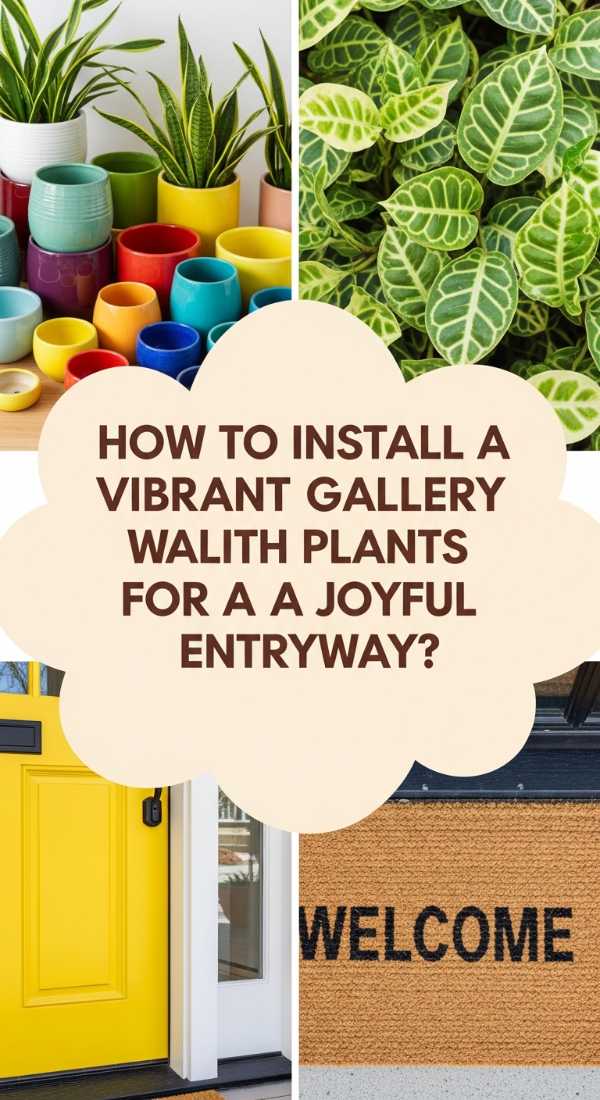
How to Install a Vibrant Gallery Wall with Plants for a Joyful Entryway
[IMAGE_10]
Why we love this
The entryway is the handshake of your home, and a vibrant, plant-filled gallery wall says ‘welcome’ with an explosion of life and joy. This style uses brightly colored pots—think yellows, turquoises, and pinks—paired with hardy, cheerful plants like the Spider Plant or the Neon Pothos. The sensory impact is immediate: a burst of color and a breath of fresh air that greets you the moment you step through the door. it’s a high-energy, happy space that sets a positive tone for the rest of your home, making every homecoming feel like a celebration.
Essential Elements:
- Multi-colored ceramic or recycled plastic wall planters.
- Command strips (for lightweight pots) or wall hooks.
- Hardy, bright-colored plants (Neon Pothos, Lemon Lime Philodendron).
- Artistic hooks or decorative wall pegs.
- Mirror accents to reflect the greenery and light.
How to make it
- Select a ‘hero’ color for your entryway; use this as the primary ‘prep’ color for your largest planters to create a cohesive but vibrant look.
- Install the planters in a random, organic cluster; the ‘heat’ of the arrangement should be near the door handle level to draw people into the space.
- Pot your ‘joyful’ plants—look for species with yellow-green or variegated foliage; a professional tip is to use ‘self-watering’ pots for entryways, as these areas are often overlooked in daily watering routines.
- Integrate small mirrors between the plants; this doubles the visual ‘greenery’ and bounces light into often-dim entryway corridors.
- Check visual cues: The wall is complete when it feels like a ‘hug’ of color and nature as you enter; it should feel busy and bright without obstructing the walkway.
Conclusion
Transforming your home with botanical decor is a journey toward creating a living, breathing sanctuary that reflects your personality and nurtures your well-being. Whether you choose the quiet elegance of a framed gallery or the wild abandon of a hand-painted mural, you are choosing to invite life into your space. So, grab a brush, find a pot, and start your own indoor jungle today—your soul (and your home) will thank you for it!