

Why Everyone is Obsessed With This 5-Minute Aesthetic Food Board
We’ve all been there—standing in the kitchen at 6:00 PM, staring into a fridge that feels like a puzzle we just don’t have the energy to solve. But then, I discovered the magic of the aesthetic food board. It’s more than just a meal; it’s a lifestyle shift that turns the mundane act of ‘eating’ into a moment of genuine self-care and visual joy that has completely taken over my social media feed for a reason.
There is something deeply healing about arranging vibrant colors and textures on a simple wooden board. It transforms a stressful Tuesday into a spa-like dining experience, and honestly, it’s the secret to why I’ve finally stuck to my healthy eating goals. Today, I’m sharing the exact methods I use to create these viral boards and prep my life so that every meal feels like a little piece of art.
How to prep healthy bowls?
Why we love this
Healthy bowls are the ultimate canvas for creativity, offering a symphony of textures and flavors that dance on the palate. Imagine the earthy, nutty aroma of warm quinoa clashing beautifully with the bright, citrusy zing of a lemon-tahini dressing. The crunch of fresh radishes against the buttery smoothness of a perfectly ripe avocado creates a sensory experience that makes you forget you’re eating ‘health food’ and makes you feel like you’re at a high-end wellness retreat.
Ingredients
- 1 cup cooked quinoa or farro
- 2 cups massaged kale or spinach
- 1/2 cup roasted chickpeas
- 1/2 avocado, sliced
- Pickled red onions
- Lemon-tahini dressing
- Hemp seeds for topping
How to make it
- Start by preparing your grain base. Rinse your quinoa thoroughly in a fine-mesh sieve to remove any bitterness, then toast it in the pot for 2 minutes before adding water to enhance the nutty flavor. Cook until the ‘tails’ appear and the water is fully absorbed.
- Massage your kale by drizzling it with a teaspoon of olive oil and a pinch of salt. Use your hands to physically scrunch the leaves for about 3 minutes until they turn dark green and become tender; this breaks down the fibrous cell walls for better digestion and taste.
- Assemble the bowl by placing the grains at the bottom and layering the greens on one side. Group each ingredient in its own section to maintain that viral ‘aesthetic’ look.
- Finish by drizzling the dressing in a zigzag motion and sprinkling hemp seeds over the top for an added layer of delicate crunch and omega-3s.
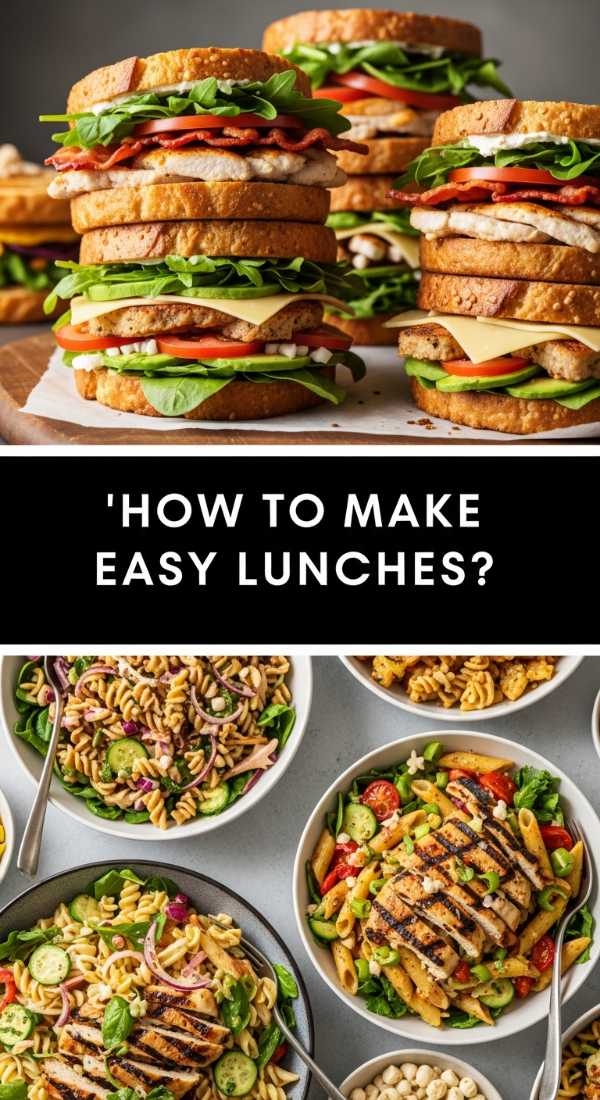
How to make easy lunches?
Why we love this
Easy lunches are the backbone of a stress-free workday, providing a much-needed moment of indulgence amidst the chaos of emails and meetings. There is nothing quite like biting into a crisp, cool wrap filled with creamy hummus and crunchy cucumbers, feeling the immediate refreshment of garden-fresh vegetables. It’s light enough to prevent the dreaded afternoon slump but flavorful enough to satisfy your deepest cravings for something savory and bright.
Ingredients
- Whole grain or flour tortillas
- Roasted red pepper hummus
- Thinly sliced Persian cucumbers
- Crumbled feta cheese
- Fresh mint and parsley
- Shredded rotisserie chicken (optional)
How to make it
- Warm your tortilla for exactly 15 seconds in a dry skillet over medium heat. This makes the wrap pliable and prevents it from cracking when you roll it, while also releasing a faint, toasted aroma.
- Spread a thick, even layer of hummus across the center of the tortilla, leaving about an inch of space around the edges to ensure a clean seal once rolled.
- Layer your thinly sliced cucumbers and herbs in the center. If using chicken, place it directly on top of the hummus so it stays secure.
- Fold the sides inward first, then roll tightly from the bottom up. Slice the wrap on a sharp diagonal to showcase the colorful layers inside—this is the key to that professional, café-style presentation.
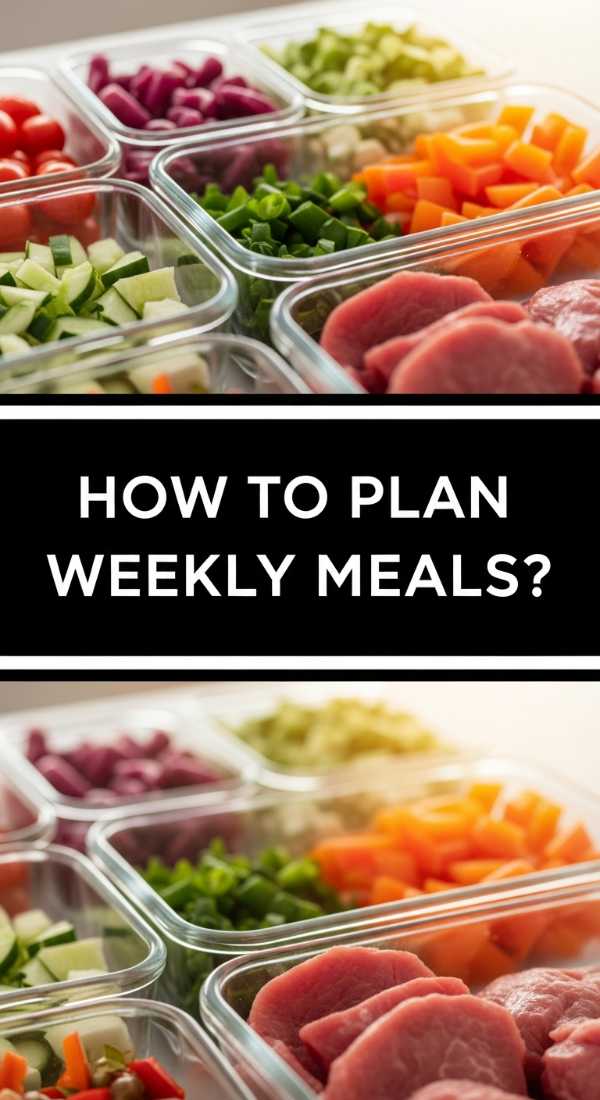
How to plan weekly meals?

Why we love this
The peace of mind that comes with a fully planned week is a luxury that costs nothing but a few minutes of your Sunday. When you have a roadmap, the kitchen stops being a place of decision fatigue and starts being a place of flow. There’s a quiet, rhythmic satisfaction in seeing your fridge stocked with colorful produce, knowing exactly how each ingredient will be transformed into a nourishing meal that honors your body and your schedule.
Ingredients
- Digital or paper meal planner
- Inventory of current pantry staples
- Seasonal produce list
- Grocery list template
How to make it
- Conduct a ‘pantry audit’ by looking at what you already have. This prevents food waste and saves money. Note down grains, pastas, and canned beans that can serve as the base for your meals.
- Choose a ‘theme’ for each night (e.g., Taco Tuesday, Pasta Thursday) to narrow down your choices and make the planning process feel like a fun creative exercise rather than a chore.
- Map out three main recipes that share similar ingredients. For example, if you buy a large bag of spinach, plan to use it in a morning smoothie, a lunch wrap, and a dinner sauté.
- Write your grocery list according to the layout of your store (Produce, Dairy, Aisle items). This reduces the time spent wandering and helps you stick to your plan without impulse buying.
How to cook cheap dinners?
Why we love this
Cheap dinners don’t have to taste ‘cheap’; in fact, some of the most soul-warming meals come from the humblest ingredients. The aroma of onions, garlic, and spices simmering in a pot of lentils is enough to make any house feel like a home. There is a rustic, comforting texture to a well-cooked dahl or bean stew that feels incredibly indulgent, proving that flavor is about technique and love rather than a high price tag.
Ingredients
- 1 cup dry red lentils
- 1 can crushed tomatoes
- 1 large onion, diced
- 3 cloves garlic, minced
- Cumin, turmeric, and chili flakes
- Vegetable broth
How to make it
- Sauté your diced onion in a heavy-bottomed pot over medium-low heat. The goal is to let them sweat until translucent and slightly golden, which takes about 8-10 minutes. This slow caramelization is the secret to deep flavor.
- Add the minced garlic and dry spices. Toast them in the oil for exactly 60 seconds until they become intensely fragrant, being careful not to let the garlic brown too much or it will turn bitter.
- Stir in the rinsed lentils and the can of tomatoes. Pour in the broth until the lentils are covered by an inch of liquid.
- Bring to a boil, then immediately reduce to a low simmer. Cover and cook for 20 minutes. The visual cue for doneness is when the lentils have softened into a thick, porridge-like consistency and have absorbed the vibrant red hue of the spices.
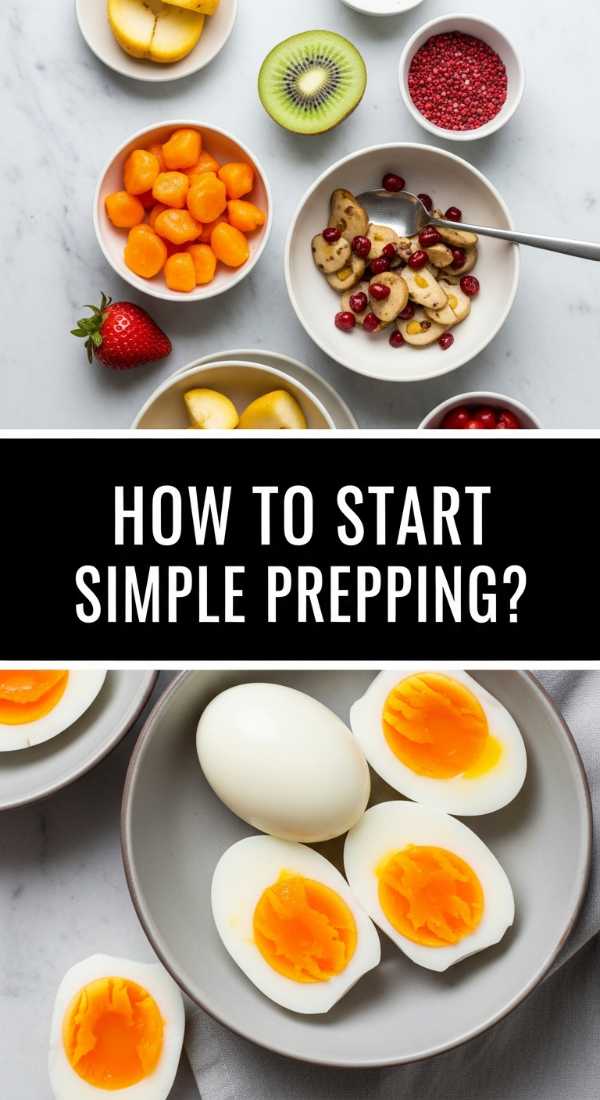
How to start simple prepping?

Why we love this
Starting simple prep is like giving a gift to your future self. It’s the satisfying ‘click’ of an airtight lid and the sight of a clean, organized refrigerator that sparks instant motivation. When you have pre-washed greens and chopped veggies ready to go, the barrier to eating well disappears. It creates a sense of control and calm in your lifestyle that radiates into other areas of your day beyond just the kitchen.
Ingredients
- Glass storage containers
- Pre-washed leafy greens
- Hard-boiled eggs
- Pre-chopped carrots and celery
- A batch of cooked grains
How to make it
- Select just three items to prep on your first Sunday. Don’t try to cook every single meal; instead, focus on ‘building blocks’ like a grain, a protein, and a vegetable.
- Wash your greens and dry them thoroughly using a salad spinner. Excess moisture is the enemy of freshness; place a dry paper towel inside the container with the greens to soak up any remaining humidity.
- Roast a large tray of versatile vegetables (like sweet potatoes or bell peppers) at 400°F until the edges are charred and caramelized. These can be added to salads, bowls, or omelets throughout the week.
- Organize your fridge by ‘First In, First Out.’ Place your newly prepped containers at eye level so they are the first thing you reach for when hunger strikes.
How to bake crispy chicken?
Why we love this
Perfectly crispy baked chicken is the holy grail of weeknight cooking—that satisfying, audible crunch of the skin followed by the succulent, juicy interior. The golden-brown hue and the savory aroma of paprika and garlic powder filling the air make it feel like a weekend feast even on a busy Monday. It’s the ultimate high-protein staple that feels like a treat, especially when the skin is perfectly rendered and seasoned to perfection.
Ingredients
- 4 chicken thighs (skin-on, bone-in)
- 1 tbsp cornstarch
- 1 tsp smoked paprika
- 1 tsp garlic powder
- Olive oil
- Flaky sea salt
How to make it
- Preheat your oven to 425°F (218°C). A high temperature is essential for rendering the fat in the skin and achieving that shattering crispness without overcooking the meat inside.
- The most critical step: Pat the chicken skin completely dry with paper towels. Any moisture on the skin will cause it to steam rather than fry in the oven.
- Whisk together the cornstarch, paprika, garlic powder, and salt. The cornstarch is the secret ingredient that absorbs moisture and creates a light, crispy crust. Coat the skin side of the chicken thoroughly with this mixture.
- Place the chicken on a wire rack set over a baking sheet. This allows hot air to circulate under the chicken, ensuring the bottom doesn’t get soggy. Bake for 30-35 minutes until the internal temperature reaches 165°F and the skin is a deep, golden brown.
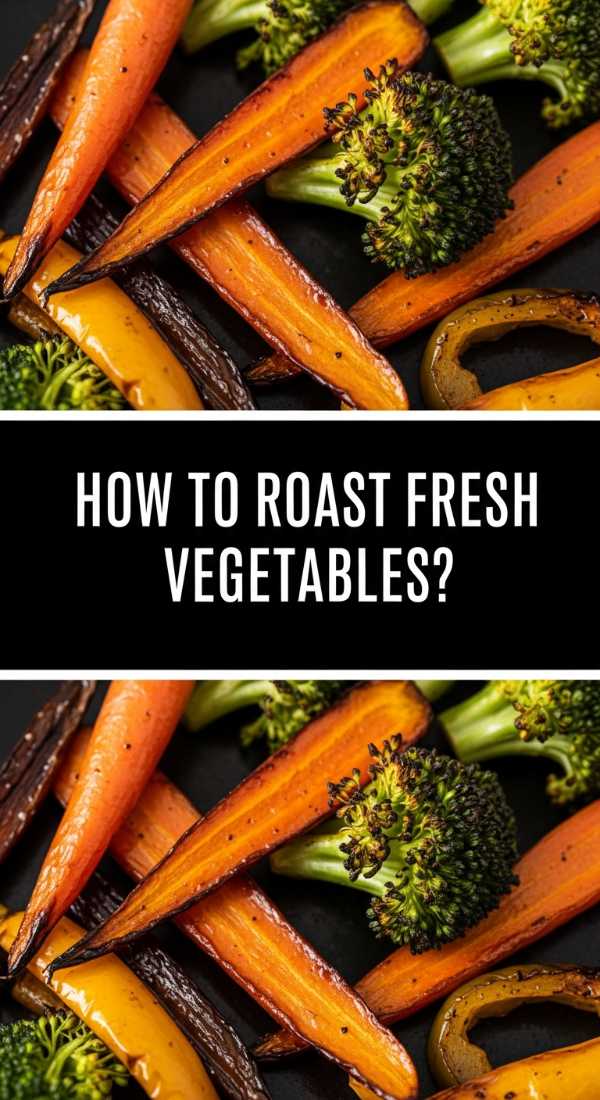
How to roast fresh vegetables?
Why we love this
Roasting vegetables transforms them from humble garden offerings into caramelized, candy-like morsels of pure joy. There is an earthy sweetness that emerges when a carrot or a floret of broccoli meets high heat, creating charred edges that provide a smoky depth of flavor. It’s a sensory delight to see a rainbow of vegetables glistening with olive oil, smelling the toasted sweetness as they emerge hot and sizzling from the oven.
Ingredients
- Bunched carrots with tops
- Broccoli florets
- Red bell peppers, sliced
- Brussels sprouts, halved
- Balsamic glaze
- Fresh thyme
How to make it
- Cut all your vegetables into uniform sizes. This ensures that they cook at the same rate; if some pieces are too small, they will burn before the larger pieces are tender.
- Toss the vegetables in a large bowl with enough olive oil to coat them thinly but completely. Add salt and pepper at this stage so the seasoning adheres to the oil.
- Spread the vegetables on a large sheet pan. Do not crowd the pan! If the vegetables are touching, they will release steam and become mushy. They need space to allow the moisture to evaporate so the edges can caramelize.
- Roast at 400°F for 20-30 minutes. Halfway through, use a spatula to toss them. You are looking for ‘fork-tender’ centers and dark, blistered edges for the best flavor profile.
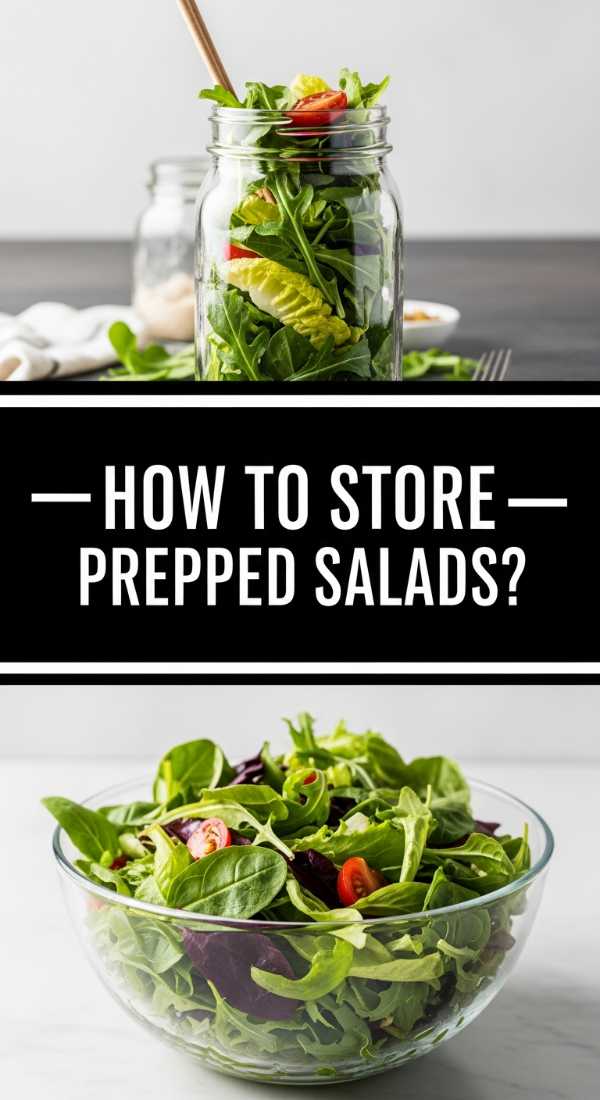
How to store prepped salads?
Why we love this
There is nothing more disappointing than a soggy salad, but when stored correctly, a prepped salad is a crisp, vibrant celebration of freshness. The sight of a layered mason jar salad, with the dressing neatly tucked at the bottom away from the delicate leaves, is pure aesthetic satisfaction. It’s the ultimate grab-and-go luxury that ensures you have a crunch-filled, nutrient-dense meal ready the second you need it.
Ingredients
- Large glass mason jars
- Vinaigrette dressing
- Hearty vegetables (carrots, chickpeas)
- Delicate greens (arugula, spinach)
- Toppings (seeds, nuts, dried fruit)
How to make it
- Follow the ‘wet-to-dry’ layering rule. Pour 2 tablespoons of dressing into the very bottom of the jar first.
- Add your ‘buffer’ layer next—these are hard vegetables that won’t absorb the dressing or get soggy, such as sliced carrots, cucumbers, or chickpeas. This creates a barrier between the liquid and the greens.
- Pack your delicate leafy greens at the very top. You want to pack them relatively tightly to minimize the amount of air in the jar, which helps keep them fresh for up to 4-5 days.
- When you’re ready to eat, simply shake the jar vigorously to distribute the dressing and pour it out into a bowl. The greens will stay perfectly crisp until the moment they hit the plate.
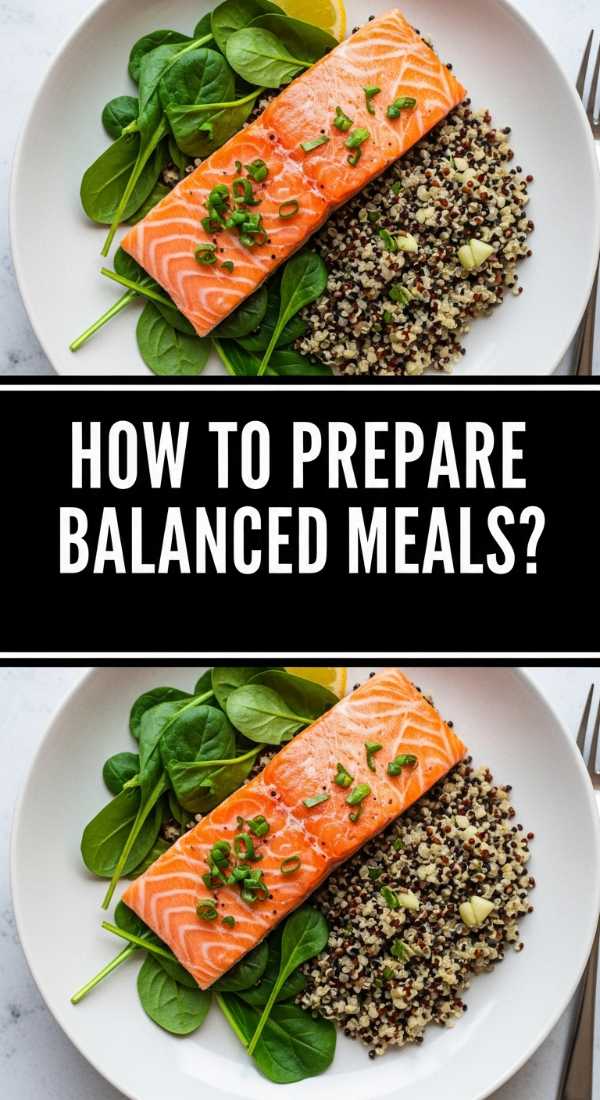
How to prepare balanced meals?

Why we love this
A balanced meal is a love letter to your metabolism and your energy levels. It’s about the harmony of textures: the fluffiness of a complex carb, the heartiness of a lean protein, and the refreshing snap of fiber-rich veggies. When a plate is balanced, you feel a sense of fullness that is light rather than heavy, leaving you energized and satisfied without the sugar crashes or cravings that come from imbalanced eating.
Ingredients
- Protein source (Salmon, tofu, or chicken)
- Complex carbohydrate (Sweet potato, brown rice)
- Fiber (Steamed green beans, side salad)
- Healthy fat (Avocado, olive oil, walnuts)
How to make it
- Use the ‘Plate Method’ as your visual guide. Fill exactly half of your board or plate with non-starchy vegetables. This ensures you get high volume and nutrients for lower calories.
- Dedicate one-quarter of the space to your lean protein. Whether it’s a piece of grilled salmon or marinated tofu, this portion should be roughly the size of your palm.
- Fill the final quarter with your complex carbohydrates. These provide the slow-burning fuel your brain needs to function throughout the day.
- Finish with a ‘thumb-sized’ portion of healthy fats. This could be a sprinkle of nuts or a drizzle of oil. This balance of macronutrients ensures your blood sugar remains stable and you stay full for hours.
How to prep protein boxes?
[IMAGE_10]
Why we love this
Protein boxes are the ‘Adult Lunchable’ we all deserve—organized, colorful, and incredibly convenient. There’s something so satisfying about opening a container to find perfectly portioned nibbles: the creamy yolk of a hard-boiled egg, the salty crunch of almonds, and the sharp bite of a cheese cube. It makes snacking feel intentional and sophisticated, turning a quick bite into a curated tasting experience that fuels your muscles and your mood.
Ingredients
- 2 hard-boiled eggs
- Handful of raw almonds
- 2-3 cubes of sharp cheddar cheese
- Sliced turkey or ham roll-ups
- Apple slices or grapes
How to make it
- Perfect your hard-boiled eggs: Place eggs in a pot of cold water, bring to a boil, then immediately turn off the heat and cover for exactly 9 minutes. Plunge them into an ice bath. This technique ensures a creamy yellow yolk without that unappealing gray ring.
- Use a multi-compartment container to keep flavors from mingling. This is vital for maintaining the individual textures of the nuts (crunchy) and the fruit (juicy).
- Include a ‘sweet and salty’ balance. The natural sugars in the fruit complement the savory protein of the meat and eggs, making the meal feel more complete.
- Store these in the coldest part of your fridge (usually the back) to keep the dairy and meat at an optimal temperature, ensuring they stay fresh for up to 3 days of easy, grab-and-go snacking.
Finding Your Kitchen Flow
Creating these aesthetic boards and meal-prepping isn’t about being perfect; it’s about making your life easier and your body feel better. Start with one section, find the joy in the colors and textures, and soon enough, you’ll find that your kitchen has become your favorite place to unwind. You deserve meals that look as good as they make you feel!
Frequently Asked Questions
We know you might have a few questions before you dive into your first aesthetic food board! Here are the most common things people ask when starting their meal prep journey.