
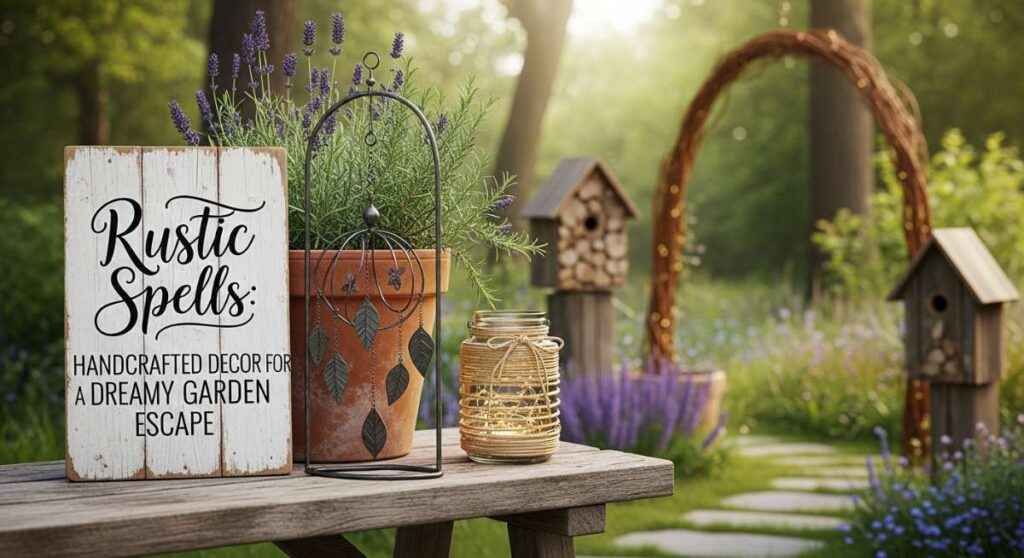
Rustic Spells: Handcrafted Decor for a Dreamy Garden Escape
There is a specific kind of magic that happens when the golden hour sun hits a garden filled with things you’ve built with your own two hands. It’s that moment when the air smells of damp earth and blooming jasmine, and the world outside your fence simply melts away. My garden has always been my sanctuary, a place where the chaos of the digital world is replaced by the soft rustle of leaves and the gentle hum of bumblebees. I started this journey with nothing but a few rusted pots and a dream of a secret escape, but through the years, I’ve learned that the most enchanting spaces aren’t bought—they’re conjured with a bit of wood, some clay, and a whole lot of love.
Creating a dreamy garden escape isn’t about having a massive estate or a professional landscaping crew; it’s about the ‘rustic spells’ we cast through handcrafted details. Whether it’s a hand-painted stone or a weathered wooden bench, these personal touches breathe life into the soil. In this guide, I’m sharing my favorite ways to transform any backyard into a whimsical, country-inspired haven. Let’s roll up our sleeves and turn your outdoor space into the retreat you’ve been dreaming of.
How to Build Rustic Garden Decor for a Cozy Home Feeling
Why we love this
There is something profoundly grounding about the texture of reclaimed wood against the soft green of a garden lawn. A rustic garden bench or a weathered plant stand acts as an anchor for your outdoor space, providing a physical spot to rest and soak in the sensory delights of nature. We love the way the rough-hewn timber feels under the fingertips and how the earthy, cedar-like scent mingles with the fresh evening air. It evokes a sense of permanence and history, making your backyard feel less like a patch of grass and more like a cherished extension of your living room where time slows down to a crawl.
Essential Elements:
- Reclaimed cedar or pine planks
- Weather-resistant wood screws
- Linseed oil or eco-friendly wood sealer
- Coarse sandpaper (80 grit) and fine sandpaper (220 grit)
- Galvanized metal brackets for structural support
How to make it
- Source your wood carefully, looking for reclaimed pieces with character, knots, and unique grain patterns, ensuring the lumber is dry and free of rot.
- Measure and cut your planks using a circular saw; for a standard garden bench, you will need four sturdy legs, two long seat planks, and three support cross-beams.
- Sand every surface thoroughly starting with the 80-grit paper to remove splinters, then transitioning to 220-grit for a silky-smooth finish that still retains the wood’s natural rustic texture.
- Pre-drill pilot holes for all screws to prevent the wood from splitting, which is a common mistake with seasoned timber; use a bit slightly smaller than the screw diameter.
- Assemble the frame by attaching the cross-beams to the legs using wood glue and galvanized screws, ensuring the structure is perfectly level on a flat garage floor before tightening.
- Affix the seat planks to the frame, leaving a 1/4-inch gap between them to allow for water drainage and wood expansion during humid summer months.
- Apply a generous coat of linseed oil using a natural bristle brush, working it deep into the grain to protect the wood from UV rays while enhancing its warm, golden hue.
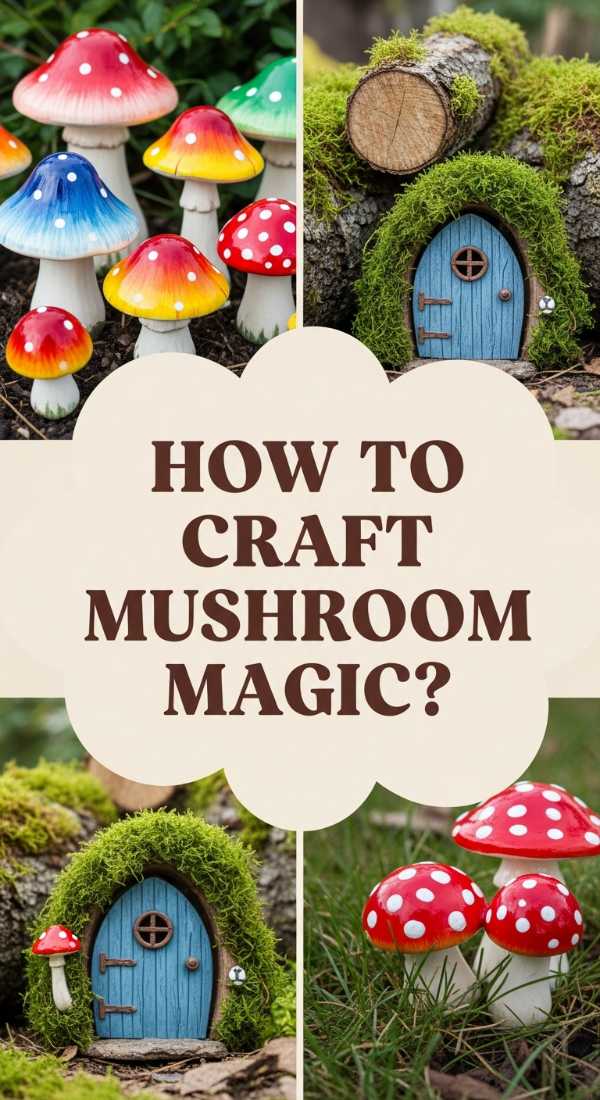
How to Craft DIY Mushroom Garden Decor for a Whimsical Backyard Escape

Why we love this
Stepping into a garden dotted with handcrafted mushrooms feels like wandering into a forgotten corner of a fairytale forest. These whimsical accents break up the monotony of flat ground, offering pops of color and unexpected charm that delight guests of all ages. The smooth, cool surface of a concrete or ceramic toadstool contrasts beautifully with the fuzzy texture of surrounding moss and the delicate fronds of ferns. We love how they seem to sprout overnight, adding a sense of playfulness and mystery that encourages you to look closer and appreciate the tiny, magical details of the natural world.
Essential Elements:
- Quick-set concrete or hypertufa mix
- Various sized plastic bowls (for the caps)
- Cardboard tubes or PVC pipes (for the stems)
- Outdoor acrylic paints in vibrant reds, creams, and browns
- Clear UV-resistant gloss sealer
How to make it
- Prepare your molds by coating the inside of various plastic bowls with a thin layer of cooking spray or vegetable oil, which acts as a release agent for the concrete.
- Mix your concrete in a bucket, adding water slowly until it reaches the consistency of thick peanut butter; if it’s too runny, the caps will be brittle.
- Pour the concrete into the bowls, tapping the sides gently for at least two minutes to vibrate any air bubbles to the surface for a smooth finish.
- Cut your cardboard tubes to various lengths (4 to 8 inches) and fill them with concrete, then press the stem into the center of the wet cap while it’s still in the bowl.
- Let the mushrooms cure for at least 24 to 48 hours in a cool, shaded area; rushing the drying process can lead to cracking.
- Once fully hardened, pop the mushrooms out of the molds and sand any rough edges around the base or the rim of the cap with a sanding block.
- Paint the caps with a base coat of deep crimson and use a round sponge to dapple on white spots, then finish with two coats of UV-resistant sealer to protect against rain and sun fade.
How to Arrange Outdoor Garden Decor for an Elegant Summer Sanctuary

Why we love this
An elegant summer sanctuary is all about the art of the arrangement—creating a flow that leads the eye toward beauty. We love the sophisticated blend of soft textiles, warm lighting, and strategic decor that transforms a simple patio into a luxury retreat. Imagine the feeling of plush linen cushions beneath you as the scent of lavender drifts on the breeze and the soft glow of lanterns reflects off glass surfaces. This approach prioritizes comfort and visual harmony, using high-quality materials and thoughtful placement to create a space that feels both curated and incredibly inviting for long, sun-drenched afternoons.
Essential Elements:
- Weatherproof outdoor rugs in neutral tones
- Linen or Sunbrella throw pillows
- Wrought iron or bamboo lanterns of varying heights
- Potted citrus trees or fragrant jasmine
- A centerpiece water feature or stone fire pit
How to make it
- Define your zones by placing a large outdoor rug to anchor the seating area, ensuring it is large enough so that all furniture legs rest comfortably on the fabric.
- Layer your lighting by placing tall lanterns in the corners and smaller tea lights on tables, creating a multi-dimensional glow that mimics the warmth of sunset.
- Group your plants in odd numbers—threes or fives—using pots of varying heights to create a vertical visual interest that mimics natural growth patterns.
- Integrate soft textures by draping a light linen throw over the back of a chair, choosing materials that are breathable and dry quickly after a summer sunshower.
- Position a focal point, such as a stone birdbath or a central fire table, at the heart of the arrangement to draw guests inward and provide a natural gathering spot.
- Check the sightlines from inside your house; arrange the decor so that the most beautiful elements are visible through your windows, connecting the indoors and outdoors.
- Finalize the ambiance by adding a hidden Bluetooth speaker to play soft acoustic music or nature sounds, ensuring the volume is low enough to allow for easy conversation.
How to Design Garden Decoration Ideas for an Inviting Outdoor Living Space

Why we love this
An inviting outdoor living space bridges the gap between the wild beauty of nature and the cozy comforts of home. We love the use of “living decor”—like vertical herb walls and flowering trellises—that serves a functional purpose while adding layers of lush greenery and intoxicating aromas. The sound of wind chimes tinking in the breeze combined with the visual warmth of a reclaimed wood coffee table creates an environment that practically begs you to kick off your shoes and stay a while. It’s about creating a space that feels lived-in, loved, and perfectly synced with the rhythm of the seasons.
Essential Elements:
- Vertical wall planters or wooden pallets
- Climbing vines like Clematis or Star Jasmine
- A low-profile wooden coffee table
- Outdoor string lights (Edison style)
- Assorted terracotta pots with aged patinas
How to make it
- Start by creating a vertical focal point using a wooden pallet; sand it down and attach landscaping fabric to the back and bottom of the slats to create planting pockets.
- Fill the pockets with a high-quality potting mix enriched with perlite for drainage, and plant a variety of trailing herbs like creeping thyme and rosemary.
- Install your string lights in a zig-zag pattern overhead, using sturdy poles or existing trees to ensure they hang high enough to avoid being a hazard but low enough to feel intimate.
- Set up a seating area using weather-resistant furniture, and place a low coffee table in the center to hold books, drinks, and snacks.
- Scatter terracotta pots of various sizes around the perimeter, planting them with bright annuals to add splashes of color that draw the eye across the space.
- Incorporate a sense of sound by hanging a high-quality metal wind chime in a spot that catches the evening breeze, choosing one with a deep, melodic tone.
- Maintain the space by pruning the climbing vines weekly, training them to wrap around the trellis or wall to create a lush, green canopy over your living area.
How to Create DIY Garden Decor for a Personalized Touch of Nature

Why we love this
Personalization is the soul of any garden; it’s what turns a generic backyard into a reflection of your personality. We love DIY projects that incorporate natural elements, like leaf-imprinted stepping stones or hand-painted garden markers, because they feel like a collaboration with the earth. The tactile experience of pressing a real hosta leaf into wet cement to capture its intricate veins is incredibly satisfying. These small, personalized touches add a layer of storytelling to your garden, inviting visitors to pause and appreciate the handcrafted artistry tucked between the rosebushes and the vegetable rows.
Essential Elements:
- Bag of stepping stone concrete mix
- Large, thick-veined leaves (Hosta, Rhubarb, or Burdock)
- Smooth river stones
- Permanent outdoor paint pens
- Heavy-duty clear sealant
How to make it
- Mix your concrete to a smooth, thick consistency and pour it into a round or square mold, leveling the surface with a trowel until it is perfectly flat.
- Wait about 10-15 minutes for the concrete to begin its initial set; then, lay a large, clean leaf face-down onto the surface, pressing firmly but gently.
- Use a small rolling pin to ensure the entire leaf makes contact with the concrete, capturing every detail of the ribs and veins.
- Carefully peel the leaf away to reveal the impression, then use a small stick or tool to sign your name or date the edge for that personal touch.
- For garden markers, clean smooth river stones with soap and water, then use outdoor paint pens to write the names of your plants in elegant script.
- Once the stones and concrete are fully dry (usually 3-5 days), apply a heavy-duty sealant to protect the artwork from moisture and foot traffic.
- Place the stepping stones in a winding path through your flower beds, and tuck the markers at the base of your herbs to create an organized, artistic garden layout.
How to Master Garden Decor Ideas for a Breathtaking Floral Paradise

Why we love this
A true floral paradise is a sensory explosion—a riot of colors, textures, and scents that transport you to a dreamworld. We love using decor that supports and enhances the blooms, such as copper trellises that catch the light or white picket borders that make pink peonies pop. The contrast between the metallic sheen of a garden stake and the soft, velvety petals of a rose creates a breathtaking visual dynamic. This style of decor is all about elevating the plants themselves, providing the structure they need to climb and thrive while adding an architectural beauty that lasts even when the flowers have faded for the season.
Essential Elements:
- Copper piping and elbows (for custom trellises)
- Galvanized wire mesh
- Decorative iron garden stakes
- White-washed wooden garden edging
- Slow-release floral fertilizer
How to make it
- Design a custom copper trellis by cutting copper pipes into 4-foot sections and joining them with elbows to create a modern, geometric frame.
- Clean the copper with a vinegar solution to make it shine, or leave it to develop a natural green patina over time for a more aged, antique look.
- Drive the trellis legs at least 12 inches into the ground near a climbing plant like Honeysuckle or Morning Glory to ensure it can withstand wind.
- Install white-washed wooden edging around your main flower beds to create a clean, crisp line that separates the lush floral growth from the lawn.
- Place decorative iron stakes at intervals behind shorter flowers to provide support for taller blooms that tend to flop over, like Foxgloves or Delphiniums.
- Layer your planting so that the tallest flowers are at the back and the shortest are at the front, using the decor to bridge the height gaps.
- Apply a high-quality floral fertilizer to ensure your blooms are vibrant and healthy, as the best “decor” in a floral paradise is the flowers themselves.
How to Personalize Garden Decor for a Charming Vintage Atmosphere

Why we love this
Vintage garden decor tells a story of days gone by, bringing a sense of nostalgia and timelessness to your backyard. We love the look of weathered terracotta, rusted iron, and chipped enamel because they suggest a space that has been loved for generations. There is a romantic, slightly overgrown quality to a vintage garden that feels both cozy and sophisticated. The scent of heirloom roses climbing up an old iron gate, combined with the sight of a moss-covered birdbath, creates a charming atmosphere that feels like stepping into a classic English cottage garden where every object has a history.
Essential Elements:
- Antique terracotta pots
- Plain yogurt and moss (for the aging technique)
- Rusted metal watering cans or buckets
- Wrought iron garden gates or panels
- Heirloom plant varieties
How to make it
- Create an “instant age” on new terracotta pots by mixing one cup of plain yogurt with a handful of crushed moss and brushing the mixture onto the exterior of the pot.
- Keep the pots in a shady, damp area for two weeks; the yogurt acts as a culture that encourages the moss to grow, creating a beautiful, weathered green patina.
- Source vintage items like old metal watering cans or galvanized wash tubs from flea markets, and drill drainage holes in the bottom to turn them into unique planters.
- Leap an old wrought iron gate against a fence or wall to serve as a decorative backdrop for climbing ivy or roses, securing it with heavy-duty wire for safety.
- Incorporate vintage-style signage, such as hand-painted wooden boards with weathered edges, to mark different “rooms” of your garden.
- Use gravel paths instead of concrete to enhance the old-world feel, as the crunch of stones underfoot is a hallmark of traditional vintage landscapes.
- Plant heirloom flowers like Sweet Peas and Hollyhocks, which not only look the part but often have much stronger, more nostalgic fragrances than modern hybrids.
How to Assemble Rustic Garden Decor for a Timeless Country Look

Why we love this
The timeless country look is all about simplicity, utility, and a deep connection to the land. We love using galvanized steel, natural twine, and rough-cut lumber to create a space that feels sturdy and honest. This style of decor is incredibly durable and only gets better with age, as the metal dulls and the wood silver-gray. There’s a comforting, farmhouse-inspired rhythm to a garden filled with herb ladders and bucket planters—it feels productive yet peaceful, providing a beautiful setting for growing your own food and flowers while celebrating the rugged beauty of rural life.
Essential Elements:
- A wooden A-frame ladder (new or salvaged)
- Galvanized metal buckets in various sizes
- Thick jute or sisal rope
- Black chalkboard paint and chalk
- Fresh potting soil and a variety of culinary herbs
How to make it
- Set up your A-frame ladder in a sunny spot; if using an old wooden ladder, ensure the rungs are stable and can support the weight of wet soil.
- Paint a small rectangular patch of black chalkboard paint on the front of each galvanized bucket to serve as a reusable label for your herbs.
- Drill three to five 1/2-inch drainage holes in the bottom of each bucket to prevent waterlogging, which is the most common cause of herb death.
- Fill the buckets with a mix of potting soil and compost, then plant your favorites like basil, mint, and cilantro, watering them thoroughly.
- Arrange the buckets on the rungs of the ladder, placing the sun-loving herbs at the top and those that prefer a bit of shade (like mint) on the lower rungs.
- Wrap the side rails of the ladder with jute rope for a decorative touch that also provides a textured surface for small climbing vines like peas to grab onto.
- Maintain the country look by keeping the ladder clean and occasionally reapplying a clear matte sealer to the wood to prevent rot while maintaining its natural color.
How to Sculpt DIY Mushroom Garden Decor for a Fairytale Woodland Vibe
Why we love this
For those who want a truly magical, woodland aesthetic, sculpting your own mushrooms allows for an incredible level of detail and character. We love the organic, slightly imperfect shapes you can achieve by hand-sculpting, making each piece feel like a unique forest spirit. The process of molding the clay and texturing the gills under the cap is deeply meditative and artistic. When placed under the shade of a large tree or tucked into a bed of wildflowers, these sculpted pieces create a fairytale vibe that sparks the imagination and makes your garden feel like a gateway to another world.
Essential Elements:
- Outdoor-grade air-dry clay or polymer clay
- Sculpting tools (or old kitchen knives and spoons)
- Sturdy wire or rebar for internal structure
- Acrylic paints in earthy forest tones (moss green, deep brown, ochre)
- High-gloss resin or outdoor varnish
How to make it
- Start by creating a “skeleton” or armature for your mushroom using heavy-gauge wire, bending it into an ‘L’ shape so the base can be anchored into the ground.
- Bulk out the stem and cap using aluminum foil wrapped around the wire to save on clay and keep the sculpture lightweight.
- Apply the clay over the foil, smoothing it with wet fingers to create a seamless surface, then shape the cap into a whimsical, slightly lopsided dome.
- Use a needle tool or a fork to etch fine lines on the underside of the cap to mimic the gills of a real mushroom, adding a professional, realistic touch.
- Allow the clay to dry completely according to the manufacturer’s instructions, which may take several days depending on the thickness and humidity.
- Paint the mushroom using a “dry brush” technique: start with a dark base and lightly sweep lighter colors over the texture to highlight the details.
- Apply three coats of high-gloss resin to the cap to give it a wet, forest-fresh look, and use a matte varnish for the stem to create a realistic contrast.
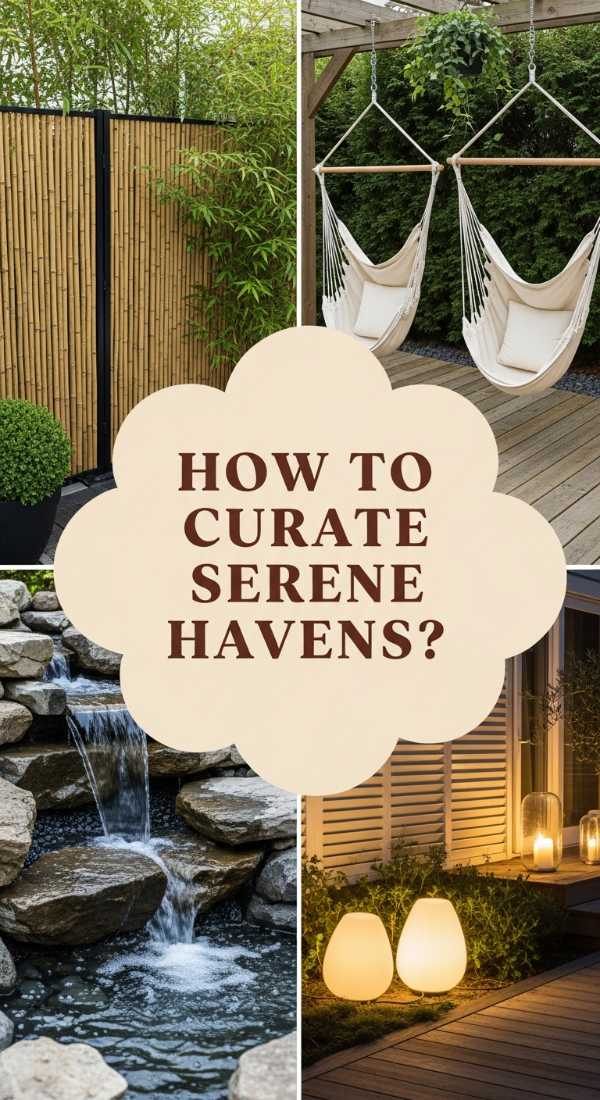
How to Curate Outdoor Garden Decor for a Serene Hidden Haven
[IMAGE_10]
Why we love this
A hidden haven is a secret gift to yourself—a corner of the garden designed for total seclusion and peace. We love the use of privacy elements like tall bamboo screens and the soothing sound of water to block out the noise of the neighborhood. The atmosphere is one of serene stillness, where the cool humidity of a water feature meets the soft rustle of tall grasses. It’s a place to meditate, read, or simply breathe, curated with minimal, high-quality decor that emphasizes calm and tranquility. This approach creates a powerful emotional retreat that restores the spirit after a long day.
Essential Elements:
- Bamboo or reed privacy fencing
- A simple solar-powered water fountain
- Large floor cushions in cool blues or greens
- Smooth black river stones
- Tall, swaying ornamental grasses
How to make it
- Select the most secluded corner of your yard and install bamboo fencing to create a visual barrier, making the space feel like a private room.
- Place a simple water feature, such as a stone basin with a solar-powered pump, in a spot where the sound of trickling water will be most audible.
- Surround the base of the water feature with black river stones to create a clean, Zen-like aesthetic that stays beautiful even when wet.
- Plant tall ornamental grasses like Miscanthus or Fountain Grass around the perimeter to add movement and a soft “shushing” sound in the wind.
- Clear a flat area for your seating and lay down a weather-resistant mat, then add large floor cushions to encourage a relaxed, low-to-the-ground posture.
- Hang a single, simple lantern from an overhanging branch to provide just enough light for evening reflection without breaking the sense of seclusion.
- Keep the decor minimal; every item in a hidden haven should serve the purpose of promoting peace and reducing visual clutter.
Conclusion
Your garden is a canvas, and the rustic spells you cast upon it—whether through a handmade bench or a sculpted mushroom—are what make it truly yours. By focusing on natural materials, personalized details, and a bit of DIY spirit, you can transform even the simplest backyard into a dreamy escape. Remember, the goal isn’t perfection; it’s about creating a space that makes your heart feel at home. So, pick a project, grab your tools, and start crafting your own garden magic today.