

The Ultimate Guide to Achieving the ‘Clean Girl’ Aesthetic on a Budget
Have you ever scrolled through your feed and felt an immediate sense of calm wash over you at the sight of a perfectly minimalist, sun-drenched space? That’s the magic of the ‘Clean Girl’ aesthetic. It’s more than just a look; it’s a lifestyle rooted in intentionality, freshness, and a curated simplicity that feels both effortless and incredibly polished. But here’s the secret: you don’t need a designer’s budget to transform your world into a sanctuary of wellness and light.
Bringing this viral aesthetic into your home and garden is about finding beauty in the details—the way the morning light hits a wildflower bouquet or the satisfaction of a digitally organized workspace. It’s about creating a life that feels as good as it looks. In this guide, I’m sharing my favorite ways to elevate your surroundings using DIY magic and smart styling tips that will make your daily routine feel like a high-end wellness retreat.
How to Design Landscaping Ideas for Instant Curb Appeal
Why we love this
There is something deeply grounding about the aroma of freshly turned mulch mixed with the crisp, green scent of boxwoods after a light morning rain. When your landscaping is tight and intentional, it creates a visual rhythm that immediately lowers your cortisol levels the moment you pull into the driveway. We love the contrast of dark, velvety soil against the vibrant, waxy leaves of hostas, providing a tactile richness that makes your home feel established and well-loved without being over-the-top.
Essential Elements:
- Dark brown or black organic mulch for high-contrast grounding.
- Symmetrical evergreen shrubs like boxwoods or yews for year-round structure.
- Natural stone or crisp metal edging to define the borders.
- A mix of perennial grasses for movement and texture.
- Solar-powered warm-toned pathway lights.
How to make it
- Begin by sketching a symmetrical layout to ensure a balanced, ‘clean’ look; symmetry is the hallmark of high-end curb appeal.
- Clear all existing weeds and debris from your beds, ensuring the soil is leveled and smooth before you begin planting.
- Install your structural elements first, such as larger shrubs, keeping them spaced according to their mature width to avoid future crowding.
- Define your edges using a sharp spade or a trenching tool to create a deep, ‘V’ shaped border that separates the grass from the garden bed.
- Layer your mulch at a consistent depth of three inches, smoothing it out with a rake to create a seamless, carpet-like finish that retains moisture and suppresses weeds.
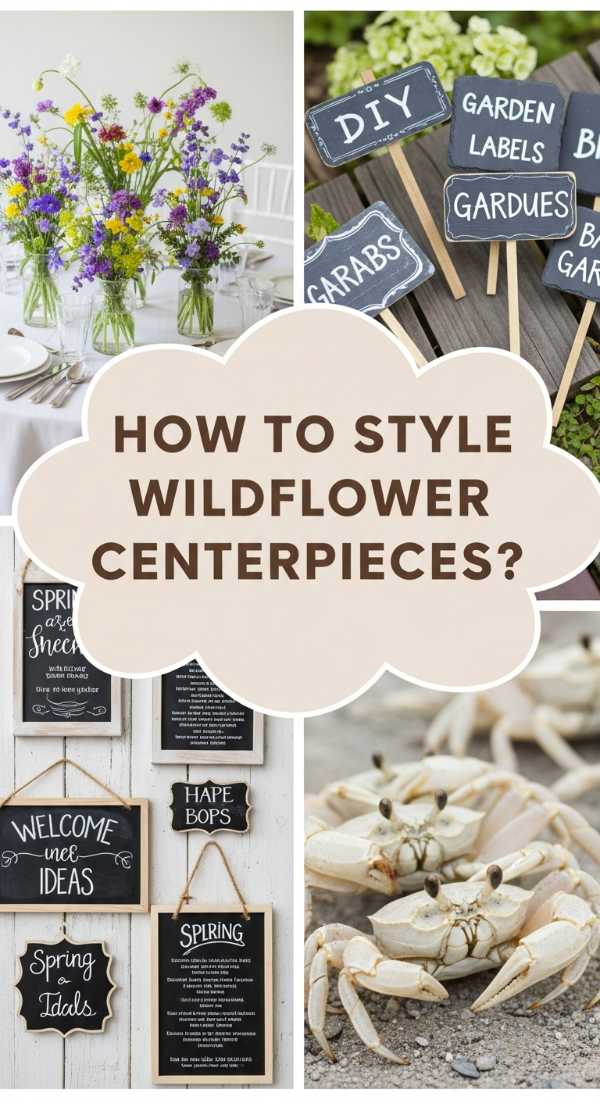
How to Style Wildflower Centerpieces for a Whimsical Round Table
Why we love this
Imagine the soft, honey-like fragrance of chamomile and the delicate, papery texture of cosmos dancing in a gentle breeze across your dining table. Wildflower centerpieces bring an organic, ‘undone’ elegance that perfectly balances the structured ‘clean girl’ vibe. The way the stems crisscross in a clear glass vessel creates an airy, ethereal look that feels like you’ve just wandered through a summer meadow, bringing that vital connection to nature right into the heart of your home.
Essential Elements:
- Clear glass vases in varying heights (cylinders or apothecary jars).
- Floral shears or sharp scissors.
- A mix of focal flowers (zinnias), fillers (baby’s breath), and ‘spillers’ (sweet peas).
- Fresh, cool water treated with floral food.
- A lazy Susan for easy arranging.
How to make it
- Gather your blooms in the cool of the morning when their stems are most hydrated, which ensures they stay perky for several days.
- Trim all foliage that will sit below the water line to prevent bacterial growth and keep the water crystal clear, maintaining that ‘clean’ look.
- Start with your largest ‘focal’ blooms, placing them at varying angles to create a sense of natural growth rather than a stiff arrangement.
- Thread in your filler stems, using their smaller branches to support the heavier heads of the focal flowers without the need for floral foam.
- Finish by adding ‘airy’ elements like Queen Anne’s Lace or grasses that extend slightly beyond the main cluster, giving the centerpiece a whimsical, floating quality.
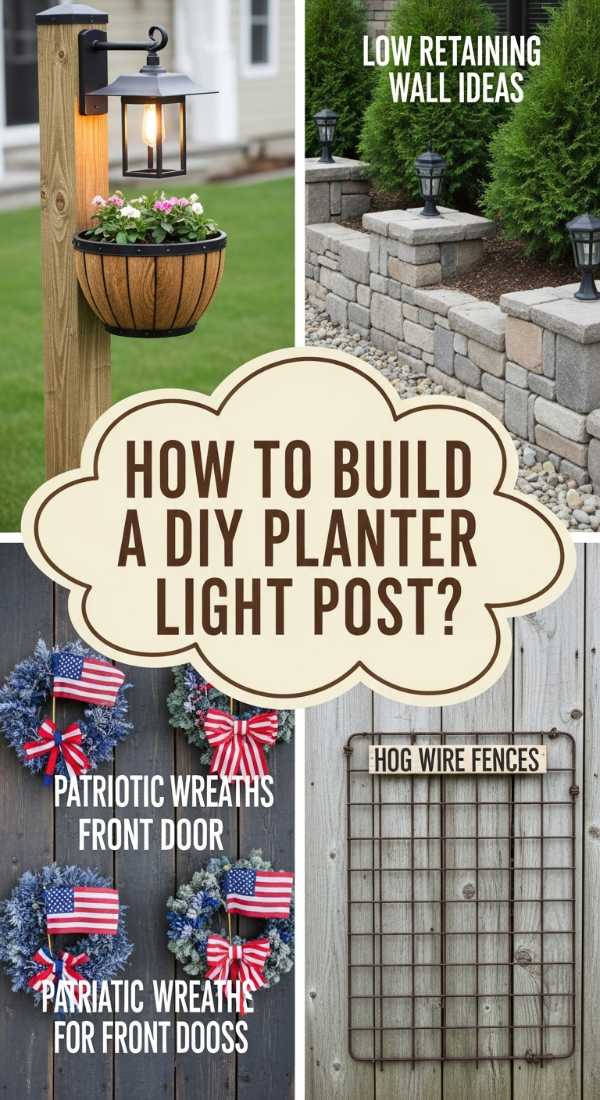
How to Build a DIY Planter Light Post for a Magical Garden Glow
Why we love this
As the sun sets, there is nothing more enchanting than the soft, golden glow of a flickering lantern reflected against the lush green leaves of a planter base. This project combines the sturdy, earthy feel of a heavy ceramic pot with the sleek, vertical lines of a modern light post. The tactile experience of the cool soil at the base and the warm radiance from above creates a dual-sensory experience that turns any patio into an intimate, high-vibe sanctuary for evening reflection.
Essential Elements:
- A large, heavy-duty ceramic or resin planter (minimum 15 inches).
- A 4×4 pressure-treated wooden post (cut to 6 or 7 feet).
- Fast-setting concrete mix and water.
- An outdoor-rated lantern or solar post-cap light.
- Trailing plants like Creeping Jenny or Ivy for the base.
How to make it
- Place your wooden post in the center of the planter, ensuring it is perfectly vertical using a spirit level on two adjacent sides.
- Mix your concrete in a separate bucket until it reaches the consistency of thick peanut butter, then pour it into the planter around the post, leaving 4 inches at the top.
- Allow the concrete to cure for at least 24 hours, keeping it shaded so it doesn’t crack from drying too quickly in the direct sun.
- Attach your lantern or solar cap to the top of the post, ensuring the screws are tight and the light is level for a professional finish.
- Fill the remaining top 4 inches of the planter with high-quality potting soil and tuck in your trailing plants to soften the edges of the post.
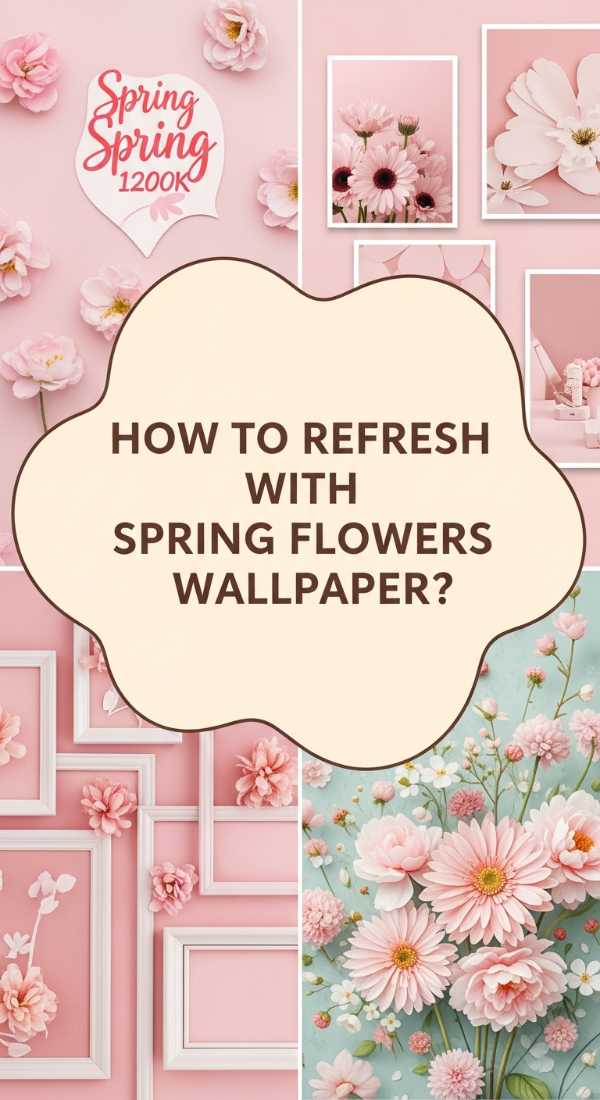
How to Refresh Your Space with Spring Flowers Wallpaper for a Floral Sanctuary

Why we love this
Walking into a room wrapped in delicate floral wallpaper feels like a warm hug from springtime itself. The smooth, matte finish of the paper under your fingertips and the visual feast of pastel petals create an atmosphere that is both sophisticated and incredibly cozy. We love how a subtle floral print can act as a neutral while still providing a sense of depth and romance, making your bedroom or powder room feel like a boutique hotel suite curated just for you.
Essential Elements:
- Peel-and-stick floral wallpaper (look for watercolor or line art styles).
- A wallpaper smoothing tool or a soft plastic squeegee.
- A sharp utility knife with extra blades for precision cuts.
- A measuring tape and a level.
- A damp microfiber cloth for cleaning the walls beforehand.
- Patience and a steady hand.
How to make it
- Wipe down your walls thoroughly to remove any dust or oils, as peel-and-stick adhesive requires a perfectly clean surface for a long-term bond.
- Measure the height of your wall and cut your first panel, adding an extra two inches at the top and bottom to account for uneven ceilings or baseboards.
- Peel back the top few inches of the backing and align the edge of the paper with a vertical level line you’ve drawn on the wall.
- Slowly smooth the paper downward and outward from the center, using your squeegee to push out any air bubbles as you go.
- When you reach the next panel, carefully match the pattern at eye level first, then work your way up and down to ensure the floral design is seamless across the entire wall.
How to Create a Cute Campsite Setup for a Cozy Outdoor Retreat

Why we love this
The ‘Clean Girl’ aesthetic doesn’t stop at the front door; it extends to how we interact with the great outdoors. Imagine the scent of pine needles and the crackle of a small, contained fire while you lounge on a plush, cream-colored outdoor rug. This setup is all about bringing the comforts of home—think soft linens, warm ambient lighting, and organized kits—into the wild. It transforms a standard camping trip into a mindful, aesthetic experience that rejuvenates the soul through texture and tranquility.
Essential Elements:
- A canvas bell tent or a minimalist dome tent in a neutral shade.
- Battery-powered fairy lights or warm-toned Edison bulbs.
- Portable floor cushions and a weather-resistant outdoor rug.
- A compact wooden folding table for snacks and drinks.
- A curated ‘camp kitchen’ box with aesthetic enamelware.
How to make it
- Select a flat, high-ground site and clear it of any sharp rocks or branches that might disrupt the smooth floor of your tent.
- Pitch your tent with the entrance facing the best view, ensuring the stakes are driven in at a 45-degree angle for maximum tension and a crisp look.
- Lay down your outdoor rug inside the tent to provide a soft, clean surface for your feet and to immediately elevate the interior’s coziness.
- String your lights along the tent’s structural poles, securing them with clips so they don’t sag, providing a uniform and warm evening glow.
- Arrange your floor cushions and low table near the entrance, creating a designated ‘chill zone’ that keeps the sleeping area separate and organized.
How to Install an Outdoor Shower for a Simple Summer Spa Experience

Why we love this
There is a primal, luxurious joy in the feeling of cool water cascading over your skin while you look up at the open sky. The scent of wet cedar planks and the sound of birds chirping create a sensory immersion that no indoor bathroom can replicate. It’s the ultimate ‘Clean Girl’ flex: a dedicated space for rinsing off the day’s adventures—whether that’s gardening or a trip to the beach—in a way that feels intentional, refreshing, and deeply connected to the elements.
Essential Elements:
- A wall-mounted outdoor shower kit (matte black or brass for the aesthetic).
- Pressure-treated cedar or teak decking for the floor platform.
- A high-quality garden hose adapter or PEX piping for water supply.
- Privacy screening made of slatted wood or tall potted plants.
- Weatherproof hooks for fluffy white towels.
How to make it
- Choose a location with good drainage and easy access to an outdoor faucet to minimize the need for complex plumbing.
- Construct a simple 3×3 foot platform using cedar planks, leaving small gaps between the boards for water to drain through efficiently.
- Mount the shower fixture to a sturdy vertical surface—like the side of the house or a dedicated wooden post—ensuring it is at a comfortable height for all users.
- Connect the water source using a heavy-duty, lead-free hose or professional-grade PEX tubing, checking all seals for leaks before the final setup.
- Add a slatted privacy screen and a small bench nearby for your spa products, finishing the area with a thick, quick-dry bath mat for safety and comfort.
How to Organize Digital Spaces using Rentry Dividers for a Clean Aesthetic
Why we love this
Digital clutter is just as draining as physical clutter, and there is an immense sense of peace that comes from a perfectly structured Rentry page. The visual rhythm of clean lines, minimal fonts, and intentional spacing creates a digital sanctuary where you can store your thoughts, links, and goals. We love the ‘click’ of navigating through a well-organized page—it feels like opening a fresh, linen-bound journal every time you open your browser, keeping your mind as clear as your workspace.
Essential Elements:
- A Rentry.co account (or similar markdown editor).
- Markdown code for horizontal rules (`—`) and headers.
- A cohesive color palette for any text or icons used.
- Unicode symbols or minimal emojis for visual categorization.
- A dedicated ‘Master List’ of links you want to organize.
How to make it
- Start by outlining your categories (e.g., Daily Routine, Inspo, Projects) to ensure your page has a logical flow before you start coding.
- Use the markdown syntax for headers (`#` for large, `##` for medium) to create a clear hierarchy that guides the eye naturally down the page.
- Insert horizontal dividers (`—`) between major sections to create the ‘Clean Girl’ look of distinct, airy blocks of information.
- Apply ‘center’ tags to your main titles and use non-serif fonts where possible to maintain a modern, minimalist aesthetic that isn’t distracting.
- Regularly audit your links and text, removing anything that no longer serves your current goals to ensure the space remains curated and functional.
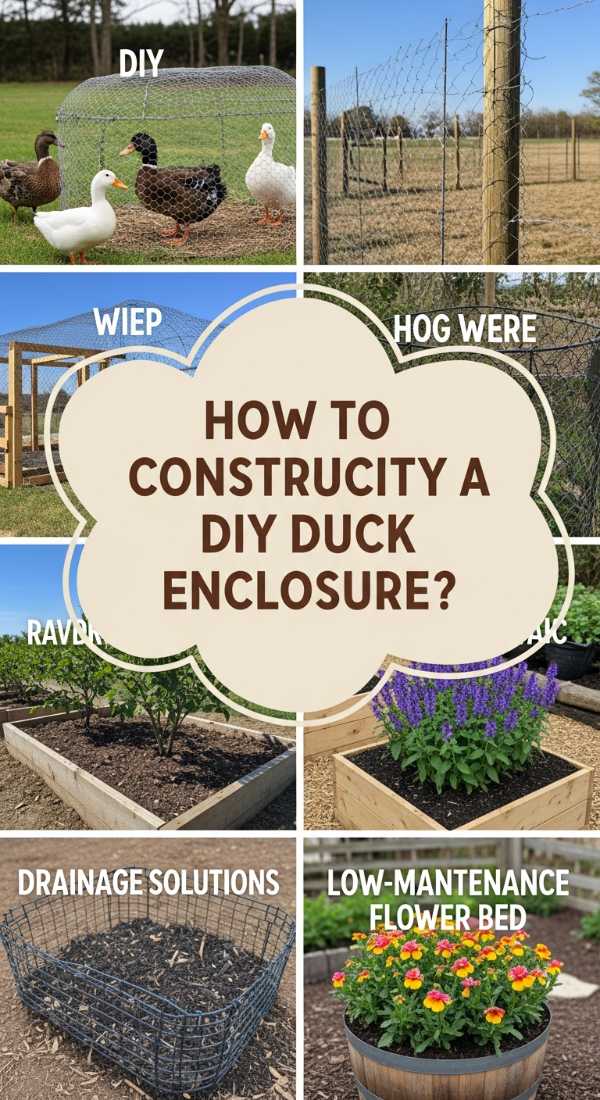
How to Construct a DIY Duck Enclosure for a Happy Backyard Habitat

Why we love this
The ‘Clean Girl’ aesthetic often embraces ‘Cottagecore’ elements, and nothing says whimsical farm life like the happy quacks of ducks in a beautiful, custom-built habitat. The combination of light-toned wood, clean hardware cloth, and a splash of pastel paint makes an enclosure feel like an extension of your home’s design. We love the tactile contrast of soft straw bedding against the sturdy structure, and the peaceful routine of tending to your ducks in a space that is as beautiful as it is functional.
Essential Elements:
- Untreated cedar or pine 2x4s for the frame.
- 1/2-inch hardware cloth (much safer and cleaner-looking than chicken wire).
- Corrugated roofing (clear or white to let light in).
- A sturdy latch system for predator protection.
- Hemp bedding or straw for a fresh, clean scent and floor.
How to make it
- Build a rectangular base frame using your 2x4s, ensuring all corners are perfectly square to provide a solid foundation for the rest of the structure.
- Erect the wall studs at 24-inch intervals, leaving space for a large access door that allows you to clean the interior easily (essential for the aesthetic!).
- Staple the hardware cloth to the exterior of the frame, pulling it taut as you go to avoid any sagging or messy edges that could ruin the look.
- Install the corrugated roofing at a slight slope to ensure rainwater runs off the back, keeping the ducks’ sleeping area dry and smelling fresh.
- Paint the exterior with a high-quality, animal-safe exterior paint in a soft neutral like ‘warm oat’ or ‘sage green’ to help it blend into your garden.
How to Select Deck Paint Colors for a Stylish Outdoor Oasis

Why we love this
The right deck color acts as the foundation for your entire outdoor living room, providing a sleek, matte backdrop that makes your plants pop and your furniture shine. We love the ‘Clean Girl’ preference for cool greys, warm taupes, or even a bold charcoal that feels modern yet timeless. The smooth, satin finish of high-quality deck paint feels wonderful under bare feet and creates a seamless transition from the inside of your home to the outside, making your entire property feel like one cohesive, high-end retreat.
Essential Elements:
- Solid or semi-solid exterior deck stain/paint.
- A high-quality synthetic bristle brush and a long-handle roller.
- Deck cleaner and a stiff scrubbing brush.
- Painter’s tape for clean edges against the house siding.
- A clear, dry 48-hour weather forecast.
How to make it
- Thoroughly clean your deck using a specialized cleaner to remove all grayed wood fibers, mold, and old peeling finishes that would prevent the new paint from adhering.
- Sand any rough spots or raised grain once the wood is dry to ensure the final finish is silky smooth and professional-looking.
- Apply your first coat of paint in the direction of the wood grain, using the roller for large areas and the brush to get into the cracks between boards.
- Maintain a ‘wet edge’ by working on 2-3 boards at a time from one end to the other, which prevents lap marks and ensures a perfectly uniform color.
- Allow the first coat to dry for the time recommended on the can (usually 4-6 hours) before applying a second coat for full, vibrant coverage and maximum durability.
How to Decorate a Front Porch for a Welcoming Entryway
[IMAGE_10]
Why we love this
Your front porch is the ‘handshake’ of your home, and styling it with a ‘Clean Girl’ lens means focusing on quality over quantity. The aroma of a seasonal wreath and the sight of perfectly placed potted plants create an immediate sense of welcome and order. We love the mix of textures—the rough fiber of a coir mat, the smooth glaze of a ceramic pot, and the soft flicker of a battery-operated candle—all working together to say that this is a home where peace and beauty reside.
Essential Elements:
- A large, minimalist coir doormat with a simple greeting.
- A pair of oversized planters in a neutral stone or matte finish.
- A seasonal wreath made of dried or realistic faux botanicals.
- Outdoor-safe lanterns with warm LED candles.
- A small, stylish side table or a set of sleek Adirondack chairs.
How to make it
- Clear the entire porch and give the floor and walls a deep clean to provide a fresh, blank canvas for your new design.
- Place your largest elements first—the planters and seating—ensuring they don’t block the natural flow of traffic toward the door.
- Layer your doormat; use a larger patterned rug underneath a standard coir mat to add texture and a designer touch to the entrance.
- Hang your wreath at eye level, using a damage-free hook that matches the color of your door for a seamless, ‘clean’ appearance.
- Cluster your lanterns in groups of two or three of varying heights near the seating or the door to create a warm, layered lighting effect that looks stunning after dark.
The Path to a Curated Life
Achieving the ‘Clean Girl’ aesthetic isn’t about perfection; it’s about the joy of the process. Whether you’re painting your deck or organizing your digital life, each step you take toward a more curated and intentional environment is an act of self-care. Your home is a reflection of your inner world, and by investing time into these DIY projects, you’re creating a sanctuary that supports your best, most vibrant self. Happy styling!
Frequently Asked Questions
What is the core of the ‘Clean Girl’ aesthetic for the home? It’s built on minimalism, a neutral color palette, natural textures, and a focus on wellness and light. Is it expensive to maintain? Not at all! Most of these projects are one-time DIY efforts that rely on organization and tidiness rather than constant spending. How do I start if I’m overwhelmed? Start with one small area, like your front porch or your digital space, and build your confidence from there.