
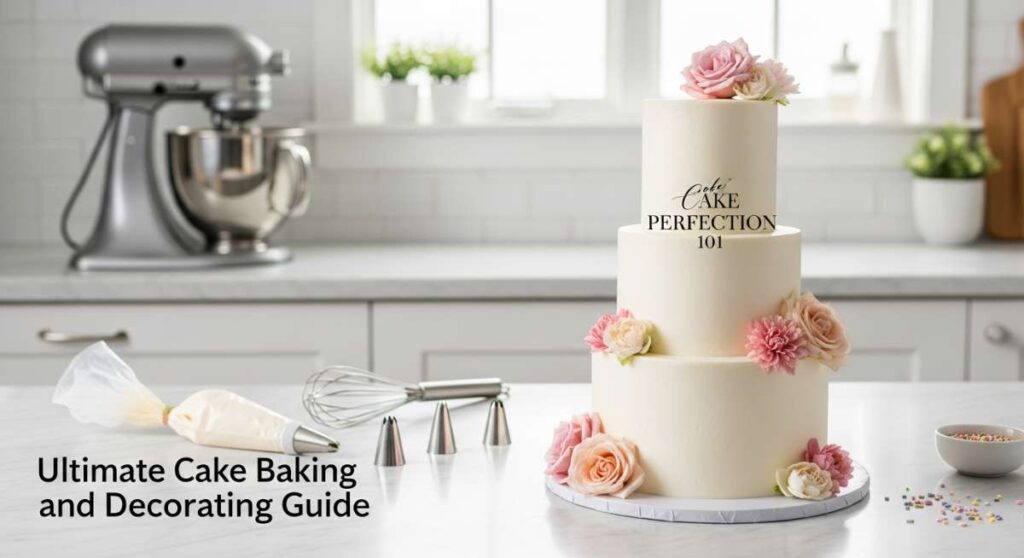
Cake Perfection 101: Master the Art of Baking and Decorating
Hello, my loves! Welcome back to my kitchen, the place where flour-dusted counters and the sweet scent of vanilla bean create a cloud-soft embrace for the soul. There is something truly magical about the rhythm of whisking and the quiet joy of watching a batter rise in the oven. It’s more than just baking; it’s about pouring your heart into something beautiful to share with the people you cherish most.
I know many of you feel intimidated by the thought of a multi-tiered masterpiece, but I’m here to hold your hand through every sprinkle and swirl. Whether you’re celebrating a milestone or just a Tuesday afternoon, baking is a love language we can all learn to speak fluently. Let’s dive into this ultimate guide together and turn your kitchen into a sanctuary of sweetness.
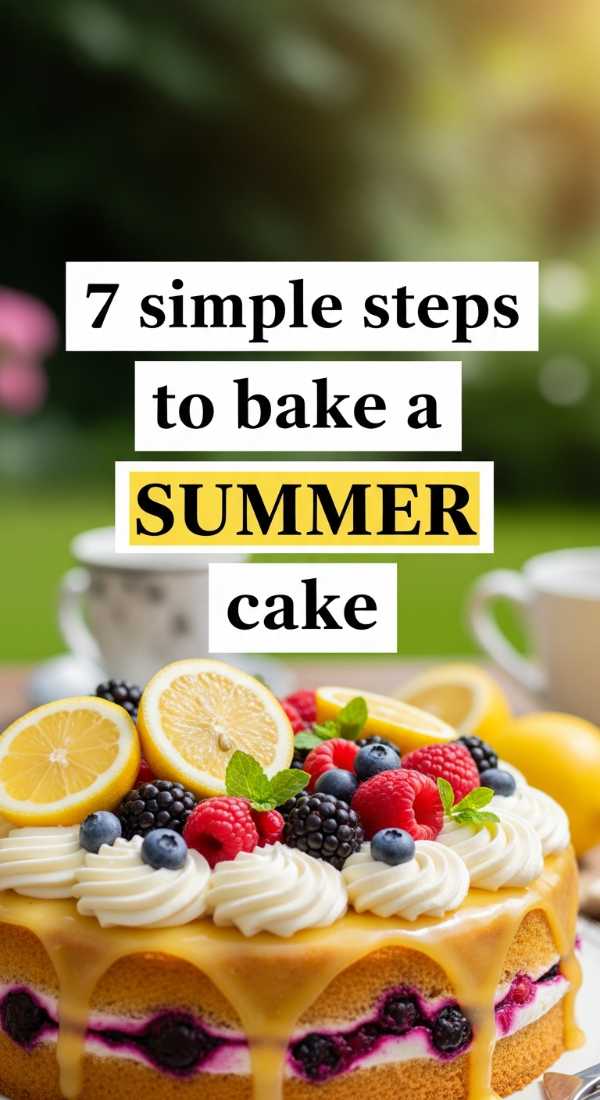
7 Simple Steps to Bake a Summer Cake
Why to love this recipe:
This cake is like a sunbeam on a plate. It’s light, airy, and carries that zest for life we only find in the warmest months. It’s the perfect companion for a garden tea party or a backyard picnic under the willow trees.
Essential Ingredients:
- Cake flour for a tender crumb
- Zest of two organic lemons
- Fresh local strawberries
- Granulated sugar
- Unsalted grass-fed butter
- Room temperature eggs
- A splash of sparkling water for lift
How to Prepare:
- Preheat your oven to 350°F and grease your pans with love.
- Cream the butter and sugar until it looks like fluffy white clouds.
- Add eggs one by one, whisking gently.
- Fold in the lemon zest and dry ingredients alternately with the sparkling water.
- Bake for 25-30 minutes until a toothpick comes out clean.
- Let it cool completely while you breathe in the citrus aroma.
- Top with a light whipped cream and sliced strawberries.
Budget Range
- Organic Lemons: $3.00
- Grass-fed Butter: $5.50
- Pastry Flour: $4.25
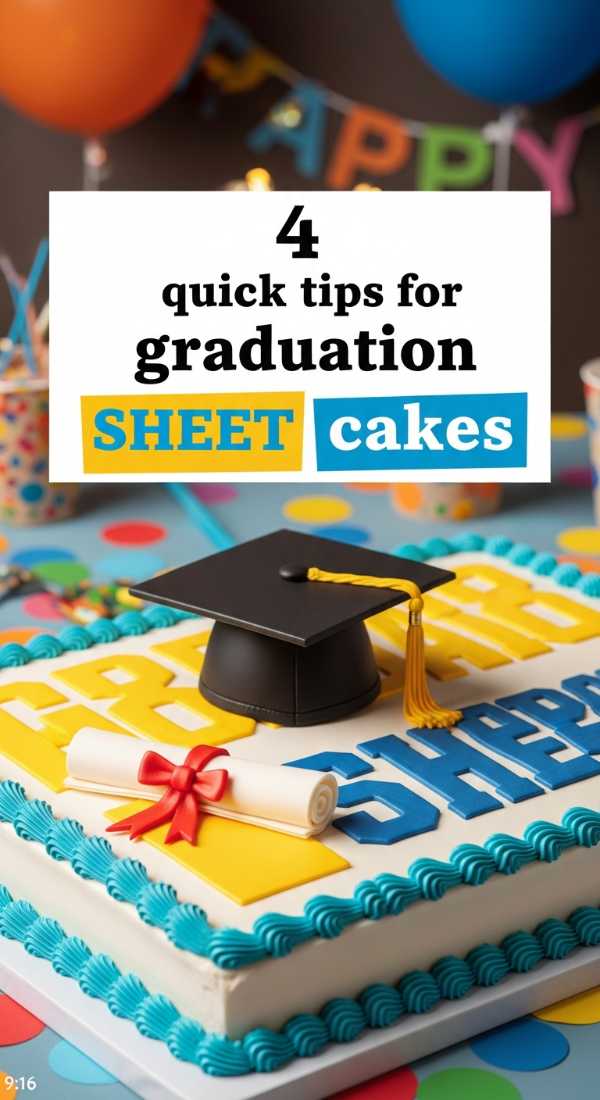
4 Quick Tips for Graduation Sheet Cakes
Why to love this recipe:
Graduations are such a whirlwind of emotions, and this sheet cake is your stress-free best friend. It feeds a crowd effortlessly while looking absolutely polished and celebratory.
Essential Ingredients:
- A reliable vanilla bean base
- High-quality cocoa powder (if doing marble)
- Heavy cream for ganache
- Golden sprinkles
How to Prepare:
- Bake in a large 13×9 pan to ensure even squares.
- Level the top with a serrated knife for a flat canvas.
- Use a stencil for the graduation year to keep lines crisp.
- Add a border of gold pearls for that extra touch of achievement.
Budget Range
- Bulk Vanilla Bean Paste: $12.00
- Edible Gold Sprinkles: $6.00
- Aluminum Sheet Pan: $8.50
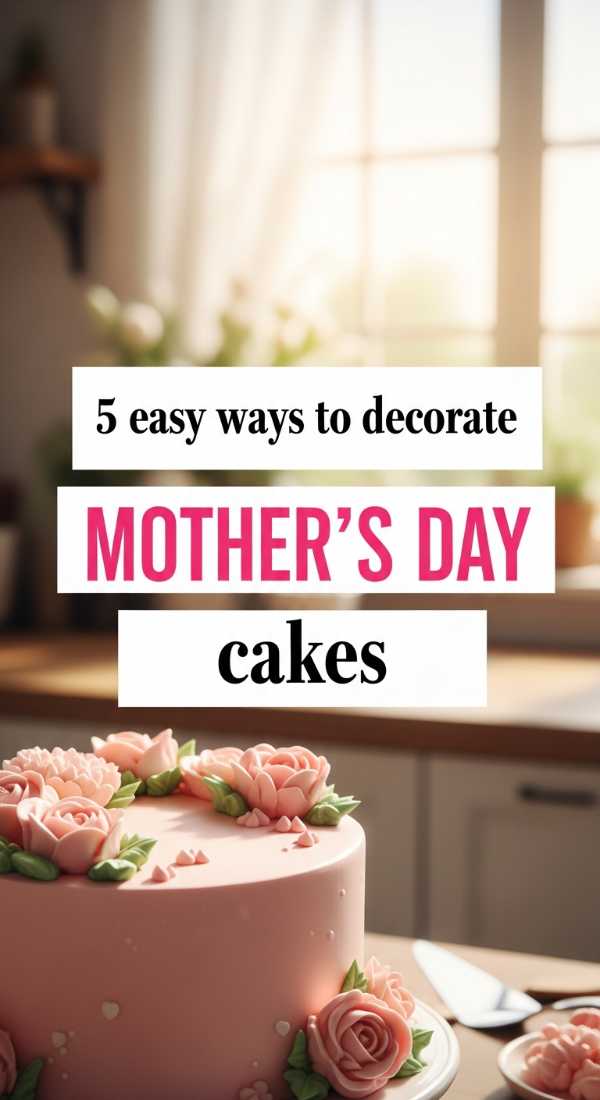
5 Easy Ways to Decorate Mother’s Day Cakes
Why to love this recipe:
Moms deserve the world, and a hand-decorated cake is a beautiful way to say ‘I love you.’ These techniques are soft, elegant, and filled with maternal warmth.
Essential Ingredients:
- Pastel food coloring
- Petal piping tips
- Fresh lavender sprigs
- Silky Swiss Meringue Buttercream
How to Prepare:
- Apply a smooth base coat in a soft blush or lilac.
- Use a palette knife to create ‘painted’ floral textures.
- Pipe simple rosettes around the base.
- Nestle a few sprigs of lavender on top for a rustic feel.
- Finish with a dusting of powdered sugar.
Budget Range
- Wilton Piping Tip Set: $10.00
- Natural Food Dye: $9.00
- Culinary Lavender: $7.00
6 Fun Steps for Ocean Birthday Cakes
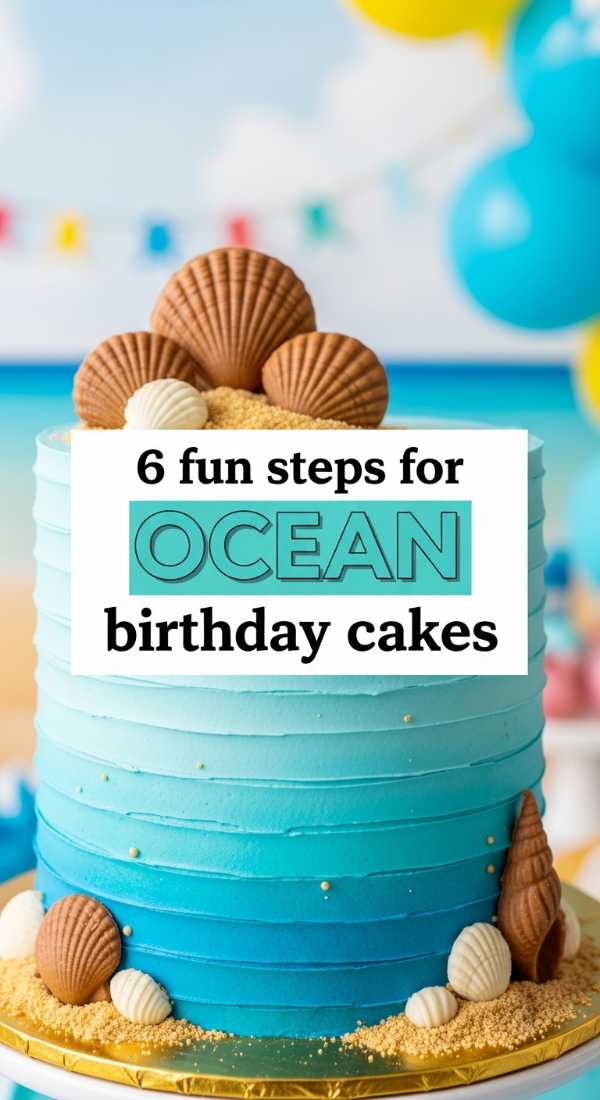
Why to love this recipe:
Dive into a world of wonder! This cake captures the whimsical spirit of the sea, making it a favorite for little explorers who dream of mermaids and hidden treasures.
Essential Ingredients:
- Blue ombre frosting
- Crushed graham crackers (for sand)
- White chocolate shells
- Aquamarine sanding sugar
How to Prepare:
- Frost the cake in layers of blue, from dark at the bottom to light at the top.
- Smooth the edges with a bench scraper for a seamless look.
- Press graham cracker ‘sand’ around the bottom inch.
- Place white chocolate shells strategically around the tiers.
- Sprinkle sanding sugar to mimic the glistening sun on water.
- Add a cute topper of a whale or mermaid tail.
Budget Range
- White Chocolate Mold: $5.00
- Graham Crackers: $3.50
- Blue Gel Coloring: $4.00
8 Beautiful Ideas for Floral Cakes
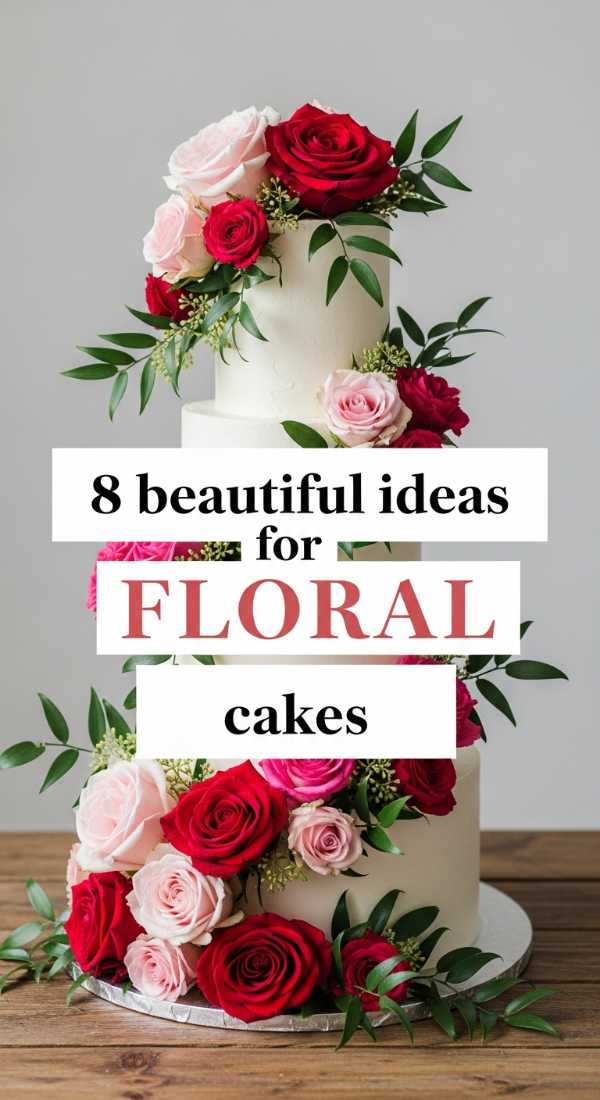
Why to love this recipe:
There is nothing more ethereal than a cake adorned with nature’s finest work. It’s romantic, sophisticated, and perfect for a wedding shower or a spring awakening celebration.
Essential Ingredients:
- Organic edible pansies or roses
- Floral wire and tape
- Clear piping gel
- White fondant
How to Prepare:
- Ensure your flowers are food-safe and pesticide-free.
- Wrap stems in floral tape before inserting into the cake.
- Create a ‘waterfall’ effect from the top down.
- Use clear gel to stick smaller petals to the sides.
- Mix fresh flowers with piped buttercream leaves for depth.
- Keep the cake chilled until serving to keep petals perky.
- Keep the color palette monochromatic for a chic look.
- Add a few eucalyptus leaves for a modern, boho vibe.
Budget Range
- Edible Flower Sampler: $15.00
- Floral Tape: $3.00
- Fine White Fondant: $11.00
3 Creative Ways for Golf Themed Cakes
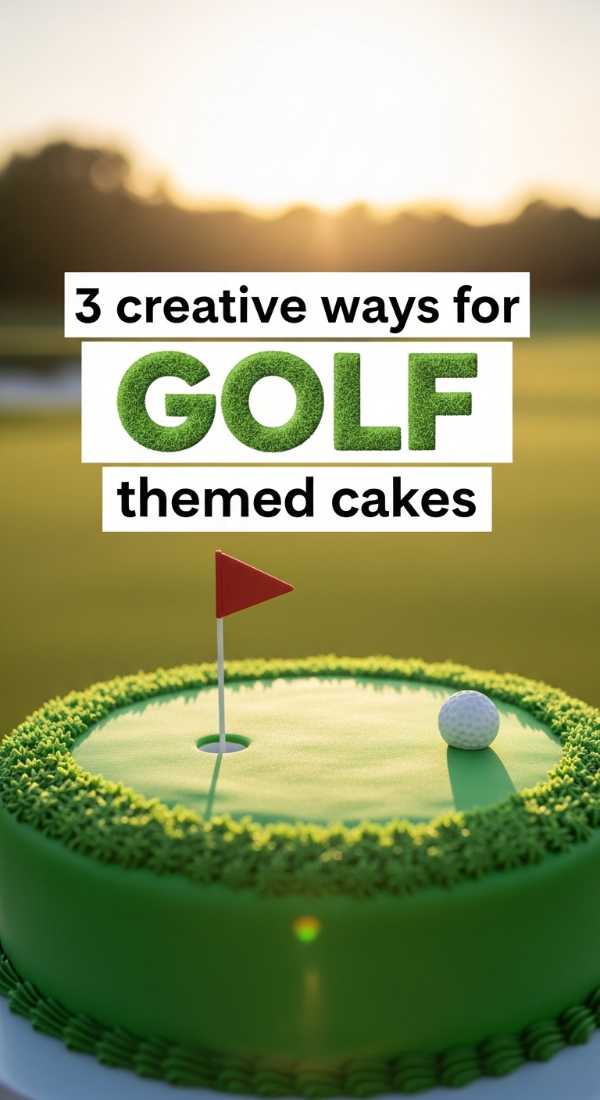
Why to love this recipe:
Whether it’s for a retirement party or a ‘hole-in-one’ birthday, this theme is playful and surprisingly easy to achieve with just a few textures.
Essential Ingredients:
- Green ‘grass’ frosting (use a multi-opening tip)
- White fondant golf balls
- Biscuits for ‘sand traps’
How to Prepare:
- Pipe green buttercream using a grass tip over the entire surface.
- Create a ‘putting green’ by smoothing one circle of frosting flat.
- Roll small balls of white fondant and dimple them with a toothpick to look like golf balls.
Budget Range
- Grass Piping Tip #233: $2.50
- White Fondant: $6.00
- Green Gel Tint: $3.50
5 Cute Steps for Cowgirl Birthday Cakes
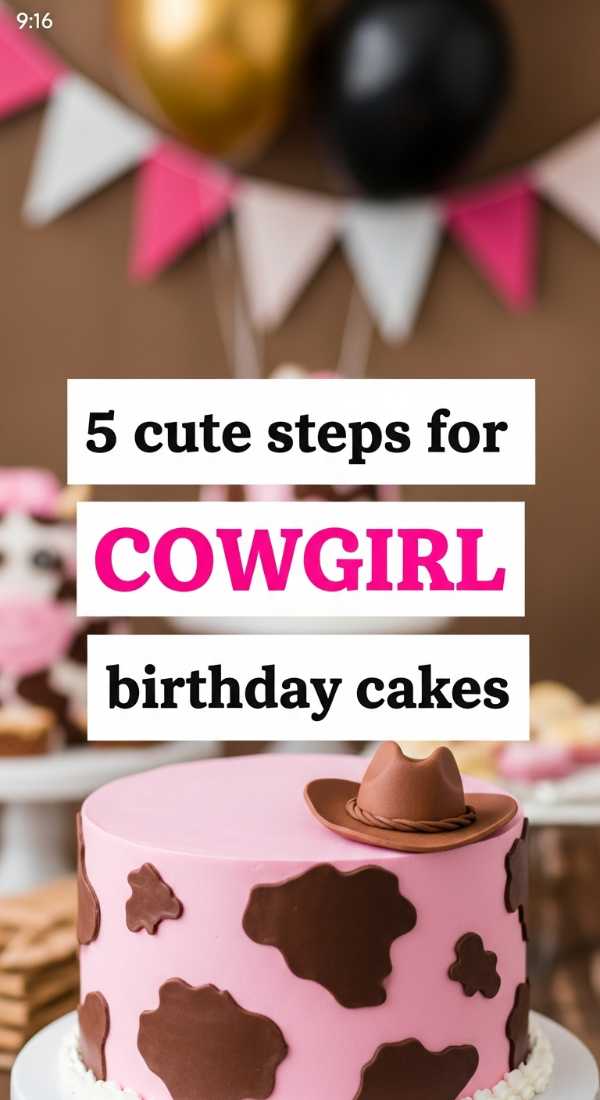
Why to love this recipe:
Giddy up, loves! This cake is all about rustic charm mixed with a pop of pink. It’s spunky, sweet, and full of personality for your little trailblazer.
Essential Ingredients:
- Pink buttercream
- Cow print fondant accents
- Miniature plastic horses
- Twine for a tiny lasso
How to Prepare:
- Frost the cake in a bright, happy pink.
- Cut out irregular ‘cow spots’ from black fondant and press onto the sides.
- Create a rope border using twisted tan frosting.
- Place the miniature horses on top as if they’re in a meadow.
- Fashion a tiny lasso from twine to hang off the side.
Budget Range
- Miniature Horse Figurines: $10.00
- Black Fondant: $5.00
- Natural Jute Twine: $4.00
4 Delicious Steps to Strawberry Cakes
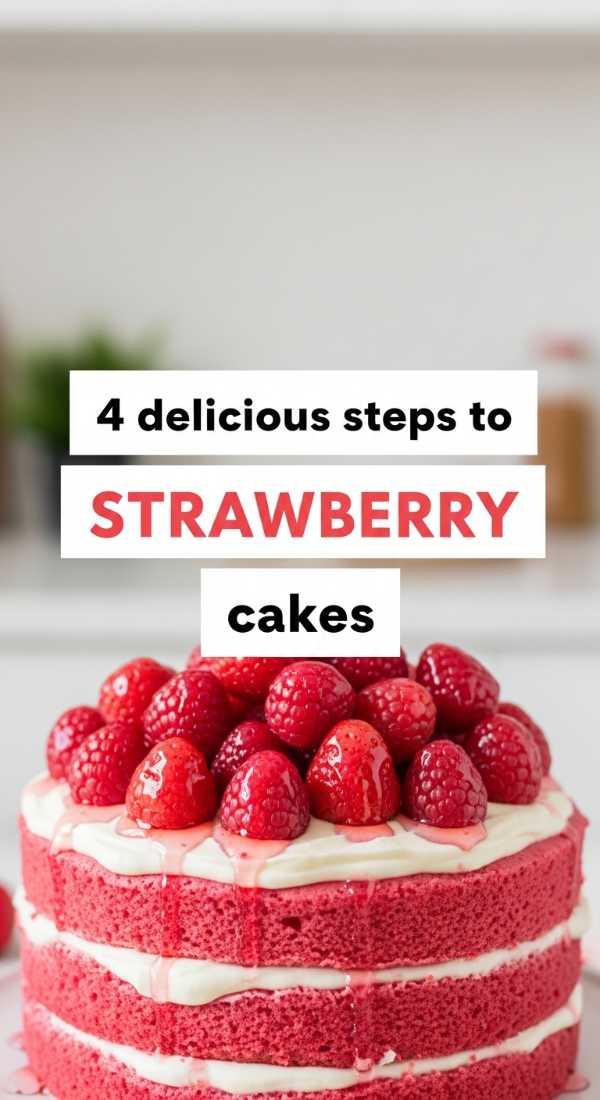
Why to love this recipe:
This is the ultimate crowd-pleaser. It’s nostalgic, sweet, and bursting with the flavor of real, sun-ripened berries. It tastes like childhood summers and pure happiness.
Essential Ingredients:
- Fresh strawberry puree
- Freeze-dried strawberry powder
- Buttermilk
- Cream cheese frosting
How to Prepare:
- Fold the strawberry puree into your batter for a natural pink hue.
- Whisk freeze-dried powder into the frosting for an intense flavor punch.
- Layer sliced berries between the cake rounds.
- Finish with a rustic swirl of cream cheese icing.
Budget Range
- Freeze-dried Strawberries: $6.00
- Local Farm Berries: $5.00
- Premium Cream Cheese: $4.50
6 Professional Secrets for Naked Cakes
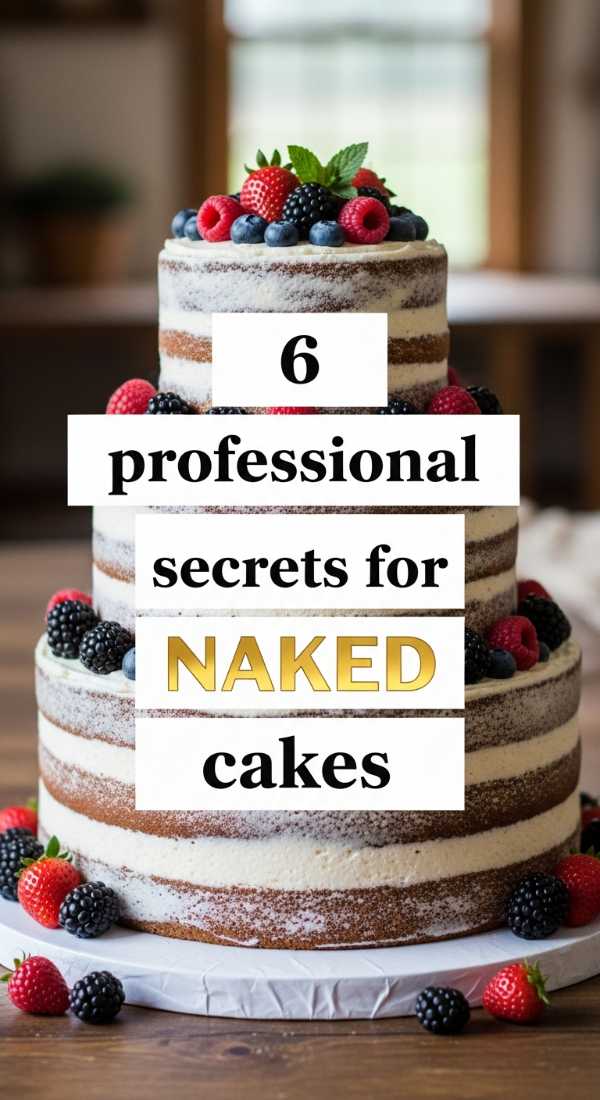
Why to love this recipe:
The ‘naked’ look is all about celebrating the cake itself. It’s minimalist, chic, and perfect for those who find heavy frosting a bit too much. It’s effortless beauty at its best.
Essential Ingredients:
- Perfectly even cake layers
- Stiff buttercream
- Simple syrup (to keep it moist)
- Fresh berries or greenery
How to Prepare:
- Level your cakes perfectly; there’s no frosting to hide bumps!
- Brush each layer with simple syrup to lock in moisture since the sides are exposed.
- Pipe a thick ring of frosting on the edge of each layer before filling the center.
- Apply a very thin layer of frosting to the outside and scrape it off almost entirely.
- Chill for at least an hour to set the structure.
- Top with a simple cluster of berries or a single eucalyptus branch.
Budget Range
- Cake Leveler tool: $9.00
- Simple Syrup Bottle: $4.00
- Bench Scraper: $7.00
7 Easy Steps to Make Cakesicles
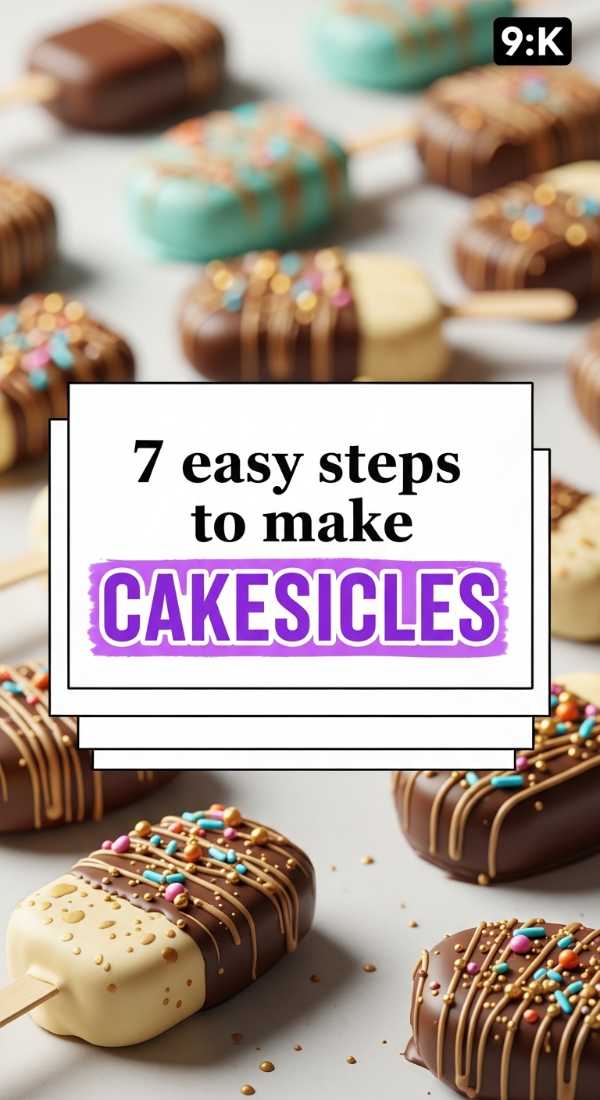
Why to love this recipe:
Cakesicles are the trendiest treats around! They are essentially gourmet cake pops in a popsicle shape—perfect for gifting or as a stunning addition to a dessert table.
Essential Ingredients:
- Leftover cake crumbs
- Frosting to bind
- Melting chocolate wafers
- Popsicle sticks
How to Prepare:
- Mix cake crumbs and frosting until it forms a dough-like consistency.
- Coat the inside of a silicone cakesicle mold with melted chocolate and let it set.
- Press the cake mixture into the mold, leaving a little room at the top.
- Insert the popsicle stick through the slot.
- Seal the back with more melted chocolate and scrape flat.
- Once set, pop them out gently.
- Drizzle with contrasting chocolate or add tiny sprinkles.
Budget Range
- Silicone Cakesicle Molds: $12.00
- Ghirardelli Melting Wafers: $8.00
- Decorative Sprinkles: $5.00
A Sweet Farewell
Baking is a journey, not a destination. Don’t worry if your frosting isn’t perfectly smooth or if a layer cracks—those are just ‘beauty marks’ of a handmade gift. The most important ingredient will always be the love you put into it. I hope this guide inspires you to preheat your oven, grab your favorite apron, and create something wonderful today. You’ve got this, my loves!