
Creating Your Sanctuary: The Ultimate Guide to Modern Home Styling
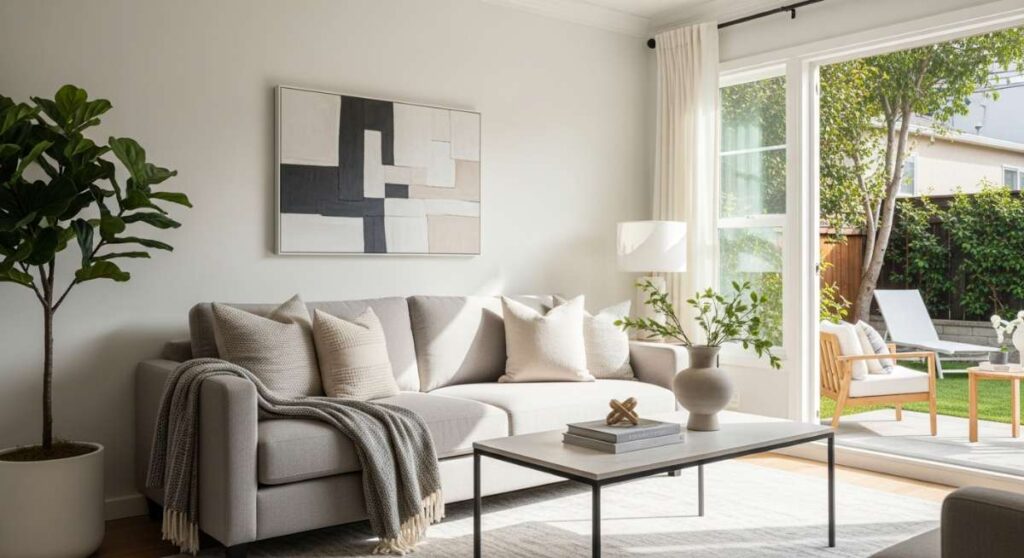
Have you ever walked through your front door and felt an immediate sense of relief, as if the walls themselves were giving you a warm embrace? That is the power of a curated sanctuary. Our homes are more than just four walls and a roof; they are the canvas upon which we paint our daily lives, the backdrop for our morning coffees, and the silent witness to our most precious memories. In this fast-paced world, creating a space that reflects your soul and invites serenity isn’t just a luxury—it’s a vital act of self-care.
I remember the first time I decided to stop decorating for ‘someday’ and started styling for ‘now.’ It changed everything. By focusing on small, intentional DIY projects and thoughtful design choices, I transformed my chaotic living space into a haven of modern style and functional beauty. Today, I’m sharing my ultimate guide to help you do the same, from the curb to the kitchen chalkboard, ensuring every corner of your home tells a story of comfort and grace.
How to Plant Low Maintenance Flower Beds for Effortless Curb Appeal

Why we love this
There is something deeply restorative about arriving home to a vibrant, blooming garden that doesn’t demand your every waking hour. Low-maintenance flower beds provide that lush, English-cottage aesthetic with the efficiency of modern landscaping, focusing on perennials and structural shrubs that return year after year. Imagine the scent of lavender drifting through your windows and the sight of butterflies dancing over cone-flowers, all while you relax with a cold glass of lemonade instead of pulling endless weeds.
Essential Elements:
- Native perennial plants (like Echinacea or Salvia)
- Hardwood mulch or decorative river rock
- High-quality landscape fabric
- Drip irrigation kit or soaker hose
- Slow-release organic fertilizer
How to make it
- Begin by clearing the area completely of existing grass and weeds using a sharp spade, ensuring you remove the roots to prevent regrowth.
- Lay down a layer of heavy-duty landscape fabric, overlapping the edges by at least 6 inches to create an impenetrable barrier for weeds.
- Arrange your potted plants on top of the fabric to visualize the layout; place taller species at the back and shorter, spreading varieties at the front for a layered look.
- Cut an ‘X’ into the fabric where each plant will go, dig a hole twice the width of the root ball, and enrich the soil with organic compost before planting.
- Install a drip irrigation line hidden beneath the fabric to ensure deep, consistent watering directly at the root zone, which reduces evaporation and water waste.
- Cover the entire bed with a 3-inch layer of cedar mulch, which suppresses weeds further, retains moisture, and provides a clean, professional finish.
How to Style Green Entry Dividers for an Indoor Jungle Aesthetic

Why we love this
Open-concept living is wonderful for light, but sometimes we need a soft, organic boundary to define our spaces without closing them off entirely. Green entry dividers act as living lungs for your home, purifying the air while creating a breathtaking visual transition between the foyer and the living room. The interplay of trailing ivy, architectural snake plants, and the soft rustle of leaves creates a sanctuary-like atmosphere that immediately lowers your heart rate the moment you step inside.
Essential Elements:
- Open-shelving unit or tiered wooden plant stand
- Assortment of humidity-loving indoor plants
- Decorative ceramic or terracotta pots with drainage
- Small pebbles or leca for humidity trays
- LED grow lights (if natural light is low)
How to make it
- Select a sturdy, open-back shelving unit that allows light to pass through; metal frames with wooden shelves work beautifully for a modern-industrial look.
- Place your largest, heaviest plants on the bottom shelf to ground the unit and provide stability; Heartleaf Philodendrons or large Sansevieria are excellent choices.
- On the middle shelves, alternate between upright plants and trailing varieties like Pothos or String of Hearts, allowing the vines to spill over the edges to soften the hard lines of the furniture.
- Use a variety of pot textures—matte ceramic, woven baskets, and glazed clay—to add visual depth and reflect the diverse textures found in nature.
- Group plants with similar light and water requirements together to make maintenance easier and ensure every leaf stays vibrant and healthy.
- Incorporate small decorative objects like crystals or vintage books between the pots to break up the greenery and add a personal, curated touch to the display.
How to Create Mud Kitchen Rock Food for Sustainable Playtime

Why we love this
Sustainable play is all about bringing the magic of the natural world into a child’s hands, and these hand-painted rock ‘foods’ are the ultimate eco-friendly toy. There is a tactile joy in the weight of a smooth river stone transformed into a bright strawberry or a slice of sourdough bread. These durable, weatherproof toys encourage imaginative outdoor play in the mud kitchen, fostering a deep connection to the earth while providing a pop of whimsical color to your backyard play area.
Essential Elements:
- Smooth, flat river rocks in various sizes
- Outdoor-grade acrylic paints
- Fine-tipped detail brushes and sponges
- UV-resistant clear gloss sealer
- A bucket of soapy water for cleaning
How to make it
- Scrub your rocks thoroughly with warm soapy water to remove any dirt or oils, then let them dry completely in the sun for at least two hours.
- Apply a base coat of white acrylic paint to the top surface; this acts as a primer and ensures that your fruit and vegetable colors look vibrant and true.
- Sketch your designs lightly with a pencil—think triangular shapes for pizza slices, ovals for potatoes, and small rounds for peas.
- Paint your main colors in thin layers, allowing each coat to dry before adding details like the seeds on a strawberry or the crust on a bread slice.
- Once the paint is bone-dry, apply two coats of a high-quality outdoor sealer to protect the rocks from rain, sun-fading, and the inevitable ‘cooking’ in the mud kitchen.
- Arrange the finished rocks in a wooden crate or an old colander near the mud kitchen for an inviting, farm-to-table play experience.
How to Select Pool Stone and Tile for a Luxury Backyard

Why we love this
A luxury backyard isn’t just about the water; it’s about the sophisticated frame that surrounds it. Choosing the right stone and tile is like selecting the perfect jewelry for an outfit—it defines the mood and elevates the entire experience. We love the cool-to-the-touch feel of premium travertine underfoot on a hot July day and the way iridescent glass tiles shimmer like hidden gems beneath the water’s surface. It’s about creating a five-star resort feeling right in your own zip code.
Essential Elements:
- Natural stone pavers (Travertine, Limestone, or Slate)
- Glass or ceramic waterline tiles
- Non-slip exterior grade sealant
- High-performance waterproof grout
- Bullnose coping stones for edges
How to make it
- Start by defining your color story; cool grays and blues create a modern, crisp look, while warm beige and tan tones offer a Mediterranean, sun-drenched vibe.
- Request large-format samples and place them in your backyard to see how the colors change from the harsh midday sun to the golden hour and under artificial night lighting.
- Check the ‘slip resistance’ rating of your stone; for pool decks, you want a honed or tumbled finish that provides grip even when wet to ensure safety.
- Select a waterline tile that complements the stone; glass mosaics are highly durable and reflect light beautifully, making the water appear deeper and more crystalline.
- Ensure the coping (the edge of the pool) has a rounded ‘bullnose’ finish to prevent scrapes and provide a comfortable grip for swimmers.
- Hire a specialist to seal the stone after installation; this prevents salt or chlorine damage and keeps the natural colors from fading over time.
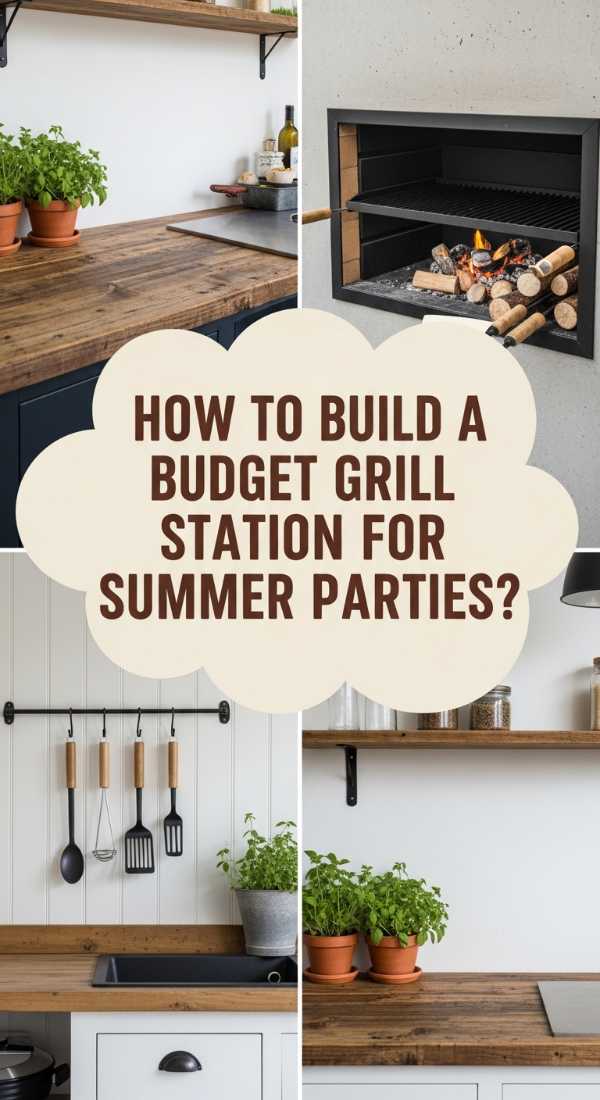
How to Build a DIY Grill Station Cheap for Epic Outdoor Hosting
Why we love this
There is a specific kind of pride that comes from flipping burgers on a station you built with your own two hands. A DIY grill station turns a simple barbecue into a professional outdoor kitchen hub, providing much-needed counter space for prep and serving without the five-figure price tag. It’s the heart of the summer party, where the scent of charred oak meets the laughter of friends, and everything you need—from tongs to spice rubs—is exactly where it should be.
Essential Elements:
- Pressure-treated 2×4 lumber for the frame
- Concrete backer board or cedar planks for siding
- Affordable countertop (pavers or reclaimed wood)
- Heavy-duty casters (for mobility)
- Stainless steel hooks and magnetic strip
How to make it
- Measure your grill and design a frame that allows for at least 12 inches of counter space on either side and sits at a comfortable ‘waist-high’ level (usually 36 inches).
- Build the rectangular frame using 2×4 lumber and exterior-grade wood screws, adding cross-braces at the base to ensure the unit doesn’t wobble.
- Attach heavy-duty locking casters to the bottom of the legs so you can move the station out of the wind or into the shade as needed.
- Clad the sides with cedar pickets for a high-end look on a budget, or use concrete backer board finished with stone veneer for a more permanent, built-in appearance.
- Install your countertop; large-format concrete pavers are an incredibly cheap and heat-resistant option that looks modern and sleek.
- Finish by adding a magnetic tool strip to the front for your spatulas and a heavy-duty bottle opener on the side for the ultimate host convenience.
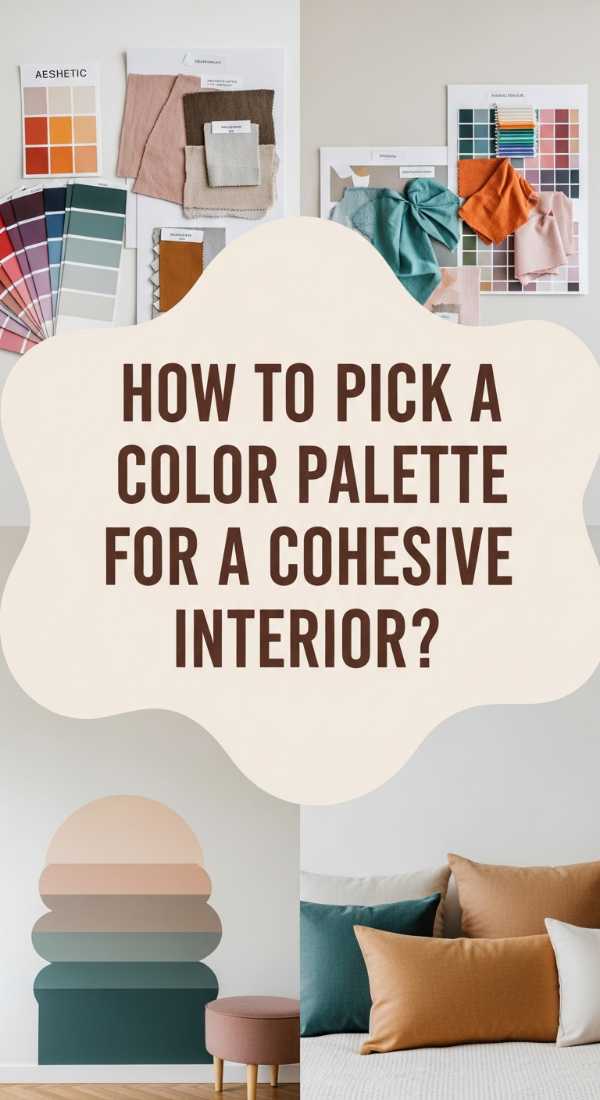
How to Curate a Seasonal Color Palette for Home Harmony
Why we love this
Colors are the emotional heartbeat of a home. Curating a seasonal palette allows your living space to breathe and evolve with the rhythm of nature, keeping your decor feeling fresh and intentional rather than static. We love the way a transition from airy linens and soft sages in the spring to deep terracottas and ochres in the fall can completely shift the energy of a room, making it feel cozy when it’s cold and refreshing when it’s hot. It’s the secret to a home that always feels ‘just right.’
Essential Elements:
- Set of high-quality fabric swatches
- Neutral base furniture (sofas, rugs)
- Seasonal accent pillows and throws
- Natural elements (branches, dried florals)
- Mood board (digital or physical)
How to make it
- Identify your ‘anchor’ neutrals—the colors of your large furniture and walls that won’t change—such as cream, charcoal, or light oak.
- Apply the 60-30-10 rule: 60% neutral base, 30% secondary color (like a dusty blue), and 10% bold seasonal accent (like a vibrant coral for summer).
- Gather physical swatches of fabrics, paint chips, and even photos of nature to see how the colors interact under your specific home lighting.
- Swap out ‘soft goods’ every six months; replace heavy velvet cushions with light cotton or linen covers as the weather warms up to instantly change the room’s temperature.
- Incorporate natural textures that match the palette—light driftwood for summer palettes or dark, knotted pine for winter schemes.
- Distribute your accent color in three places around the room (e.g., a vase, a throw blanket, and a piece of art) to lead the eye through the space harmoniously.
How to Decorate a Cute Small Porch for a Cozy Welcome

Why we love this
A small porch is like a giant hug for your guests. It is the first impression your home makes, and when styled correctly, it becomes a miniature sanctuary where you can watch the world go by. We love the intimacy of a tight space—it forces you to choose only the most charming and functional pieces. Think flickering lanterns, a layered doormat, and a single, perfectly placed rocking chair that beckons you to sit for a moment and breathe in the evening air.
Essential Elements:
- Weather-resistant outdoor rug
- Layered doormat (patterned base + coir top)
- Folding bistro set or narrow bench
- Wall-mounted planters or hanging baskets
- Battery-operated LED lanterns with timers
How to make it
- Start by power-washing the floor and walls to create a clean slate; a fresh surface makes even the simplest decorations look expensive.
- Ground the space with an outdoor rug that fills at least 70% of the floor area; this defines the ‘room’ and adds an immediate layer of comfort.
- Use ‘vertical real estate’ by hanging tiered planters or a decorative trellis, which adds greenery without sacrificing precious foot traffic space.
- Choose multifunctional furniture, like a garden stool that can act as either a side table for your coffee or extra seating for a neighbor.
- Layer your lighting—combine a traditional overhead porch light with soft, warm-toned lanterns at floor level to create a magical, multi-dimensional glow at night.
- Add a seasonal wreath to the door that mimics the colors in your rug to tie the entire look together into one cohesive, welcoming vignette.
How to Install Hog Wire Fencing for a Modern Garden Look

Why we love this
Traditional fences can often feel like barriers that close us in, but hog wire fencing offers a sophisticated, industrial-chic alternative that keeps the views open while providing clear boundaries. We love the architectural lines of the dark metal grid paired with warm wood framing—it feels both rustic and modern. It’s the perfect solution for protecting a vegetable garden from critters or enclosing a patio without losing that sense of connection to the surrounding landscape.
Essential Elements:
- Pressure-treated 4×4 posts and 2×4 rails
- 4-gauge galvanized hog wire panels
- Heavy-duty wire snips or bolt cutters
- Galvanized fence staples or ‘U’ nails
- Level and post-hole digger
How to make it
- Space your 4×4 posts exactly 6 or 8 feet apart (depending on your panel size) and set them in concrete at least 2 feet deep to ensure the fence remains perfectly straight.
- Construct a ‘picture frame’ between the posts using 2×4 rails at the top and bottom, ensuring everything is level and plumb using a high-quality spirit level.
- Measure the interior of your wooden frame and cut the hog wire panel to size using bolt cutters, leaving a 1/2-inch gap on all sides for easy fitting.
- Center the wire panel within the wooden frame; have a partner hold it in place while you secure the top corners first to prevent sagging.
- Drive galvanized staples every 6 inches along the top, bottom, and side rails, hammering them firmly over the wire to lock it into the wood.
- Finish the look by adding a flat 2×6 ‘cap’ rail across the top of the entire fence line, which provides a polished look and a handy place to set a drink while gardening.
How to Update Singlewide Mobile Home Interiors for Luxury Living

Why we love this
The transformation of a singlewide is a masterclass in the ‘diamond in the rough’ philosophy. With intentional design, these spaces can be turned into high-end, minimalist dwellings that rival any modern apartment. We love the challenge of maximizing every square inch and the incredible satisfaction of replacing standard mobile home fixtures with custom trim, deep colors, and modern hardware. It’s about proving that luxury isn’t about the size of the home, but the quality of the details within it.
Essential Elements:
- High-quality interior paint and primer
- Lightweight crown molding and baseboards
- Modern matte black or brass cabinet hardware
- Luxury vinyl plank (LVP) flooring
- Peel-and-stick subway tile backsplash
How to make it
- Remove the thin, plastic-looking batten strips from the walls and fill the gaps with joint compound; sand smooth to create the look of traditional drywall.
- Prime the walls with a high-adhesion primer designed for vinyl surfaces before applying two coats of a sophisticated, matte-finish paint in a light-reflecting color.
- Install wide baseboards and crown molding; this simple addition ‘elevates’ the ceilings and hides the seams where the walls meet the floor and roof.
- Update the kitchen by swapping out the standard plastic faucet for a high-arc stainless steel model and adding a peel-and-stick tile backsplash for instant texture.
- Replace all standard door knobs and cabinet pulls with heavy, modern hardware; the weight and feel of a quality handle are subtle cues that scream luxury.
- Lay luxury vinyl plank flooring throughout the entire home in a single direction to create a seamless flow that makes the narrow space feel significantly wider.
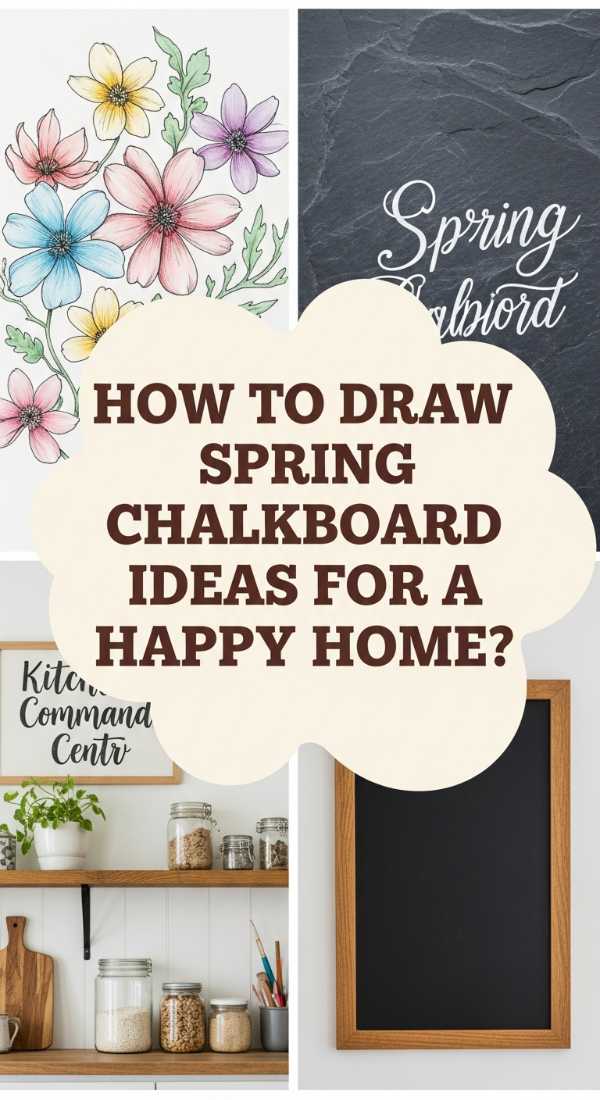
How to Design a Spring Chalkboard for a Cheerful Kitchen
Why we love this
A kitchen chalkboard is more than just a place for grocery lists; it is a rotating art gallery that celebrates the turning of the seasons. There is a meditative joy in the scratch of chalk against a dark board, sketching out blooming tulips and cursive quotes about new beginnings. It brings a touch of handmade charm to the heart of the home, serving as a cheerful daily reminder to appreciate the small, fleeting beauties of springtime—like the first local asparagus or the return of the songbirds.
Essential Elements:
- Large wall-mounted or framed chalkboard
- Dustless chalk or liquid chalk markers
- Assorted stencils (floral and botanical)
- Microfiber cloth and water
- A ruler for straight lines
How to make it
- ‘Season’ your chalkboard by rubbing the long side of a piece of white chalk over the entire surface and then wiping it clean; this prevents ‘ghosting’ of your designs.
- Lightly sketch a border of vines or cherry blossoms in the corners using a standard chalk pencil to establish the framework of your design.
- Use liquid chalk markers for the main text, as they provide a crisp, opaque finish that looks professional and won’t smudge if someone brushes past.
- Incorporate a variety of lettering styles—mix a bold, blocky font for the word ‘SPRING’ with a delicate, loopy script for a favorite quote.
- Add pops of pastel colors—lavender, mint, and soft yellow—to fill in the floral sketches, layering the colors to create a sense of depth and life.
- Wipe the center area clean once a week to update your family’s weekly menu or to-do list, keeping the decorative border intact for the whole season.
Final Thoughts on Modern Styling
Creating a sanctuary isn’t a race; it’s a slow, beautiful journey of discovering what truly makes you feel at peace. Whether you are painting a rock for a child’s mud kitchen or selecting the stone for a dream pool, the intention remains the same: to build a life that feels as good on the inside as it looks on the outside. Start small, trust your instincts, and remember that your home is the one place in the world that should be perfectly, unapologetically you.
Frequently Asked Questions
How do I start a DIY project if I’m on a tight budget?
Focus on ‘high-impact’ changes like paint, hardware updates, and landscaping. These are relatively inexpensive but completely transform the look and feel of a space.
What is the best way to maintain indoor plants for beginners?
Start with ‘low-light’ tolerant plants like Snake Plants or Pothos. Use a moisture meter to ensure you aren’t overwatering, which is the most common mistake for new plant parents.
How can I make a small space feel bigger without renovation?
Use light colors on the walls, install mirrors to reflect light, and keep the flooring consistent throughout the home to create a sense of uninterrupted flow.