
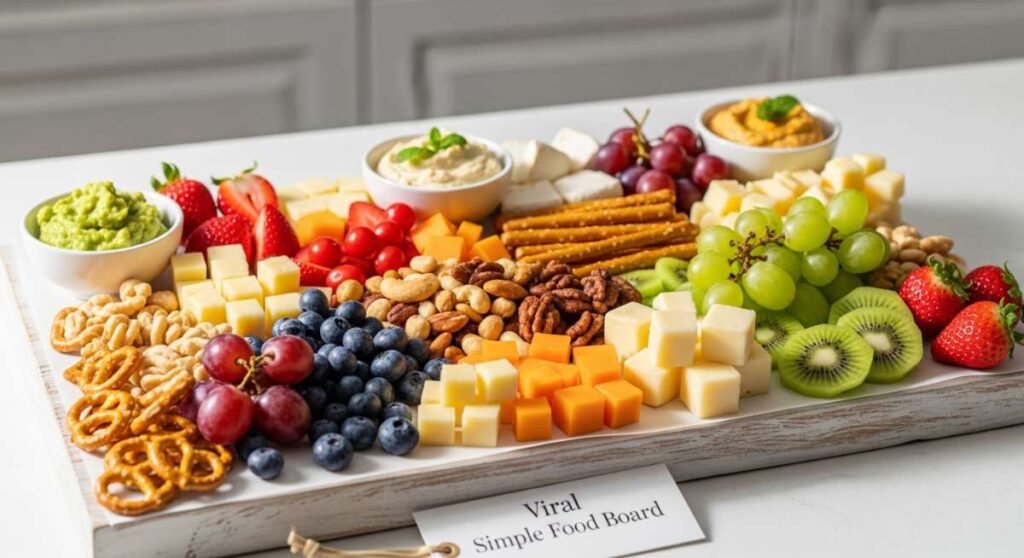
I remember sitting around my kitchen island last Saturday, looking at an overly complicated charcuterie board and thinking, "There has to be a better way." We’ve all been there—trying to fold salami into roses while the party is already starting. But lately, a new wave of hosting has taken over my social feed, and it’s all about the ‘Viral Simple Food Board.’ It’s less about the price tag of the cheese and more about the communal joy of fresh, vibrant, and genuinely delicious bites that don’t take five hours to prep.
This movement is a breath of fresh air for those of us who love hosting but hate the stress. It’s about returning to the basics: the crunch of a crisp apple, the sizzle of a perfectly seared patty, and the vibrant colors of nature’s own candy. Today, I’m sharing my ultimate guide to creating the internet’s newest obsession. This isn’t just a meal; it’s an experience that invites everyone to lean in, grab a glass, and stay a while. Let’s dive into the components that make this board a total showstopper.
How to make fresh apple juice?
Why we love this
There is nothing quite like the scent of freshly pressed apples wafting through a sunlit kitchen. This juice is crisp, clean, and carries a natural sweetness that store-bought versions simply cannot replicate. As you take your first sip, you’ll notice the delicate balance of tartness and sugar, leaving a refreshing, slightly floral aftertaste on your palate. It feels like capturing the very essence of an orchard in a glass, with a beautiful golden hue that glows against the ice cubes.
Ingredients
- 5-6 medium Honeycrisp or Gala apples
- 1 tablespoon lemon juice (to prevent browning)
- Optional: A pinch of cinnamon or a slice of fresh ginger
How to make it
- Begin by washing your apples thoroughly under cold running water to remove any wax or debris. Core the apples and slice them into segments that will fit easily into your juicer’s chute; there is no need to peel them as the skin contains intense flavor and color.
- Feed the apple segments through your juicer on a medium-high speed setting. If you are using a masticating juicer, go slower to ensure you extract every drop of liquid from the fibrous pulp.
- Once the juice is collected, stir in the lemon juice immediately. This acidity helps maintain that bright, vibrant color and adds a subtle zing that cuts through the natural sugars.
- For a crystal-clear consistency, strain the juice through a fine-mesh sieve or cheesecloth into a chilled glass pitcher. Serve immediately over crushed ice for the ultimate refreshing experience.
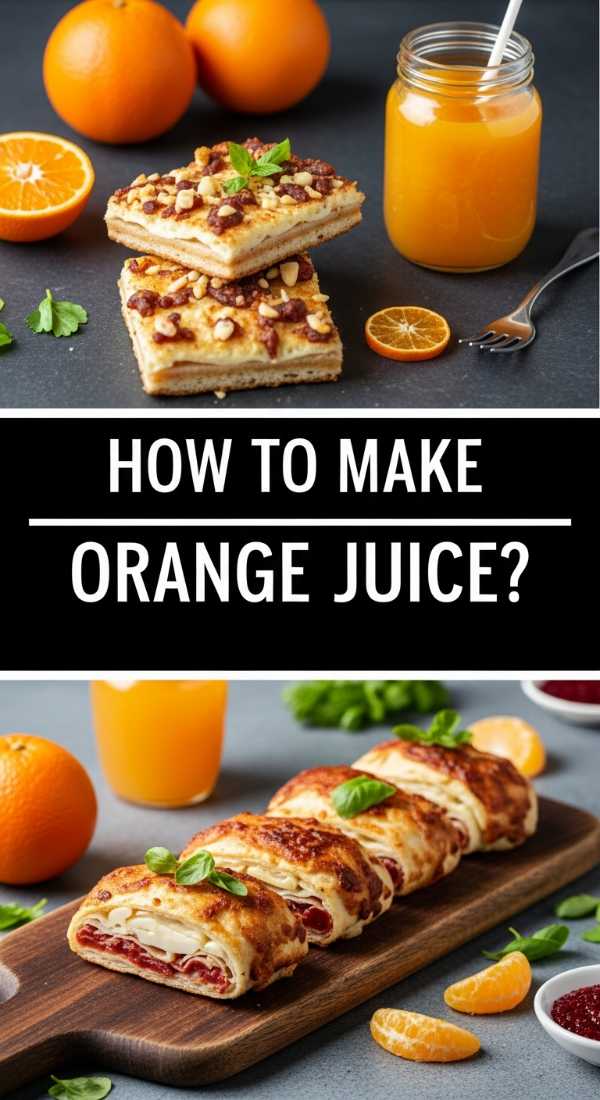
How to make sweet orange juice?

Why we love this
The aroma of a freshly sliced orange is an instant mood lifter, bringing a burst of sunshine into even the gloomiest mornings. When you juice them yourself, you get that incredible, frothy texture and a flavor profile that is both zesty and deeply sweet. It’s a sensory delight—the bright orange liquid looks like liquid gold, and the taste is a complex dance of acidity and natural sugars that wakes up every taste bud with a zing of Vitamin C.
Ingredients
- 8-10 large Valencia or Navel oranges
- Ice for serving
- Optional: Fresh mint sprigs for garnish
How to make it
- Roll each orange firmly against your countertop using the palm of your hand for about 10 seconds. This simple trick breaks down the internal membranes and makes the fruit much easier to juice, ensuring maximum yield.
- Slice the oranges in half horizontally. If you are using a manual citrus press, place the cut side down and apply firm, even pressure while rotating the fruit to extract all the juice and some of the flavorful bits of pulp.
- If using an electric citrus juicer, hold the orange half firmly on the reamer and let the machine do the work until only the white pith remains.
- Pour the juice through a wide-mesh strainer if you prefer a smoother drink, but keep some pulp for that authentic, rustic feel. Chill the juice in the refrigerator for at least 30 minutes before serving in tall, frosted glasses.
How to blend refreshing juice?

Why we love this
Blending juice offers a thicker, more satisfying mouthfeel than traditional pressing, allowing you to incorporate herbs and cooling elements like cucumber or mint. The result is a vibrant, emerald-green or deep-ruby elixir that feels incredibly nourishing and cooling. Every sip is a layered experience, starting with the bright base fruit and ending with the refreshing, herbal notes that linger on your tongue, making it the perfect palate cleanser for a heavy board.
Ingredients
- 2 cups chopped watermelon or pineapple
- 1 small cucumber, peeled
- 1/4 cup fresh mint leaves
- 1/2 cup coconut water or plain water
How to make it
- Place your base fruit (watermelon or pineapple) into a high-speed blender first to provide the liquid base. Add the peeled cucumber, which adds a subtle, watery crunch and a cooling effect to the blend.
- Add the fresh mint leaves and the coconut water. The coconut water provides essential electrolytes and a hint of tropical sweetness that ties the whole drink together.
- Start the blender on the lowest setting to break up the large chunks, then gradually increase to the highest speed. Blend for at least 45-60 seconds until the mixture is completely homogenized and looks frothy and light.
- If you prefer a thinner consistency, you can pass the mixture through a nut milk bag. Otherwise, pour it straight into a glass with a salt-rimmed edge to enhance the refreshing botanical flavors.
How to make crispy burgers?

Why we love this
There is nothing more satisfying than the sound of a burger patty hitting a piping hot cast-iron skillet. The smell of the Maillard reaction—that deep, savory browning of the meat—is enough to bring everyone to the kitchen. These burgers feature a craggy, salty crust on the outside while remaining incredibly juicy and tender on the inside. When you bite through the toasted bun into that crispy exterior, it’s a masterclass in texture and rich, umami flavor.
Ingredients
- 1 lb high-quality ground beef (80/20 fat ratio is essential)
- Kosher salt and freshly cracked black pepper
- 1 tablespoon neutral oil (like grapeseed)
- Brioche buns and butter
How to make it
- Divide your cold ground beef into 4 equal portions and gently shape them into loose balls. Do not overwork the meat or pack it tightly, as this will lead to a tough burger. Keep the meat cold until the very second it hits the pan.
- Heat a cast-iron skillet over medium-high heat until it is wisps of smoke begin to rise. Add a tiny bit of oil. Place the meat balls in the pan and use a heavy spatula to press them down firmly into thin patties about 1/2 inch thick.
- Season generously with salt and pepper only after the patties are in the pan. Sear undisturbed for about 3 minutes until a deep, dark brown crust has formed. You will see the edges turn opaque and crispy.
- Flip the burgers and cook for another 2 minutes for medium-rare. During the last minute, place a pat of butter on each and toast your buns in the same pan to soak up those delicious, rendered beef juices.
How to make easy appetizers?

Why we love this
Appetizers should be a playful introduction to the meal, offering a variety of textures and bold flavors in just one or two bites. We love these because they provide that perfect balance of creamy and crunchy, often featuring a whipped base topped with something bright and acidic. The visual appeal of small, uniform bites arranged neatly is undeniable, and the way the flavors pop—perhaps a bit of honey against a salty cheese—is pure culinary magic.
Ingredients
- 1 baguette, sliced into rounds
- 8 oz goat cheese or ricotta
- 1 jar of fig jam or hot honey
- Fresh thyme or crushed pistachios for garnish
How to make it
- Arrange your baguette rounds on a baking sheet and lightly brush them with olive oil. Toast them in a 400°F (200°C) oven for about 5-7 minutes, turning once, until they are golden brown and make a distinct ‘clink’ sound when tapped.
- In a small bowl, whip your goat cheese or ricotta with a splash of milk and a pinch of salt until it reaches a light, airy, and spreadable consistency. This ensures the base doesn’t break the delicate toast.
- Spread a generous tablespoon of the cheese onto each warm toast. Top with a small dollop of fig jam or a drizzle of hot honey, allowing the sweetness to melt slightly into the creamy cheese.
- Finish with a sprinkle of fresh thyme or crushed pistachios for a professional, textural contrast. Arrange them in a circular pattern on your board to create a focal point.
How to design fruit art?

Why we love this
Fruit art elevates a simple snack into a visual masterpiece that feels almost too beautiful to eat. The vibrant jewel tones of berries, the architectural lines of sliced kiwi, and the soft curves of melon create a tapestry of color that draws everyone in. It’s a sensory experience that starts with the eyes—the glossy sheen of fresh fruit and the intoxicating, sweet aroma—and ends with a burst of natural, hydrating sweetness that cleanses the palate between savory bites.
Ingredients
- 1 small watermelon or cantaloupe
- 1 pint strawberries, halved
- 2 kiwis, peeled and sliced into stars
- Fresh mint and edible flowers (optional)
How to make it
- Start with your largest fruit. Slice the melon into thick wedges or use a melon baller to create uniform spheres. Arrange these in a ‘snake’ or ‘S’ curve across the center of your board to create a sense of movement.
- Place the halved strawberries along the edges of the melon, facing the cut side up to show off their beautiful internal patterns. Intersperse the kiwi stars in any gaps to add a pop of bright green.
- Group smaller fruits like blueberries or pomegranate seeds in little clusters rather than scattering them haphazardly; this makes the board look more intentional and organized.
- Add the finishing touches by tucking fresh mint leaves or edible flowers into the crevices. This adds height and a professional ‘styled’ look that makes the fruit appear as though it’s growing right off the board.
How to bake birthday treats?

Why we love this
There is a special kind of warmth that comes from the smell of vanilla and sugar baking in the oven. Birthday treats are the heart of a celebration, offering a nostalgic sweetness that reminds us of childhood. Whether it’s a moist crumb or a buttery frosting, these treats provide a soft, decadent contrast to the crisp and salty elements of the rest of the board. Watching someone’s face light up at a platter of perfectly decorated sweets is the ultimate host’s reward.
Ingredients
- 2 cups all-purpose flour
- 1.5 cups granulated sugar
- 1/2 cup unsalted butter, softened
- 2 large eggs
- 1 tablespoon vanilla extract
- Sprinkles and buttercream frosting
How to make it
- Preheat your oven to 350°F (175°C) and line a cupcake tin or grease a small cake pan. In a large bowl, cream together the softened butter and sugar for at least 3-5 minutes until the mixture is pale, light, and doubled in volume.
- Add the eggs one at a time, beating well after each addition. Stir in the vanilla extract—using high-quality extract makes a massive difference in the depth of flavor.
- Gently fold in the flour and a pinch of salt using a spatula. Be careful not to overmix, as this develops gluten and makes the cake tough; mix just until no white streaks remain.
- Bake for 18-22 minutes for cupcakes or 30 minutes for a cake, until a toothpick inserted into the center comes out clean with just a few moist crumbs. Allow to cool completely before piping on the buttercream and adding a generous dusting of festive sprinkles.
How to make party snacks?

Why we love this
Party snacks are the ‘glue’ of a great board—they are the salty, crunchy, addictive elements that keep people reaching for more while they chat. We love them because they offer instant gratification. There’s a wonderful tactile element to grabbing a handful of seasoned nuts or a pretzel; the combination of spices, salt, and crunch provides a continuous sensory loop that is incredibly satisfying and pairs perfectly with a cold drink.
Ingredients
- 2 cups raw pecans or walnuts
- 1 tablespoon maple syrup
- 1 teaspoon smoked paprika
- 1/2 teaspoon cayenne pepper
- 1 teaspoon sea salt
How to make it
- Toss the nuts in a bowl with the maple syrup until they are evenly coated and slightly sticky. This will act as the ‘glue’ for your spice blend.
- Whisk together the smoked paprika, cayenne, and sea salt in a small ramekin. Sprinkle the spice mix over the nuts and toss again until every crevice of the pecans or walnuts is coated in the savory-sweet dust.
- Spread the nuts in a single layer on a parchment-lined baking sheet. Roast at 325°F (160°C) for about 12-15 minutes. Watch them closely; the sugars in the syrup can burn quickly. You are looking for a toasted aroma and a slightly darkened color.
- Remove from the oven and let them cool completely on the tray. As they cool, the coating will harden into a crisp, glassy shell. Serve them in small bowls tucked into the corners of your main board.
How to style delicious platters?

Why we love this
Styling a platter is where food becomes art. It’s the process of balancing colors, textures, and heights to create something that looks abundant and inviting. A well-styled platter tells a story of seasonality and care. We love the "controlled chaos" look—where everything has a place but feels accessible rather than stiff. It’s incredibly satisfying to see a bare wooden board transform into a lush landscape of deliciousness that guests can’t wait to dive into.
Ingredients
- A large wooden board or slate
- Small bowls of varying heights
- Garnish (rosemary sprigs, grapes, nuts)
- The food components prepared above
How to make it
- Place your ‘anchors’ first. These are the small bowls filled with dips, juices, or snacks. Position them off-center to create an asymmetrical, modern look. This provides structure and prevents the board from looking flat.
- Add your largest items next, such as the burger sliders or the cake treats. Space them out across the board to distribute the ‘visual weight’ evenly.
- Fill the large gaps with your fruit art and appetizers. Think about color contrast—put the bright red strawberries next to the creamy white cheese to make the colors pop.
- Finally, fill every tiny remaining hole with ‘filler’ items like nuts, grapes, or herbs. The goal is to hide the bottom of the board completely, which creates that ‘viral’ look of overflowing abundance.
How to cook cheesy bites?
[IMAGE_10]
Why we love this
Is there anything more universally loved than melted cheese? These cheesy bites are the ultimate comfort food, featuring a golden, crispy exterior that shatters when you bite into it, revealing a warm, gooey, and stretching center. The aroma of toasted breadcrumbs and hot cheese is irresistible. It’s a rich, decadent experience that provides a warm, savory anchor to your board, making it feel like a substantial meal rather than just a snack.
Ingredients
- 1 lb mozzarella or pepper jack cheese, cut into 1-inch cubes
- 1 cup Panko breadcrumbs
- 1/2 cup all-purpose flour
- 2 eggs, beaten
- 1 teaspoon Italian seasoning
How to make it
- Set up a breading station with three shallow bowls: one with flour, one with the beaten eggs, and one with the Panko breadcrumbs mixed with Italian seasoning and a pinch of salt.
- Dredge each cheese cube in the flour, shaking off the excess. Dip it into the egg wash until fully coated, then roll it in the Panko, pressing firmly so the breadcrumbs adhere to all sides. For extra insurance against leaking, dip it back in the egg and then the Panko a second time.
- Place the breaded bites in the freezer for at least 20 minutes. This step is crucial; it ensures the breading sets and the cheese doesn’t melt and leak out before the exterior gets crispy.
- Heat about 2 inches of oil in a heavy pot to 350°F (175°C). Fry the bites in small batches for about 60-90 seconds until they are a deep golden brown. Drain on paper towels and serve immediately while the cheese is still molten.
Conclusion
Creating the ‘New Internet Sensation’ board isn’t about perfection; it’s about the joy of assembly and the pleasure of sharing simple, high-quality food with the people you love. By focusing on fresh juices, crispy textures, and a bit of artistic styling, you can turn a regular gathering into something truly memorable. So, put down the expensive charcuterie meats, grab a board, and let your creativity run wild!