
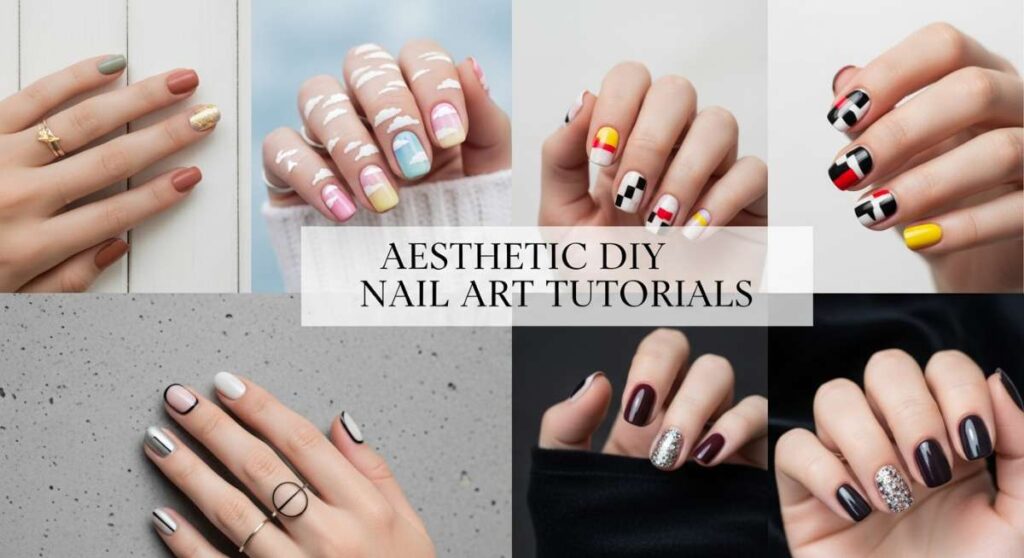
Transform Your Manicure: Aesthetic DIY Art for Every Vibe
Hi, my loves! There is something so profoundly healing about taking a slow afternoon to paint your own nails. It’s more than just a beauty routine; it’s a moment of quiet, a soft cloud-embrace for your soul where the only thing that matters is the gentle stroke of a brush and the color that makes your heart flutter. I’ve always found that my mood shifts when I look down and see a manicure that reflects my inner light.
In this busy world, we often forget to hold space for these small, aesthetic joys. That’s why I wanted to share my favorite DIY nail art tutorials with you today. Whether you’re feeling a soft pastel vibe or a glossy, clean-girl nude, these steps are designed to be a gentle guide for your next self-care session. Let’s turn our fingertips into tiny canvases together, shall we?
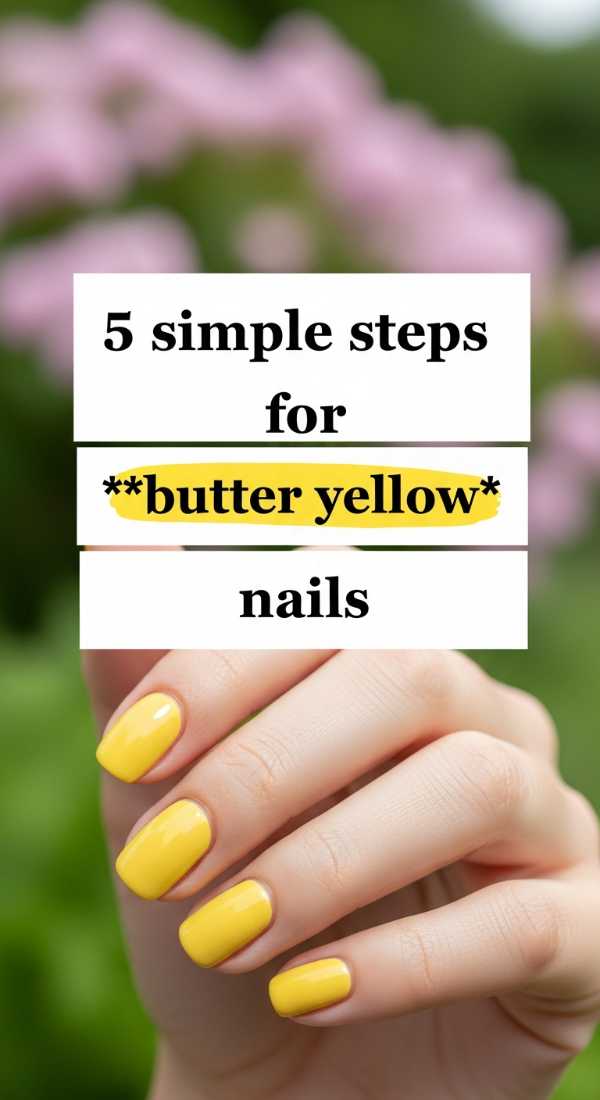
5 Simple Steps for Butter Yellow Nails
Why to love this Design:
Butter yellow is like a warm hug from the sun. It’s cheerful yet incredibly soft, perfect for those days when you want to feel a little extra joy without being too loud. It complements every skin tone by adding a creamy, cozy glow to your hands.
Essential Elements:
- Pale yellow cream polish
- Ridge-filling base coat
- High-gloss top coat
How to Prepare:
- Cleanse nails with alcohol to remove oils.
- Apply a ridge-filling base coat for a smooth canvas.
- Swipe on two thin layers of butter yellow polish.
- Apply a top coat for that glass-like finish.
- Massage cuticle oil around the edges for a professional look.
Budget Range
- Essie ‘Butter Please’ – $10
- Sally Hansen Top Coat – $6
- Burt’s Bees Cuticle Cream – $7
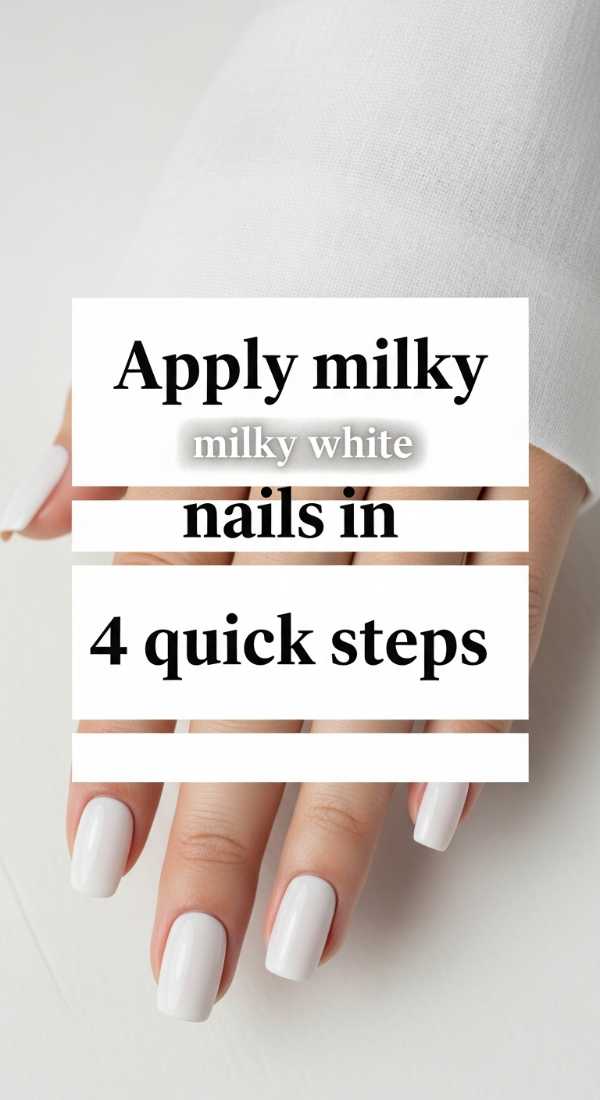
Apply Milky White Nails in 4 Quick Steps
Why to love this Design:
The milky white aesthetic is the ultimate ‘clean girl’ staple. It’s sophisticated, ethereal, and looks stunning with gold jewelry. It gives your nails a healthy, translucent glow that feels fresh and modern.
Essential Elements:
- Sheer white polish
- Buffing block
- Quick-dry top coat
How to Prepare:
- Buff the nail surface gently to ensure an even application.
- Apply one coat of sheer white polish and let it dry.
- Apply a second thin coat to build up the ‘milky’ opacity.
- Seal with a high-shine top coat to lock in the glow.
Budget Range
- OPI ‘Funny Bunny’ – $11
- Revlon Quick Dry Base – $8
- Olive & June Top Coat – $9
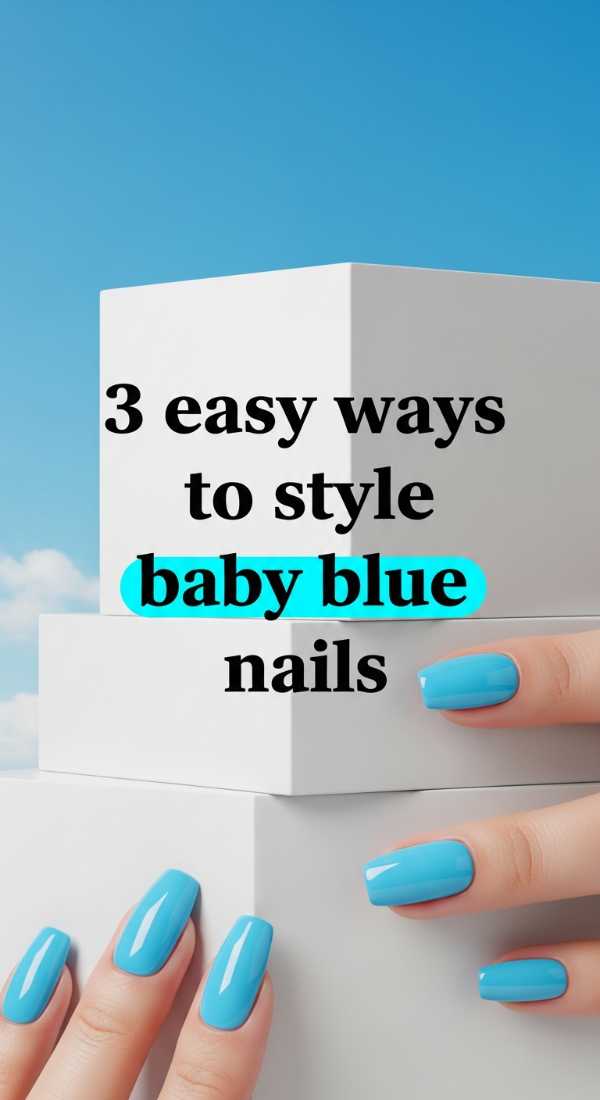
3 Easy Ways to Style Baby Blue Nails
Why to love this Design:
Baby blue is like wearing a piece of the sky. It’s calming, serene, and adds a delicate pop of color that feels incredibly high-end. It’s a versatile shade that works for both cozy sweater weather and breezy summer days.
Essential Elements:
- Soft sky blue polish
- Fine detail brush
- Matte or glossy top coat
How to Prepare:
- The Classic: Apply two even coats of blue for a solid, serene look.
- The Micro-French: Use a detail brush to paint a thin blue line at the tip of a nude nail.
- The Cloud Effect: Use a sponge to dab white polish over the blue for a dreamy sky vibe.
Budget Range
- Zoya ‘Blu’ – $12
- Detail Brush Set – $5
- Wet n Wild Clear Coat – $3
Get Perfect Soft Pink Nails in 6 Minutes
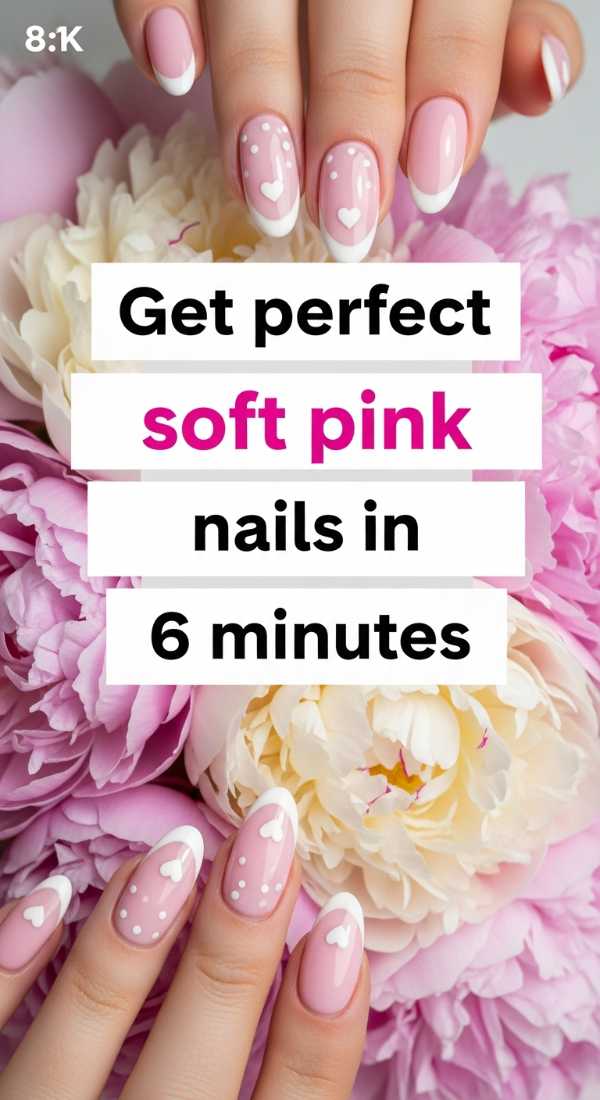
Why to love this Design:
Soft pink is the timeless romantic of the nail world. It’s feminine, delicate, and makes your hands look instantly polished and elegant. This is the go-to for when you want to feel pretty without the fuss.
Essential Elements:
- Blush pink polish
- Fast-drying drops
- Cuticle pusher
How to Prepare:
- Push back cuticles for a clean nail bed.
- Apply a 2-in-1 base and color coat to save time.
- Apply a second coat immediately.
- Add a quick-dry top coat.
- Use drying drops to set the polish in seconds.
- Finish with a light hand lotion.
Budget Range
- Expressie ‘Snooze In’ – $9
- Orly Sec n’ Dry – $12
- Vaseline Intensive Care Lotion – $5
Master Nude Glossy Nails Using 3 Expert Tips
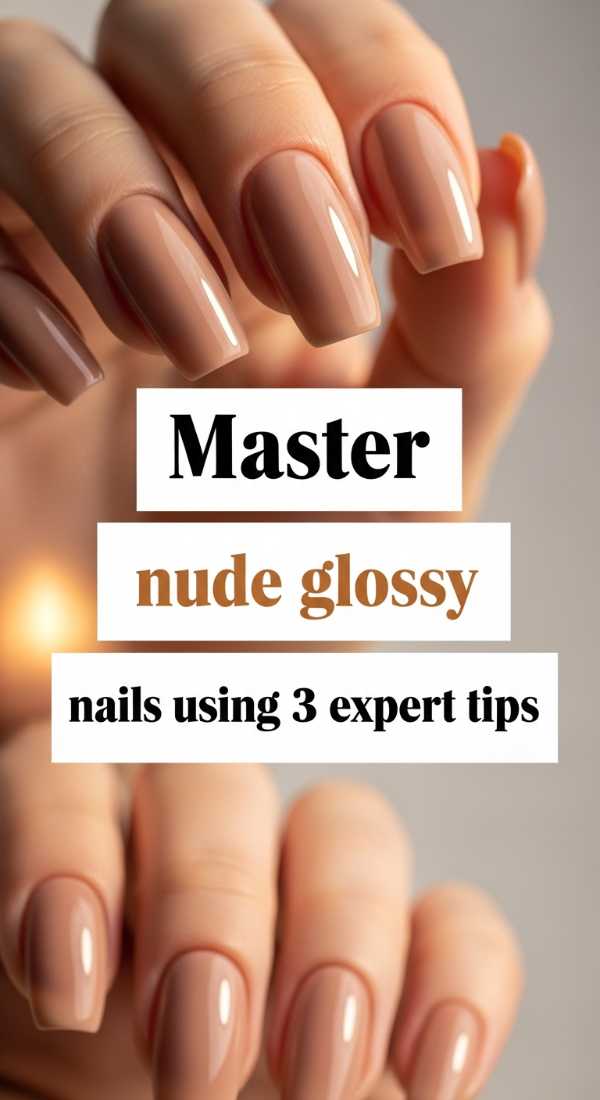
Why to love this Design:
Nude glossy nails are the height of quiet luxury. They elongate the fingers and provide a seamless, minimalist look that never goes out of style. It’s about enhancing your natural beauty with a touch of shine.
Essential Elements:
- Skin-tone matching polish
- Glass nail file
- Plumping top coat
How to Prepare:
- Match your polish to your undertone (cool, warm, or neutral).
- Use a glass file to create a uniform shape without snagging.
- Apply a plumping top coat to mimic the look of a professional gel manicure.
Budget Range
- Essie ‘Ballet Slippers’ – $10
- Mont Bleu Glass File – $8
- Seche Vite Dry Fast Top Coat – $10
Create Sage Green Nails in 5 Effortless Steps
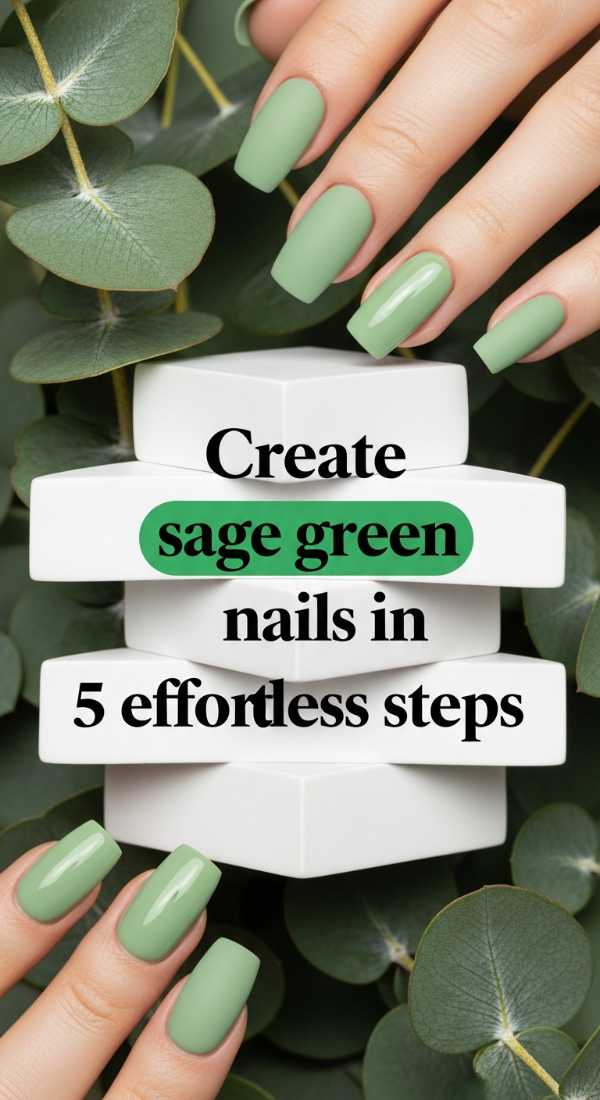
Why to love this Design:
Sage green is the earthy, grounded cousin of the pastel family. It’s soothing and unique, offering a nature-inspired look that feels both trendy and classic. It’s the perfect ‘cool girl’ color.
Essential Elements:
- Muted sage green polish
- Matte top coat (optional)
- Wooden manicure sticks
How to Prepare:
- Shape nails into a soft almond or square.
- Apply a thin base coat.
- Apply two coats of sage green, letting them dry in between.
- Clean up edges with a wooden stick dipped in remover.
- Apply a matte top coat for an extra earthy, velvet feel.
Budget Range
- Holo Taco ‘Sage Away’ – $11
- Wooden sticks (pack) – $4
- Nail polish remover – $3
Finish Pastel Chrome Nails in 4 Easy Stages
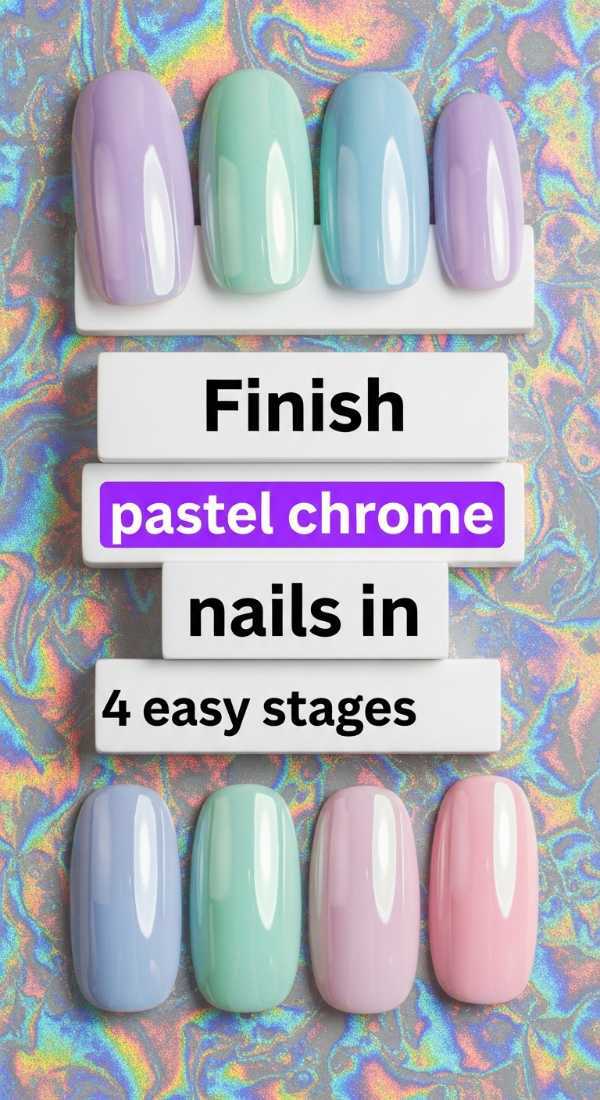
Why to love this Design:
Pastel chrome is pure magic—it’s like a unicorn’s dream on your fingertips. It catches the light in the most beautiful way, shifting colors as you move. It’s for the babes who want a little shimmer in their daily life.
Essential Elements:
- Any pastel base color
- Pearl chrome powder
- Sponge applicator
How to Prepare:
- Apply and dry your favorite pastel base color.
- Use a sponge to rub chrome powder onto the nail until it glows.
- Gently brush away excess powder with a soft brush.
- Seal with a water-based top coat to maintain the mirror finish.
Budget Range
- Pearl Chrome Powder – $7
- Sponge Applicators – $3
- Sally Hansen ‘Hard as Nails’ – $4
Design Lavender Nails with 5 Creative Steps
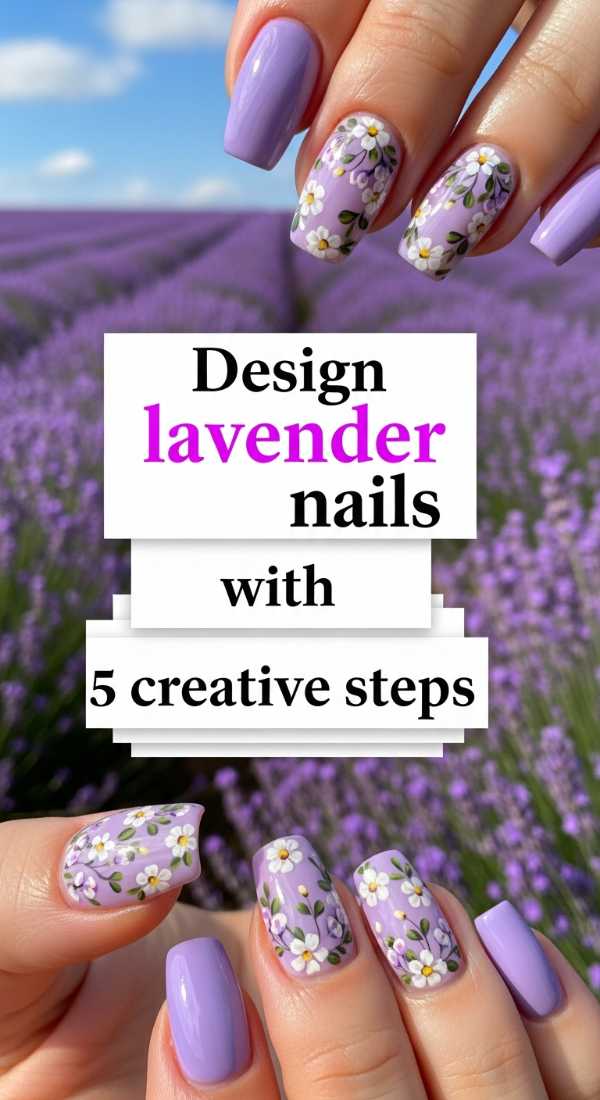
Why to love this Design:
Lavender is whimsical and artistic. It carries a sense of mystery and grace, making it the perfect choice for creative souls. It’s a soft pop of purple that feels floral and fresh.
Essential Elements:
- Lavender cream polish
- Silver glitter (for accents)
- Dotting tool
How to Prepare:
- Apply lavender polish to all nails except the ring finger.
- On the ring finger, apply a silver glitter base.
- Use a dotting tool to create tiny white flowers on the lavender nails.
- Add a small lavender dot in the center of the flowers.
- Seal the entire look with a glossy finish.
Budget Range
- China Glaze ‘Lotus Begin’ – $8
- Nail Art Dotting Tools – $6
- Glitter Polish – $5
Achieve Peach Nails Aesthetic in 3 Fast Steps
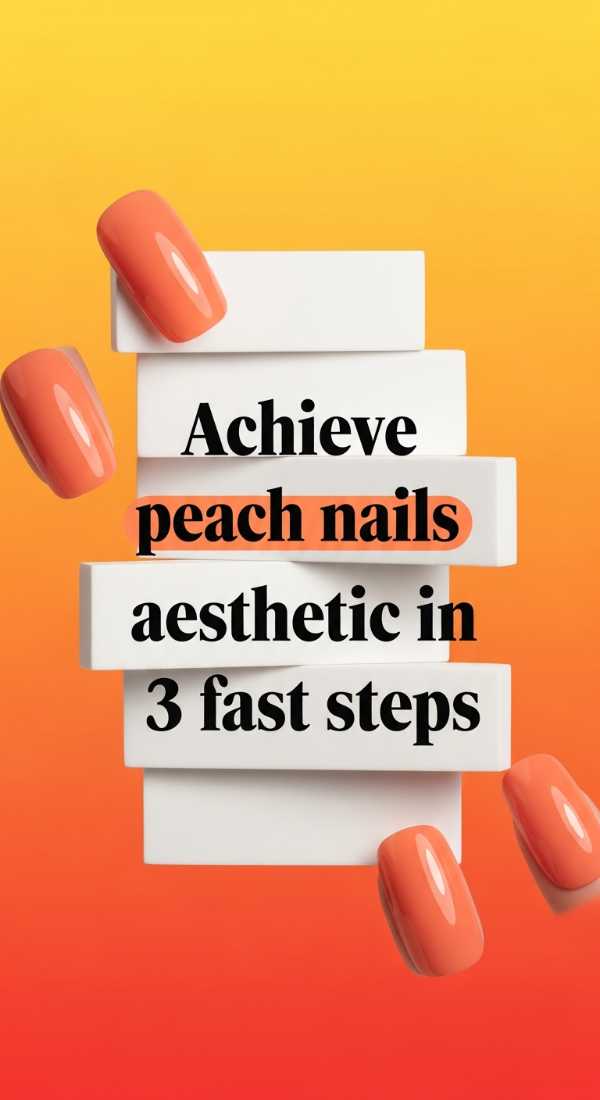
Why to love this Design:
Peach is juicy, vibrant, and full of life. It’s a warm-toned pastel that instantly brightens your mood and your outfit. It’s the ultimate ‘sunset vibes’ manicure.
Essential Elements:
- Creamy peach polish
- Peach-scented cuticle oil
- Glossy top coat
How to Prepare:
- Apply two coats of peach polish for full coverage.
- Top with a high-gloss sealer for a ‘juicy’ look.
- Moisturize with peach-scented oil for the full sensory experience.
Budget Range
- Essie ‘Tart Deco’ – $10
- Peach Cuticle Oil Pen – $6
- Revlon Top Coat – $6
Try These 10 Coral Nails Ideas Today
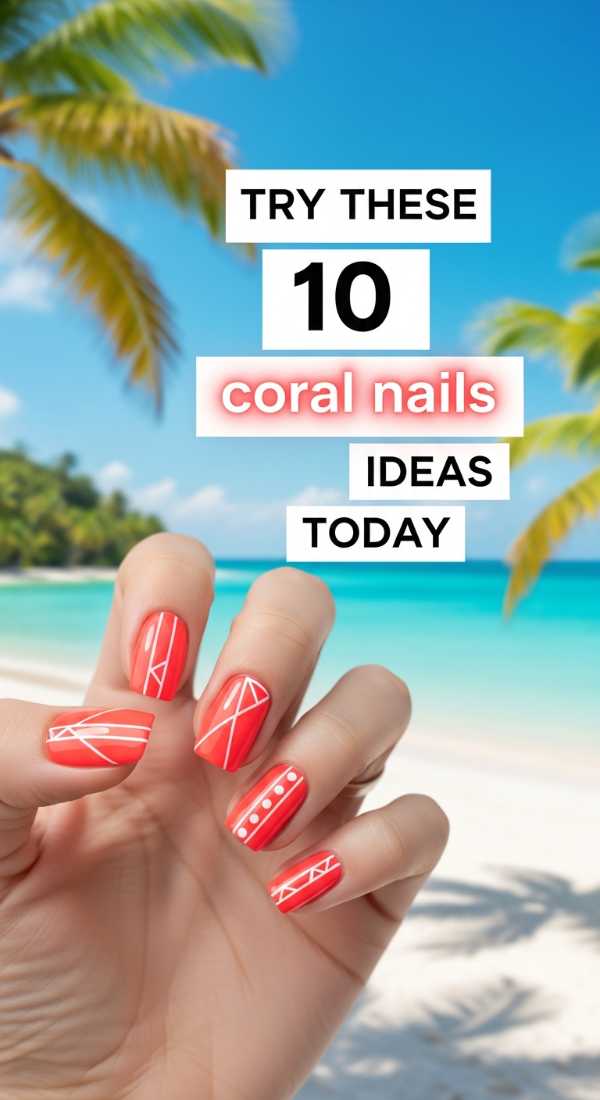
Why to love this Design:
Coral is the energetic, bold heart of the aesthetic world. It’s where pink meets orange, creating a color that is undeniably summery and fun. It’s a statement of confidence and warmth.
Essential Elements:
- Bright coral polish
- Nail stickers
- Gold leaf flakes
How to Prepare:
- The Solid Pop: Two coats of pure coral.
- Coral Ombre: Fade from coral to white using a sponge.
- Gold Leaf: Add gold flakes over coral for a regal look.
- Floral Coral: Use stickers for easy flower art.
- French Coral: Coral tips on a nude base.
- Matte Coral: A velvet finish for a modern twist.
- Negative Space: Paint only half the nail coral.
- Coral Waves: Use a brush to draw wavy lines.
- Glitter Topper: Coral with a holographic shimmer.
- Dotty Coral: White dots on a coral background.
Budget Range
- OPI ‘Live.Love.積極’ – $11
- Nail Stickers – $5
- Gold Leaf Kit – $9
A Soft Wrap-Up to Your DIY Journey
Sweethearts, I hope this guide helps you find a moment of peace in your week. Your hands do so much for you—they create, they hold, and they comfort. Treating them to a little aesthetic love is the least you can do for yourself! Remember, it doesn’t have to be perfect; the beauty lies in the process and the way it makes you feel. Stay soft, stay glowing, and I’ll see you in the next post!