

There is something undeniably magical about the way food brings us together. Whether it’s the soft hum of conversation over a shared platter or the visual feast of a vibrant food board that looks almost too good to eat, these moments are what turn a simple meal into a lasting memory. Lately, I’ve been obsessed with the way TikTok has transformed our kitchens into creative studios, proving that you don’t need a culinary degree to create something truly spectacular for your friends and family.
The secret to a viral food board isn’t just in the arrangement; it’s in the heart and soul of the individual components. It’s the smell of a freshly baked strawberry pie cooling on the counter, the bright zing of a tropical garnish, and the earthy comfort of perfectly cooked greens. By focusing on simple, high-quality ingredients and a few clever techniques, you can curate a table that feels both modern and deeply nostalgic. Let’s dive into some of my absolute favorite recipes that will make your next gathering the talk of the neighborhood.
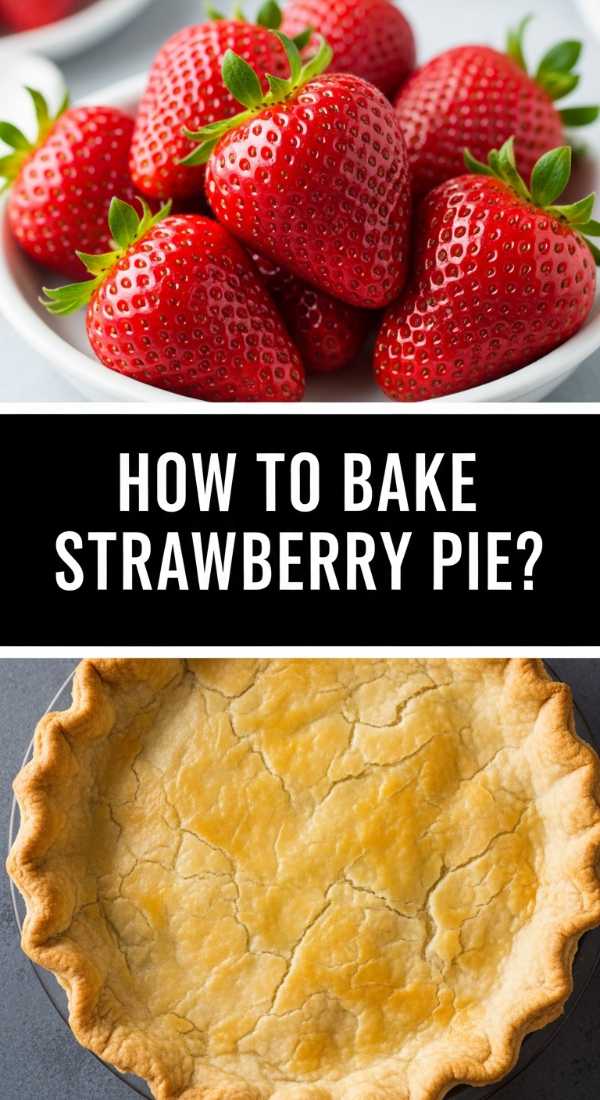
How to bake strawberry pie?
Why we love this
There is nothing quite like the aroma of a strawberry pie wafting through the house on a warm afternoon. The scent of sweet, macerated berries mingling with a buttery, golden-brown crust creates an atmosphere of pure comfort. Each bite offers a satisfying contrast between the flaky, salt-kissed pastry and the luscious, ruby-red filling that bursts with the essence of summer. It’s a nostalgic masterpiece that feels like a hug in dessert form, perfect for rounding out any festive food board.
Ingredients
- 2 1/2 cups all-purpose flour
- 1 cup cold unsalted butter, cubed
- 1 teaspoon salt
- 1 tablespoon sugar
- 6-8 tablespoons ice water
- 2 lbs fresh strawberries, hulled and sliced
- 3/4 cup granulated sugar
- 1/4 cup cornstarch
- 1 tablespoon lemon juice
- 1 egg (for egg wash)
How to make it
<1. **Prepare the Crust:** Combine flour, salt, and sugar in a bowl. Work in the cold butter cubes using a pastry cutter until the mixture resembles coarse crumbs. Gradually add ice water, one tablespoon at a time, until the dough just holds together. Divide into two discs, wrap in plastic, and chill for at least one hour to allow the gluten to relax. 2. **Roll and Fit:** On a floured surface, roll one disc into a 12-inch circle. Gently drape it over a 9-inch pie plate. Trim the edges, leaving a small overhang, and chill while you prepare the filling. 3. **Macerate the Berries:** In a large bowl, toss the sliced strawberries with sugar, cornstarch, and lemon juice. Let this sit for about 15 minutes. This allows the juices to release and the starch to begin its thickening magic. 4. **Assemble:** Pour the strawberry mixture into the bottom crust. Roll out the second disc of dough and place it over the top. You can do a full crust with slits or a lattice design for a professional look. Crimp the edges to seal. 5. **Bake to Perfection:** Brush the top with a beaten egg wash for that viral-worthy shine. Preheat your oven to 425°F (218°C) and bake for 15 minutes to set the crust. Lower the temperature to 375°F (190°C) and bake for another 40-50 minutes until the crust is deep golden and the filling bubbles slowly in the center. Allow to cool completely (at least 4 hours) so the filling sets properly.
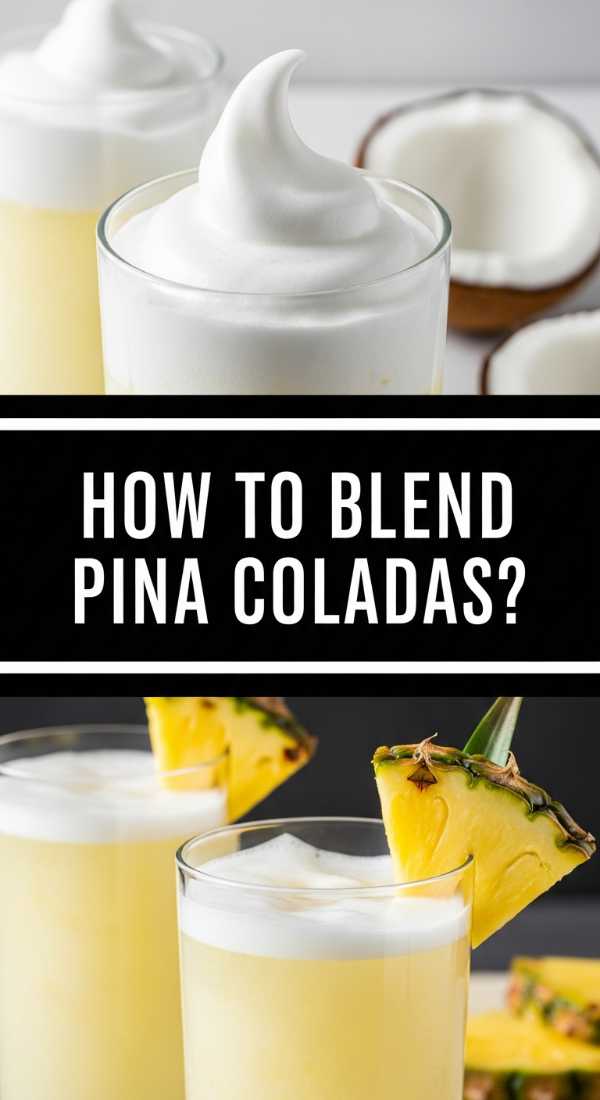
How to blend pina coladas?
Why we love this
A perfectly blended pina colada is like a vacation in a glass, offering a velvety smooth texture that feels incredibly luxurious on the palate. The creamy richness of coconut milk balances the bright, acidic punch of pineapple, creating a harmonious tropical profile that is both refreshing and indulgent. When blended to the right consistency—thick enough to hold a straw but smooth enough to sip—it becomes the ultimate centerpiece for a summer-themed drink board.
Ingredients
- 2 cups frozen pineapple chunks
- 1/2 cup cream of coconut (like Coco Lopez)
- 1/2 cup unsweetened pineapple juice
- 4 oz white rum (optional)
- 2 cups ice cubes
- Splash of fresh lime juice
How to make it
<1. **Chill Your Glassware:** Before you begin, place your serving glasses in the freezer. A frosty glass keeps the blended drink from melting too quickly. 2. **Layer the Ingredients:** Place the frozen pineapple chunks at the bottom of the blender. Follow with the liquid ingredients: pineapple juice, cream of coconut, and rum if using. Adding liquids last helps the blades move more efficiently. 3. **The Blending Process:** Start the blender on the lowest speed to break up the frozen fruit. Gradually increase to high speed. Blend for a full 45 to 60 seconds until the mixture is completely homogenous and no ice crystals remain. 4. **Adjust Consistency:** If the mixture is too thin, add more frozen pineapple or a handful of ice. If it's too thick, add a splash more pineapple juice. You are looking for a "soft serve" texture that holds its shape. 5. **The Final Touch:** Add a tiny squeeze of lime juice at the very end and pulse once. This cuts through the sweetness and brightens the entire flavor profile. Pour into your chilled glasses immediately.
How to glaze easter ham?

Why we love this
The glaze is the crowning glory of an Easter ham, transforming a simple protein into a sticky, caramelized work of art. As the sugars in the glaze meet the heat of the oven, they create a shimmering, mahogany crust that crackles slightly when sliced. The aroma of cloves, brown sugar, and a hint of mustard provides a savory-sweet balance that makes the mouth water before the ham even hits the table. It’s the visual and flavorful centerpiece that defines a holiday feast.
Ingredients
- 1 cup packed brown sugar
- 1/4 cup honey or maple syrup
- 2 tablespoons Dijon mustard
- 1/4 cup pineapple juice or apple cider
- 1/2 teaspoon ground cloves
- 1/2 teaspoon cinnamon
How to make it
<1. **Simmer the Glaze:** In a small saucepan over medium heat, combine all ingredients. Whisk constantly until the sugar has fully dissolved and the mixture begins to simmer. Let it bubble for 3-5 minutes until it thickens into a syrupy consistency. Set aside to cool slightly; it will thicken more as it cools. 2. **Prepare the Surface:** About 30 minutes before the ham is finished roasting, remove it from the oven. Increase the oven temperature to 400°F (205°C). Use a sharp knife to score the fat in a diamond pattern, which helps the glaze penetrate and stay on the meat. 3. **Apply the First Layer:** Using a silicone brush, generously coat the entire surface of the ham with about half of the glaze. Ensure you get into the scored crevices. 4. **The Basting Phase:** Return the ham to the oven. Every 10 minutes, pull it out and brush on more glaze. This layering technique builds up a thick, glossy lacquer. 5. **Final Caramelization:** Watch closely during the last 5 minutes. You want the edges of the diamonds to become slightly charred and bubbly, but not burnt. Remove from the oven and let it rest so the glaze hardens into a beautiful shell.
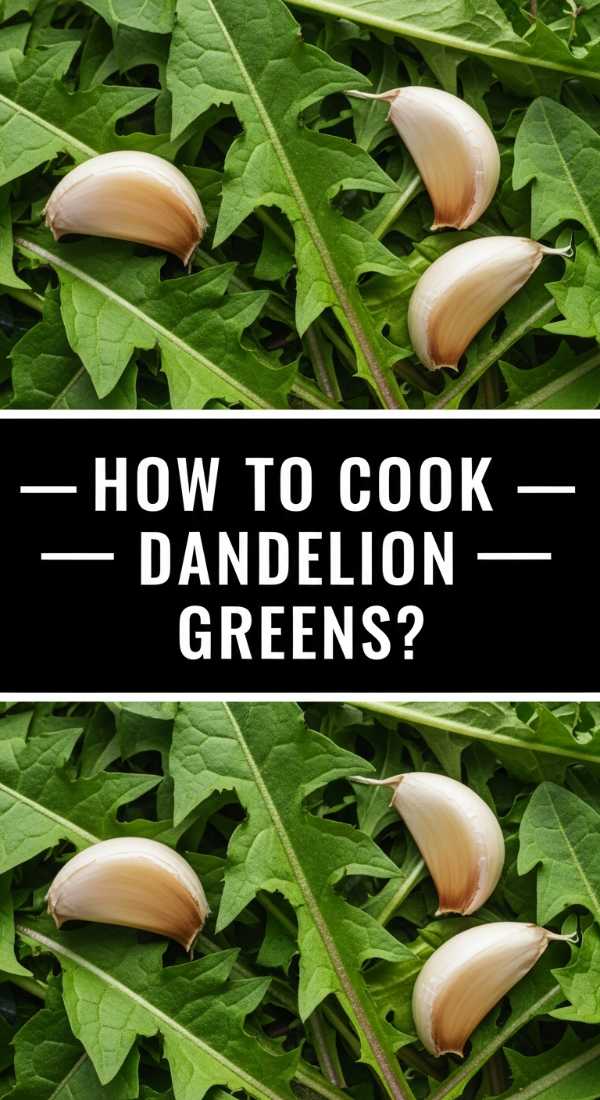
How to cook dandelion greens?
Why we love this
Dandelion greens are the unsung heroes of the produce aisle, offering a sophisticated bitterness that cuts through rich, fatty dishes with ease. When cooked properly, they lose their aggressive bite and take on a silky, tender texture that carries flavors like garlic and lemon beautifully. The deep forest-green hue adds a rustic, earthy aesthetic to any food board, providing a healthy and vibrant side dish that feels both foragers-chic and gourmet.
Ingredients
- 2 large bunches fresh dandelion greens
- 3 tablespoons extra virgin olive oil
- 3 cloves garlic, thinly sliced
- 1/4 teaspoon red pepper flakes
- Salt and black pepper to taste
- 1/2 lemon, juiced
How to make it
<1. **Thorough Cleaning:** Dandelion greens can be sandy. Submerge them in a sink of cold water, swish vigorously, and lift them out. Repeat until no grit remains at the bottom of the sink. 2. **The Blanching Step:** To remove excess bitterness, bring a large pot of salted water to a boil. Drop the greens in for exactly 2 minutes. Immediately transfer them to an ice bath. This sets the bright green color and softens the tough fibers. 3. **Sauté the Aromatics:** In a wide skillet, heat the olive oil over medium-low heat. Add the sliced garlic and red pepper flakes. Cook slowly until the garlic is golden and fragrant, taking care not to burn it, as burnt garlic will make the dish double-bitter. 4. **Sauté the Greens:** Drain the blanched greens and squeeze out as much water as possible. Roughly chop them and add them to the skillet. Increase heat to medium and toss with the garlic oil for 3-5 minutes until heated through and well-coated. 5. **Season and Finish:** Season with salt and pepper. Just before serving, squeeze fresh lemon juice over the top. The acid is crucial for balancing the remaining earthy notes of the greens.
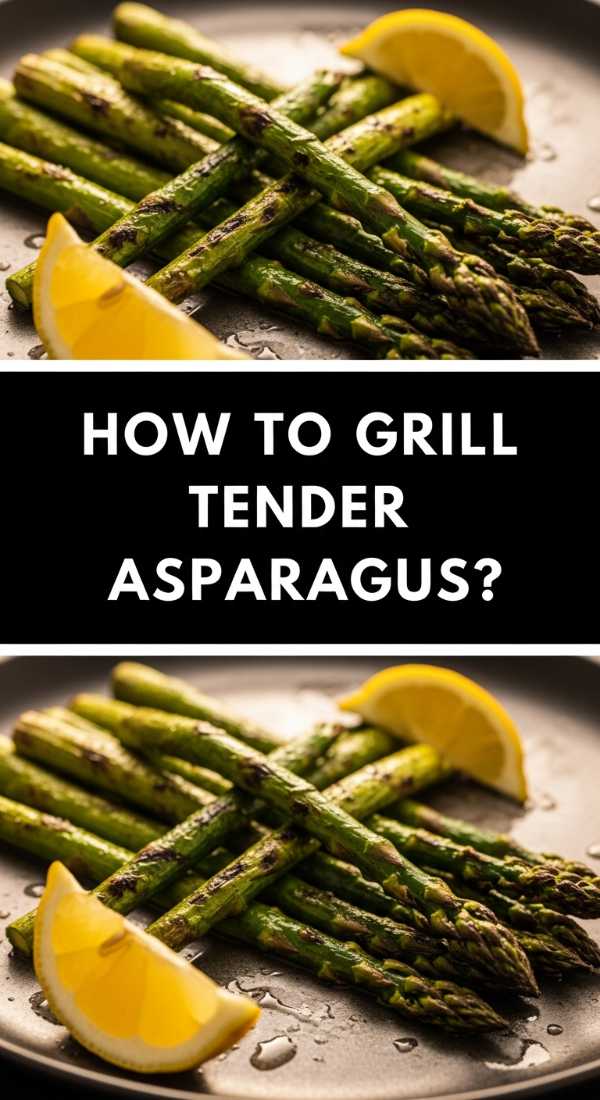
How to grill tender asparagus?
Why we love this
Grilling asparagus transforms these slender stalks into smoky, charred delights that snap perfectly with every bite. The high heat of the grill caramelizes the natural sugars in the vegetable, creating a sweetness that contrasts beautifully with the slight bitterness of the toasted tips. It’s a sensory experience that combines the sound of the sizzle on the grates with the vibrant, herbaceous aroma of spring, making it a must-have for a viral outdoor food board.
Ingredients
- 1 lb fresh asparagus, medium thickness
- 2 tablespoons olive oil
- 1/2 teaspoon kosher salt
- 1/4 teaspoon cracked black pepper
- Lemon wedges for serving
How to make it
<1. **Prep the Stalks:** Wash the asparagus and pat it dry. The most important step is removing the woody ends. Hold a stalk at both ends and bend it until it snaps naturally—this is where the tender part begins. Use that as a guide to trim the rest of the bunch. 2. **Toss and Coat:** Place the asparagus in a shallow dish or a gallon-sized bag. Drizzle with olive oil and sprinkle with salt and pepper. Toss thoroughly to ensure every inch of the stalk is lightly coated; this prevents sticking and ensures even charring. 3. **Heat the Grill:** Preheat your grill to medium-high heat (about 400°F/205°C). Clean the grates well and lightly oil them using a paper towel held with tongs. 4. **The Grilling Technique:** Place the asparagus spears across the grates (perpendicular) so they don't fall through. Grill for 3 to 5 minutes. Use tongs to roll them occasionally. You are looking for distinct grill marks and a vibrant green color. 5. **Check for Doneness:** The asparagus is done when it is tender-crisp—it should bend slightly when lifted but still have a firm core. Do not overcook, or they will become mushy and grey. Remove immediately and finish with a squeeze of lemon.
How to make strawberry filling?

Why we love this
A homemade strawberry filling is a versatile jewel in any baker’s crown, boasting a concentrated fruit flavor that store-bought versions simply cannot match. It’s thick, glossy, and packed with softened chunks of real fruit that release their juices in a sweet, jammy explosion. Whether it’s used to top cheesecakes, fill crepes, or layer into a cake, the vibrant red color and the intense fragrance of cooked berries make it an irresistible addition to any sweet spread.
Ingredients
- 4 cups fresh or frozen strawberries, chopped
- 1/2 cup granulated sugar
- 2 tablespoons cornstarch
- 2 tablespoons water
- 1 teaspoon vanilla extract
- 1 tablespoon lemon juice
How to make it
<1. **Combine and Macerate:** In a medium saucepan, combine the strawberries and sugar. If using fresh berries, let them sit for 10 minutes until they start to release their liquid. If using frozen, you can start the heat immediately. 2. **Slow Simmer:** Place the pan over medium heat. Bring the mixture to a gentle simmer, stirring frequently. Use a wooden spoon to slightly mash some of the berries to create a saucy base while leaving others whole for texture. 3. **Create the Slurry:** In a small bowl, whisk together the cornstarch and water until smooth. This "slurry" is the secret to a clear, glossy filling that isn't cloudy. 4. **Thicken the Mix:** Slowly pour the slurry into the bubbling strawberries while stirring constantly. Continue to cook for 1-2 minutes. You will see the mixture transform from a thin juice to a thick, translucent glaze. 5. **Cool Down:** Remove from heat and stir in the vanilla extract and lemon juice. Transfer the filling to a glass bowl and cover with plastic wrap (pressed directly onto the surface to prevent a skin). Let it cool to room temperature, then refrigerate until firm.
How to garnish tropical drinks?
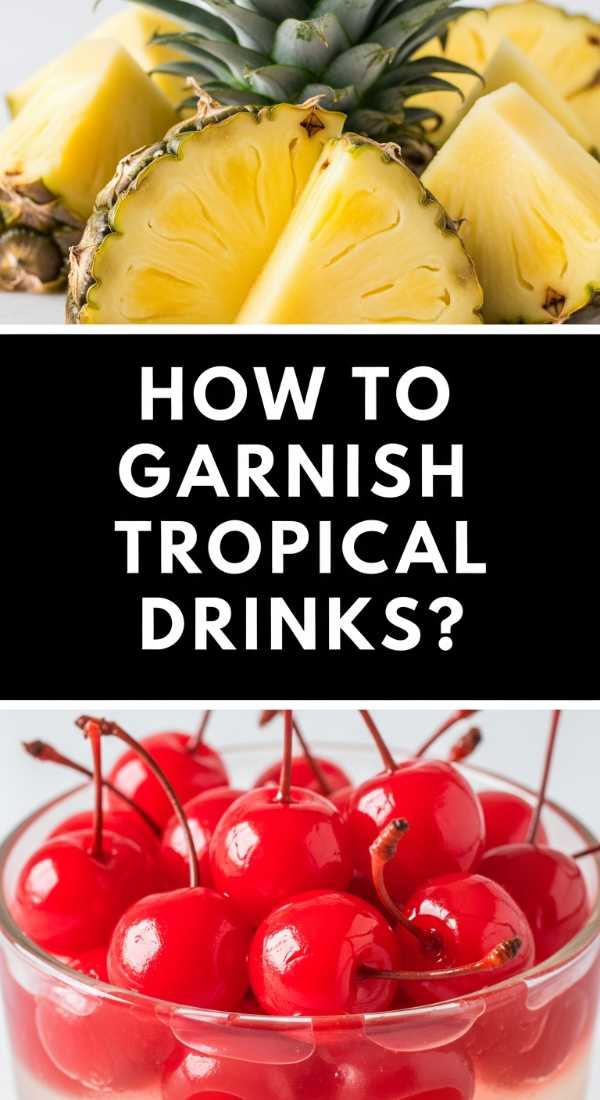
Why we love this
Garnishing is where a drink becomes an experience, adding a layer of visual storytelling to your beverage board. A well-placed tropical garnish provides an immediate olfactory boost—the scent of fresh mint or a zest of citrus prepares the senses for the flavors to come. It’s the “wow” factor that makes a drink look like it was crafted by a professional mixologist, turning a simple glass of juice or a cocktail into a vibrant, photo-ready masterpiece.
Ingredients
- Fresh pineapple wedges and leaves
- Maraschino cherries
- Fresh mint sprigs
- Dehydrated citrus wheels (lime or orange)
- Cocktail umbrellas or bamboo skewers
How to make it
<1. **Prepare the Fruit:** Slice a fresh pineapple into wedges, leaving the skin on for a rustic look. Cut a small slit in the center of the fruit flesh to allow it to sit securely on the rim of the glass. 2. **The Pineapple Leaf Trick:** Don't throw away the pineapple crown! Pull out the long, green inner leaves. Wash them and tuck two or three into the ice of the drink for height and a "jungle" vibe. 3. **Skewer Assembly:** Thread a maraschino cherry and a lime wheel onto a bamboo skewer. For a more modern look, fold the lime wheel in half before skewering. Place the skewer across the top of the glass. 4. **Waking the Mint:** Take a fresh sprig of mint and gently "slap" it against your hand before placing it in the glass. This releases the essential oils, ensuring the guest gets a burst of aroma with every sip. 5. **Layering:** Arrange your garnishes in layers. Start with the tall elements (leaves/straws), add the rim garnish (pineapple), and finish with the delicate items (mint/flowers). The goal is to create a 360-degree visual appeal.
How to roast holiday ham?
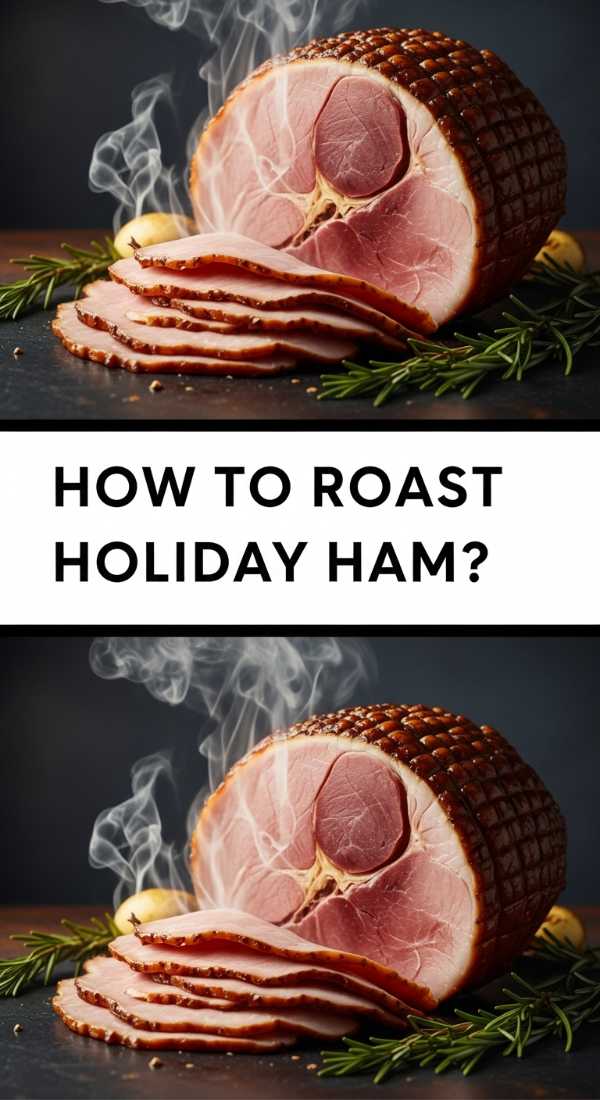
Why we love this
Roasting a holiday ham is a slow-motion celebration that fills the entire home with a savory, mouthwatering perfume. The process of slow-roasting ensures the interior stays incredibly juicy and tender, while the outside develops a rich, savory depth of flavor. It’s a dish designed for sharing, symbolizing warmth and abundance. When it finally comes out of the oven, glistening and steaming, it acts as a magnetic force that draws everyone into the kitchen.
Ingredients
- 1 (8-10 lb) bone-in fully cooked ham
- 1 cup water or apple juice
- Whole cloves (for studding)
- Aluminum foil
- Roasting pan with rack
How to make it
<1. **Temperature Tempering:** Take the ham out of the refrigerator at least 1-2 hours before roasting. Bringing it closer to room temperature ensures it heats evenly without the edges drying out. 2. **The Scoring and Studding:** Score the surface of the ham in a 1-inch diamond pattern, about 1/4 inch deep. At each intersection of the diamonds, press in a whole clove. This infuses the fat with a warm, spiced aroma. 3. **Prepare the Pan:** Place the ham, flat-side down, on a rack in a roasting pan. Pour the water or apple juice into the bottom of the pan. This creates a moist environment in the oven, preventing the meat from becoming tough. 4. **The Low and Slow Method:** Cover the entire roasting pan tightly with heavy-duty aluminum foil. Roast at a low temperature—325°F (165°C). Aim for about 15-18 minutes per pound. Use a meat thermometer to check the internal temperature; you are looking for 140°F (60°C). 5. **The Resting Period:** Once the ham reaches the target temperature, remove it from the oven. Keep it covered and let it rest for at least 20-30 minutes. This allows the juices to redistribute, ensuring every slice is succulent.
How to make dandelion salad?
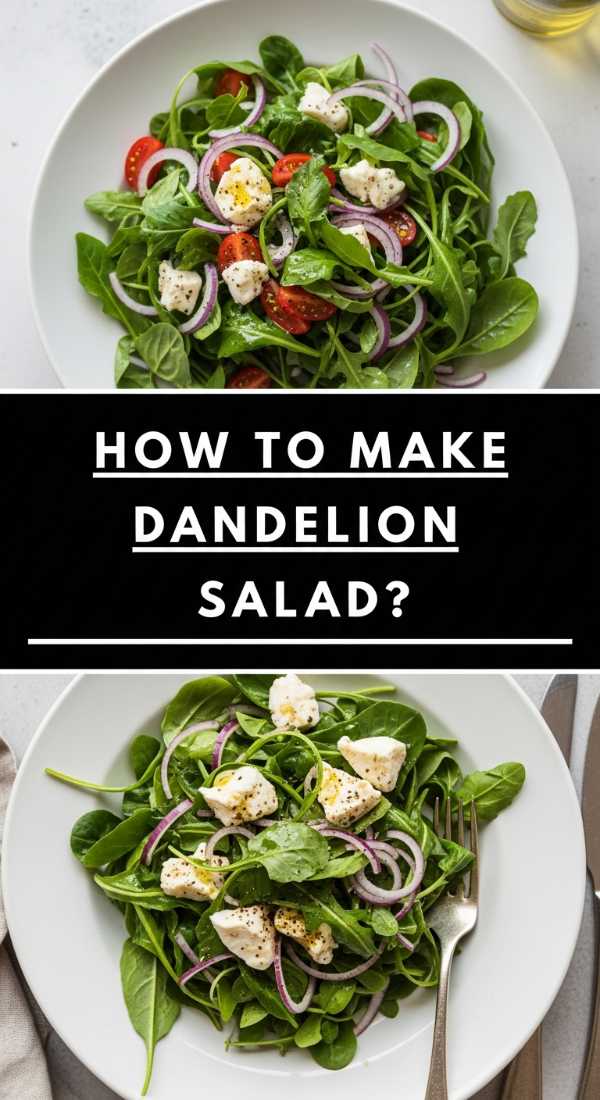
Why we love this
Dandelion salad is the ultimate expression of fresh, seasonal eating, bringing a peppery and slightly bitter crunch that is incredibly refreshing. It feels like a bite of springtime, especially when paired with a bright, citrusy dressing and salty accents like feta or parmesan. The delicate, jagged leaves look stunning arranged on a board, offering a sophisticated alternative to standard mixed greens that will surely pique the curiosity of your guests.
Ingredients
- 4 cups young dandelion greens (less bitter)
- 1/4 cup extra virgin olive oil
- 2 tablespoons fresh lemon juice
- 1 teaspoon honey
- 1/2 cup shaved parmesan or crumbled feta
- 1/4 cup toasted pine nuts or walnuts
- Salt and cracked pepper
How to make it
<1. **Select the Right Leaves:** For a raw salad, look for the smallest, youngest dandelion leaves you can find. These are much milder and more tender than the larger, more mature greens. 2. **The Double Wash:** Soak the greens in cold water with a splash of vinegar for 5 minutes. This ensures they are perfectly clean and helps crisp up the leaves. Dry them thoroughly using a salad spinner—wet leaves will reject the dressing. 3. **Emulsify the Vinaigrette:** In a small jar, combine olive oil, lemon juice, honey, salt, and pepper. Shake vigorously until the mixture is thick and well-combined. The honey is essential here to balance the natural bitterness of the greens. 4. **Dress Lightly:** Place the greens in a large chilled bowl. Drizzle half the dressing over them and toss gently with your hands or tongs. You want a light coating, not a puddle at the bottom. 5. **Final Assembly:** Transfer to your serving board or platter. Top with the shaved cheese and toasted nuts. Season with one final pinch of flaky sea salt and serve immediately to maintain the crispness of the leaves.
How to season grilled asparagus?
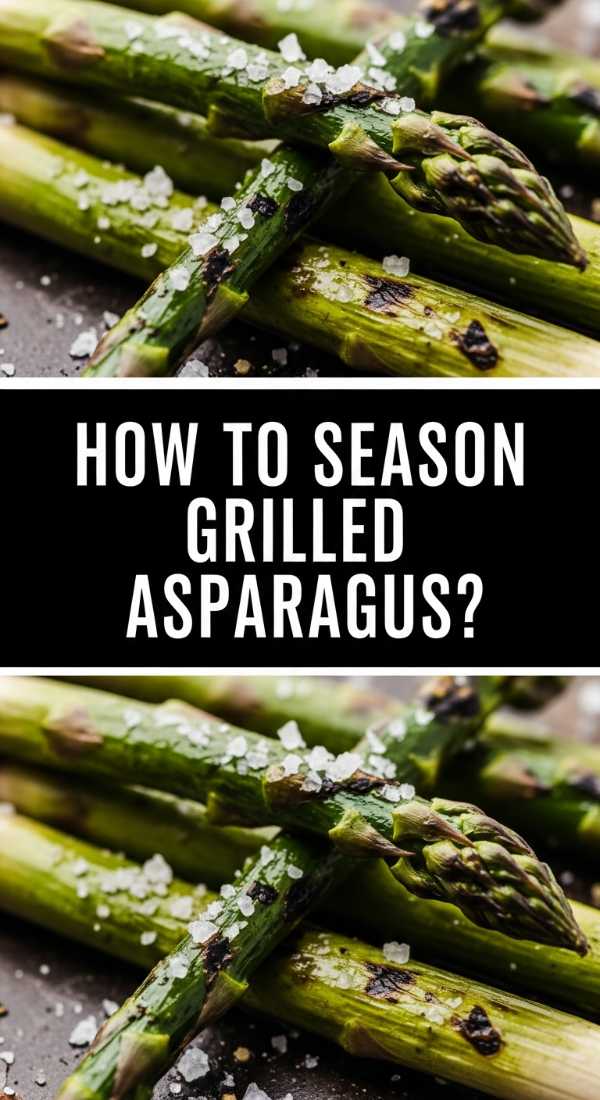
Why we love this
Seasoning is the bridge that connects the smoky char of the grill to the natural, earthy sweetness of the asparagus. It’s about layering flavors—starting with the basics of salt and fat, and finishing with bright aromatics that make the vegetable pop. When seasoned correctly, asparagus doesn’t just feel like a side dish; it feels like a gourmet highlight, boasting a complex profile of citrus, heat, and herbaciousness that keeps you coming back for more.
Ingredients
- 1 lb grilled asparagus
- Zest of 1 lemon
- 1/2 teaspoon red pepper flakes
- 1 tablespoon fresh parsley, chopped
- 1 teaspoon flaky sea salt (like Maldon)
- 1 tablespoon balsamic glaze (optional)
How to make it
<1. **The Foundation:** While the asparagus is still hot from the grill, place it in a large bowl. The residual heat is vital for helping the seasonings adhere and for "blooming" the dry spices. 2. **Zest for Brightness:** Using a microplane, grate the zest of one lemon directly over the hot asparagus. The oils from the zest will release instantly, providing a citrusy fragrance that travels through the air. 3. **The Layered Spice:** Sprinkle the red pepper flakes and chopped parsley over the stalks. The flakes provide a subtle, lingering heat, while the parsley adds a fresh, green top note. 4. **Toss and Coat:** Gently toss the asparagus with tongs. If the stalks look a little dry, add a tiny drizzle of high-quality finishing olive oil. This gives the dish a beautiful, viral-ready sheen. 5. **The Finishing Salt:** Just before the asparagus is placed on the food board, sprinkle with flaky sea salt. The large crystals provide a satisfying crunch and bursts of saltiness that aren't possible with fine table salt. For an extra touch of luxury, drizzle with a thin line of balsamic glaze.
Bringing It All Together
Creating a viral-worthy food board is truly an art form that anyone can master with a bit of patience and passion. By combining these recipes—the sweet, the savory, and the fresh—you create a tapestry of flavors that invites people to linger, taste, and enjoy. Remember, the best boards are those that reflect your personal style and the love you have for the people sitting at your table. So grab your biggest platter, fire up the oven, and start building your own delicious masterpiece today!