
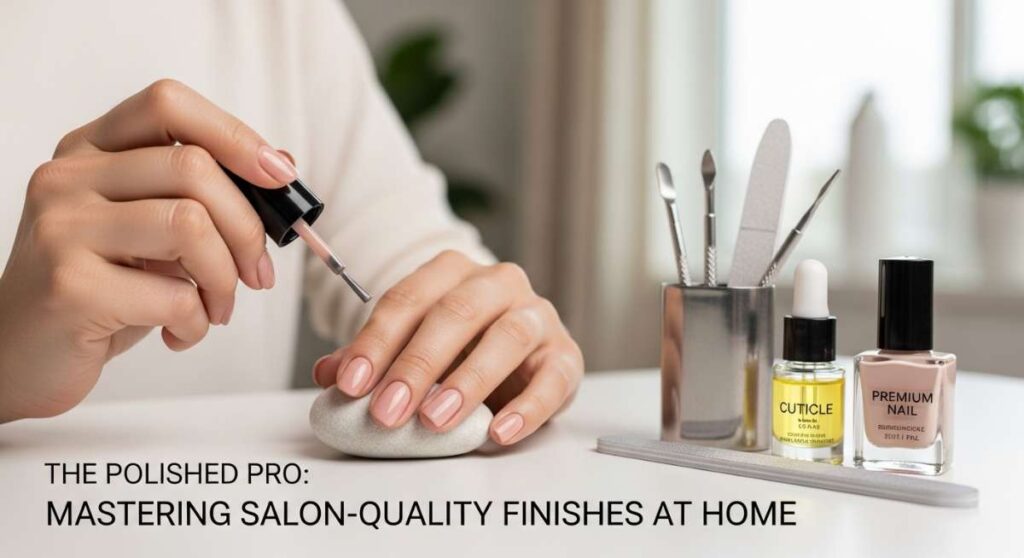
The Polished Pro: Mastering Salon-Quality Finishes at Home
Hello, my loves. There is something so incredibly grounding about those quiet moments we carve out for ourselves, isn’t there? In the rush of the world, finding a pocket of peace at your vanity—surrounded by the soft scent of lavender oil and the click-clack of glass files—feels like a warm, cloud-soft embrace for the soul. I’ve always believed that our hands tell our stories, and giving them a little extra love is the ultimate act of self-kindness.
Today, I want to invite you into my little sanctuary of self-care. We are moving away from the frantic rush of the salon and stepping into the slow, intentional magic of the ‘at-home’ finish. Whether you’re a seasoned pro or just starting your journey toward the perfect DIY manicure, I’ve gathered the most dreamy, trending styles to help you find your glow. Let’s breathe, relax, and create something beautiful together.
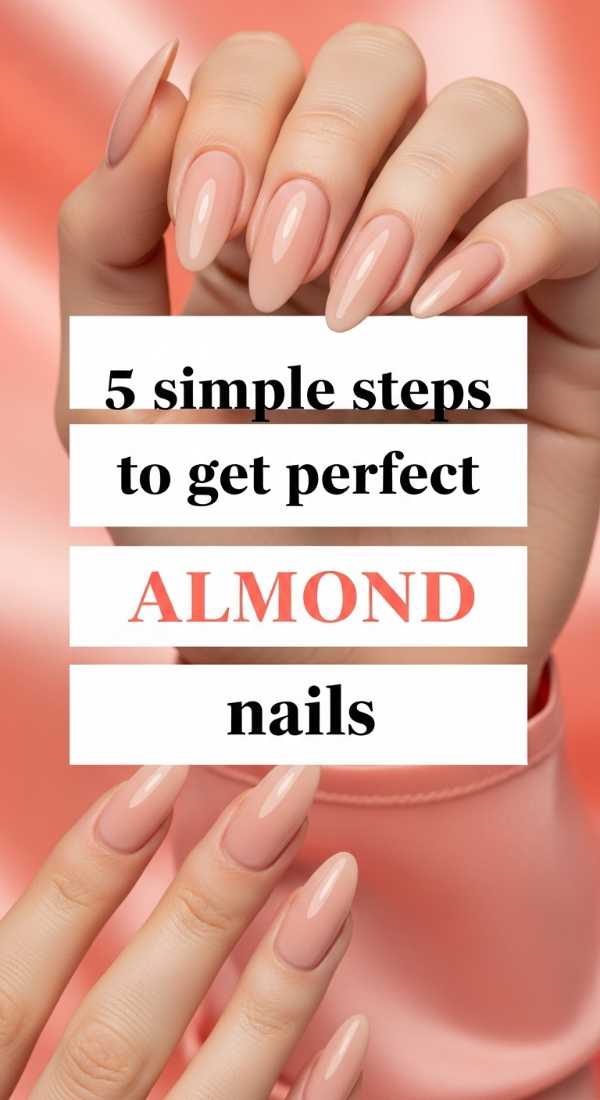
5 Simple Steps to Get Perfect Almond Nails
Why to love these Nails:
There is something so inherently elegant about the almond shape—it elongates the fingers and provides such a graceful canvas for any art. It’s the perfect balance between modern sophistication and a soft, feminine touch that feels natural yet elevated.
Essential Items:
- High-quality glass nail file
- Nail clippers
- Buffing block
- Cuticle softener
- Strengthening base coat
How to Prepare:
- Trim the sides of your nails slightly toward the center point to create a rough triangle.
- Use a glass file in one direction to round off the sharp peak into a soft curve.
- Buff the surface gently to create a smooth, even texture.
- Apply cuticle softener and gently push back the edges for a clean look.
- Finish with a strengthening base coat to protect the natural nail.
Budget Range
- Tweezerman Glass Nail File ($12)
- OPI Natural Nail Strengthener ($11)
- Sally Hansen Instant Cuticle Remover ($6)
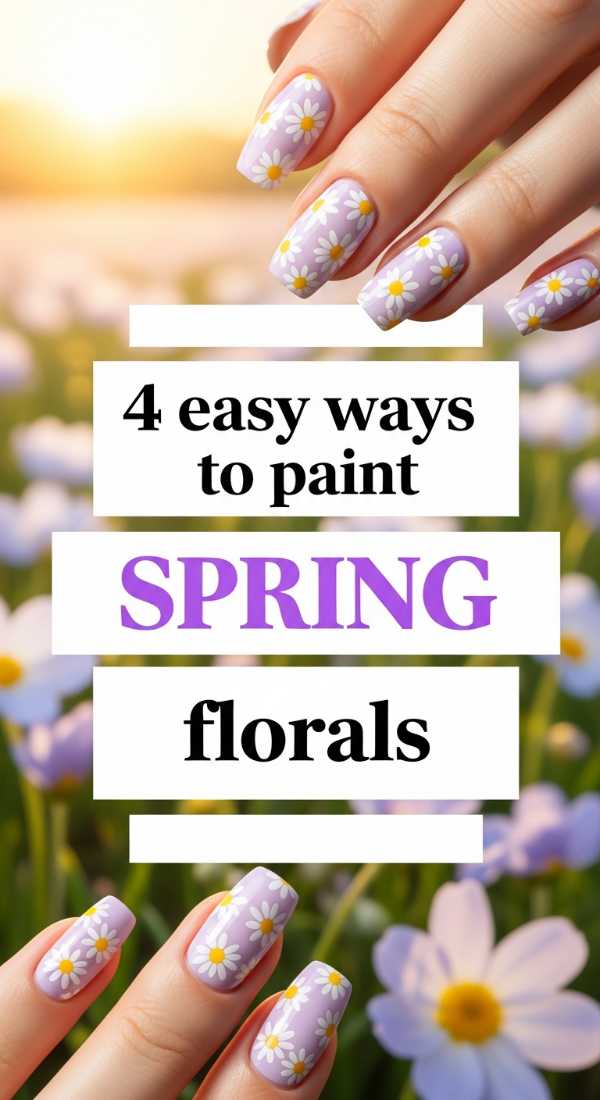
4 Easy Ways to Paint Spring Florals
Why to love these Nails:
Nothing says ‘new beginnings’ quite like a tiny garden blooming at your fingertips. These florals are like a soft whisper of spring, bringing a touch of whimsy and joy to your every movement. They are surprisingly forgiving and look stunning in any color palette.
Essential Items:
- Dotting tools (or a toothpick)
- Pastel polish set
- Fine-line detail brush
- Clear top coat
How to Prepare:
- Apply two thin coats of your base color and let them dry completely.
- Place a tiny dot of yellow or gold in the center of where you want your flower.
- Use your dotting tool to place five small petals around the center dot.
- Add tiny green leaves using a fine-line brush for a realistic touch.
Budget Range
- Essie Spring Collection Mini Set ($15)
- Nail Art Dotting Tool Set ($7)
- Holler and Glow Nail Stickers ($4)
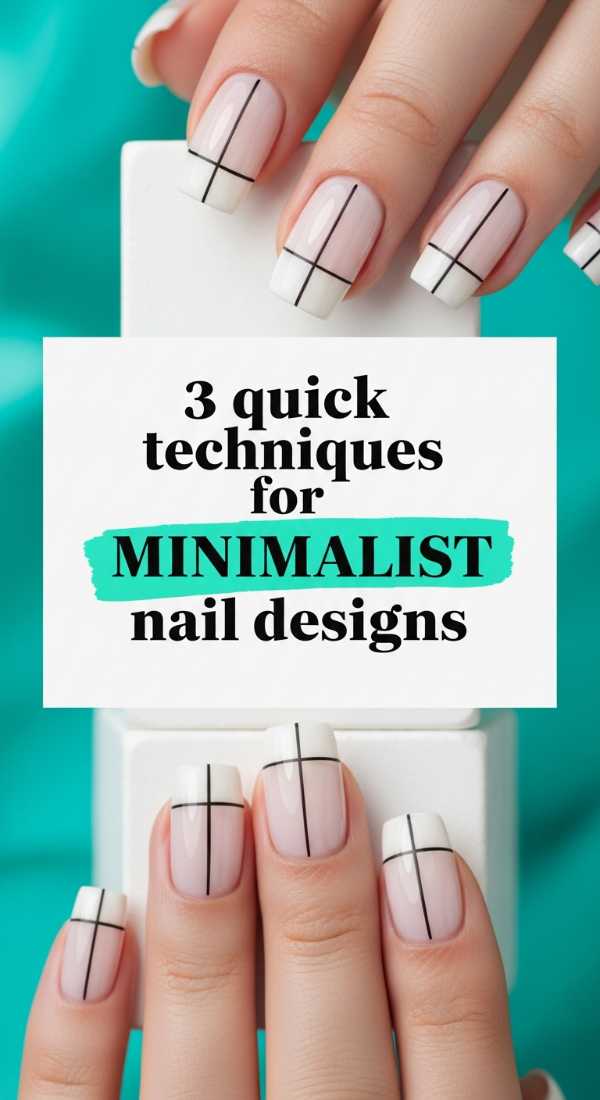
3 Quick Techniques for Minimalist Nail Designs
Why to love these Nails:
In a world that can often feel loud, minimalist nails are a breath of fresh air. They represent the beauty of ‘less is more,’ offering a clean, sophisticated aesthetic that matches every outfit and occasion effortlessly. It’s about celebrating the natural beauty of your hands.
Essential Items:
- Sheer nude polish
- Black or white detail polish
- Matte top coat
How to Prepare:
- Start with a very sheer, ‘your-nails-but-better’ base color.
- Pick one accent point—like a single vertical line or a lone dot at the base of the nail.
- Apply a matte top coat to give it a modern, velvet-like finish.
Budget Range
- Zoya Naked Manicure Perfector ($12)
- Beetles Gel Liner Polish ($8)
- OPI Matte Top Coat ($11)
6 Minutes to Create Pastel Almond Designs
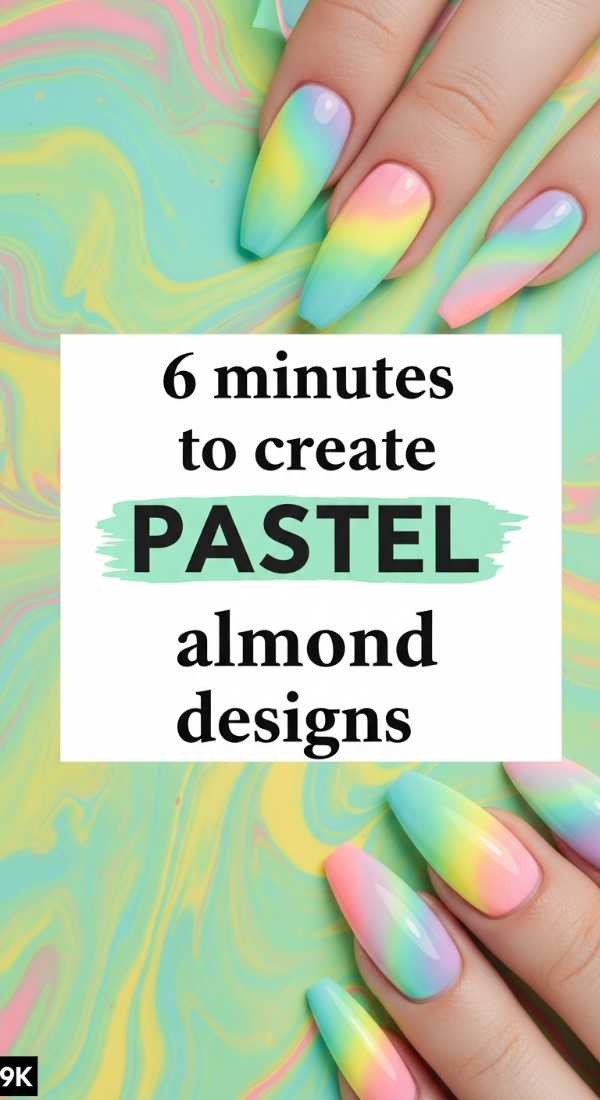
Why to love these Nails:
For my loves who are always on the go but still crave that polished feeling, these pastel almond designs are a dream come true. They provide a high-impact, soft aesthetic without the hours of effort. It’s about finding that sweet spot of efficiency and beauty.
Essential Items:
- Quick-dry pastel polish
- Almond-shaped press-on nails (optional)
- High-gloss top coat
How to Prepare:
- Select a soft lavender or mint green quick-dry polish.
- Apply one thin layer, wait 60 seconds, then apply a second.
- Ensure the almond shape is refined with a quick swipe of a file on the edges.
- Seal with a 60-second top coat for instant shine.
Budget Range
- Sally Hansen Insta-Dri Polish ($7)
- Static Nails Reusable Pop-On Nails ($16)
- Seche Vite Fast Dry Top Coat ($10)
4 Simple Steps for a Spring Daisy Design
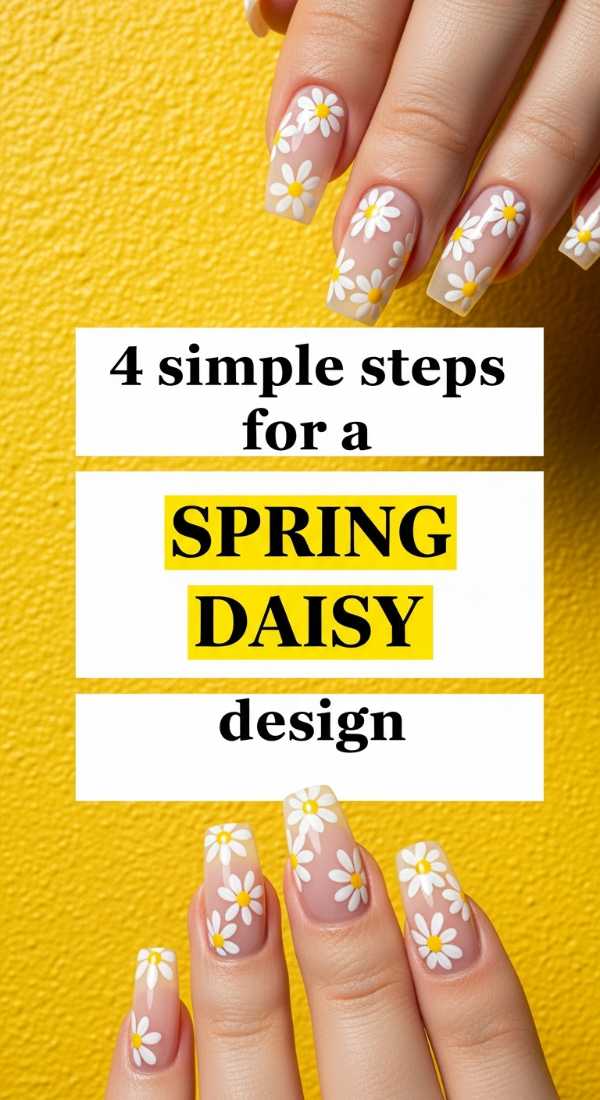
Why to love these Nails:
Daisies are the ultimate symbol of cheerfulness. Wearing them on your nails is like carrying a little bit of sunshine with you all day long. This design is incredibly beginner-friendly and always results in a smile when you catch a glimpse of your hands.
Essential Items:
- Opaque white polish
- Bright yellow polish
- Base and top coat
How to Prepare:
- Paint your nails a soft sky blue or clear pink.
- Drop a yellow dot in the center of the nail.
- Place five white dots around the center, slightly overlapping.
- Seal with a thick top coat to level out the texture.
Budget Range
- Revlon Enamel in ‘White on White’ ($6)
- Essie ‘Check Your Baggage’ Yellow ($9)
- Olive & June Super Glossy Top Coat ($9)
5 Smart Tricks for an Almond French Design
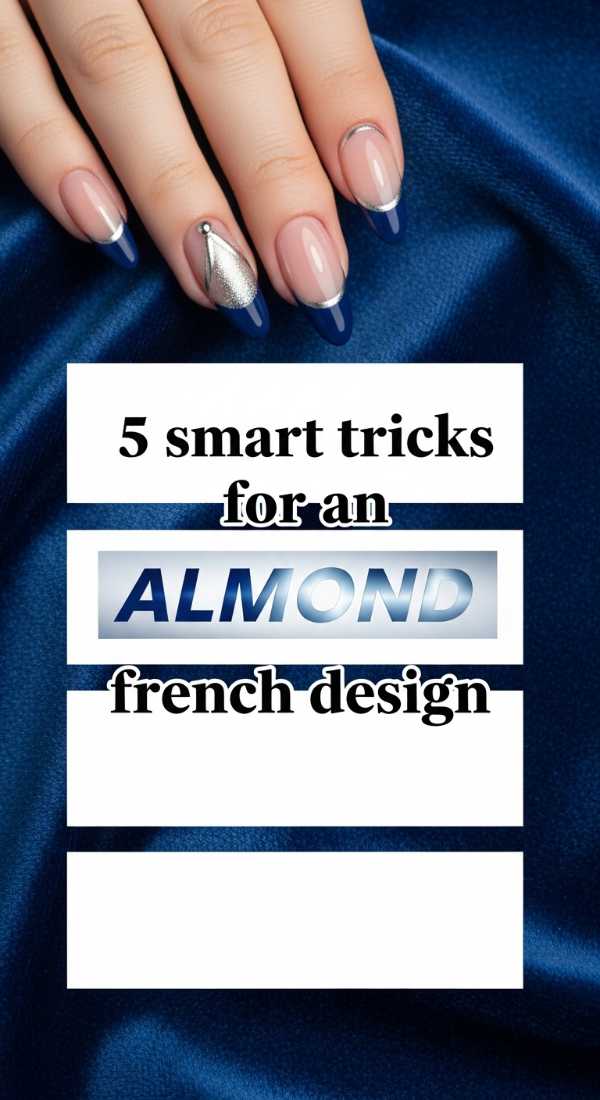
Why to love these Nails:
The almond French tip is the cool, modern sister of the classic square French. It follows the natural curve of your fingertip, creating an illusion of length and grace that is truly timeless. It’s the ultimate ‘clean girl’ aesthetic.
Essential Items:
- French tip guides or stickers
- Sheer pink base polish
- Crisp white polish
How to Prepare:
- Apply your sheer pink base and allow it to dry fully.
- Place a guide sticker slightly below the tip of the almond curve.
- Paint the tip white, following the sticker line.
- Remove the sticker while the polish is still slightly tacky.
- Clean up the edges with a brush dipped in remover.
Budget Range
- Orly French Manicure Kit ($15)
- French Tip Guide Stickers ($5)
- Clean-up Brush ($6)
3 Easy Stages for Simple Swirl Nail Designs
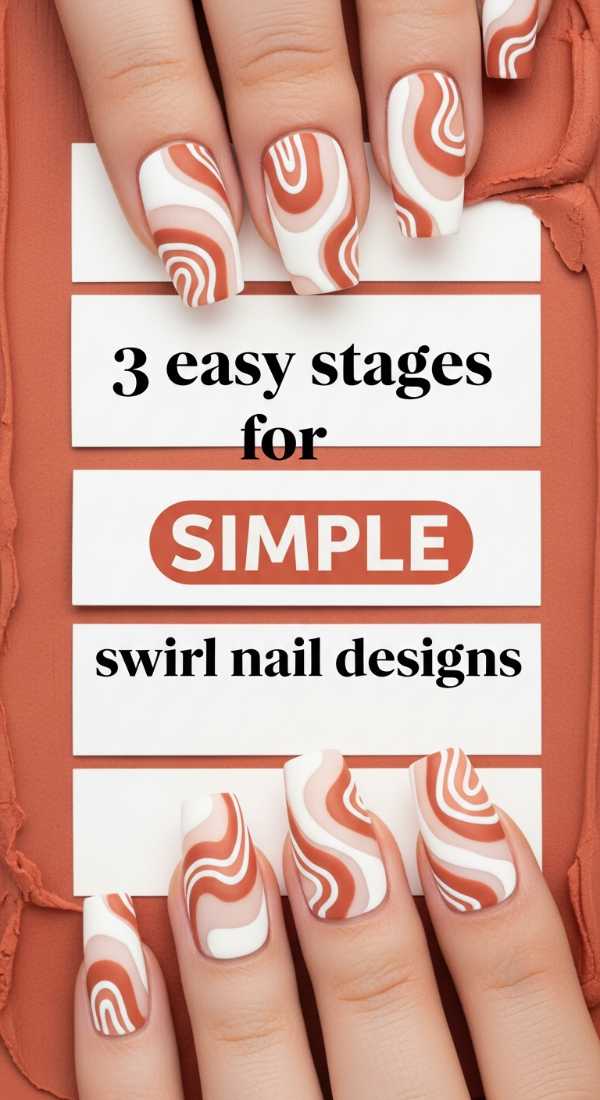
Why to love these Nails:
Swirls are all about movement and intuition. There’s no ‘wrong’ way to do them, which makes the process so therapeutic. They offer a retro, 70s-inspired vibe that feels incredibly trendy and artistic without requiring a steady hand.
Essential Items:
- Two contrasting polish colors
- A thin striping brush
- Mixing palette (or a piece of foil)
How to Prepare:
- Apply your base color and let it dry.
- Dip your striping brush into the second color and draw a long, ‘S’ shaped curve.
- Add a second, thinner line following the same path for depth.
Budget Range
- Modelones Liner Gel Set ($12)
- Nail Art Striping Brushes ($8)
- Sally Hansen Xtreme Wear ($4)
4 Fast Steps for a Spring Chrome Design
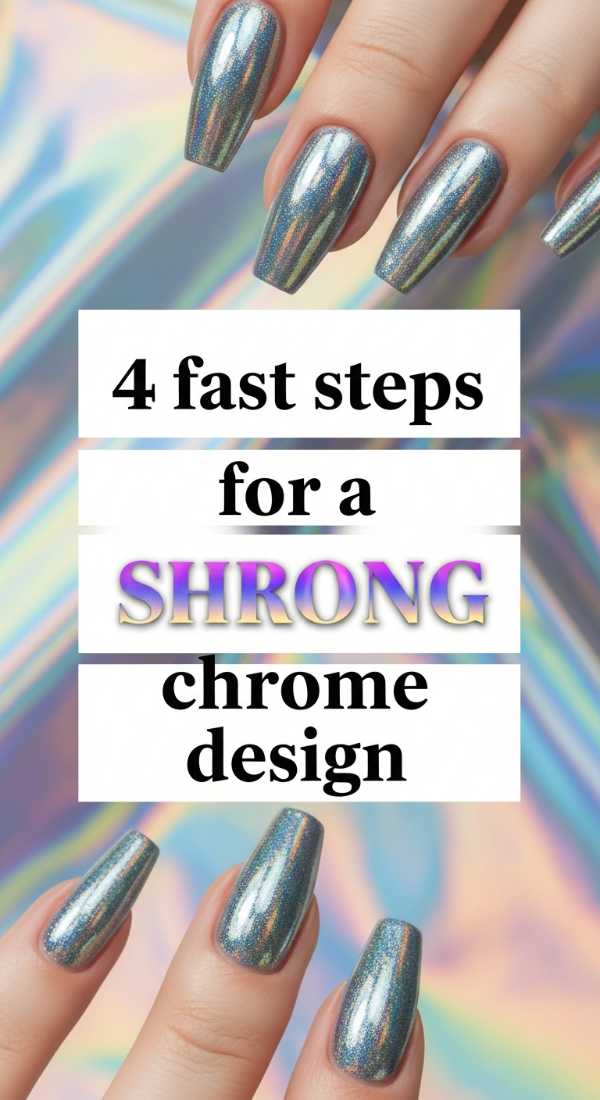
Why to love these Nails:
If you love that ‘glazed donut’ glow, chrome is your best friend. It captures the light in such a magical way, shifting as you move. It’s a fast way to look like you’ve just stepped out of a high-end luxury salon.
Essential Items:
- Chrome powder
- Eyeshadow applicator
- No-wipe top coat
How to Prepare:
- Apply your base color and a no-wipe top coat; cure or dry until just barely tacky.
- Rub the chrome powder onto the nail using the sponge applicator.
- Buff until the surface is reflective like a mirror.
- Seal with another layer of top coat to lock in the shine.
Budget Range
- Artdone Chrome Nail Powder ($10)
- Gelish No-Wipe Top Coat ($14)
- BORN PRETTY Pearl Powder ($7)
5 Simple Ways to Master Almond Marble Designs
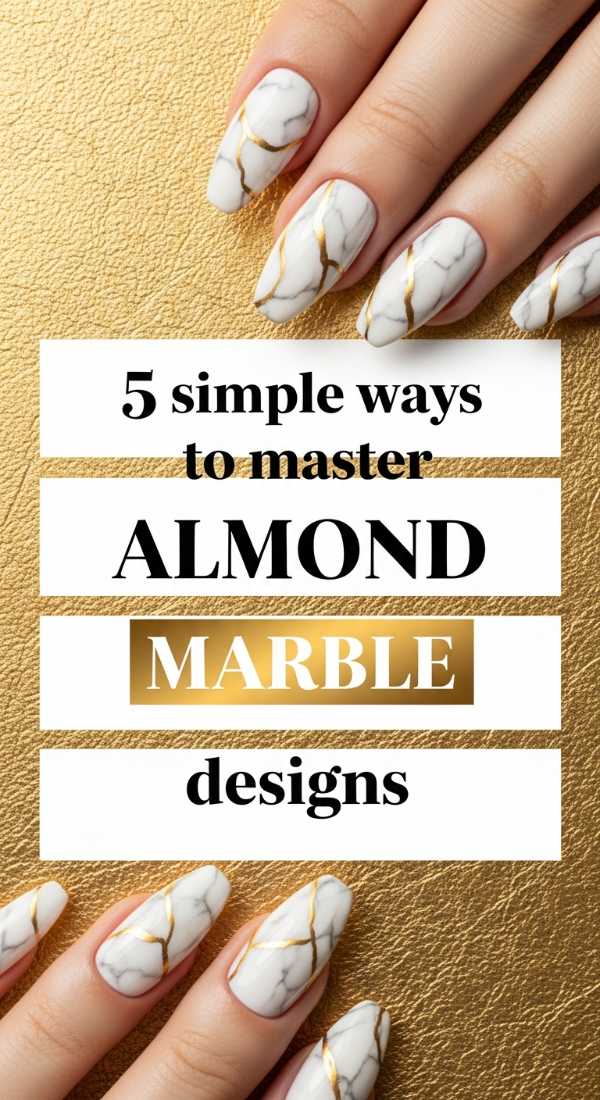
Why to love these Nails:
Marble nails are like miniature works of art. They look expensive, luxurious, and complex, yet the process is wonderfully organic. On an almond shape, the swirls of color look like polished gemstones.
Essential Items:
- White and grey polish
- A cup of room-temperature water
- Toothpick
How to Prepare:
- Paint nails a solid white base.
- Drop a bit of grey and white polish into water and swirl with a toothpick.
- Dip your nail into the pattern and lift.
- Clean the surrounding skin immediately.
- Finish with a high-shine top coat.
Budget Range
- OPI Alpine Snow ($11)
- China Glaze Liquid Leather ($8)
- Liquid Latex Barrier ($9)
3 Basic Methods for Simple Dot Nail Designs
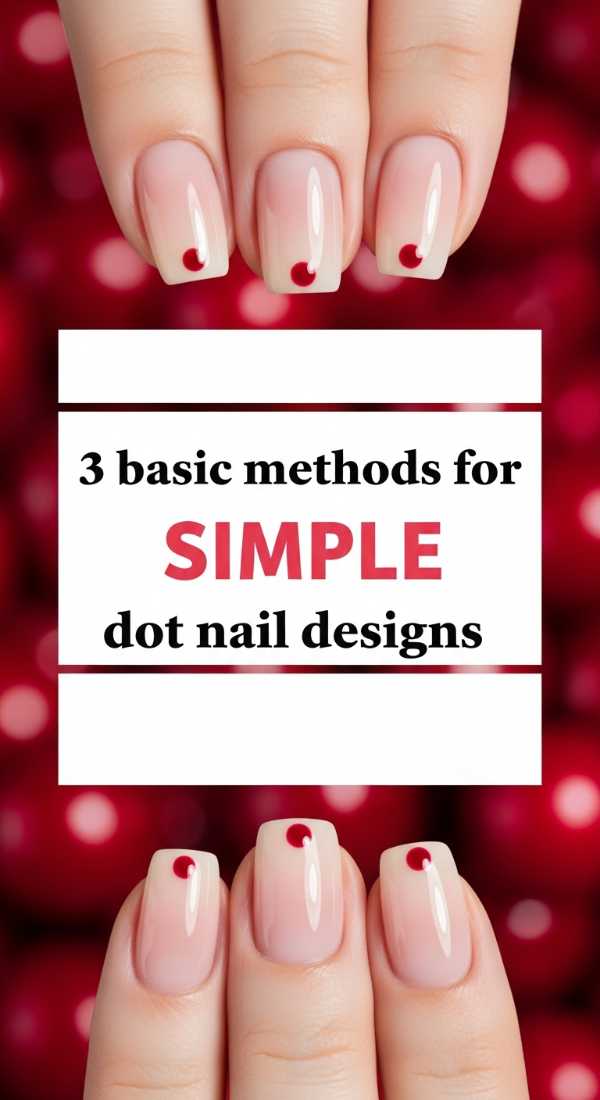
Why to love these Nails:
Dots are the building blocks of nail art. They are playful, geometric, and so easy to customize. Whether you want a single accent dot or a full ‘polka dot’ party, this style is the ultimate mood-lifter.
Essential Items:
- Various sizes of dotting tools
- Your favorite vibrant polishes
- Base coat
How to Prepare:
- Start with a clean, dry base color.
- Dip your tool into the polish and press straight down—don’t drag!
- Vary the sizes of the dots for a more modern, scattered look.
Budget Range
- Nail Art Tool Kit ($10)
- Sinful Colors Professional ($3)
- Essie Gel Couture Top Coat ($13)
Conclusion: Your Hands, Your Masterpiece
As you finish your last coat and sit back to admire your work, I hope you feel a sense of pride and peace. Remember, my loves, these rituals are about so much more than just the polish—they are about the time you took for yourself. You deserve to feel beautiful, from your heart all the way down to your fingertips. May your week be as bright and polished as your new manicure. Keep shining!