
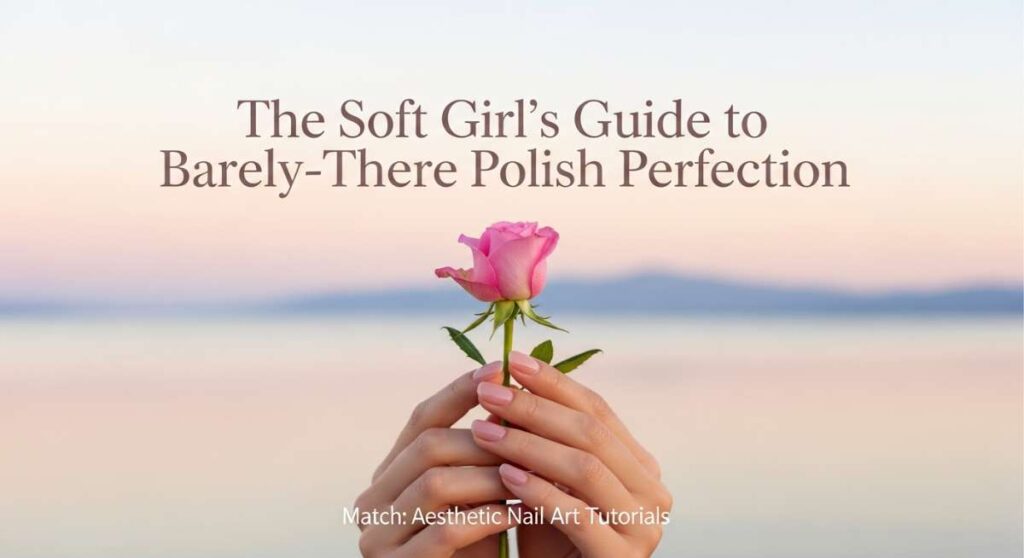
The Soft Girl’s Guide to Barely-There Polish Perfection
Hello, my loves. Welcome back to our little corner of the internet where everything feels a bit slower, a bit softer, and a lot more beautiful. There is something so healing about taking a quiet hour for yourself, lighting a vanilla-scented candle, and painting your nails. It’s not just about the color; it’s about the ritual of self-care and the way a fresh set of nails makes you feel when you’re holding your morning latte.
Lately, I’ve been obsessed with the ‘soft girl’ aesthetic—those dreamy, ethereal looks that feel like a warm hug. Whether you’re a pro with a liner brush or you’re just starting your DIY journey, these tutorials are designed to be your gentle guide to nail perfection. Let’s dive into these tiny canvases together.
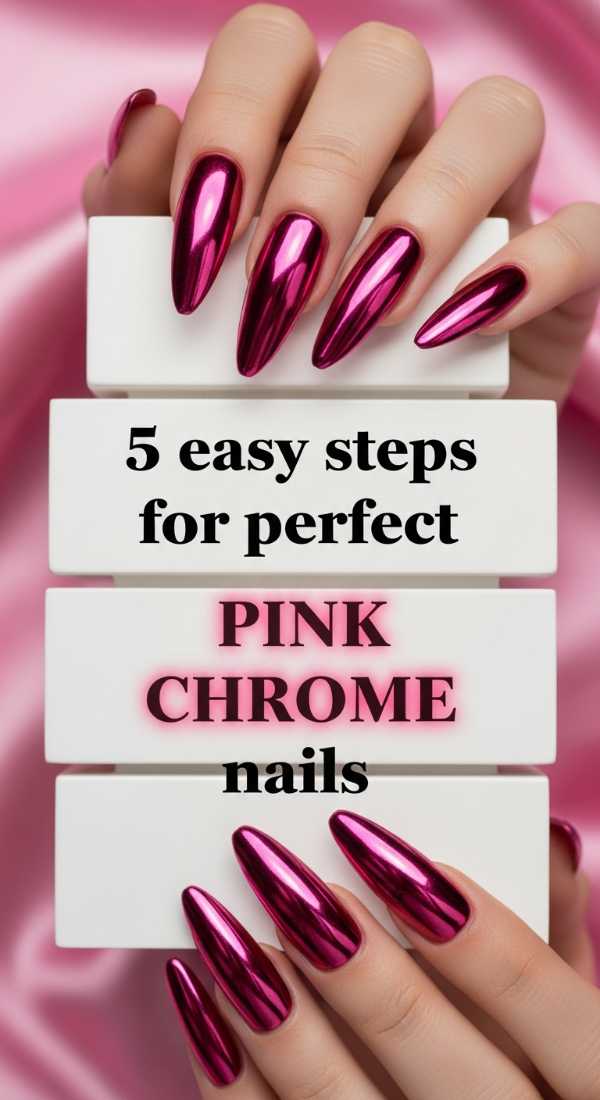
5 Easy Steps for Perfect Pink Chrome Nails
Why to love these Nails:
There is something so magical about the way a pink chrome finish catches the morning light. It’s like wearing a little bit of stardust on your fingertips, making every mundane task feel like a scene from a dream. It’s the ultimate ‘glazed donut’ upgrade.
Essential Items:
- Sheer pink gel polish
- Chrome powder (pearl or iridescent finish)
- No-wipe top coat
- Sponge applicator
- LED/UV lamp
How to Prepare:
- Apply one thin coat of sheer pink polish and cure.
- Apply a no-wipe top coat and cure for only 30 seconds (it should stay slightly tacky).
- Dip your sponge into the chrome powder and gently buff it onto the nail surface.
- Dust off any excess powder with a soft brush.
- Seal with a final layer of top coat and cure fully.
Budget Range
- OPI GelColor in ‘Bubble Bath’ ($20)
- Artdone Pearl Chrome Powder ($8)
- Beetles No-Wipe Top Coat ($7)
4 Simple Ways to Paint Minimalist Heart Nails

Why to love these Nails:
Minimalism isn’t just a style; it’s a breath of fresh air. These tiny hearts are the quietest whisper of romance, perfect for when you want your soul to shine through more than your polish. They are subtle enough for the office but sweet enough for a date night.
Essential Items:
- Nude base color
- Red or pink polish
- Large dotting tool or a toothpick
- Fine liner brush
How to Prepare:
- Paint two dots side-by-side using your dotting tool.
- Use your liner brush to drag the bottom of the dots together into a ‘V’ shape to form the point of the heart.
- Fill in the center if needed.
- Finish with a high-gloss top coat to protect your art.
Budget Range
- Essie ‘Sugar Daddy’ ($10)
- Sally Hansen Insta-Dri in ‘Red Ahead’ ($6)
- Nail Art Dotting Tool Set ($5)
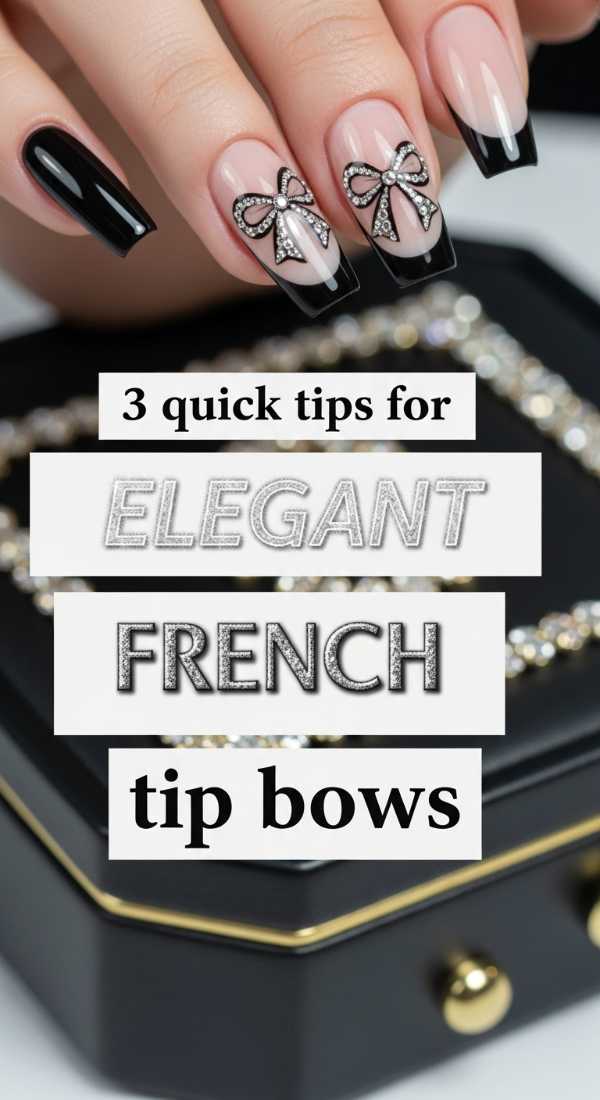
3 Quick Tips for Elegant French Tip Bows
Why to love these Nails:
Coquette-core is here to stay, and nothing says ‘soft girl’ like a dainty ribbon. Adding a bow to a classic French tip elevates the look from professional to whimsical in seconds. It’s like wrapping a little gift for yourself every single day.
Essential Items:
- White liner gel or polish
- French tip guides (optional)
- Ultra-thin detailing brush
How to Prepare:
- Paint your standard white French tips and let them dry completely.
- Using the thin brush, draw two small triangles meeting at a center point on the ‘smile line’ of your tip.
- Add two small ‘tails’ dropping down from the center point to finish the ribbon look.
Budget Range
- Zoya ‘Purity’ White ($12)
- Winstonia Super Fine Detail Brushes ($10)
- Orly ‘Rose-Colored Glasses’ Base ($15)
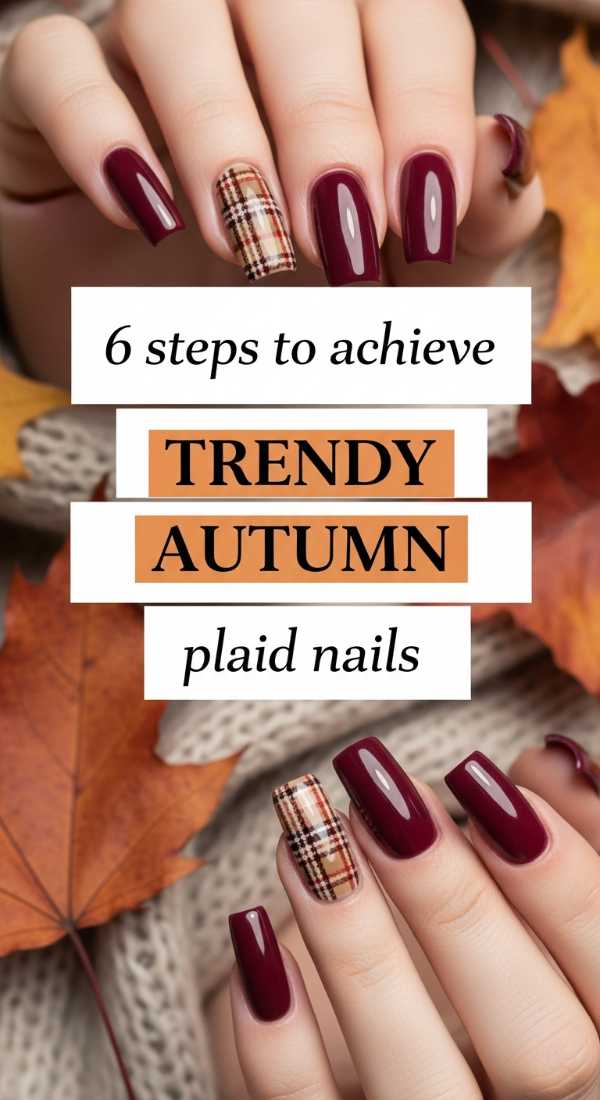
6 Steps to Achieve Trendy Autumn Plaid Nails
Why to love these Nails:
When the leaves start to turn, our nails should follow suit. This plaid design feels like your favorite oversized flannel shirt—cozy, structured, and deeply comforting. It adds a sophisticated texture to any fall outfit without being overwhelming.
Essential Items:
- Cider orange or muted brown polish
- Black or dark brown striping polish
- Matte top coat
- Steady hand!
How to Prepare:
- Apply two coats of your base autumn color.
- Draw two vertical lines down the side of the nail with your striping brush.
- Draw two horizontal lines across the top and bottom.
- Where the lines intersect, darken the square to create a ‘woven’ effect.
- Add a thin gold metallic line for a pop of luxury.
- Apply a matte top coat for that soft, fabric-like finish.
Budget Range
- Essie ‘Win Me Over’ ($10)
- Modelones Brown Liner Gel ($8)
- OPI Matte Top Coat ($11)
5 Secrets for Stunning Aesthetic Bridal Nails
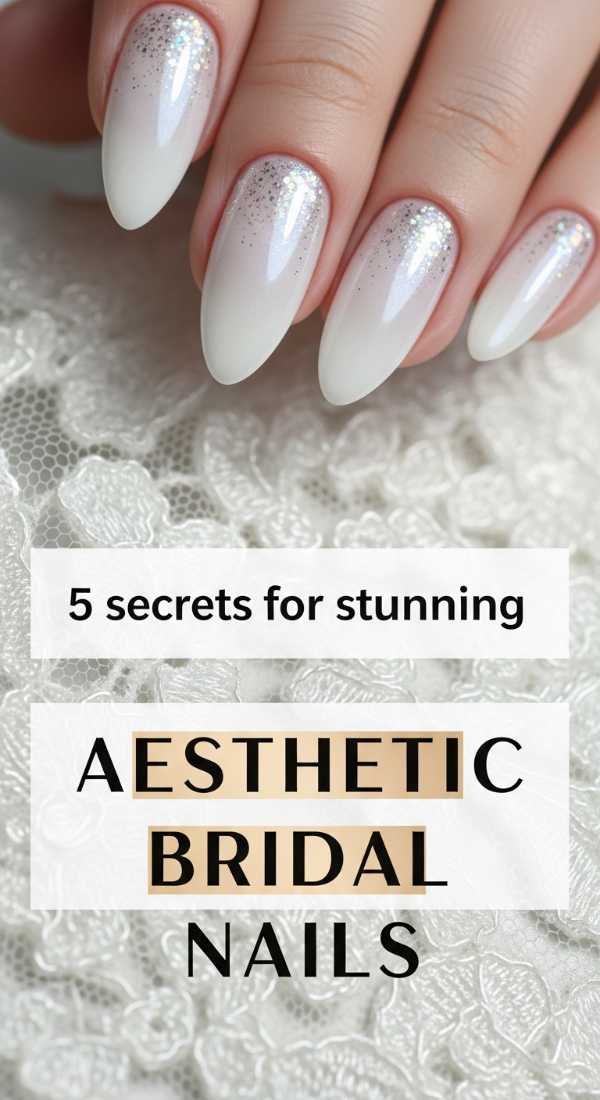
Why to love these Nails:
Bridal nails are all about timelessness and light. Whether it’s your big day or you just love the clean girl aesthetic, these nails radiate a sense of purity and calm. They are the ultimate ‘your nails but better’ look with a hint of ethereal glow.
Essential Items:
- Milky white or soft cream polish
- Fine silver glitter or micro-shimmer
- Cuticle oil (for that healthy glow)
How to Prepare:
- Buff nails to a smooth finish; bridal looks require a perfect canvas.
- Apply two coats of milky white polish for a semi-translucent look.
- Apply a tiny bit of micro-shimmer only at the cuticles, fading upward.
- Apply a plump, thick top coat to mimic a professional gel finish.
- Always finish with cuticle oil for photos.
Budget Range
- Londontown Kur Illuminating Nail Concealer ($20)
- Essie ‘Ballet Slippers’ ($10)
- CND SolarOil ($9)
7 Fun Steps for Cute Coffee Themed Nails
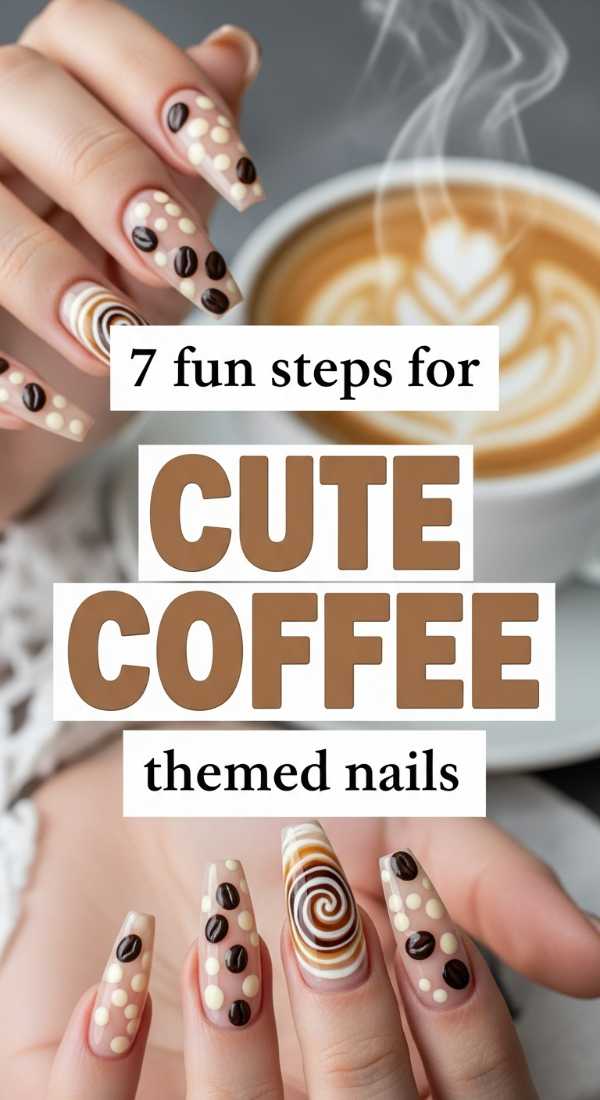
Why to love these Nails:
For my fellow caffeine lovers, this one is for you. These nails celebrate the rich, warm tones of a morning latte. It’s a literal mood booster every time you look down at your hands while holding your cup.
Essential Items:
- Tan, espresso brown, and cream polishes
- Small mixing palette or tin foil
- Dotting tool
How to Prepare:
- Paint the nail tan.
- Drop a bit of cream and espresso polish onto your palette.
- Use a toothpick to swirl them together slightly (don’t overmix!).
- Scoop the swirl onto your nail to create a ‘latte art’ effect.
- Add a few small dark brown dots for ‘coffee beans’.
- Let dry thoroughly.
- Top with a glossy finish.
Budget Range
- Lights Lacquer ‘Coffee Shop’ Collection ($13 each)
- Wet n Wild ‘Coffee Culture’ ($3)
- Ella + Mila ‘Coffee Addict’ ($11)
4 Ways to Style Your Summer Pastel Nails
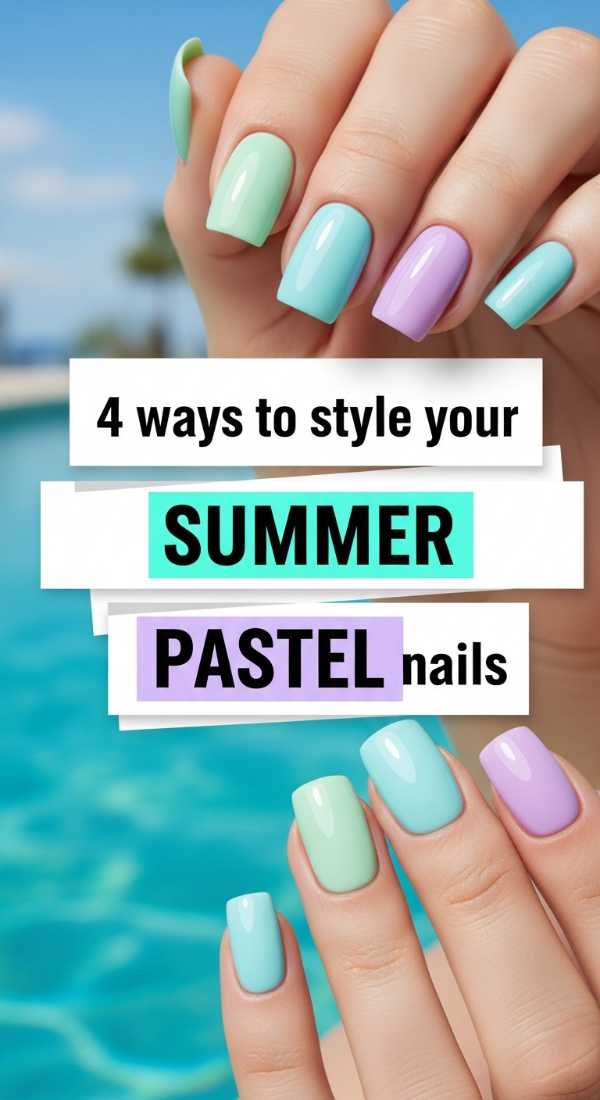
Why to love these Nails:
Summer is for play, and pastel nails are the ultimate accessory for sun-drenched days. These shades are bright enough to be fun but soft enough to stay within our aesthetic. They look incredible against a summer glow and a white linen dress.
Essential Items:
- Mint, lavender, and butter yellow polishes
- Matte and Glossy top coats
How to Prepare:
- Try ‘Skittles’ style: Paint each nail a different pastel shade.
- Try ‘Gradient’: Sponge two pastels together on one nail for a sunset vibe.
- Try ‘French Pastel’: Only paint the tips in colorful shades.
- Try ‘Negative Space’: Paint half the nail and leave the rest bare.
Budget Range
- Holosun Pastel Party Set ($15)
- Olive & June ‘Lila’ ($9)
- Barry M Gelly Hi Shine ($6)
3 Steps for Classy Deep Navy Gel Nails
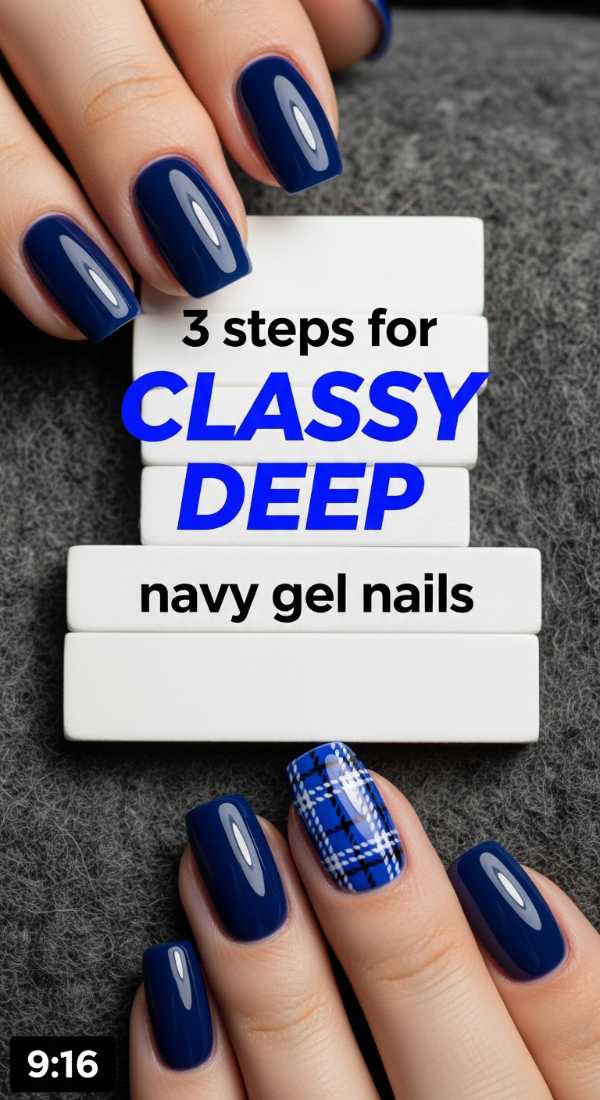
Why to love these Nails:
Sometimes the soft girl needs a bit of mystery. Deep navy is the sophisticated sister to black; it’s moody, elegant, and looks stunning with gold jewelry. It’s like a quiet night sky captured on your fingertips.
Essential Items:
- Deep navy blue gel polish
- Gold foil flakes
- Gel top coat
How to Prepare:
- Apply two coats of navy gel and cure each.
- Press a few tiny flakes of gold foil onto the tacky layer.
- Seal with a thick top coat for a glass-like finish.
Budget Range
- Revel Nail ‘Midnight’ ($12)
- Maniology Gold Leaf Flakes ($7)
- OPI ‘Midnight Mantra’ ($11)
5 Easy Steps to Create Glitter Ombre Nails
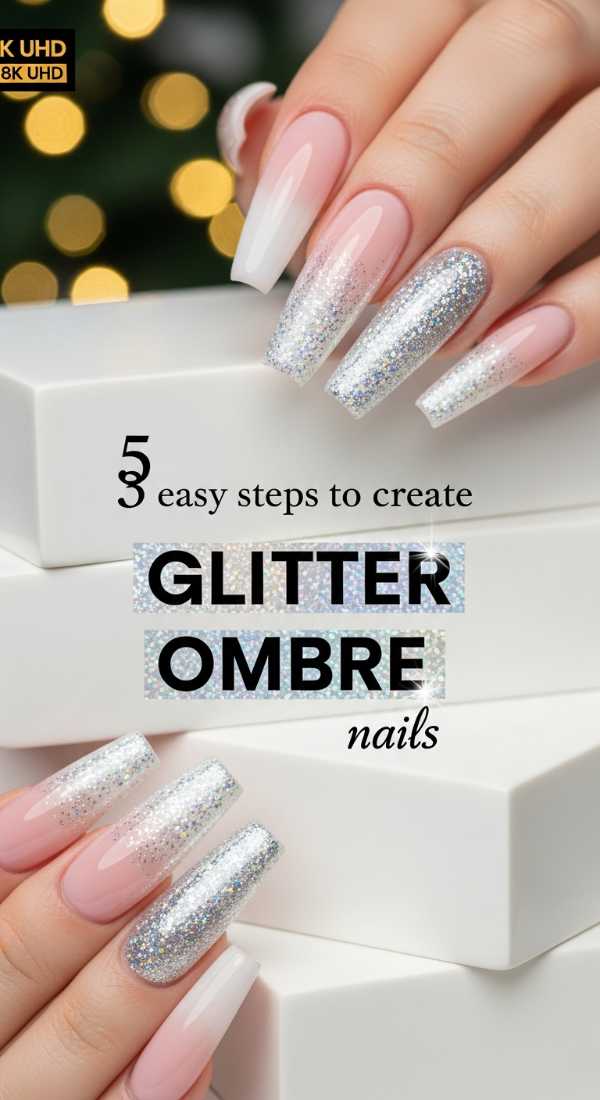
Why to love these Nails:
Glitter ombre is the perfect way to add a bit of celebration to your day without going full disco. It’s subtle at the base and sparkly at the tips, creating a gradient that feels sophisticated and expensive.
Essential Items:
- Fine loose glitter or glitter polish
- Sponge wedge
- Clear base
How to Prepare:
- Paint your base color (nude works best).
- Paint the glitter onto the edge of a makeup sponge.
- Dab the sponge onto the tip of your nail, moving lighter as you go down.
- Add a second layer of glitter only at the very tip.
- Finish with two layers of top coat to smooth out the texture.
Budget Range
- ILNP ‘Birthday Suit’ ($10)
- KBShimmer Holographic Glitter ($11)
- Real Techniques Makeup Sponges ($6)
4 Pro Tips for Edgy Black Coffin Nails
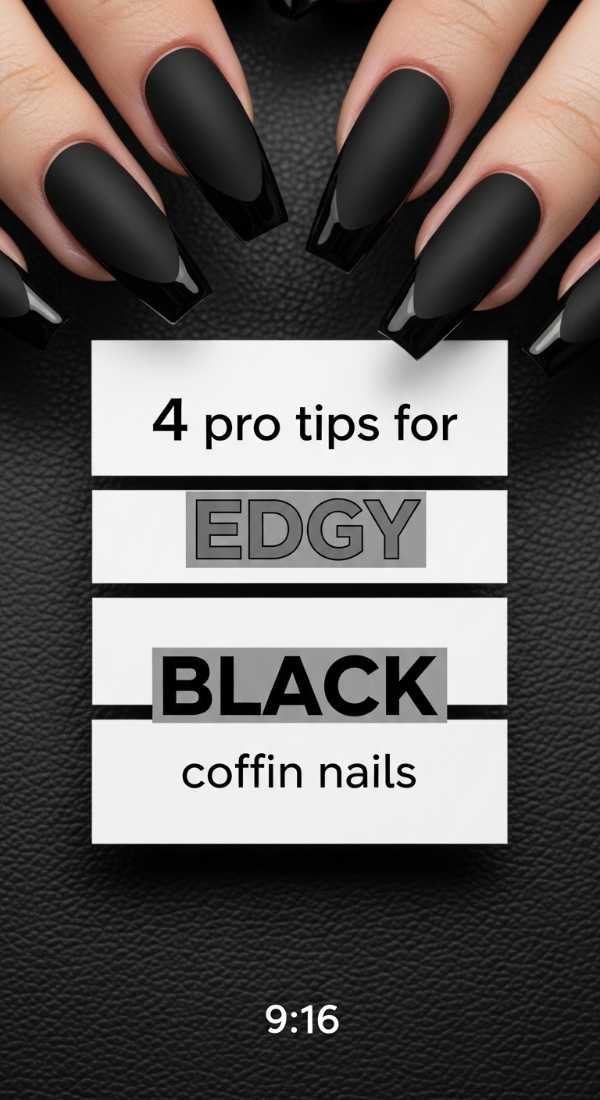
Why to love these Nails:
Even a soft girl has an edgy side. Coffin-shaped black nails are a power move. They are sleek, elongating, and look incredibly chic when paired with soft, oversized knitwear. It’s all about the contrast, darling.
Essential Items:
- Opaque black polish
- Coffin-shaped nail tips (if extending)
- Matte top coat
How to Prepare:
- Shape your nails into a flat-topped ‘coffin’ look.
- Apply two very thin coats of black (thick coats will bubble!).
- Use a clean-up brush dipped in acetone for perfect edges.
- Apply a matte top coat to make it feel more modern and ‘soft’.
Budget Range
- Cirque Colors ‘Memento Mori’ ($12)
- BTArtbox Coffin Tips ($15)
- Holotaco ‘One Coat Black’ ($13)
The Finishing Touch
I hope these tutorials bring a little bit of peace and a lot of beauty to your week. Remember, it’s not about having perfect nails—it’s about the joy of creating something with your own hands. You deserve this time to feel pampered and polished. Take a deep breath, admire your work, and go forth with confidence. Sending you so much love and light until our next little chat. Stay soft, loves.