
The Ultimate Guide to a Bright and Bold Outdoor Oasis
Hello, my loves! Can you feel it? That soft, golden warmth hitting your skin, whispering that it is finally time to step outside and breathe. My heart has been so ready for this season of renewal. There is something truly magical about taking a patch of grass or a tired old porch and breathing soul back into it. Your home doesn’t end at the back door, darlings—it expands into the wild, wonderful air, and I want to help you make it a sanctuary that hugs you back.
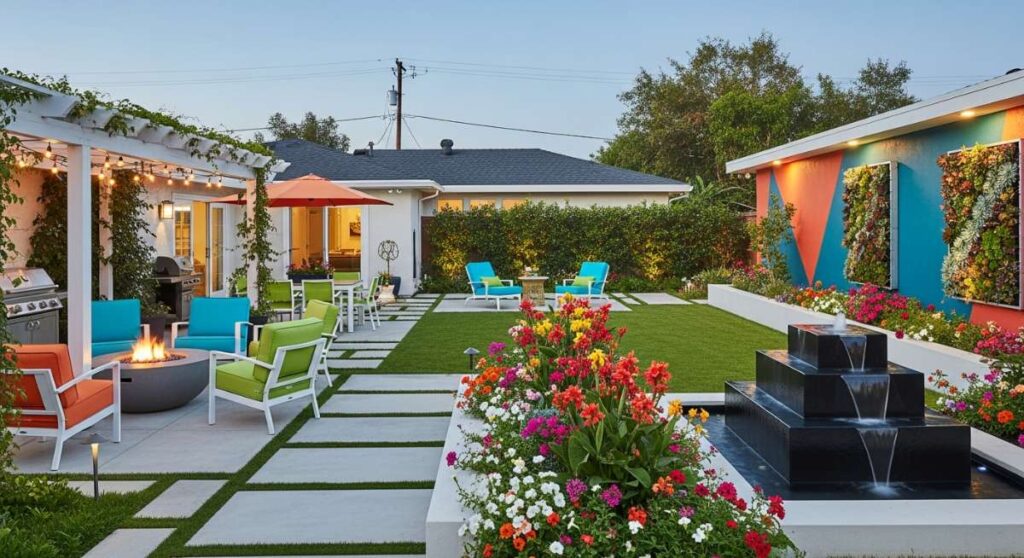
Lately, I have been dreaming of colors that pop against the green—electric pinks, sunny yellows, and calming teals. We are moving away from the beige and into a world where our backyards reflect the vibrancy of our own spirits. Whether you have a sprawling hill or just a tiny virtual plot in Bloxburg, let’s create a space where memories are made, coffee is sipped, and your soul feels completely at peace. Let’s dive into these transformations together, shall we?
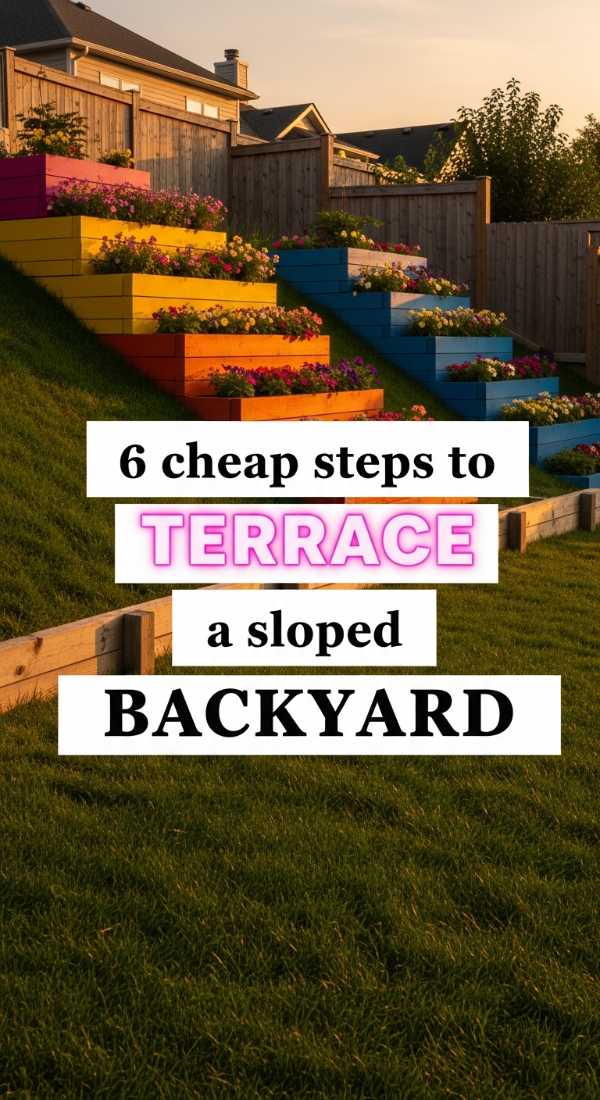
6 Cheap Steps to Terrace a Sloped Backyard
Why to love this Decor:
Terracing a slope is like giving your backyard its own set of grand stairs. It stops erosion and turns a difficult hill into a series of beautiful, usable ‘rooms’ for planting or lounging. It adds a sophisticated architectural depth that makes even the simplest yard look like a professional estate.
Items needed:
- Pressure-treated landscape timbers or large stones
- Rebar or long wooden stakes
- Level
- Shovel and pickaxe
- Landscape fabric
- Drainage gravel
How to Prepare:
1. Map out your levels by marking lines across the slope with stakes and string. 2. Start at the bottom of the hill and dig a trench for your first wall. 3. Lay your first row of timbers or stones, ensuring they are perfectly level. 4. Anchor the wall into the ground using rebar or stakes. 5. Lay landscape fabric behind the wall and fill with gravel for drainage. 6. Backfill with soil and repeat the process for each subsequent ‘step’ up the hill.
Budget Range
- Timber/Stones: $40 – $150
- Gravel/Fabric: $20 – $40
- Tools (Rental if needed): $30
Build a Colorful Kids Play Zone in 4 Steps

Why to love this Decor:
This is all about joy, my loves! A dedicated play zone keeps the little ones engaged while adding a burst of whimsical color to your landscape. Using bright primary colors or soft pastels creates a visual ‘happy place’ that encourages movement and imagination.
Items needed:
- Recycled tires or wooden borders
- Outdoor spray paint (bright colors)
- Play-grade wood chips or rubber mulch
- Weather-proof outdoor toys or a DIY sandbox
How to Prepare:
1. Choose a flat, shaded area and clear away any debris or sharp rocks. 2. Paint your tires or wooden borders in vibrant, contrasting shades and let them dry completely. 3. Arrange the borders to define the play area and secure them into the ground. 4. Fill the interior with thick mulch for safety and add your favorite colorful play elements.
Budget Range
- Paint: $15 – $30
- Mulch: $40 – $70
- Borders (Recycled): Free – $20
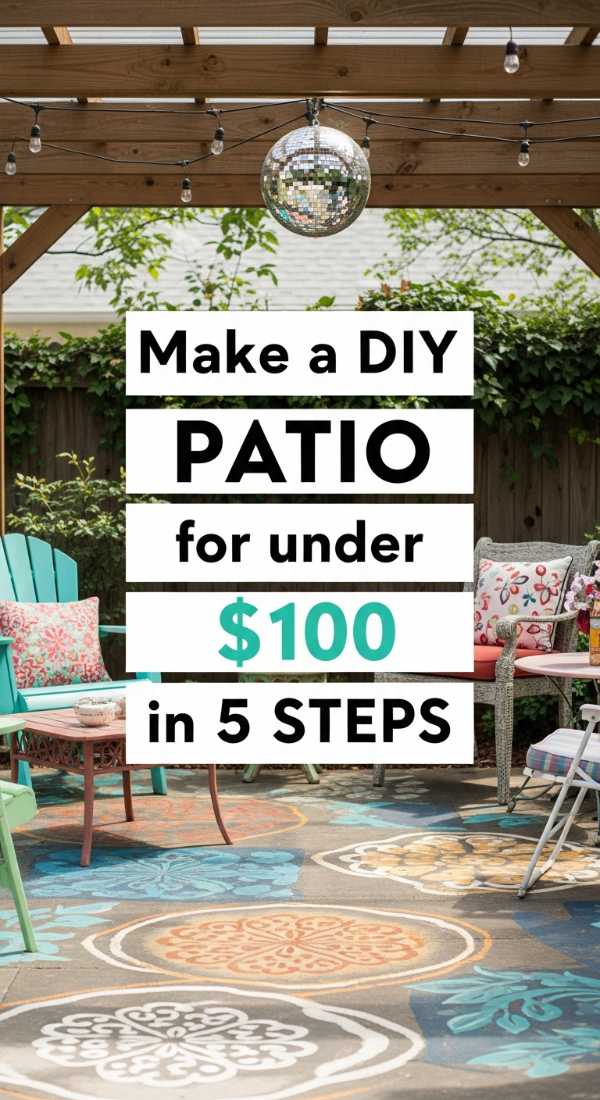
Make a DIY Patio for under $100 in 5 Steps
Why to love this Decor:
You don’t need a thousand dollars to have a beautiful foundation for your morning tea. A DIY paver or gravel patio is rustic, charming, and incredibly grounding. It defines a space for your furniture and instantly makes the yard feel ‘finished’ and intentional.
Items needed:
- Concrete pavers (12×12 basic ones)
- Leveling sand
- Landscape fabric
- Edging material (wood or plastic)
- Rubber mallet
How to Prepare:
1. Clear a square area and dig down about 3-4 inches. 2. Lay down landscape fabric to prevent weeds from peeking through. 3. Pour a layer of leveling sand and smooth it out perfectly with a board. 4. Lay your pavers in a grid pattern, tapping them into place with a rubber mallet. 5. Sweep extra sand into the cracks to lock everything together and install your edging.
Budget Range
- Pavers: $50 – $70
- Sand/Fabric: $20 – $30
- Edging: $10
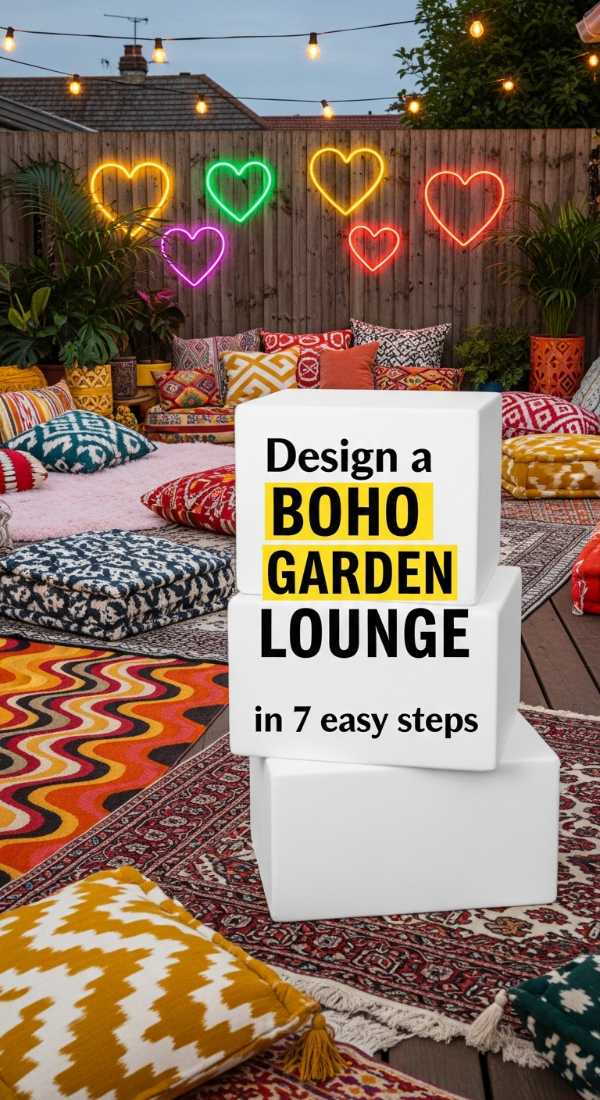
Design a Boho Garden Lounge in 7 Easy Steps
Why to love this Decor:
Boho is a cloud-soft embrace for your garden. It’s all about textures—macrame, fringe, and soft fabrics. It creates an effortless, ‘lived-in’ elegance that invites people to kick off their shoes and stay for hours under the stars.
Items needed:
- Outdoor rug (Jute or patterned)
- Floor pillows and weather-proof cushions
- Low coffee table (or a wooden crate)
- Macrame plant hangers
- String lights (Edison bulbs)
- Potted palms or ferns
- Lightweight throw blankets
How to Prepare:
1. Lay down a large outdoor rug to define the lounge ‘floor.’ 2. Place your low table or crate in the center as a focal point. 3. Scatter floor pillows and cushions around the table for cozy seating. 4. Hang macrame planters at varying heights from tree branches or a pergola. 5. Drape string lights overhead in a zig-zag pattern. 6. Group your potted plants in corners to create a lush, green ‘wall.’ 7. Toss a few light blankets over the seating for chilly evenings.
Budget Range
- Rug/Cushions: $60 – $120
- Lighting: $20 – $40
- Plants: $30 – $50
Set up a Cozy Firepit Corner in 3 Steps
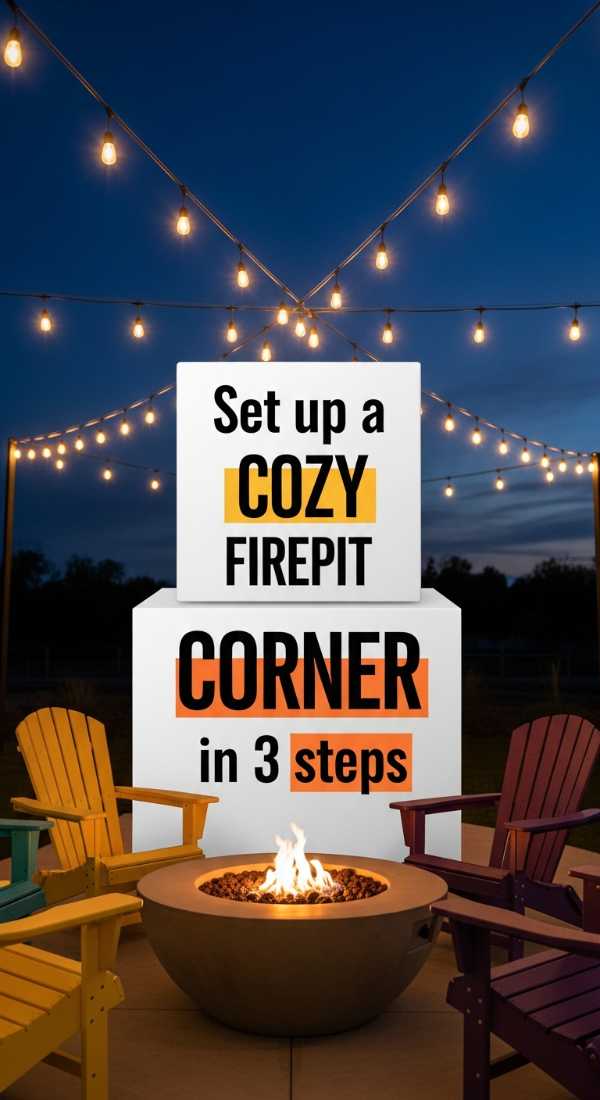
Why to love this Decor:
The flicker of a flame is the ultimate heart of the home. A firepit corner creates a natural gathering spot for storytelling and roasting marshmallows. It’s a simple addition that adds immense value to your evening routine.
Items needed:
- Stone fire pit kit or heat-resistant bricks
- Adirondack chairs or benches
- Pea gravel or crushed stone
How to Prepare:
1. Level a circular area and cover it with a thick layer of pea gravel. 2. Arrange your bricks or stones in a circle, stacking them at least three levels high. 3. Place your chairs in a wide circle around the pit, leaving enough room for safety and movement.
Budget Range
- Bricks/Stone: $40 – $80
- Gravel: $20 – $30
- Chairs: $50 – $150
Create a Cozy Outdoor Nook in 5 Minutes
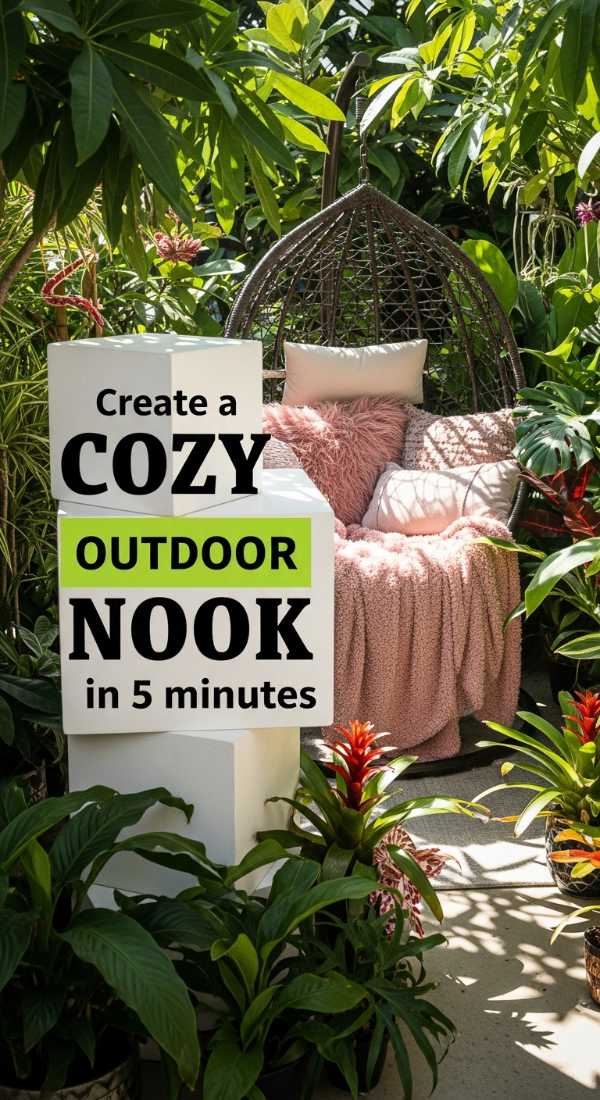
Why to love this Decor:
Sometimes we just need a secret escape, darlings. This is for the busy souls who need a retreat *now*. It’s about taking what you have and creating a tiny, intentional pocket of peace where you can hide with a book.
Items needed:
- A comfortable outdoor chair or hammock
- A small side table
- One soft outdoor pillow
- A cold glass of lemonade
How to Prepare:
1. Find the quietest, most secluded corner of your yard (maybe under a big tree). 2. Move your most comfortable chair there and add a soft pillow. 3. Place a small table next to it for your drink and book. 4. Take a deep breath and sit down—you’re finished!
Budget Range
- Furniture you already own: $0
- New Pillow/Small Table: $15 – $40
Refresh Your Garden on a Budget with 8 Tips
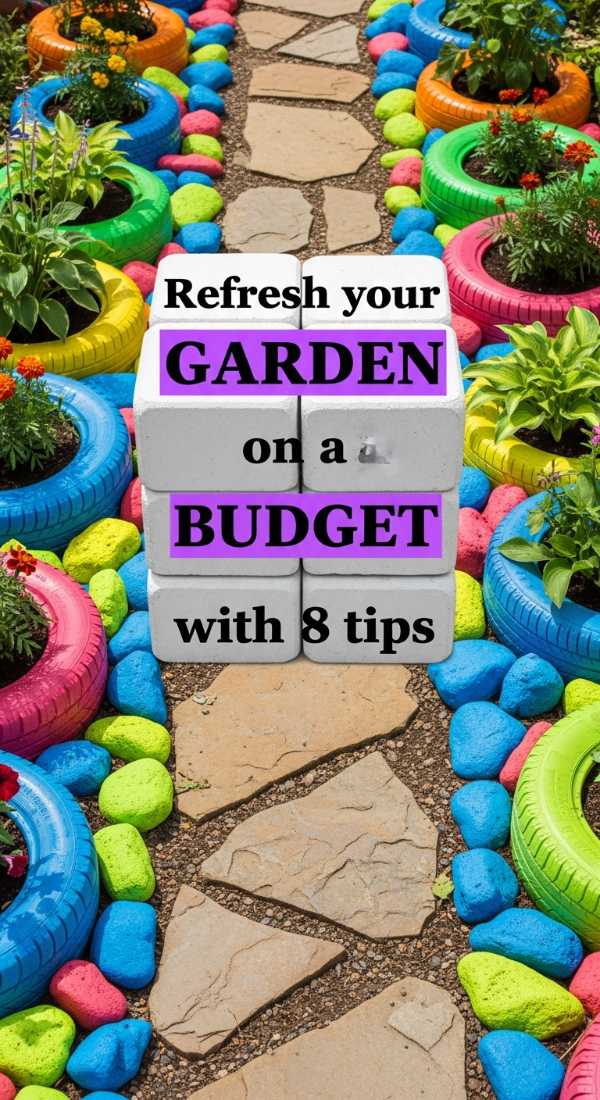
Why to love this Decor:
A refresh doesn’t mean a total overhaul; it’s about the ‘glow up.’ These little touches add sparkle and personality without the stress of a major construction project. It’s like putting on your favorite lipstick—it just makes everything feel better.
Items needed:
- Colorful spray paint
- Solar path lights
- New mulch
- Seed packets
- Cleaning supplies
How to Prepare:
1. Power wash your patio or walkways. 2. Paint your old flower pots in bold, bright colors. 3. Add fresh dark mulch to all your flower beds. 4. Install solar lights along the path. 5. Deadhead any wilted flowers. 6. Paint your garden gate a ‘statement’ color like teal or yellow. 7. Scatter wild-flower seeds in bare patches. 8. Clean your outdoor furniture cushions with soapy water.
Budget Range
- Paint/Seeds: $20 – $40
- Mulch/Lights: $30 – $60
Build a Dream Bloxburg Backyard in 10 Steps
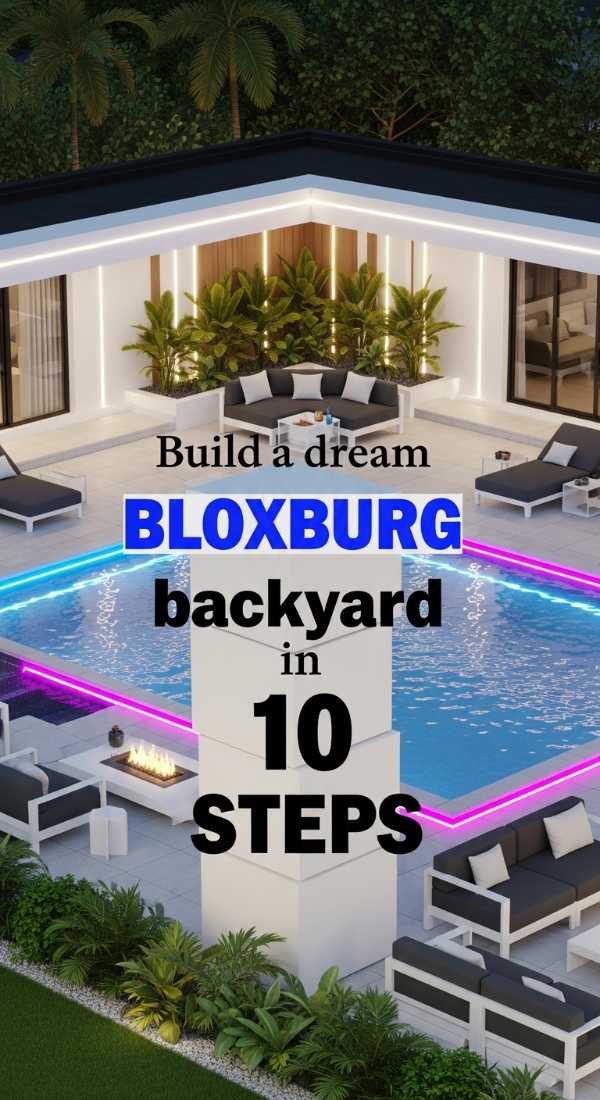
Why to love this Decor:
For my digital architects, Bloxburg is the perfect playground for your imagination. A dream backyard in-game allows you to experiment with luxury features like infinity pools and custom gazebos that might be out of reach in real life, but satisfy that creative itch!
Items needed:
- Bloxburg cash (B$)
- Advanced Placing gamepass (recommended)
- Large Plot gamepass (optional)
How to Prepare:
1. Clear your backyard area in Build Mode. 2. Use the ‘Pool’ tool to create a custom-shaped swimming area. 3. Add ‘Basic Shapes’ to create custom modern pergolas or steps. 4. Use the ‘Floor’ tool to create different textures like wood decking and grass. 5. Place organic-looking trees and shrubs from the ‘Decorations’ tab. 6. Add ‘Structural’ beams for a realistic fence design. 7. Use the ‘Recessed Lighting’ to make the pool glow at night. 8. Place an outdoor kitchen area with a BBQ and counters. 9. Add a ‘Sunken Lounge’ by using the basement tool. 10. Finish with ‘Aesthetic’ decals for custom rug patterns.
Budget Range
- B$20,000 – B$50,000
- Gamepasses: 200 – 400 Robux
Level up Your Small Sloped Yard in 4 Steps
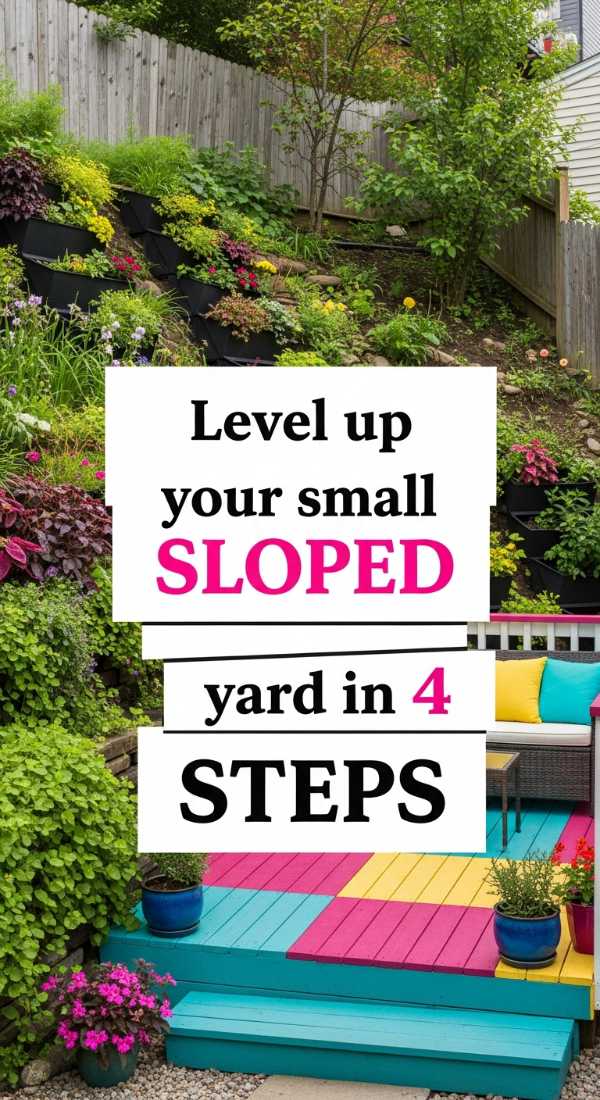
Why to love this Decor:
Don’t let a small slope discourage you! In a tight space, a slope is actually an opportunity to create vertical visual interest. It makes a small yard feel much larger because the eye moves up and down rather than just across.
Items needed:
- Stacked stone or timber
- Trailing plants (like Creeping Jenny)
- Compact shrubs
- Stepping stones
How to Prepare:
1. Create two small ‘shelves’ in the slope rather than one big terrace. 2. Install a narrow winding path of stepping stones diagonally across the slope. 3. Plant trailing greenery at the edge of the tiers so they ‘spill’ over like a waterfall. 4. Use tall, skinny plants at the top to add height and privacy.
Budget Range
- Plants: $40 – $80
- Stone/Wood: $30 – $60
Make a Viral Bloxburg Garden in 6 Easy Steps
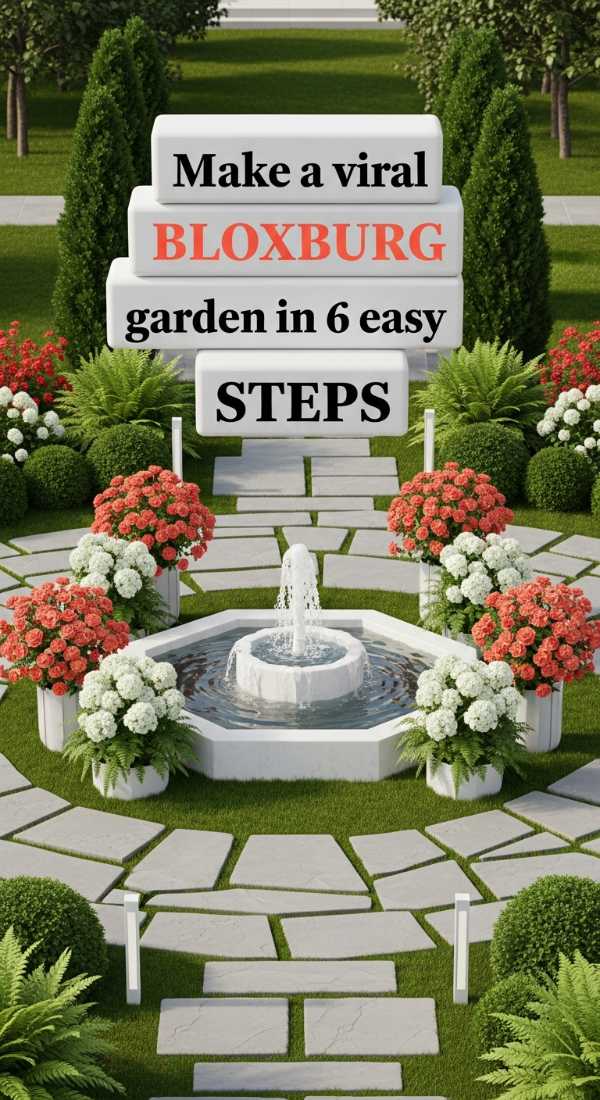
Why to love this Decor:
A ‘viral’ garden is all about that aesthetic ‘wow’ factor. It’s the kind of space other players stop to admire because of its symmetry, lighting, and trendy color palette. It’s pure digital eye candy!
Items needed:
- Wall greenery/Vines
- Fairy lights
- Custom Decals
How to Prepare:
1. Choose a ‘Core’ aesthetic (Cottagecore or Ultra-Modern). 2. Create a symmetrical entrance using arched trellises and vines. 3. Layer your plants by placing shorter ones in front of taller ones. 4. Use ‘String Lights’ and ‘Lanterns’ for a magical evening glow. 5. Place a ‘Waterfall’ feature using the pool tool and transparent windows. 6. Color everything in a cohesive palette (e.g., Linen, Moss, and White).
Budget Range
- B$10,000 – B$25,000
- Basic Decor items
Bringing Your Oasis Home
Darlings, whether you are digging in the dirt or clicking away at a screen, the goal is always the same: to create a space that feels like a warm hug. Your outdoor oasis is a reflection of your inner light. I hope these ideas spark a little flame of inspiration in your heart today. Remember, it doesn’t have to be perfect; it just has to be *yours*. I can’t wait to see what you create. Stay bright, stay bold, and keep blooming!