
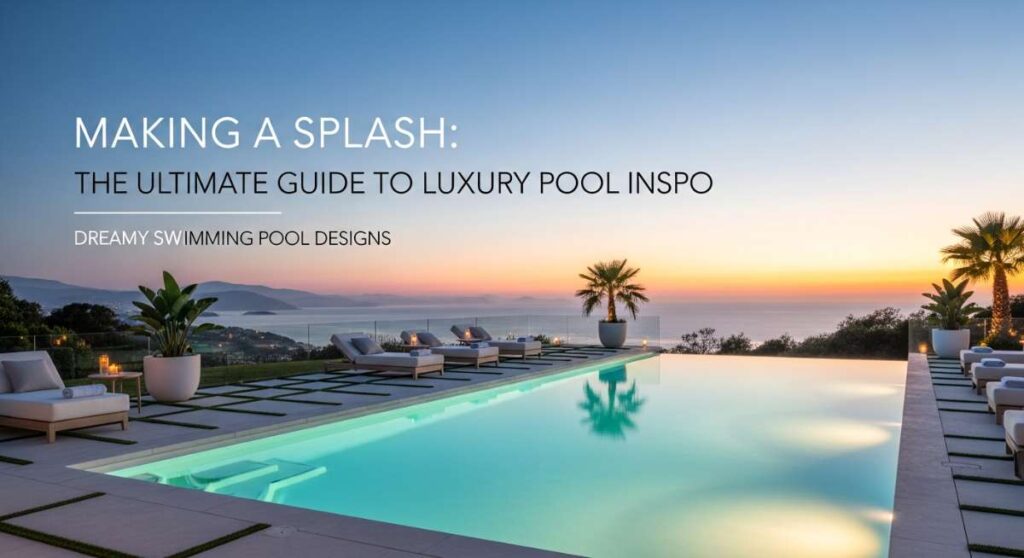
Making a Splash: The Ultimate Guide to Luxury Pool Inspo
There is something inherently magical about the way water reflects the light of a fading sun, turning a simple backyard into a sanctuary of peace. For many of us, the dream of a luxury pool isn’t just about the architecture; it’s about the feeling of that first cool dip on a humid July afternoon, the sound of laughter echoing off stone walls, and the quiet stillness of a morning swim before the rest of the world wakes up. It’s an investment in your well-being, a commitment to slow living, and a centerpiece for memories that last a lifetime.
As we dive into the world of high-end aquatic design, we aren’t just looking at basins of water. We are looking at extensions of the home—liquid living rooms that bridge the gap between nature and art. Whether you are dreaming of a rugged, natural pond that invites the local wildlife or a sleek, glass-edged infinity pool that seems to pour directly into the horizon, the right design can transform your daily life into a perpetual vacation. Let’s explore how to bring these dreamy visions to life in your own space.
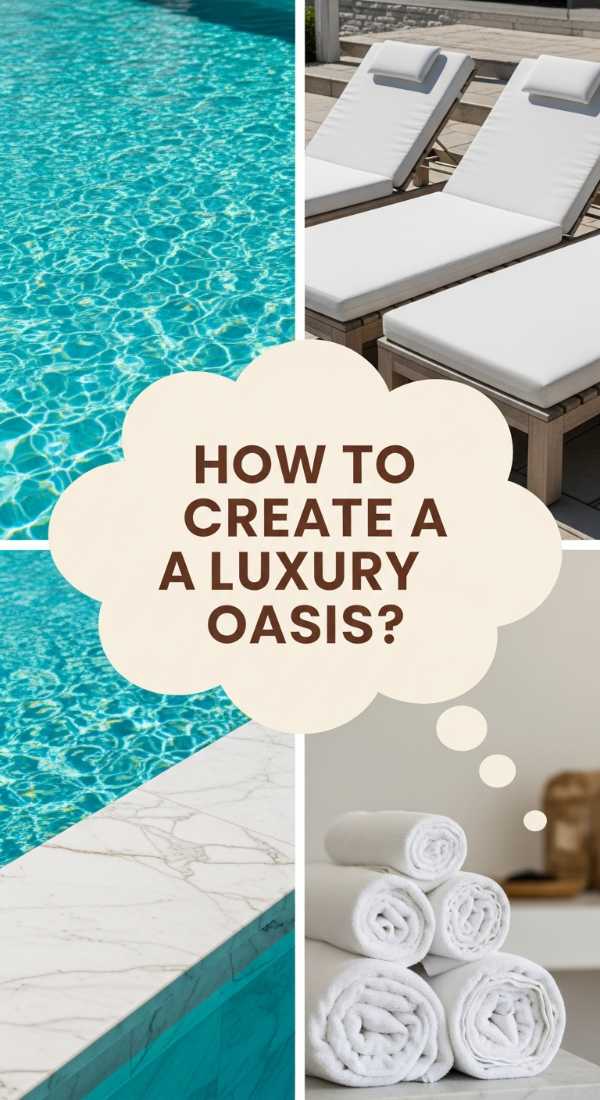
How to Create a Luxury Oasis for Total Relaxation
Why we love this
This design is the pinnacle of sensory indulgence, combining the warmth of sun-baked travertine with the refreshing, silk-like texture of temperature-controlled water. We love the way the scent of nearby lavender drifts over the surface, mingling with the soft hum of a hidden waterfall that masks any neighborhood noise. The feeling of stepping onto submerged tanning ledges, where the water barely brushes your skin, creates an immediate sense of weightlessness and profound calm that melts away the stress of a long day.
Essential Elements:
- Travertine or limestone decking for heat resistance.
- Tanning ledges (Baja shelves) for shallow lounging.
- Integrated perimeter overflow for a mirror-like surface.
- Hidden stone waterfalls for acoustic privacy.
- Automatic climate control systems.
How to make it
- Begin with professional excavation, ensuring the shelf depths are precisely leveled to 6-9 inches for optimal lounging comfort.
- Install a high-grade hydraulic system; professional tips suggest using oversized piping to reduce noise and increase water flow efficiency.
- Apply the shotcrete shell, maintaining a moisture-heavy cure for at least 7 days to prevent micro-cracking in high-heat environments.
- Hand-lay the natural stone coping, ensuring a slight outward pitch to manage water runoff and maintain the ‘mirror’ visual.
- Apply a pebble-sheen finish during a window of moderate humidity; the visual cue for ‘doneness’ is a uniform, matte appearance before the final acid wash and water fill.
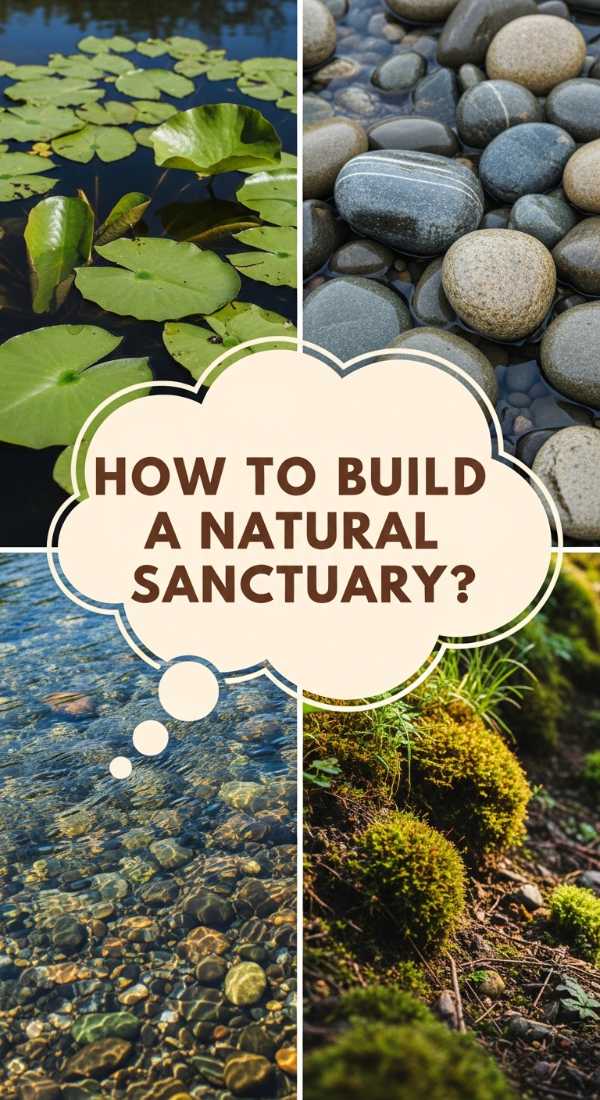
How to Build a Natural Sanctuary for Eco Conscious Living
Why we love this
There is a raw, elemental beauty in a pool that looks like it was carved by nature itself over centuries. We love the earthy aroma of damp stone and the vibrant greenery that frames the water, creating a lush, oxygen-rich environment that feels alive. Swimming in a natural sanctuary means feeling the soft graze of aquatic plants against your skin and watching dragonflies dance over the surface, all while knowing the water is purified by biological processes rather than harsh chemicals.
Essential Elements:
- Biological filtration zones (regeneration zones).
- Lush aquatic plants like water lilies and rushes.
- Natural boulder embankments and pebble bottoms.
- Solar-powered circulation pumps.
- Non-toxic EPDM liners or clay-sealed basins.
How to make it
- Excavate two distinct zones: a deep swimming area and a shallow regeneration zone occupying at least 30% of the total surface area.
- Layer the regeneration zone with specific aggregates; start with coarse volcanic rock at the bottom and finer gravel on top to act as a natural sieve.
- Select indigenous aquatic plants and tuck them into the gravel; the ‘timing’ is critical here—plant during the early spring to allow root systems to establish before peak summer heat.
- Install a low-flow aeration system to keep oxygen levels high; look for a gentle bubbling visual cue to ensure the water isn’t stagnant.
- Monitor the nitrogen cycle for 4 weeks; when the water turns from slightly murky to crystal clear, the biological balance is ‘done’ and ready for swimmers.
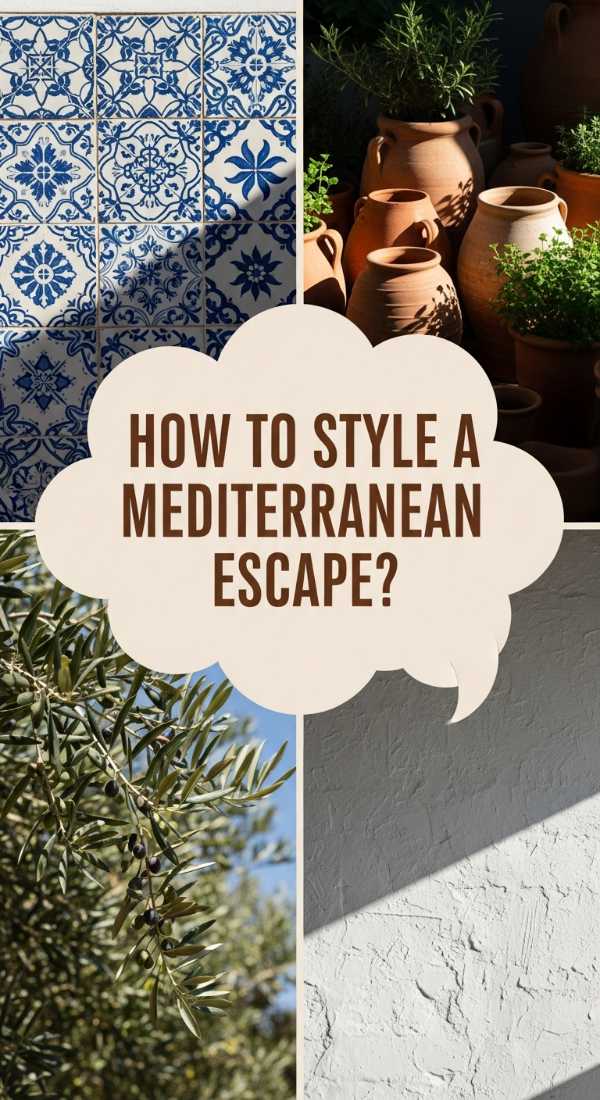
How to Style a Mediterranean Escape for European Summer Vibes
Why we love this
This style instantly transports you to the rugged coasts of Greece or Italy, where the contrast between stark white walls and deep turquoise water is breathtaking. We love the tactile sensation of rough-hewn stone underfoot and the way the bright sunlight makes the water sparkle like diamonds. The addition of terracotta pots overflowing with bougainvillea adds a splash of magenta that smells faintly of honey and earth, creating a vibrant, high-energy atmosphere that is perfect for long, wine-soaked afternoons.
Essential Elements:
- White-washed plaster or stucco walls.
- Cobblestone or terracotta tile accents.
- Arched alcoves and built-in stone seating.
- Deep blue glass mosaic tiles for the pool interior.
- Olive trees or cypress trees for vertical structure.
How to make it
- Prepare the pool interior with a deep blue mosaic tile; ensure each tile is set with high-bond thin-set to withstand the thermal expansion of Mediterranean-style heat.
- Apply a traditional lime-wash or high-grade white stucco to the surrounding walls; the technique requires thin, layered applications to achieve that authentic, lived-in texture.
- Install built-in ‘benches’ within the pool structure itself using masonry blocks, finishing them with the same blue tile for a seamless look.
- Position terracotta planters at the corners; ensure they have proper drainage to avoid staining the white-washed surfaces.
- Cure the plaster under a damp burlap shroud; the ‘visual cue’ is a chalky, bright finish that indicates the material has set without losing its structural integrity.
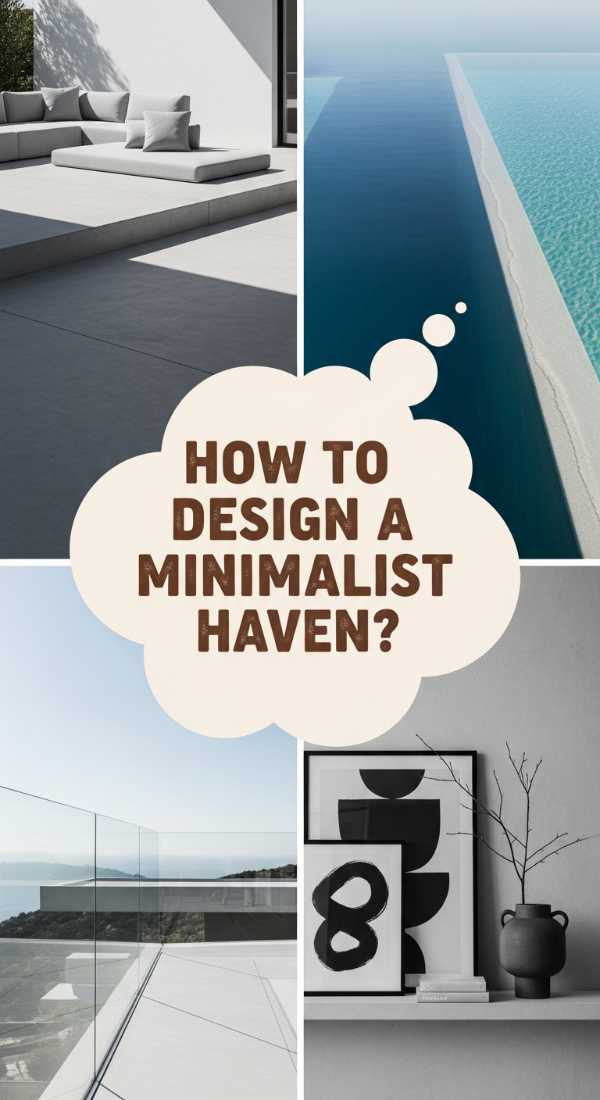
How to Design a Minimalist Haven for Peaceful Morning Swims
Why we love this
Minimalism in pool design is about removing distractions to focus on the purity of the water and the rhythm of your breath. We love the sharp, clean lines that cut through the landscape and the way the glass-like surface reflects the early morning mist. The lack of ornamentation creates a quiet, meditative space where the only sound is the rhythmic splash of your stroke and the cool, crisp feeling of the water provides a sharp, energizing contrast to the stillness of the air.
Essential Elements:
- Rectangular, geometric pool shapes.
- Dark basalt or gray slate tiling.
- Hidden ‘slot’ drains for a seamless deck transition.
- Understated, recessed steps.
- Monochromatic color palettes.
How to make it
- Excavate a strictly rectangular form, using laser-leveling to ensure the long edges are perfectly horizontal for the slot drain installation.
- Set large-format slate tiles with minimal grout lines (less than 1/16th inch) to achieve a monolithic, continuous surface look.
- Install a hidden automatic pool cover vault at one end; this must be perfectly flush with the deck to maintain the minimalist profile.
- Adjust the water level to reach the exact midpoint of the slot drain; the visual cue is a ‘vanishing’ edge where the water appears to touch the stone.
- Program the filtration system for silent operation; the timing should be set for early morning hours to ensure the water is undisturbed and ‘glassy’ for your swim.
How to Craft a Tropical Paradise for Daily Vacation Feelings

Why we love this
Stepping into a tropical pool feels like entering a secret rainforest hidden behind your home. We love the sensory overload of vibrant greens, the humidity trapped by thick palms, and the sound of a heavy waterfall crashing into a deep lagoon. The water often feels warmer and more inviting, surrounded by dark stones that soak up the sun’s heat, creating a balmy environment where the air smells of wet earth and exotic hibiscus blooms.
Essential Elements:
- Natural rock formations and grottoes.
- Dark-bottom pool finishes (black or deep forest green).
- Dense tropical landscaping (palms, ferns, bird of paradise).
- Fire bowls or tiki torches for nighttime ambiance.
- Bridge or stepping stone crossings.
- Saltwater chlorination for a softer feel.
How to make it
- Construct the shell with varying depths to mimic a natural lagoon, including a ‘deep hole’ section at least 8 feet deep.
- Source large, weather-worn boulders; use a crane to position them so they slightly overhang the water, creating natural jumping points and shadows.
- Apply a black quartz finish to the interior; the professional tip is to buff the surface intensely to ensure a smooth feel despite the dark pigment.
- Plant a ‘living screen’ of Areca palms around the perimeter; the visual cue for healthy placement is a dense canopy that filters the sun into ‘dappled’ light.
- Install a saltwater generator; monitor the salt levels until the water feels ‘silky’ to the touch, which usually takes 24 hours of circulation after initial salt addition.
How to Install Romantic Lighting for Magical Evening Dips

Why we love this
When the sun goes down, a well-lit pool transforms into a glowing jewel that anchors the entire landscape. We love the ethereal quality of soft, underwater LEDs that turn the water into a shimmering pool of liquid light, and the way warm spotlights catch the leaves of overhanging trees. The atmosphere becomes intimate and mysterious, perfect for late-night conversations where the only light comes from the dancing reflections on the water and the distant twinkle of the stars.
Essential Elements:
- Underwater color-changing LED nicheless lights.
- Fiber optic ‘star’ floor lighting.
- Warm white uplighting for surrounding trees.
- Floating solar lanterns for the surface.
- Smart-home integration for dimming and scheduling.
How to make it
- Map out light placement every 8-10 feet along the pool walls, ensuring they face away from the main house to prevent direct glare.
- Run low-voltage wiring through PVC conduits before the deck is poured; use a transformer with a built-in dimmer for total atmosphere control.
- Install fiber optic cables into the floor plaster during the finishing phase; each cable should be trimmed flush with the surface for a ‘starry sky’ effect.
- Set the tree uplights at a 45-degree angle; the visual cue is a soft ‘wash’ of light that highlights the trunk texture without blinding onlookers.
- Test the system at dusk; adjust the color temperature to ‘Warm White’ (2700K) to ensure the skin tones of swimmers look natural and inviting.
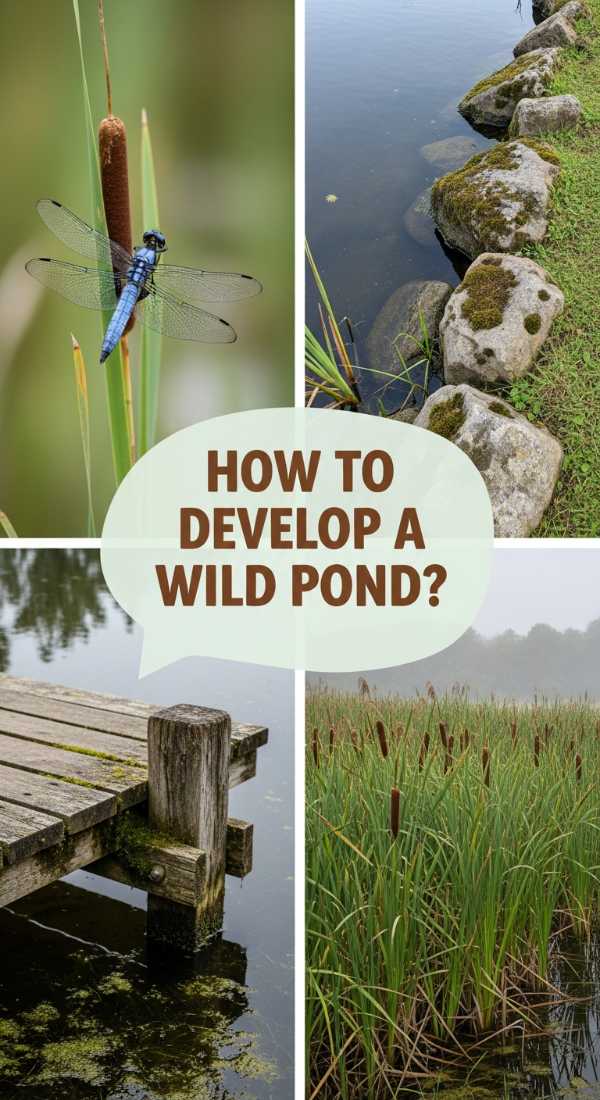
How to Develop a Wild Pond for Native Bird Watching
Why we love this
A wild pond is a living tapestry that changes with the seasons, offering a front-row seat to the wonders of the local ecosystem. We love the morning ritual of watching herons and songbirds gather at the water’s edge, drawn by the gentle ripples and the abundance of life. The sound is a symphony of chirps and croaks, and the air feels fresher here, cooled by the thick reeds and the natural evaporation of a pond that feels perfectly integrated into the wild landscape.
Essential Elements:
- Sloped ‘beach’ entries for wildlife access.
- Floating islands for bird nesting.
- Native reeds, sedges, and flowering rushes.
- Submerged logs or snags for turtles and frogs.
- Quiet, low-decibel circulation pumps.
How to make it
- Excavate the pond with a variable slope; the ‘beach’ entry should have a 1:4 ratio to allow birds to walk safely into the water.
- Install a heavy-duty EPDM liner, covering it with a 3-inch layer of rounded river stones to protect the membrane from UV rays and animal claws.
- Create ‘shelves’ at different depths (12, 24, and 48 inches) to accommodate a diverse range of native plant species.
- Anchor a floating nesting platform in the center of the pond; the timing is best in late winter so it is ready for the spring nesting season.
- Maintain a ‘no-mow’ zone of at least 5 feet around the perimeter; the visual cue for success is the appearance of beneficial insects and amphibians within the first month.
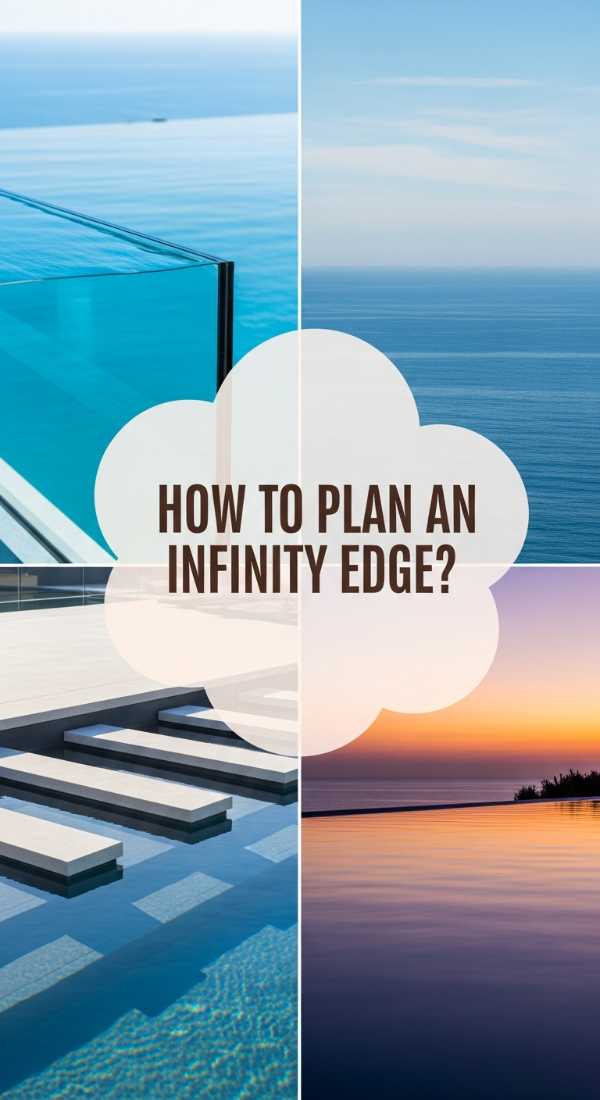
How to Plan a Modern Infinity Edge for Endless Horizon Views
Why we love this
The infinity edge is the ultimate architectural statement, creating a visual illusion where the water disappears into the sky. We love the sense of limitless space it provides, making even a small backyard feel as vast as the ocean. The sound is a constant, soothing ‘white noise’ as water spills over the edge into a hidden catch basin, and the feeling of swimming toward the horizon gives you a sense of freedom and perspective that is hard to find anywhere else.
Essential Elements:
- Vanishing edge weir wall.
- Large-volume surge tank (catch basin).
- High-head pumps to manage the spillway volume.
- Precision-leveled weir cap (usually granite or tile).
- Glass railings to maintain unobstructed views.
How to make it
- Build the ‘weir wall’ slightly lower than the rest of the pool; it must be leveled to within 1/16th of an inch using professional transit levels.
- Construct a surge tank below the weir wall that can hold at least 10% of the total pool volume to prevent overflow during heavy use.
- Apply a dark, non-reflective tile to the outside of the weir wall; this makes the wall ‘disappear’ when viewed from the house.
- Adjust the pump speed until the water flows over the edge in a ‘sheet’ rather than a ‘trickle’; the visual cue is a smooth, glass-like spill.
- Ensure the water temperature in the surge tank is monitored; during peak summer, heat can evaporate water quickly, so an auto-fill valve is a mandatory ‘prep’ step.
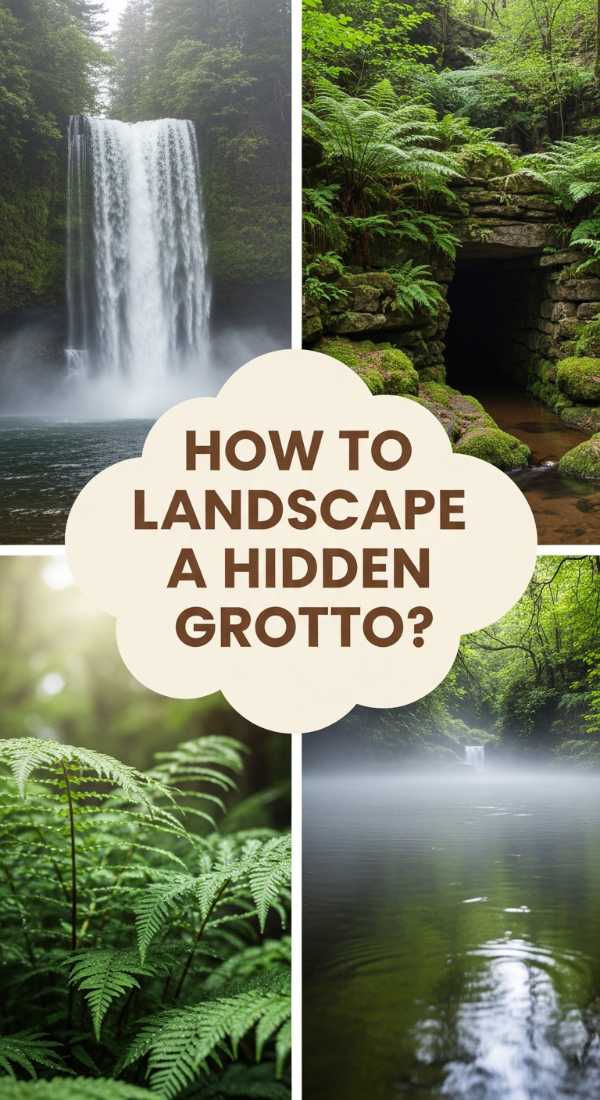
How to Landscape a Hidden Grotto for Secret Garden Charm
Why we love this
A hidden grotto offers a sense of mystery and adventure, like finding a private cave behind a curtain of falling water. We love the cool, damp air inside the grotto and the way the light filters through the waterfall, casting dancing shadows on the stone walls. It’s a perfect escape from the midday heat, providing a shaded, intimate nook where the world outside feels miles away and the only thing that matters is the mossy scent of the rocks and the rhythmic pulse of the water.
Essential Elements:
- Artificial or natural ‘cave’ structure.
- Sheer descent waterfalls (rain curtains).
- Internal bench seating inside the grotto.
- Ferns, moss, and shade-loving plants.
- Mist systems for added atmospheric effect.
How to make it
- Frame the cave structure using structural steel rebar, ensuring it is tied directly into the pool’s main shell for stability.
- Apply high-strength mortar over the frame, hand-carving the texture to mimic local rock formations while it is in the ‘leather-hard’ stage.
- Install a ‘rain curtain’ nozzle at the grotto entrance; use a dedicated valve to control the ‘heat’ or intensity of the water flow.
- Place shade-tolerant ferns (like Maidenhair) into pockets built into the rockwork; ensure they have a dedicated drip-irrigation line.
- Install a low-voltage ‘mood’ light inside the cave; the visual cue for a perfect setup is a soft, indirect glow that illuminates the water’s surface from within the grotto.
How to Maintain Crystal Clear Water for Perfect Summer Days
![]()
Why we love this
There is nothing more inviting than water so clear it looks like liquid glass. We love the feeling of diving into a pool where you can see every detail of the bottom, the sunlight tracing golden patterns on the floor. It gives you a sense of purity and safety, knowing the water is perfectly balanced and clean. The smell is neutral and fresh—no harsh chlorine odors—just the crisp, clean scent of a well-maintained oasis that is ready for a summer of endless fun.
Essential Elements:
- Variable speed pumps for 24/7 filtration.
- UV or Ozone sanitation systems.
- Automatic robotic pool cleaners.
- High-quality glass media filters.
- Digital water testing kits.
How to make it
- Run the variable speed pump at a low RPM for 24 hours a day; this ‘slow cook’ approach to filtration is more effective than short, high-speed bursts.
- Install a UV-C sterilizer in the return line; the ‘timing’ of the water passing through the light chamber must be slow enough to neutralize bacteria effectively.
- Backwash the glass media filter once the pressure gauge rises 8-10 PSI above the ‘clean’ baseline; the visual cue is the sight glass turning from cloudy to clear.
- Test the pH and alkalinity levels every 3 days; professional tips suggest keeping pH between 7.4 and 7.6 to ensure the water is ‘sweet’ and non-irritating to the eyes.
- Deploy an automatic robot cleaner daily at 2 AM; this ensures all debris is removed before the sun hits the water, preventing algae from ‘cooking’ in the summer heat.
Conclusion
Creating a luxury pool is about more than just construction; it’s about designing a lifestyle. Whether you prefer the architectural precision of a minimalist haven or the wild, untamed beauty of a natural pond, the key is to create a space that resonates with your personal sense of peace. Your backyard has the potential to be your favorite place on earth—a splash of luxury that makes every day feel extraordinary. So, grab your towel, take the plunge, and start living your best poolside life!