
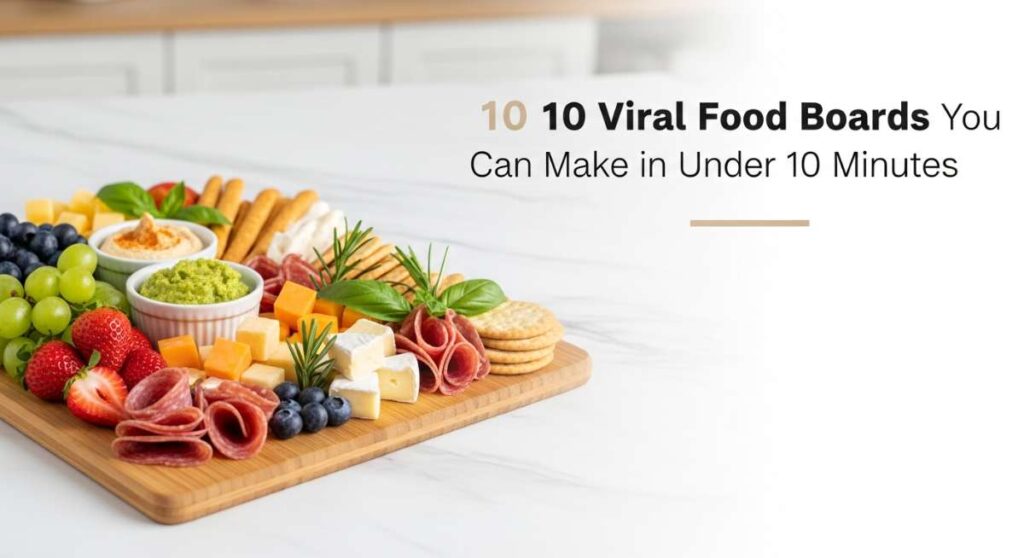
We’ve all been there—the doorbell rings ten minutes earlier than expected, and you’re still in your apron, frantically trying to assemble something that looks both effortless and incredibly chic. There’s a special kind of magic in hosting, but the stress of complex recipes can often steal the joy right out of the evening. That is exactly why I fell head over heels for the viral food board trend; it turns simple, delicious snacks into a communal work of art that invites everyone to dig in and stay a while.
The secret to a viral-worthy board isn’t spending hours in the kitchen; it’s about high-impact flavors and beautiful textures that take less than ten minutes of active prep. Whether you’re throwing a spontaneous movie night or a planned cocktail hour, these ten boards are designed to be your secret weapon. They are lush, vibrant, and most importantly, they allow you to actually spend time with your guests instead of being tethered to the oven.
How to make crispy party potatoes

Why we love this
There is something fundamentally comforting about the sound of a fork cracking through the ultra-crispy skin of a perfectly roasted potato to reveal the fluffy, cloud-like center within. These little gold nuggets carry the earthy aroma of toasted rosemary and the sharp, salty tang of sea salt that lingers on the palate long after the first bite. When served on a board, they provide a satisfying, rustic crunch that pairs beautifully with cool, creamy dips, making every mouthful a delightful play of temperatures and textures that feels like a warm hug for your soul.
Ingredients
- 2 lbs Yukon Gold baby potatoes
- 3 tablespoons extra virgin olive oil
- 1 tablespoon fresh rosemary, finely chopped
- 2 teaspoons flaky sea salt
- 1/2 teaspoon cracked black pepper
How to make it
- Begin by placing your baby potatoes in a large pot of cold, salted water and bringing them to a rolling boil; cook for about 12-15 minutes until they are fork-tender but not falling apart.
- Drain the potatoes and let them steam-dry in the colander for 2 minutes; this step is crucial because removing excess moisture ensures a much crispier exterior once they hit the oven.
- Preheat your oven to 425°F (220°C) and place the potatoes on a large baking sheet, then use the bottom of a heavy glass to gently press down on each potato until it is about half an inch thick and the skin has burst open.
- Drizzle generously with high-quality olive oil, ensuring every nook and cranny is coated, then sprinkle the fresh rosemary, sea salt, and pepper evenly across the tray.
- Roast for 20-25 minutes, flipping once halfway through, until the edges are deep golden brown and audibly crunchy when tapped with a spatula.
How to cook spicy wings
Why we love this
Spicy wings are the undisputed kings of the party board, offering a sensory explosion of sticky, vinegary heat followed by a subtle, honey-sweet finish that dances on the tongue. The aroma of bubbling buffalo sauce and melted butter fills the room instantly, creating an atmosphere of casual, finger-licking indulgence that encourages guests to let their guard down. Each bite offers a satisfying contrast between the crispy, rendered skin and the succulent, tender meat inside, providing a bold flavor profile that demands another round of cold drinks and good conversation.
Ingredients
- 2 lbs chicken wings (flats and drumettes)
- 1/2 cup Buffalo hot sauce
- 4 tablespoons unsalted butter, melted
- 1 tablespoon honey
- 1 teaspoon garlic powder
- Celery sticks and blue cheese dressing for serving
How to make it
- Preheat your oven to 400°F (200°C) and line a baking sheet with parchment paper or a wire rack; using a rack allows hot air to circulate under the wings, creating a more uniform crispness.
- Pat the wings completely dry with paper towels to remove all surface moisture, then toss them in a bowl with a light drizzle of oil and a pinch of salt to help the skin crisp up.
- Arrange the wings in a single layer, ensuring they aren’t touching, and bake for 35-40 minutes, flipping them once at the 20-minute mark to ensure the skin is golden and rendered on both sides.
- While the wings bake, whisk together the Buffalo sauce, melted butter, honey, and garlic powder in a large bowl until the mixture is glossy and emulsified.
- Once the wings are done, immediately toss them in the sauce while they are piping hot so the glaze adheres perfectly, then serve them on your board with cool celery and dip.
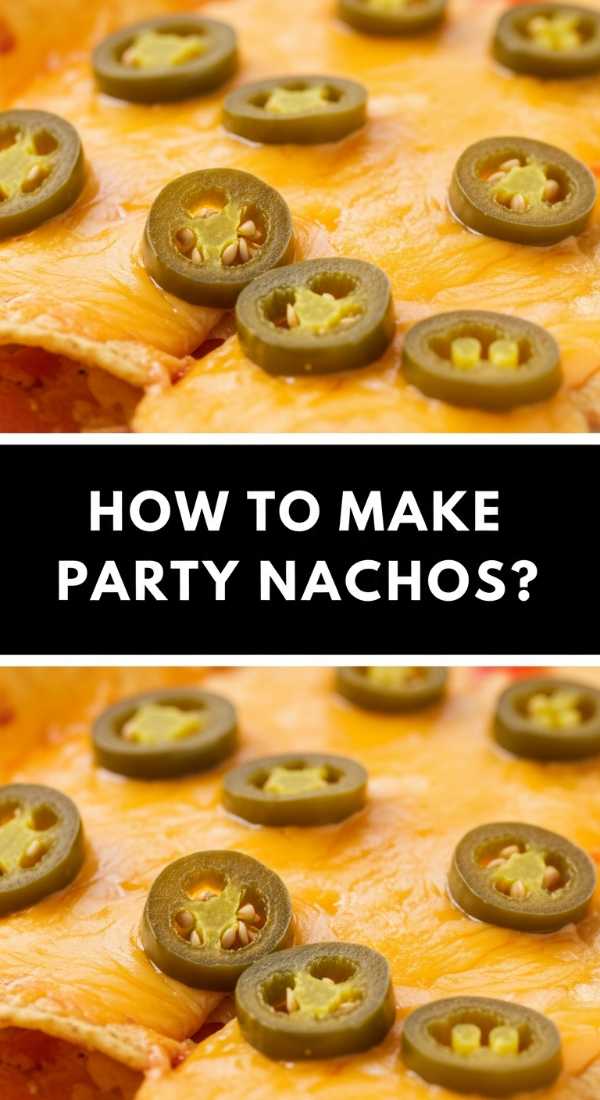
How to make party nachos
Why we love this
A nacho board is a vibrant tapestry of colors and textures, from the bright pop of fresh cilantro and purple onions to the golden, molten rivers of cheese binding the salty chips together. We love the communal nature of this dish, where every guest hunts for that ‘perfect chip’—the one loaded with just the right ratio of creamy beans, spicy jalapeños, and zesty lime-infused crema. The smell of toasted corn and warming cumin creates an instant festive mood, making it the ultimate center-piece for a high-energy gathering where sharing is the main event.
Ingredients
- 1 large bag of thick-cut tortilla chips
- 2 cups shredded Mexican blend cheese
- 1 can black beans, rinsed and drained
- 1/2 red onion, finely diced
- 1/2 cup pickled jalapeños
- Fresh cilantro and lime wedges for garnish
How to make it
- Preheat your oven to 375°F (190°C) and spread half of your tortilla chips in an even layer across a large, oven-safe platter or baking sheet.
- Distribute half of the cheese and half of the black beans over the first layer of chips; layering is essential so that the bottom chips aren’t left bare once the top layer is eaten.
- Add the remaining chips, followed by the rest of the cheese, beans, and the diced red onions, ensuring the toppings are distributed right to the edges of the pile.
- Bake for 8-10 minutes, watching closely until the cheese is completely melted and bubbling, and the tips of the chips are just beginning to turn a slightly darker toasted brown.
- Remove from the oven and immediately top with the pickled jalapeños, a heavy scattering of fresh cilantro, and a squeeze of lime juice before placing the entire tray directly onto your serving board.
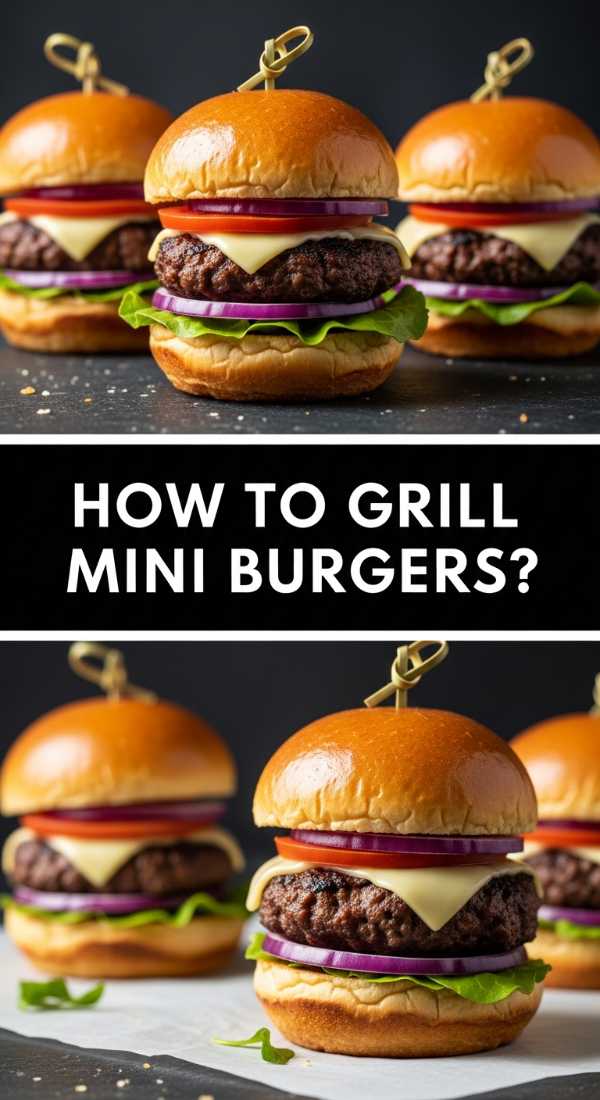
How to grill mini burgers
Why we love this
There is an undeniable charm to mini burgers, or sliders, that brings out the inner child in every guest while still feeling like a gourmet treat. The scent of searing beef on a hot griddle, combined with the sweet aroma of toasted brioche, is enough to draw anyone into the kitchen with anticipation. These little bites offer a concentrated burst of savory umami, perfectly balanced by the sharp tang of a pickle and the creamy richness of melted cheddar, making them a hearty and handheld powerhouse for any food board.
Ingredients
- 1 lb ground beef (80/20 blend for juiciness)
- 12 mini brioche slider buns
- 6 slices sharp cheddar cheese, halved
- Small pickles and sliced cherry tomatoes
- 1 tablespoon butter, softened
How to make it
- Divide your ground beef into 12 small portions (about 1.5 ounces each) and gently roll them into balls, then flatten them into patties that are slightly wider than your buns to account for shrinkage during cooking.
- Heat a cast-iron skillet or grill pan over medium-high heat until it is just starting to smoke; a hot surface is vital for creating that flavorful, brown crust known as the Maillard reaction.
- Season the patties generously with salt and pepper right before they hit the pan, then cook for 2-3 minutes on the first side until a deep crust forms.
- Flip the patties and immediately place a half-slice of cheddar on each one, then cover the pan with a lid for 1 minute to allow the steam to perfectly melt the cheese.
- While the meat rests, lightly butter the cut sides of the brioche buns and toast them in a separate pan until they are golden brown and warm, then assemble with a pickle and tomato slice.
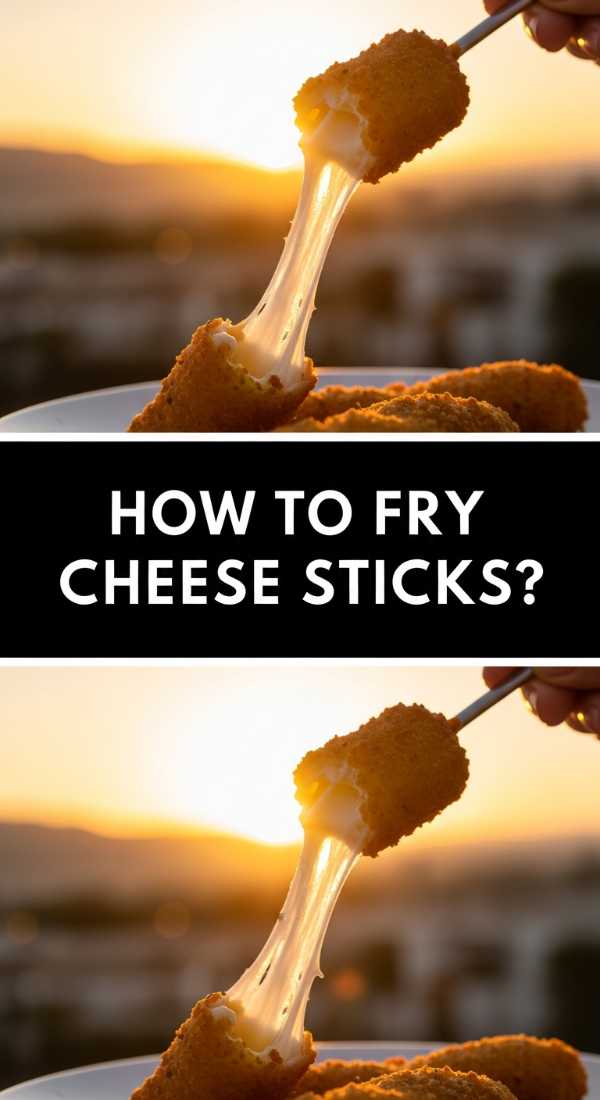
How to fry cheese sticks
Why we love this
Fried cheese sticks are the ultimate indulgence, offering a dramatic “cheese pull” that is practically made for social media and shared laughter. The outer coating is a symphony of toasted breadcrumbs and dried Italian herbs that shatters upon impact, giving way to a center of warm, gooey mozzarella that is mild yet incredibly satisfying. Dipped into a vibrant, acidic marinara sauce, these sticks provide a perfect balance of salty, savory, and tangy notes that make them disappear from the board within minutes of being served.
Ingredients
- 12 sticks of string cheese (mozzarella)
- 1/2 cup all-purpose flour
- 2 large eggs, beaten
- 1 cup panko breadcrumbs mixed with 1 tsp Italian seasoning
- Vegetable oil for frying
How to make it
- Freeze your string cheese sticks for at least 30 minutes before starting; this ensures the cheese doesn’t melt and leak out before the breading has a chance to turn golden and crispy.
- Set up a breading station with three shallow bowls: one with flour, one with the beaten eggs, and one with the seasoned panko breadcrumbs.
- Dredge each frozen cheese stick in the flour, then the egg, then the breadcrumbs, ensuring every inch is coated; for an extra-thick shell, dip it back into the egg and breadcrumbs a second time.
- Heat about an inch of vegetable oil in a heavy skillet to 350°F (175°C); you can test the heat by dropping in a breadcrumb—if it sizzles immediately, the oil is ready.
- Fry the sticks in small batches for about 30-60 seconds per side, removing them with a slotted spoon as soon as they are golden brown to prevent the cheese from exploding through the crust.
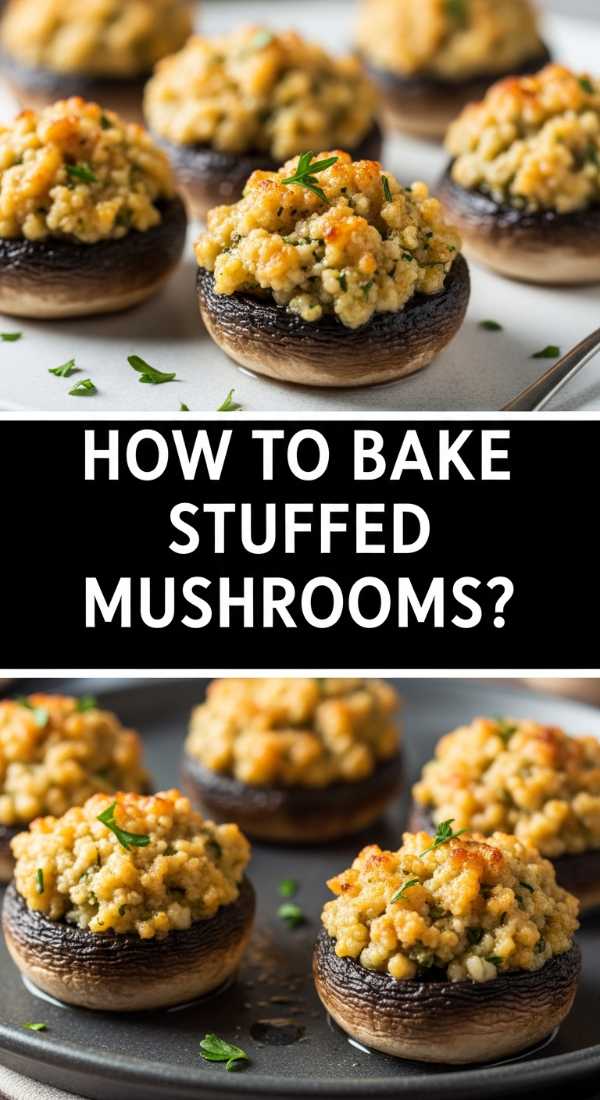
How to bake stuffed mushrooms
Why we love this
Stuffed mushrooms bring an elegant, earthy sophistication to your food board, offering a bite-sized explosion of garlic, parmesan, and herb-infused butter. The mushrooms themselves become tender and succulent in the oven, releasing their natural juices which mingle with the savory filling to create a rich, velvety texture. They provide a wonderful aromatic depth to the spread, with the smell of roasting garlic and browning cheese creating an irresistible invitation to slow down and savor the more refined side of snacking.
Ingredients
- 12-15 cremini or white button mushrooms
- 1/4 cup cream cheese, softened
- 1/4 cup grated parmesan cheese
- 2 cloves garlic, minced
- 2 tablespoons chopped fresh parsley
- 1/4 cup breadcrumbs
How to make it
- Gently wipe the mushrooms clean with a damp paper towel and pop out the stems; finely chop the stems to use in the filling so nothing goes to waste.
- In a small bowl, combine the softened cream cheese, parmesan, minced garlic, chopped mushroom stems, and half of the parsley until a smooth paste forms.
- Preheat your oven to 400°F (200°C) and use a small spoon to fill each mushroom cap generously with the cheese mixture, pressing it down slightly.
- Dip the tops of the stuffed mushrooms into the breadcrumbs, pressing gently so the crumbs adhere to the creamy filling for a crunchy finish.
- Place the mushrooms on a parchment-lined baking sheet and bake for 15-18 minutes, or until the mushroom caps are tender and the tops are a beautiful, speckled golden brown.
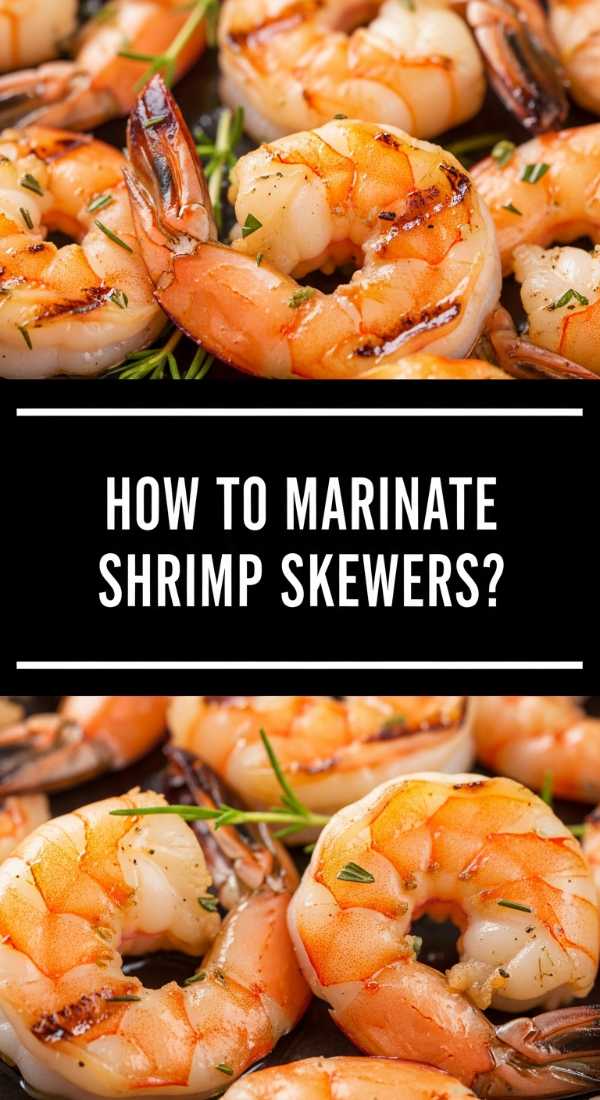
How to marinate shrimp skewers

Why we love this
Shrimp skewers add a light, zesty, and upscale feel to any board, providing a refreshing break from the heavier fried elements. The bright, citrusy aroma of lemon zest combined with the punch of fresh garlic makes these feel incredibly fresh and vibrant. When grilled, the shrimp develop a beautiful pink hue and slightly charred edges that add a subtle smokiness, resulting in a snap-like texture that is both succulent and firm, making them as fun to eat as they are beautiful to look at.
Ingredients
- 1 lb large shrimp, peeled and deveined
- 3 tablespoons olive oil
- 2 cloves garlic, crushed
- Zest and juice of 1 lemon
- 1/2 teaspoon red pepper flakes
- Wooden skewers (soaked in water for 20 mins)
How to make it
- In a medium glass bowl, whisk together the olive oil, lemon zest, lemon juice, crushed garlic, and red pepper flakes to create a bright, emulsified marinade.
- Add the shrimp to the bowl and toss thoroughly to coat, then let them marinate in the refrigerator for at least 15 minutes; don’t go too long, as the acid in the lemon can start to “cook” the delicate seafood.
- Thread 3 to 4 shrimp onto each pre-soaked wooden skewer, piercing them through the thickest part of the body and the tail so they stay secure on the grill.
- Heat a grill pan or outdoor grill to high heat and lightly oil the grates to prevent sticking, then lay the skewers down, listening for that characteristic high-pitched sear.
- Cook for 2-3 minutes per side, watching for the flesh to turn opaque and the color to shift to a vibrant pinkish-orange, then remove immediately to keep them tender and juicy.
How to make jalapeño poppers

Why we love this
Jalapeño poppers are the ultimate thrill-seeker’s snack, offering a rollercoaster of spicy heat, cooling cream cheese, and the salty, smoky crunch of crisp bacon. They bring a rustic, bold energy to the board, with the vibrant green of the peppers providing a striking visual contrast against the rich, melted cheese filling. Each bite is a perfectly balanced harmony of flavors that wakes up the taste buds, making them the most talked-about item on the tray and a guaranteed crowd-pleaser for those who love a little kick.
Ingredients
- 10 medium jalapeños, halved and seeded
- 1/2 cup cream cheese
- 1/2 cup shredded sharp cheddar
- 10 slices of bacon, cut in half
- 1/4 teaspoon smoked paprika
How to make it
- Preheat your oven to 400°F (200°C) and prepare a baking sheet with a wire rack on top; this allows the bacon to crisp up all the way around the pepper.
- In a small bowl, mix the cream cheese, shredded cheddar, and smoked paprika until well combined, then use a spoon to fill each jalapeño half with the mixture.
- Wrap a half-slice of bacon tightly around each filled jalapeño, ensuring the ends of the bacon are tucked underneath the pepper so they don’t unravel during cooking.
- Place the poppers on the wire rack and bake for 20-25 minutes; you are looking for the jalapeños to become soft and the bacon to be rendered and deeply browned.
- For an extra crispy finish, turn the broiler on for the last 1-2 minutes, but watch them like a hawk to ensure the bacon doesn’t burn.
How to bake sausage rolls
Why we love this
There is nothing quite like the buttery, flaky layers of a puff pastry sausage roll to make a gathering feel cozy and welcoming. The aroma of savory herbs and roasting meat wrapped in golden dough is intoxicating, evoking a sense of traditional comfort that everyone gravitates toward. These rolls offer a satisfying, meaty bite followed by the delicate crunch of pastry, making them a fantastic vessel for grainy mustards or spicy ketchups, and a must-have for any board that needs a hearty, filling anchor.
Ingredients
- 1 sheet frozen puff pastry, thawed
- 1 lb high-quality pork sausage meat
- 1 teaspoon dried sage or thyme
- 1 egg, beaten (for egg wash)
- 1 tablespoon sesame seeds (optional)
How to make it
- Preheat your oven to 400°F (200°C) and roll out your thawed puff pastry onto a lightly floured surface into a large rectangle.
- In a bowl, mix the sausage meat with your dried herbs, then shape the meat into two long logs that run the length of the pastry sheet.
- Place the meat logs on the pastry and roll the dough over them, sealing the edges with a bit of the beaten egg; trim any excess pastry with a sharp knife.
- Cut the long rolls into 2-inch segments and place them seam-side down on a baking sheet, then brush the tops generously with the remaining egg wash for a glossy finish.
- Sprinkle with sesame seeds and bake for 20-25 minutes until the pastry has puffed up into golden layers and the sausage inside is cooked through and steaming.
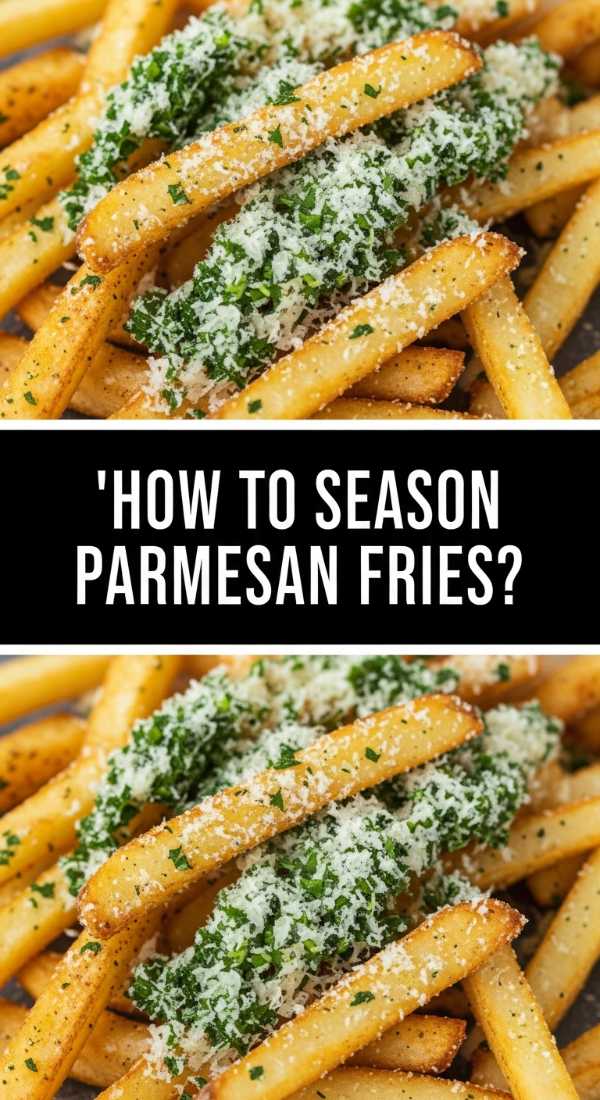
How to season parmesan fries
[IMAGE_10]
Why we love this
Parmesan fries are the glamorous cousin of the standard French fry, elevated by a snowy dusting of aged cheese and a bright sprinkle of fresh herbs. We love how the heat from the fries slightly melts the parmesan, creating a savory, salty crust that clings to every golden edge. The fragrance of garlic and parsley makes them feel artisanal and special, providing a sophisticated yet accessible snack that rounds out a food board with its familiar, well-loved profile and addictive, salty finish.
Ingredients
- 1 bag high-quality frozen thin-cut fries
- 1/2 cup finely grated parmesan cheese
- 1 tablespoon garlic salt
- 2 tablespoons fresh parsley, finely chopped
- 1 teaspoon truffle oil (optional for extra luxury)
How to make it
- Bake or air-fry your frozen fries according to the package instructions, but aim for the higher end of the suggested time to ensure they are extra crispy and can hold up to the toppings.
- While the fries are cooking, prepare your seasoning by mixing the grated parmesan, garlic salt, and chopped parsley in a very large mixing bowl.
- The moment the fries come out of the oven or air fryer, while they are still glistening with heat and oil, dump them immediately into the large bowl with the seasoning.
- Toss the fries vigorously using tongs or a shaking motion so the cheese and herbs adhere to the hot surface of every individual fry.
- If using truffle oil, add a very light drizzle during the tossing process for an earthy aroma, then pile them high on your board in a dedicated corner or small basket.
The Art of the 10-Minute Board
Hosting doesn’t have to be a marathon. By focusing on these high-flavor, quick-prep elements, you can create a viral-worthy spread that looks like it took hours but only took minutes. The key is in the layering—mix colors, textures, and temperatures to keep your guests coming back for more. Happy hosting!
Frequently Asked Questions
Can I prepare these boards in advance? While some elements like the stuffed mushrooms or marinated shrimp can be prepped a few hours early, most items are best served fresh and hot. You can, however, have all your ingredients chopped and ready to go!
What is the best board to use for serving? A large wooden cutting board or a marble slab works beautifully. If you don’t have one, even a clean baking sheet lined with parchment paper can look incredibly stylish and rustic.
How do I keep the hot items warm? The best trick is to use small warmed ceramic bowls for the dips and to place the hottest items (like wings and fries) on the board last, right before serving.